How to Draw a Police Officer: Easy 10-Step Guide
Bring a community hero to life with this fun, approachable drawing tutorial. Designed for ages 5 and up, this activity requires only a pencil, paper, and an eraser to help young artists master character proportions. Follow these steps to build your officer from the ground up while practicing essential line-work skills.
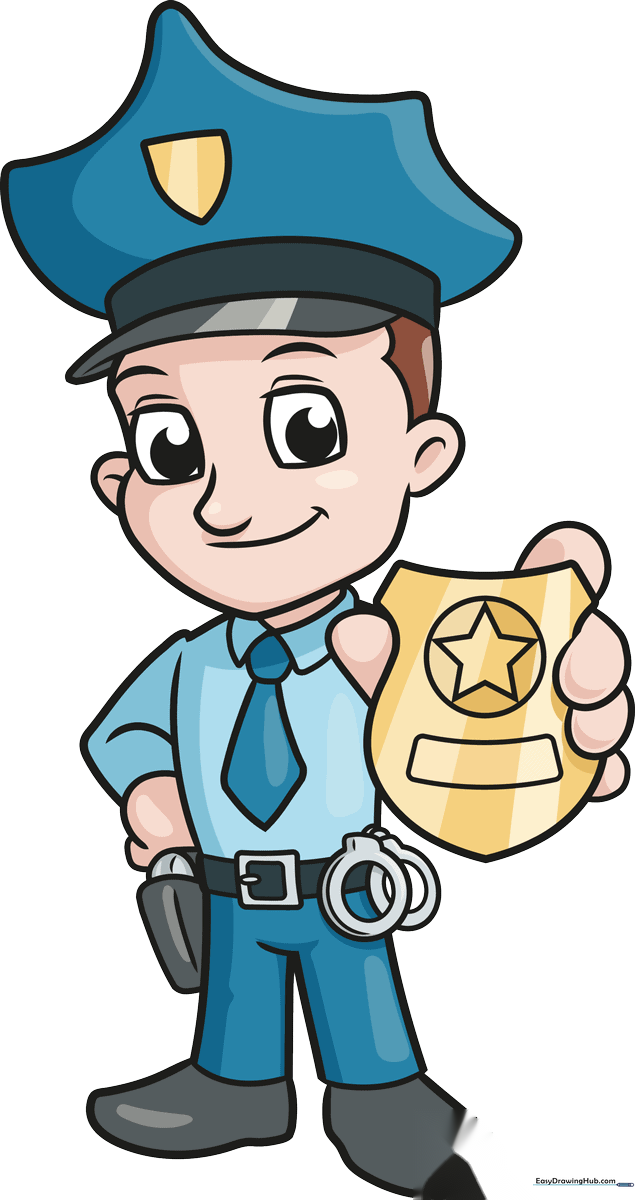
🎯 Final Result
Step-by-Step Instructions
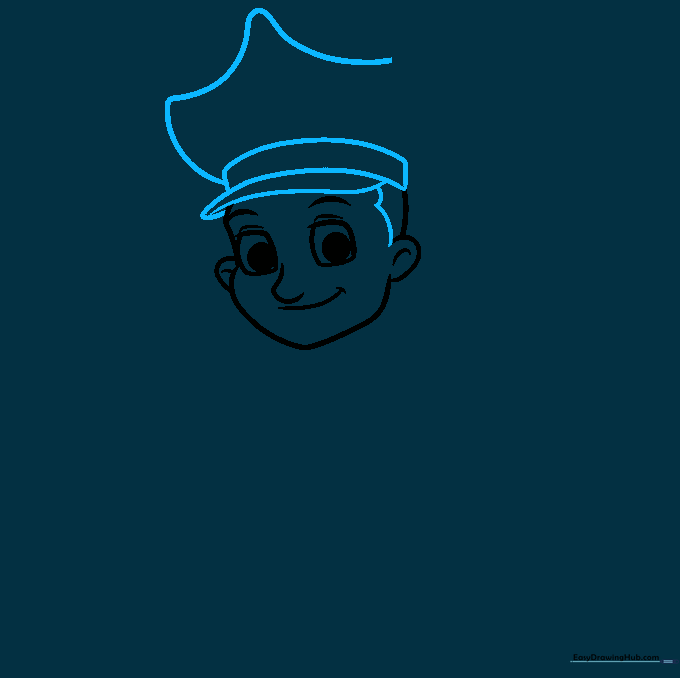
Step 1: Sketching the Face

Start by sketching the officer's face. Use curved lines to trace the eyes, nose, and a friendly, smiling mouth. Add a large circle inside each eye for the pupils. Teacher's Tip: Keep your pencil pressure light so you can easily adjust the expression if the eyes look a bit uneven.
Step 2: Defining the Head Shape

Outline the sides of the head, ears, cheeks, and chin using smooth, curved lines. Add short strokes for the eyebrows and inner ear details. Teacher's Tip: Use a 'C' shape for the ears to make them look natural against the side of the head.
Step 3: Adding the Police Hat
Draw the hair, the bill of the hat, and the hatband. Connect these with a curved line for the crown. Teacher's Tip: Imagine the hat is sitting snugly on the head; keep the bill slightly curved to give it a realistic 3D look.
Step 4: Drawing the Uniform Collar
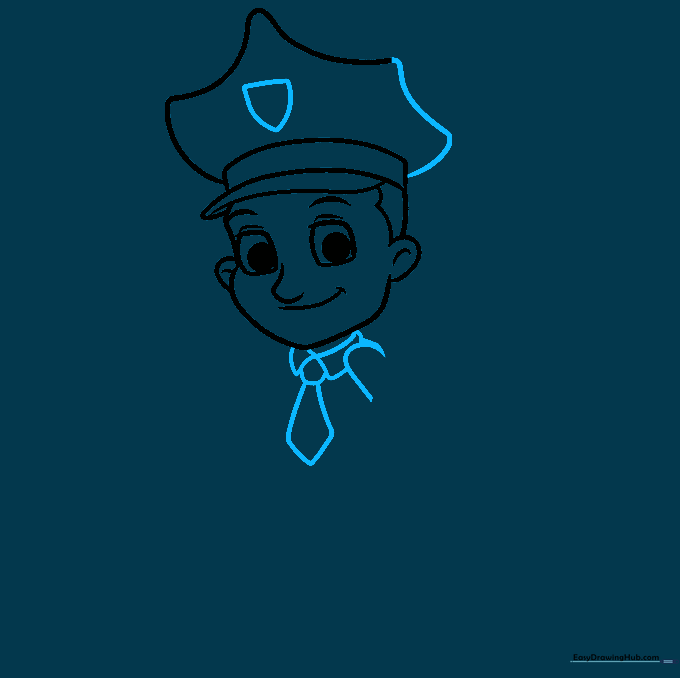
Finish the hat with an inverted triangle badge area. Then, draw the shirt collar and necktie. Teacher's Tip: Use sharp, angular lines for the collar to contrast with the soft, curved lines of the face.
Step 5: Sketching the Badge and Hand
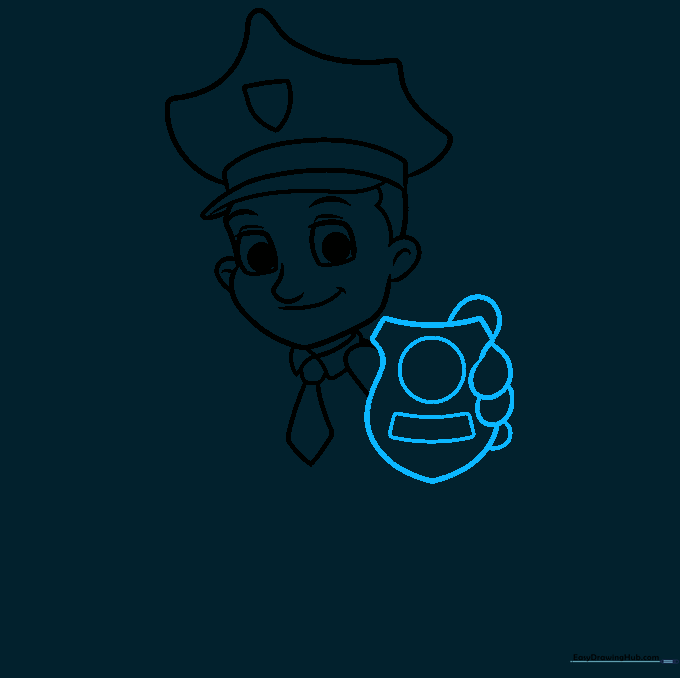
Sketch the shield-shaped badge on the chest. Add a circle and rectangle inside, then draw the fingers holding the badge. Teacher's Tip: Draw the fingers as small, rounded 'sausage' shapes to make them look natural.
Step 6: Adding the Star and Torso
Draw a five-pointed star inside the badge. Continue the lines for the torso, shoulder, and arm. Teacher's Tip: Keep the star simple—if it's tricky, draw a small 'X' first and connect the points.
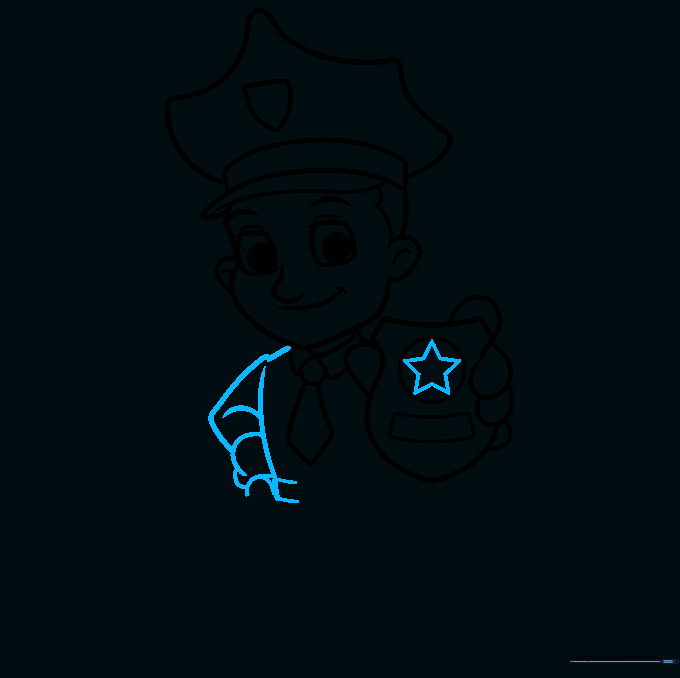
Step 7: The Belt and Handcuffs
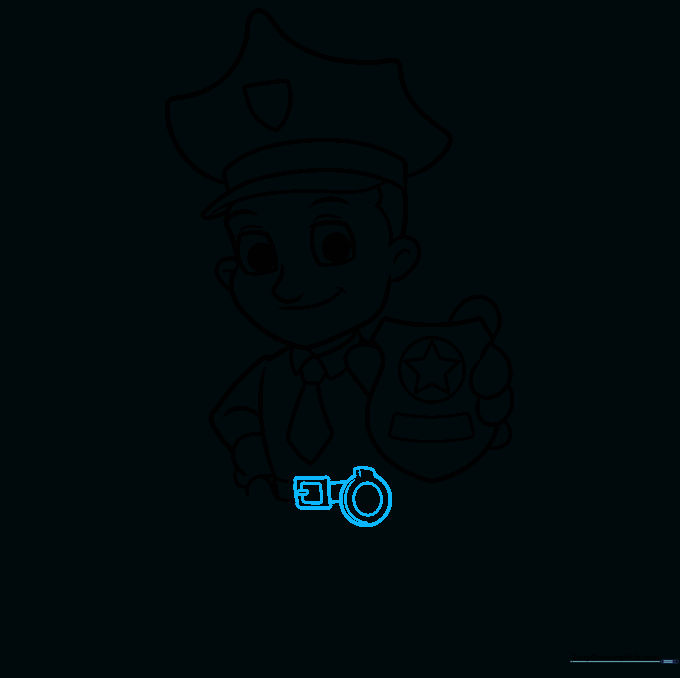
Draw the belt buckle as a square-within-a-square. Add the handcuffs hanging from the belt using circles. Teacher's Tip: Add a small curved line on the handcuffs to give them a metallic, 3D look.
Step 8: Adding the Holster
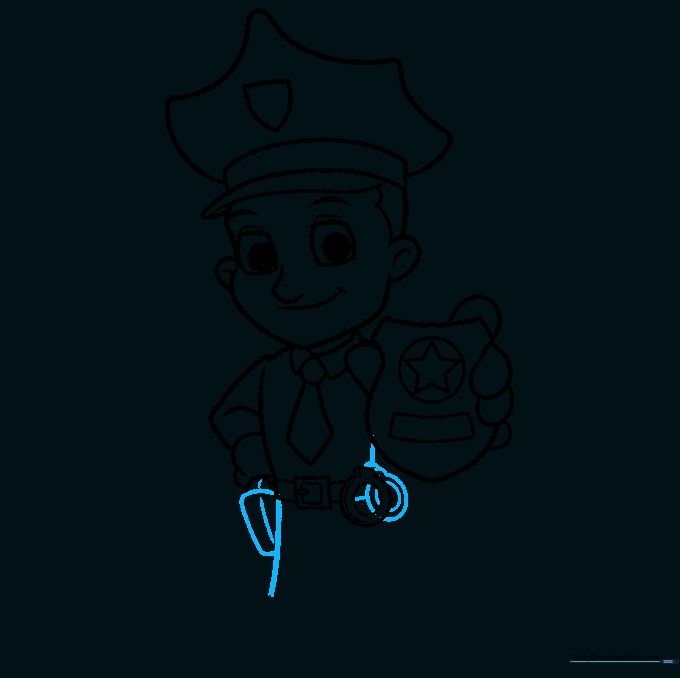
Complete the belt and torso. Sketch the leg and the rectangular holster at the hip. Teacher's Tip: Ensure the holster is placed slightly to the side so it doesn't overlap too much with the leg line.
Step 9: Finalizing the Outline
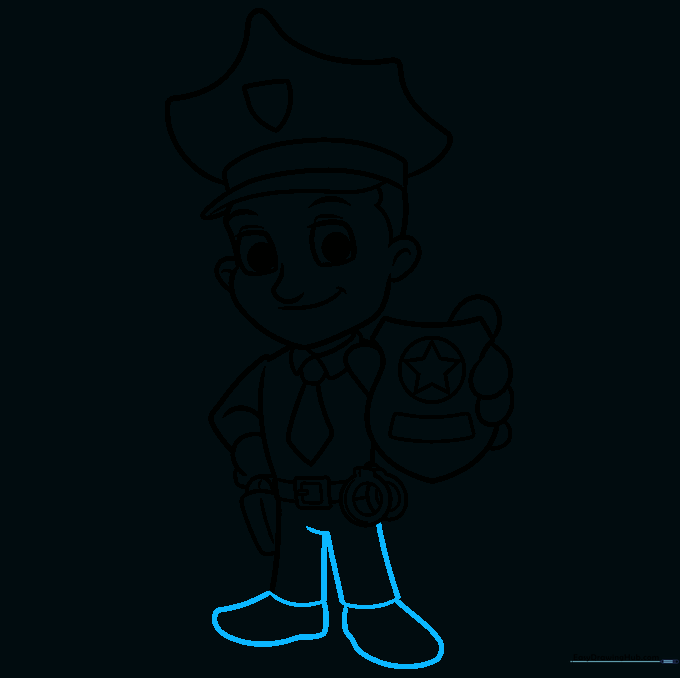
Complete the pants and shoes with firm, confident lines. Teacher's Tip: Use long, smooth strokes for the legs to make the officer look tall and sturdy.
Step 10: Adding Color

Bring your officer to life with color! Use classic blues for the uniform or brown for a sheriff-style look. Teacher's Tip: Use a darker shade of blue in the folds of the clothing to add depth and shadow.
More Tutorials


