How to Draw a Peace Sign Hand: Easy 10-Step Guide
Looking for a fun way to practice drawing human anatomy? This peace sign tutorial is perfect for artists ages 7 and up. Grab a pencil, an eraser, and a piece of paper to master this classic gesture in just 10 simple steps.
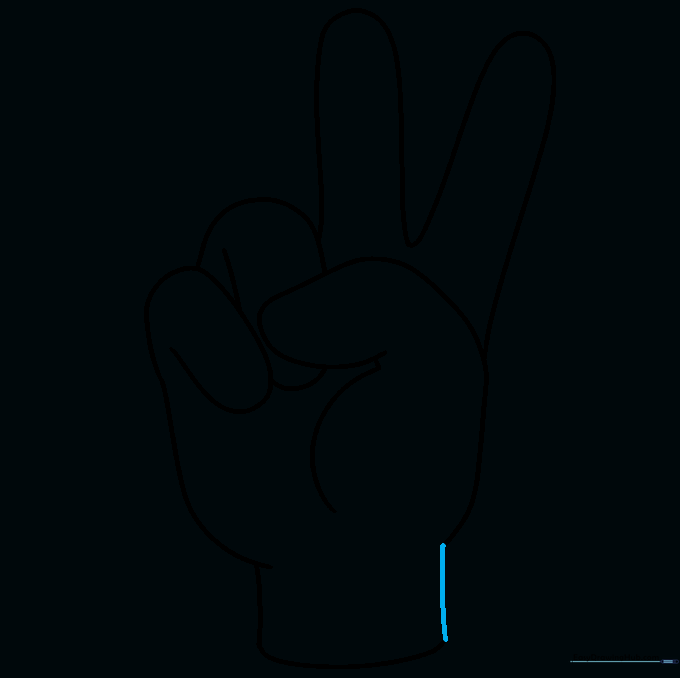
🎯 Final Result

Step-by-Step Instructions
Step 1: Sketching the Thumb

Start by drawing a soft, curved line for the bent thumb. Teacher's Tip: Keep your pencil pressure light so you can easily adjust the shape if it looks a bit too pointy.
Step 2: Defining the Palm
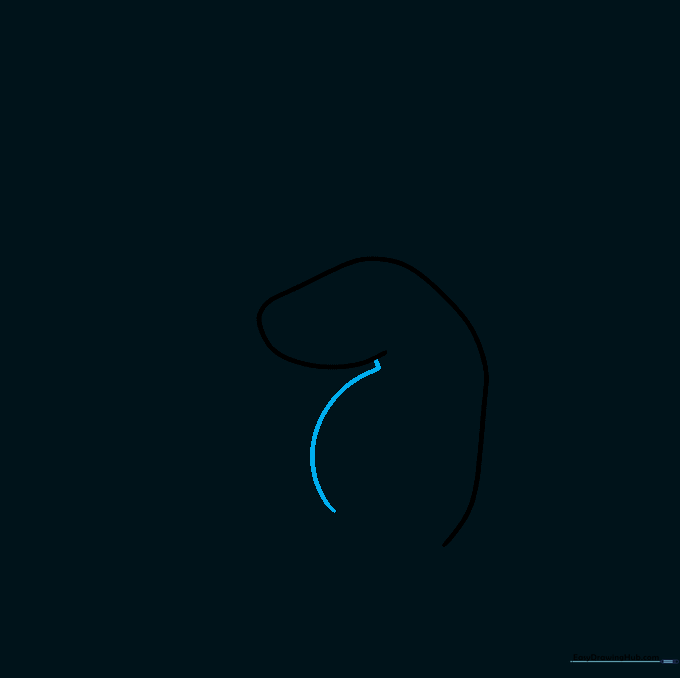
Add a short straight line from the thumb, followed by a long curve to form the palm's fleshy base. Tip: Think of this as the 'cushion' of the hand; keep it rounded, not square.
Step 3: The Index Finger
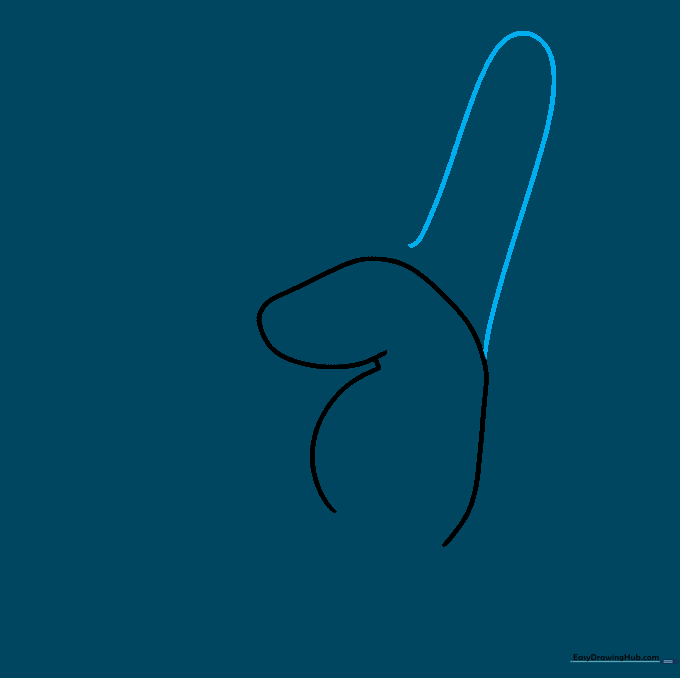
Draw a long, curved line extending from the thumb to create the index finger. Tip: Make sure the finger is long and slender—it’s the first of the two 'peace' fingers.
Step 4: The Middle Finger
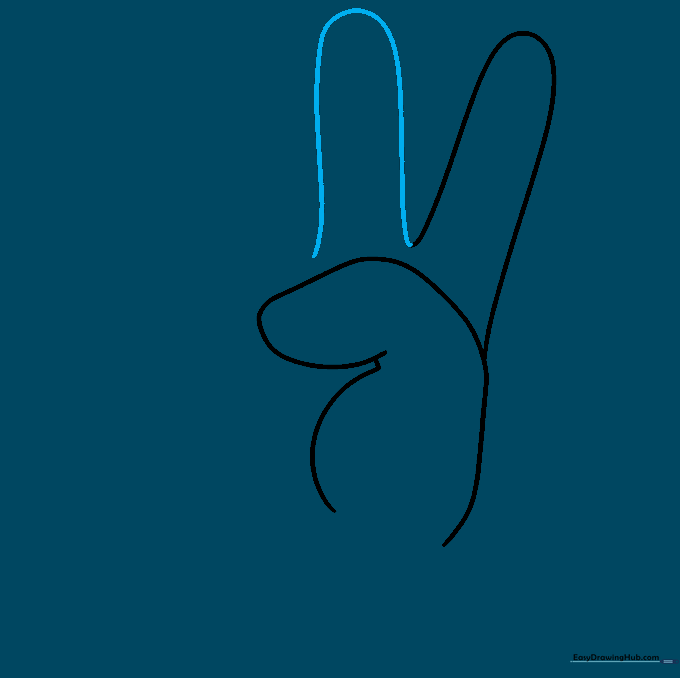
Add the second finger next to the first. Tip: Keep the gap between these two fingers narrow so the hand looks natural and expressive.
Step 5: The Retracted Fingers
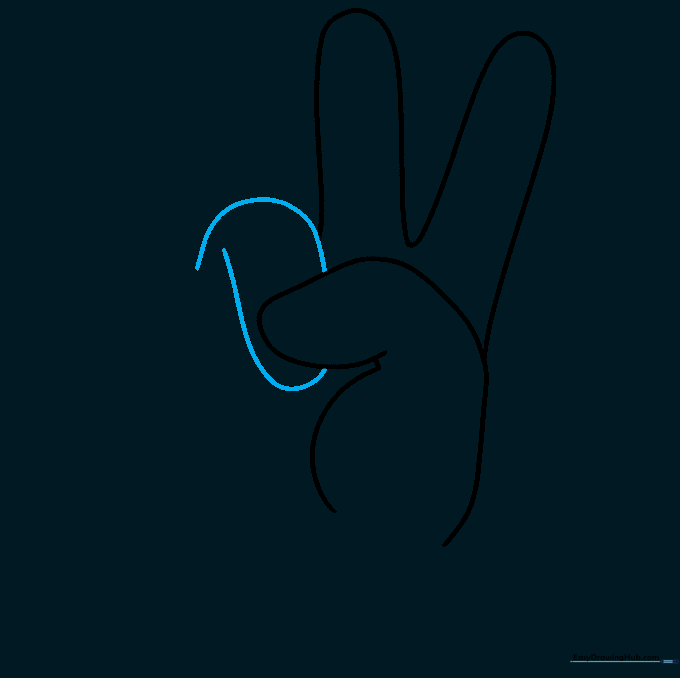
Draw the ring finger tucked down against the palm. Tip: Imagine the finger is curled inward; use a tight curve to show it's folded.
Step 6: The Pinky Finger

Outline the pinky finger tucked behind the ring finger. Tip: This is the smallest finger, so keep this curve shorter than the others.
Step 7: Drawing the Wrist

Draw a smooth, curved line at the bottom to define the wrist. Tip: A gentle curve here makes the hand look connected to an arm rather than floating.
Step 8: Wrist Details

Add a small curved line across the wrist to show the skin fold. Tip: This small detail adds a lot of realism to your drawing!
Step 9: Finalizing the Outline
Connect the lines to enclose the wrist and clean up any overlapping pencil marks. Tip: Use your eraser to remove any 'construction' lines inside the fingers.
Step 10: Color Your Masterpiece

Bring your peace sign to life with your favorite colors! Tip: Try using a darker shade on the palm to create a subtle shadow effect.
More Tutorials


