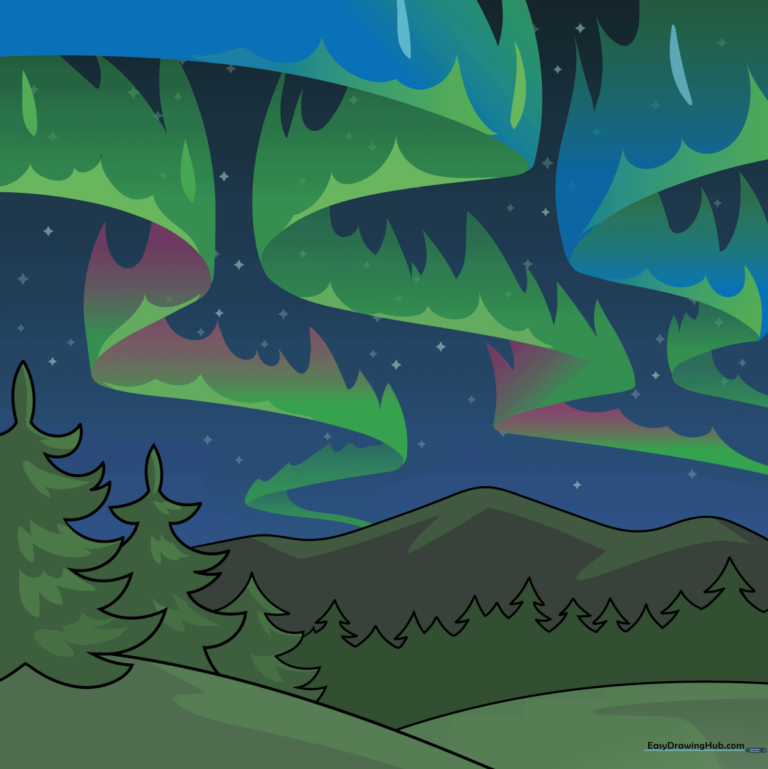
How to Draw the Northern Lights: Easy 10-Step Guide
Capture the magic of the Aurora Borealis with this beginner-friendly drawing tutorial, perfect for artists ages 6 and up. You will need a pencil, eraser, and your favorite colored pencils or markers to bring this night sky to life. Follow along to master the art of drawing rolling hills, evergreen silhouettes, and dancing ribbons of light.
🎯 Final Result
Step-by-Step Instructions
Step 1: Sketching the First Evergreen
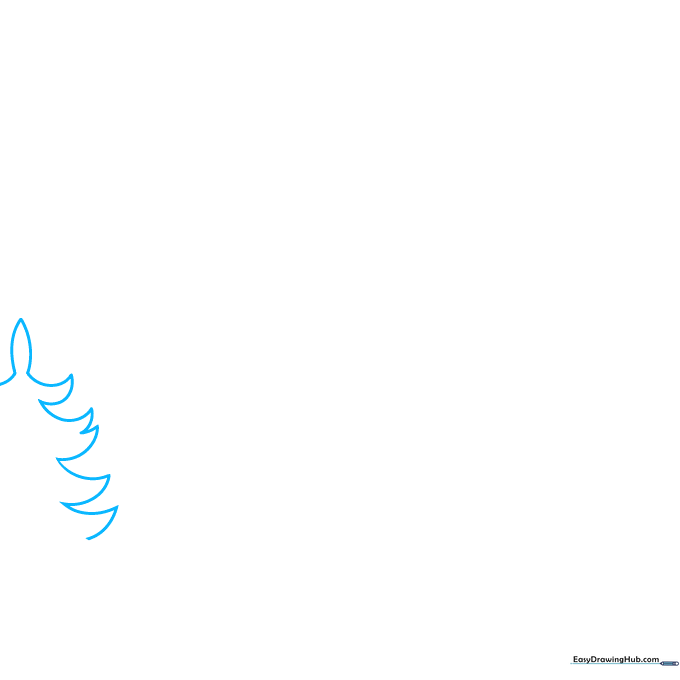
Start by drawing an evergreen tree. Use pairs of short, curved lines that meet at jagged points to form the branches. Teacher's Tip: Keep your pencil pressure light so you can easily adjust the shape of the tree later.
Step 2: Adding Rolling Hills
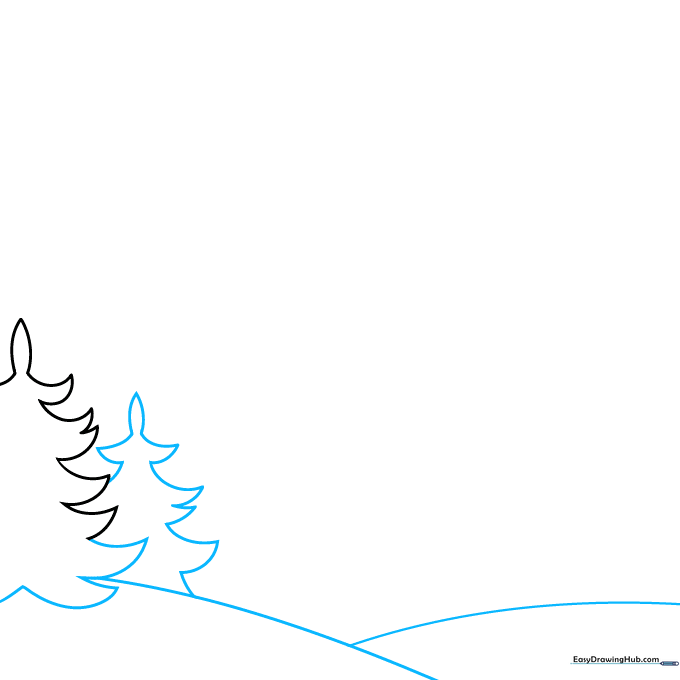
Finish your first tree and add a second one nearby. Then, draw a long, sweeping curved line between the trees to create the base of your rolling hills. Teacher's Tip: Make the line slightly uneven to give the ground a natural, hilly look.
Step 3: Creating the Forest Line
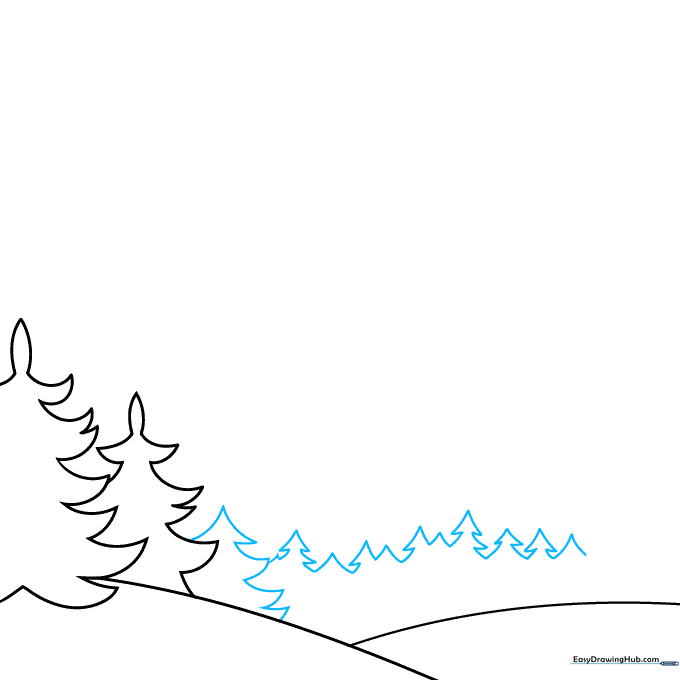
Add another pine tree and a line of smaller trees in the distance using the same jagged branch technique. Teacher's Tip: Draw these smaller to create a sense of depth and perspective in your landscape.
Step 4: Sketching the Mountain Horizon
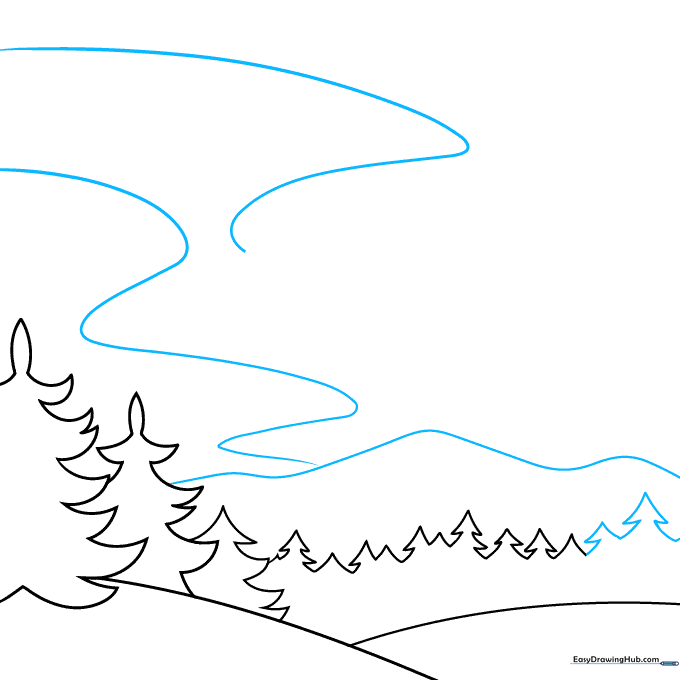
Draw a wavy line above the trees to represent a distant mountain range. Then, begin sketching the first ribbon of the aurora in the sky. Teacher's Tip: Keep your aurora lines fluid and loose—the lights are never perfectly straight!
Step 5: Layering the Aurora Ribbons
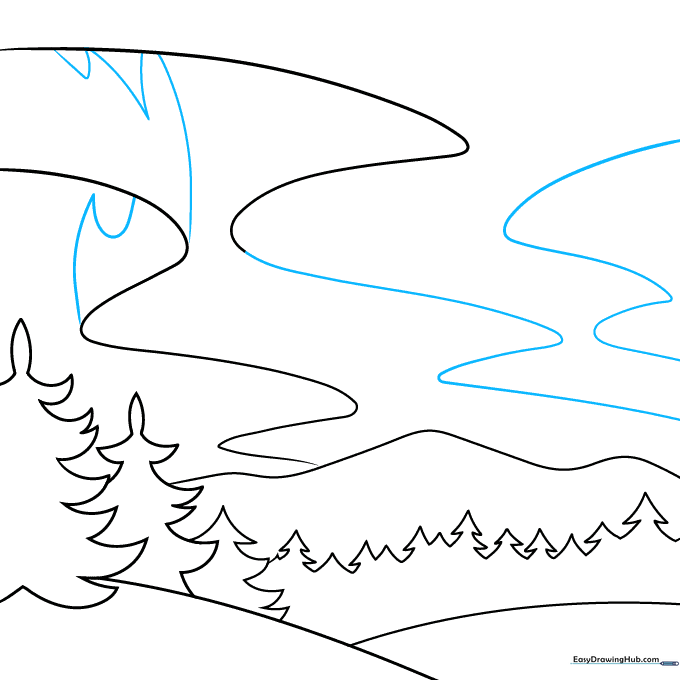
Extend your wavy lines across the page and add a third layer. Give the edges a jagged, flame-like appearance by drawing small triangles along the top. Teacher's Tip: Vary the height of your jagged points to make the lights look like they are shimmering.
Step 6: Refining the Light Shapes
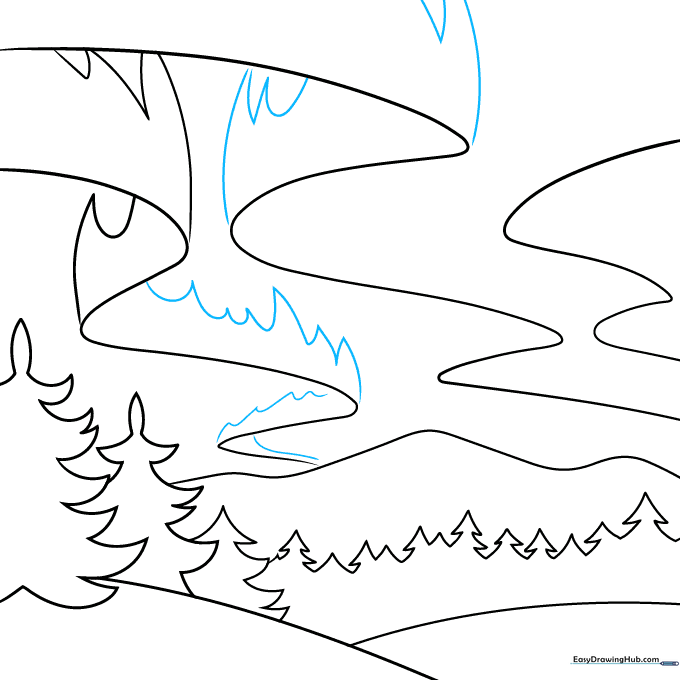
Continue adding flame-like jagged lines along the tops of your first and second ribbons. Teacher's Tip: Don't worry about making them symmetrical; the Northern Lights are chaotic and beautiful.
Step 7: Connecting the Aurora Layers
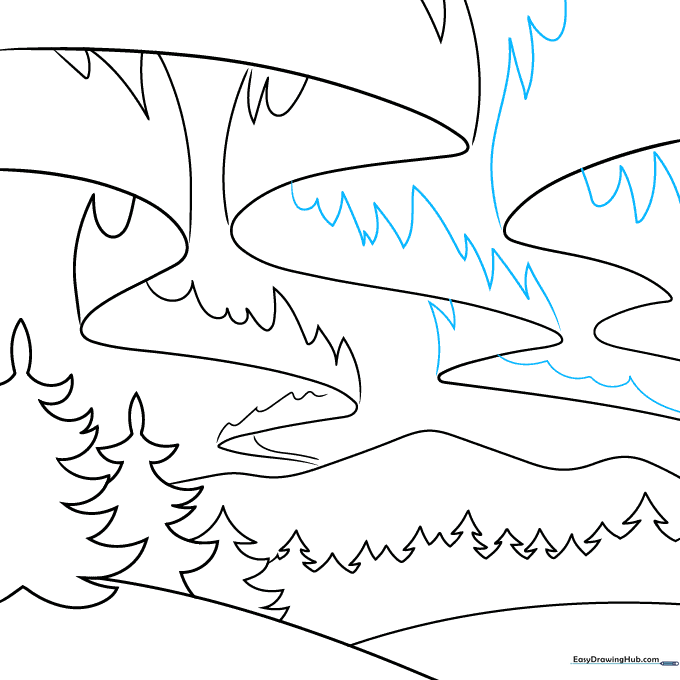
Continue the jagged pattern along the top edges of the second and third ribbons. Teacher's Tip: Use a slightly darker pencil stroke here to define the edges of the light.
Step 8: Adding Depth
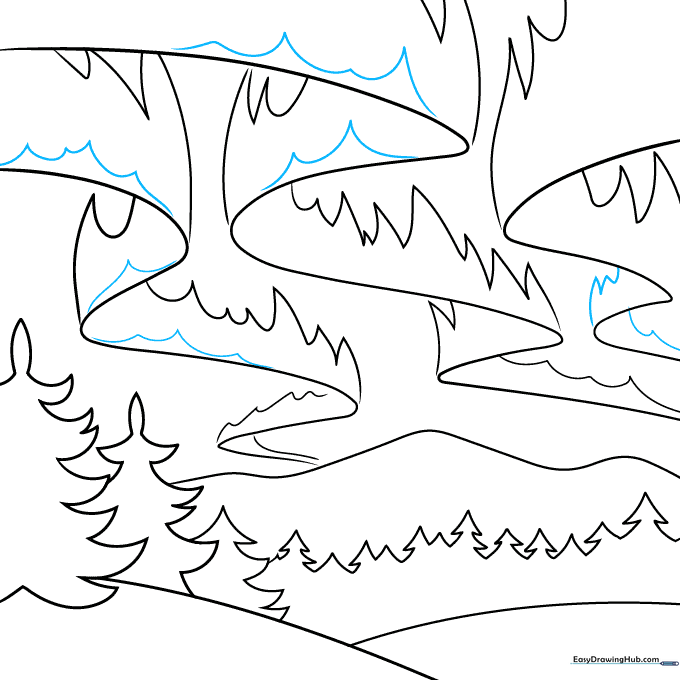
Draw a shorter, secondary layer of jagged lines within the main aurora ribbons to create depth. Teacher's Tip: This adds a sense of volume, making the lights look like they are folding over themselves.
Step 9: Final Touches
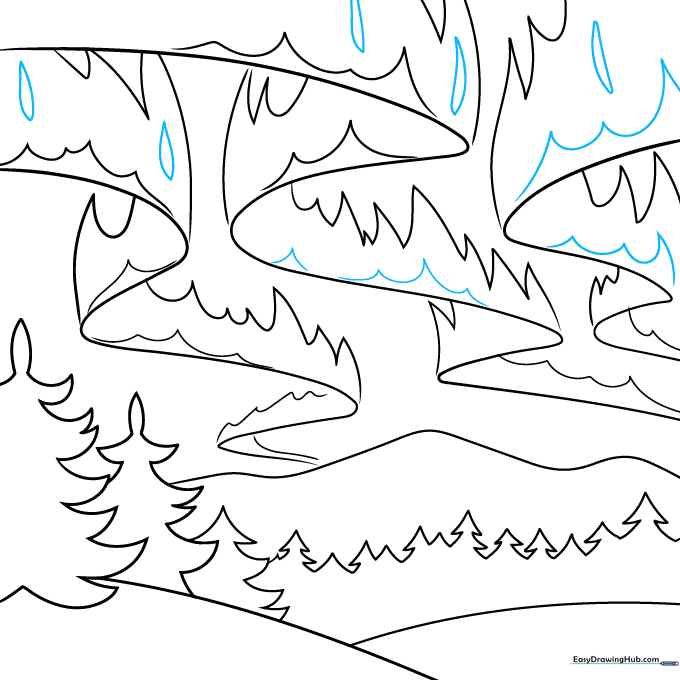
Finish the second set of jagged lines and add a few teardrop shapes scattered in the sky to represent distant stars or light particles. Teacher's Tip: Keep the teardrops small so they don't distract from the main aurora.
Step 10: Bring It to Life with Color

Your outline is complete! Now, use vibrant greens, blues, pinks, and purples to color your aurora. Teacher's Tip: Use light, overlapping strokes to blend the colors together for a glowing, ethereal effect.
More Tutorials


