How to Draw the Moon: Simple Step-by-Step Guide for Kids
Bring the night sky to your sketchbook with this simple moon drawing tutorial, perfect for artists ages 5 and up. You only need a pencil, an eraser, and a piece of paper to get started. Follow these steps to master basic shapes and layering techniques while building your confidence as an artist.
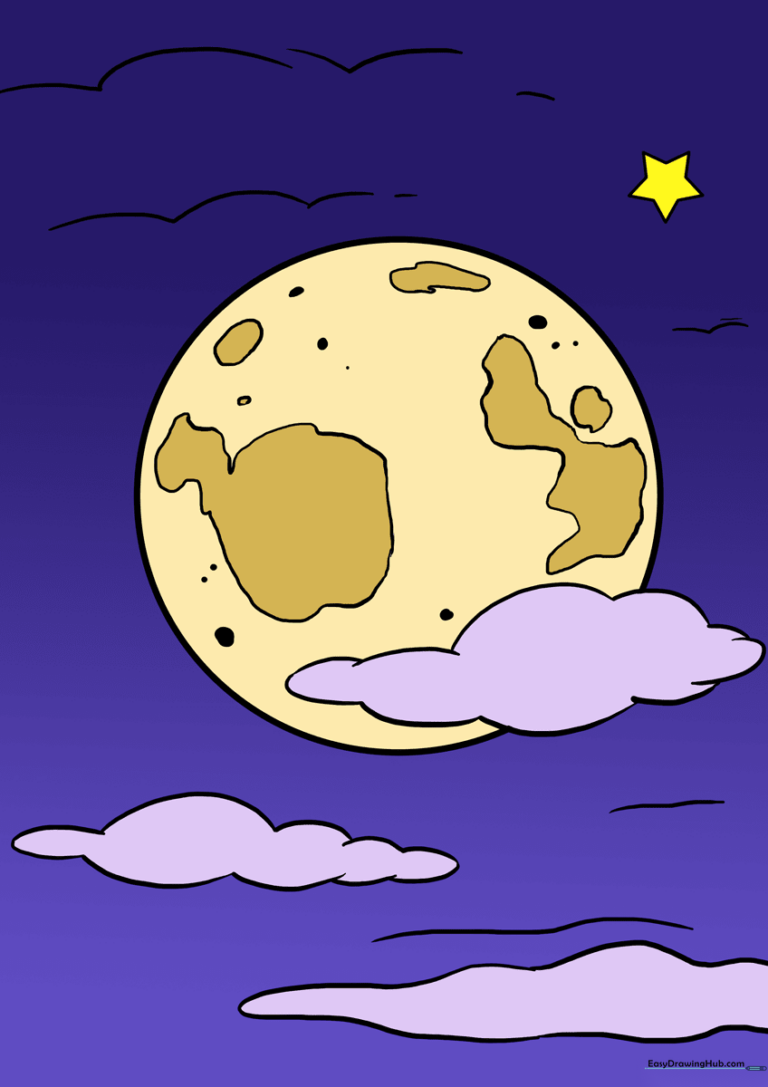
🎯 Final Result
Step-by-Step Instructions
Step 1: Sketching the Lunar Base
Draw a light, circular outline for the moon. Teacher's Tip: Use a circular object like a coin as a stencil if you're struggling to get a perfect round shape, but keep your pressure light!
Step 2: Starting the First Cloud
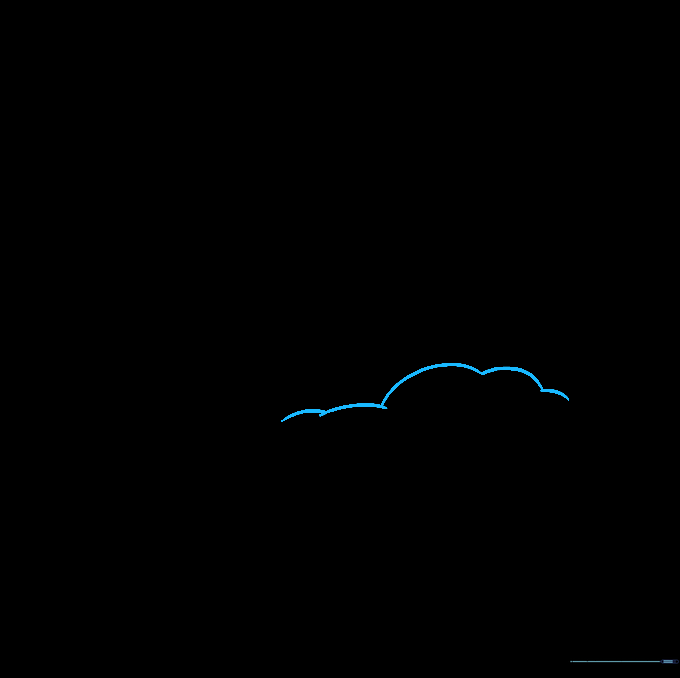
Draw a cloud passing in front of the moon using short, connected, bumpy curved lines. Teacher's Tip: Think of these as 'scalloped' edges to give the cloud a soft, fluffy appearance.
Step 3: Completing the Cloud Shape
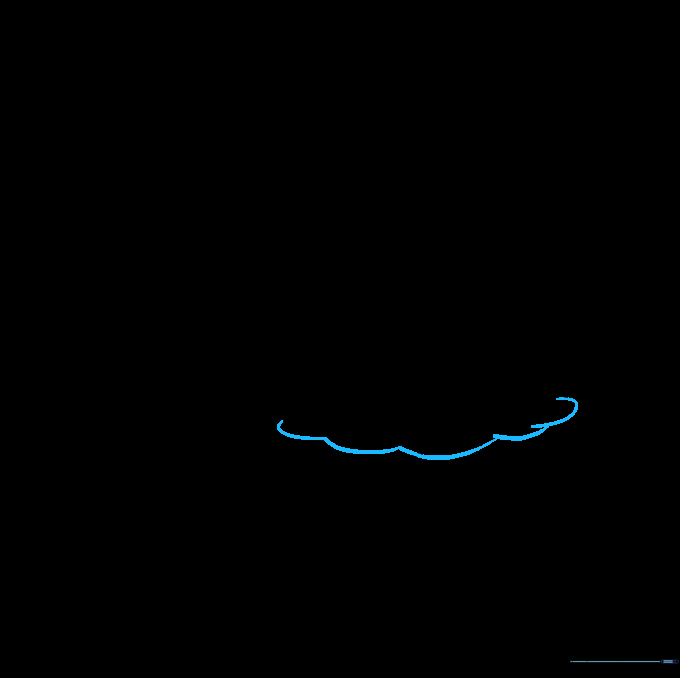
Close the cloud shape by drawing the bottom edge with similar curved lines. Teacher's Tip: Ensure the lines overlap the moon circle so it looks like the cloud is truly in front.
Step 4: Adding a Second Cloud

Draw another cloud beneath the moon using the same scalloped, curved line technique. Teacher's Tip: Vary the size of the bumps to make the cloud look more natural and less uniform.
Step 5: Finishing the Second Cloud
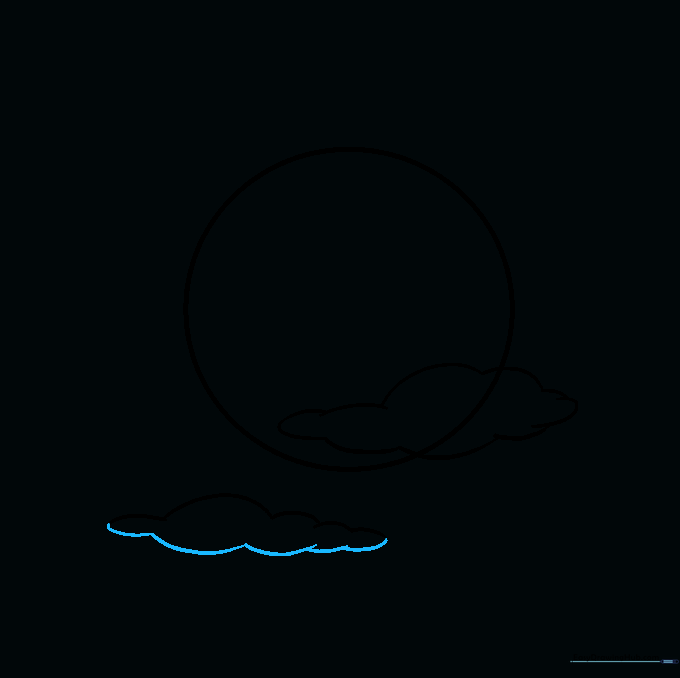
Close the bottom of the second cloud. Teacher's Tip: Keep your pencil movements rhythmic—curved line, pause, curved line—to maintain consistency.
Step 6: Cleaning the Lines
Carefully erase the moon's outline where it is covered by the clouds. Teacher's Tip: Use a clean eraser and gently brush away the debris so you don't smudge your work.
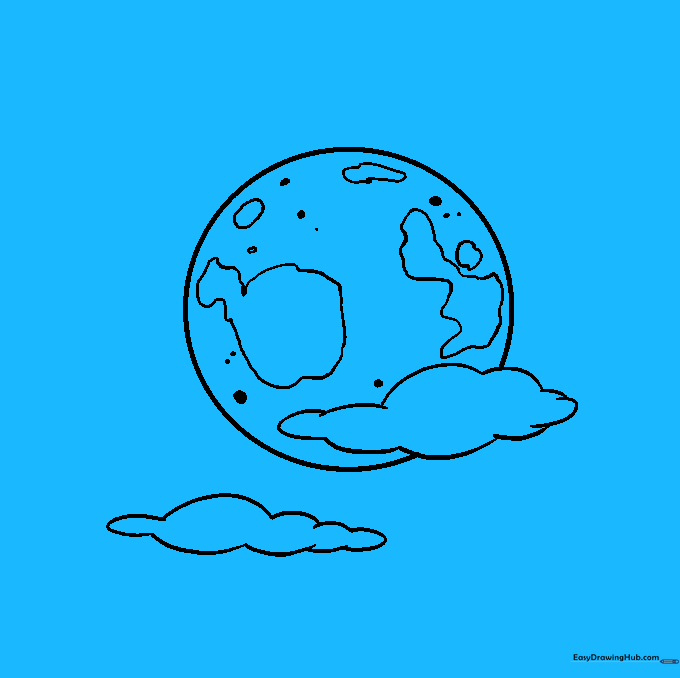
Step 7: Adding Lunar Craters
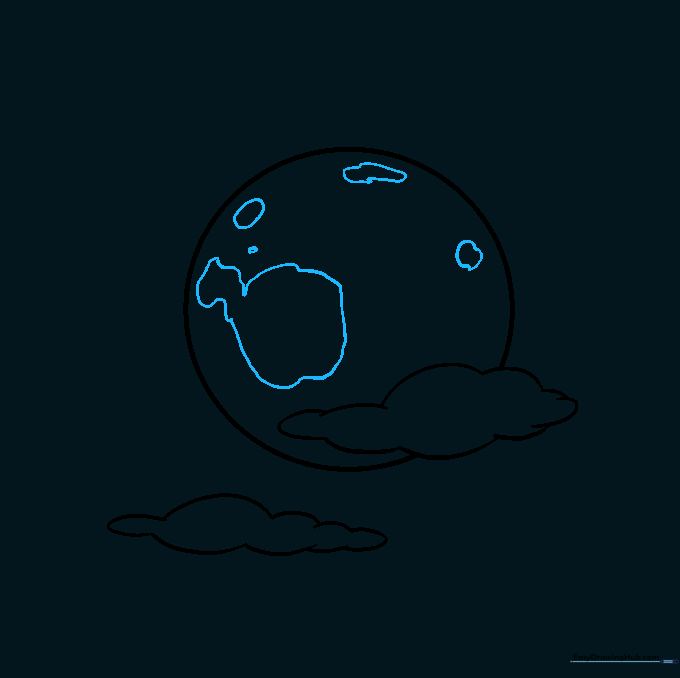
Draw irregular shapes inside the moon to represent craters. Teacher's Tip: Make them different sizes—some large, some tiny—to give the moon a realistic, textured look.
Step 8: Refining the Surface
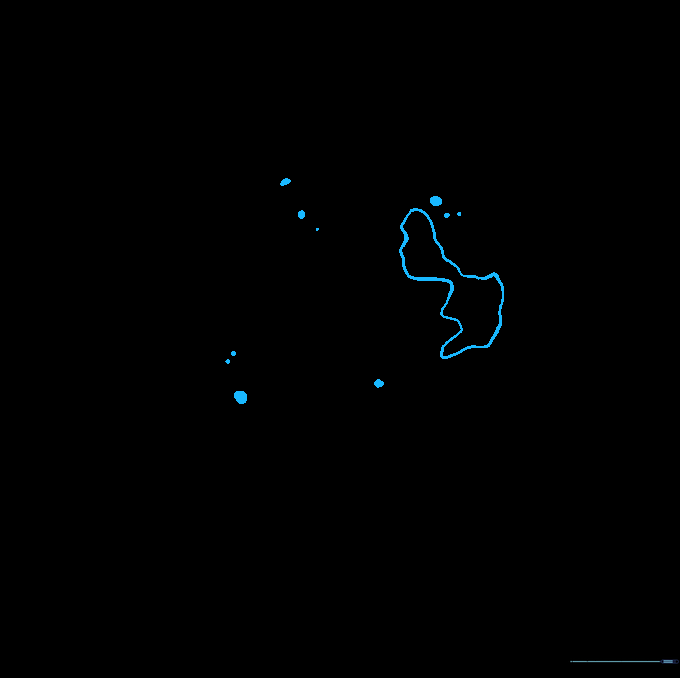
Add small dots and tiny circles around the larger craters. Teacher's Tip: Don't overdo it! A few scattered marks are enough to suggest a rocky surface.
Step 9: Adding Atmosphere
Draw more clouds around the moon and add a small star nearby. Teacher's Tip: To draw a star, make a small 'X' and then cross it with a plus sign (+).
Step 10: Bringing Your Moon to Life
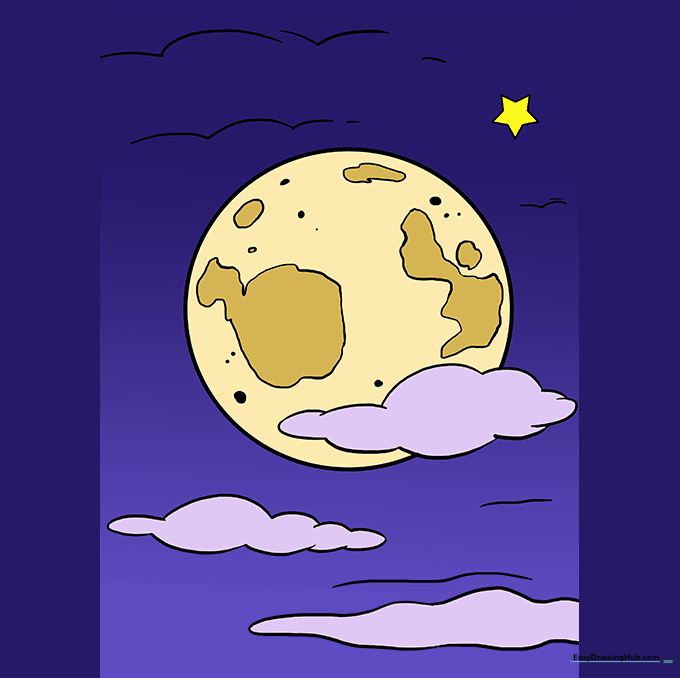
Color your moon with soft yellows or greys, and fill the sky with deep blues or purples. Teacher's Tip: Use a white crayon to color the moon first, then color over it with light yellow to create a glowing effect.
More Tutorials


