How to Draw the Mexican Flag: Easy Step-by-Step Guide
Bring the vibrant colors of Mexico to your sketchbook with this easy-to-follow guide. Designed for ages 7+, this tutorial helps you master the iconic eagle-and-cactus emblem using simple shapes. Grab your pencils and paper to create a beautiful, screen-free cultural art piece.
🎯 Final Result

Step-by-Step Instructions
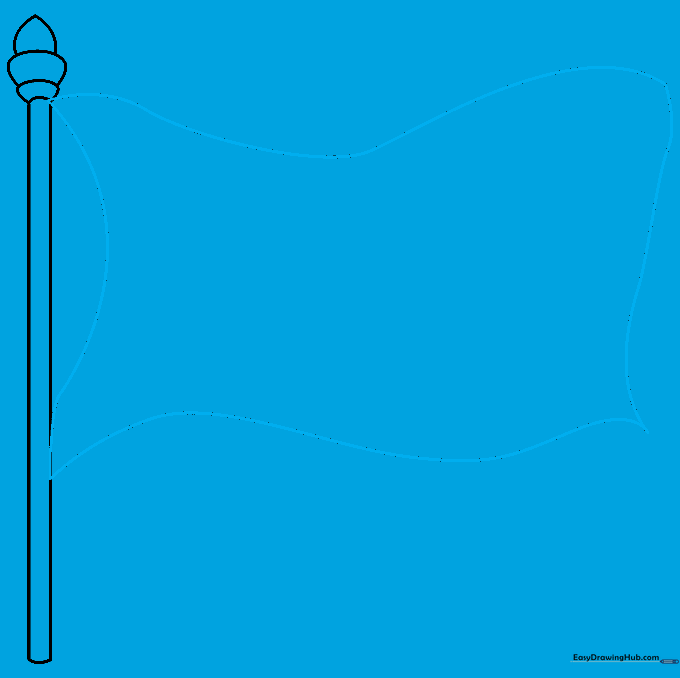
Step 1: Sketching the Flagpole

Draw two parallel vertical lines close together to form the pole. Connect them with a small curve at the top and bottom. Teacher's Tip: Use a ruler if you want a perfectly straight pole, or keep it freehand for a more organic, artistic look.
Step 2: Adding the Finial

Draw a rounded shape at the top of the pole, followed by a jagged point to represent the decorative finial. Teacher's Tip: Keep your pencil pressure light here so you can easily adjust the shape if it looks a bit lopsided.
Step 3: Creating the Billowing Flag
Extend two long, wavy lines from the pole to create the fabric. Connect them with curved ends to show the flag blowing in the wind. Teacher's Tip: Wavy lines make the flag look dynamic and alive rather than stiff.
Step 4: Dividing the Sections

Draw two vertical curved lines across the flag to create three equal sections. Teacher's Tip: Make sure these lines follow the curve of the flag so they look like they are part of the fabric's movement.
Step 5: Sketching the Eagle
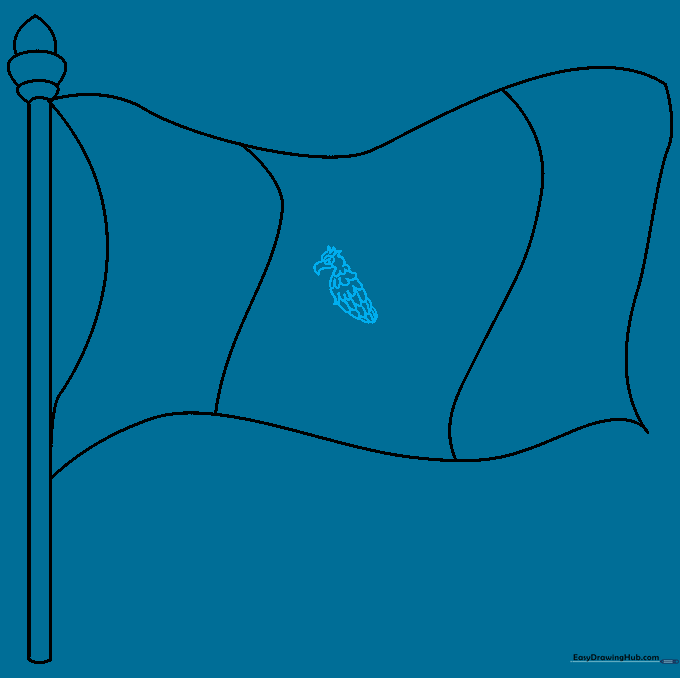
In the center panel, draw the eagle's head using a sharp beak and 'U' shaped lines for feathers. Teacher's Tip: Start with the eye to help you place the rest of the head proportions correctly.
Step 6: Adding the Snake and Talons
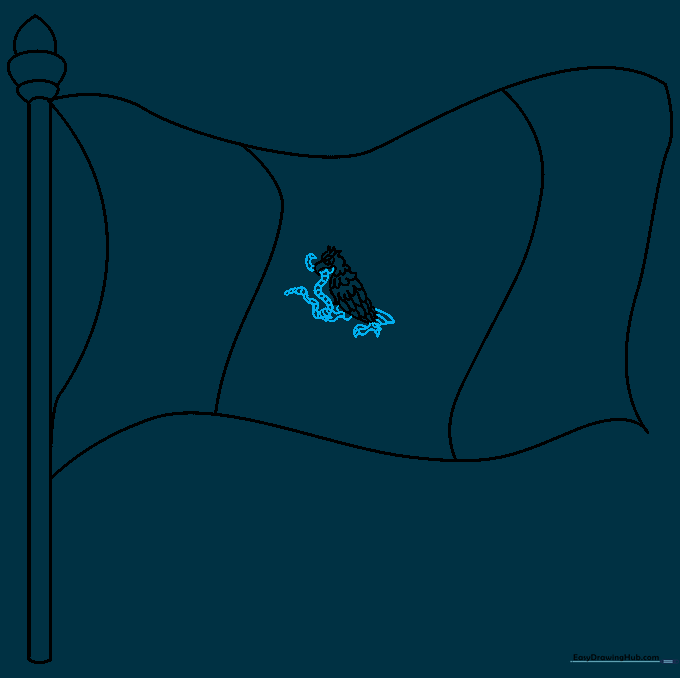
Draw the eagle's legs and a snake held in its talons. Use small triangles for the claws. Teacher's Tip: The snake should look like a wavy ribbon; keep the curves smooth to distinguish it from the feathers.
Step 7: Drawing the Wing
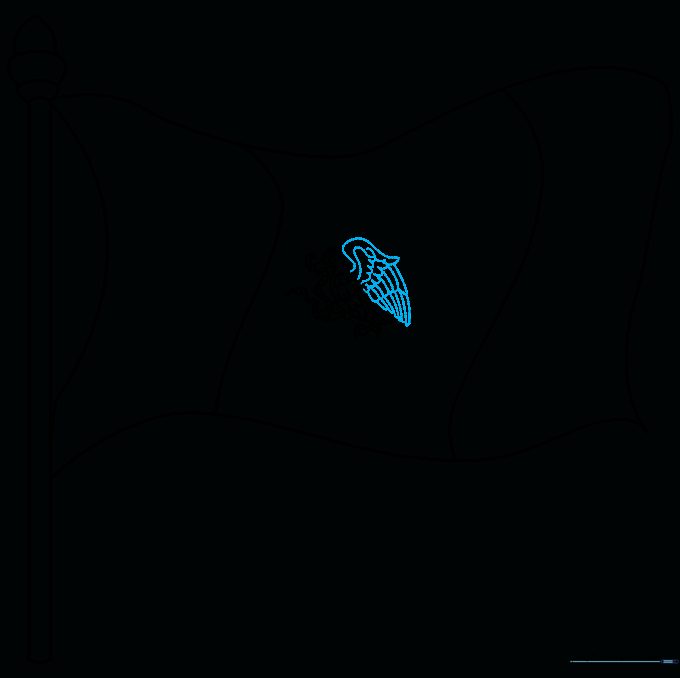
Outline the wing with long, curved lines and add rows of 'U' shapes for the feathers. Teacher's Tip: Layering your 'U' shapes like shingles on a roof creates a realistic feathered effect.
Step 8: Drawing the Cactus
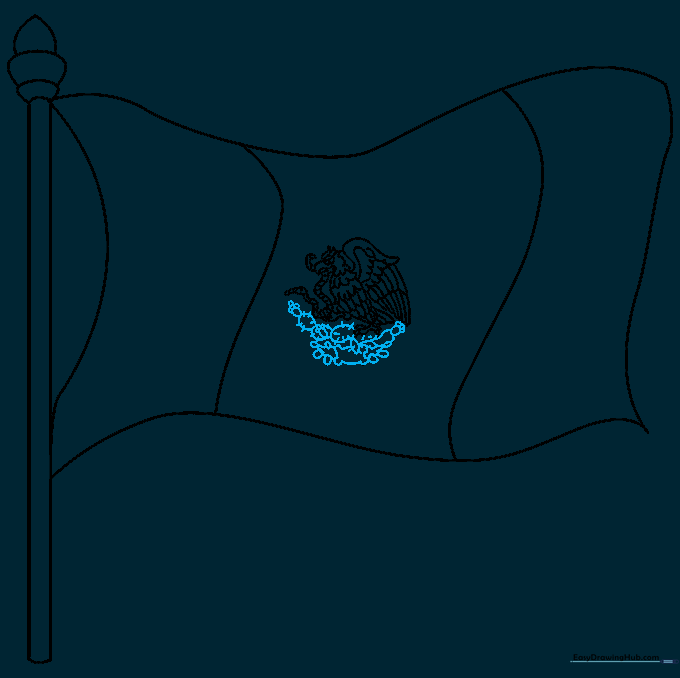
Draw the rounded pads of a cactus beneath the eagle's feet. Add tiny lines for the needles. Teacher's Tip: Keep the cactus shapes simple and oval-like to avoid cluttering the center of the flag.
Step 9: Adding the Wreath
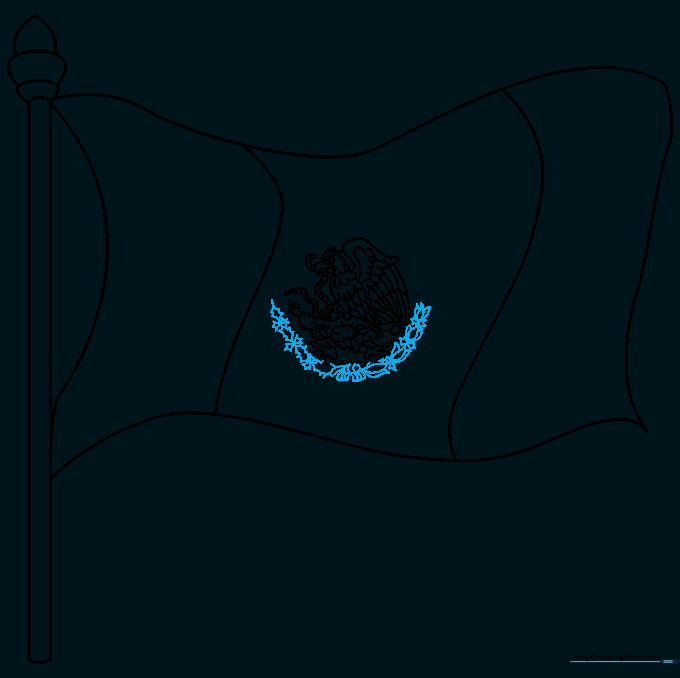
Complete the coat of arms by drawing a leafy wreath at the base of the cactus. Teacher's Tip: Use quick, light strokes to make the leaves look natural and delicate.
Step 10: Adding Color

Color the left bar green, the center white, and the right bar red. Teacher's Tip: Use colored pencils or markers to make the green and red vibrant, but leave the center white to make the eagle emblem pop!
More Tutorials


