How to Draw the Mad Hatter: Easy Step-by-Step Guide
Bring the whimsical world of Wonderland to your sketchbook! This tutorial is designed for young artists ages 7+ who want to practice character proportions and expressive line work. Grab your pencil, eraser, and paper, and let’s bring this iconic character to life.
🎯 Final Result

Step-by-Step Instructions
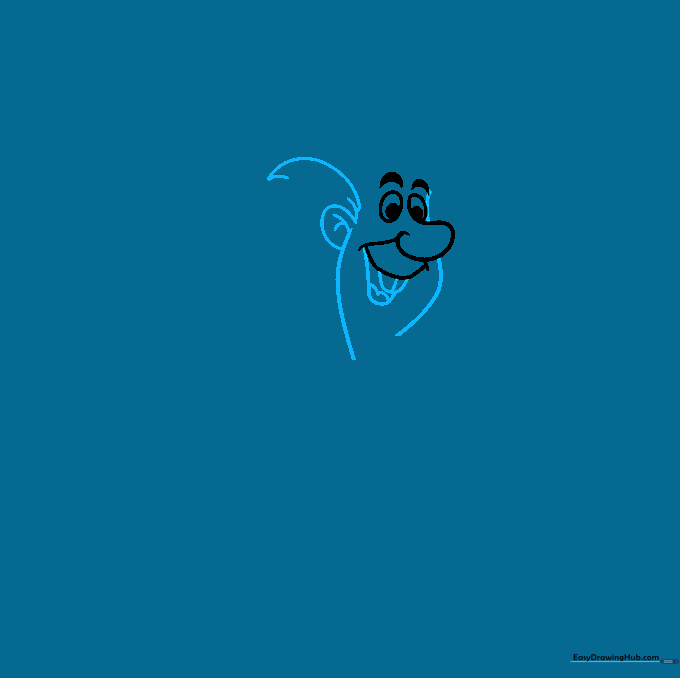
Step 1: Sketching the Facial Features

Start by sketching the Mad Hatter's nose and wide, joyful mouth. Add two ovals for the eyes and shade in small circles for pupils. Teacher's Tip: Keep your pencil lines very light here; you'll want to erase any overlapping guidelines once the face shape is finalized.
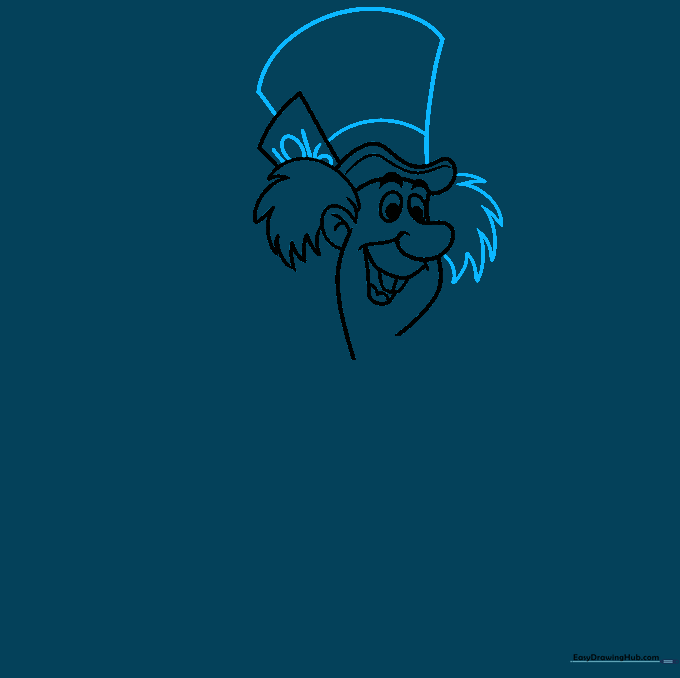
Step 2: Defining the Face and Ears
Use 'U' shaped lines to define the open mouth, teeth, and tongue. Then, draw the jawline, ears, and messy hair tufts. Teacher's Tip: The Mad Hatter is eccentric, so don't worry if your hair lines look a bit wild—the more jagged, the better!
Step 3: Drawing the Hat Brim

Add the iconic hat brim using curved lines that wrap around the top of the head. Include a small rectangle for the price tag. Teacher's Tip: Use a ruler if you struggle with the rectangle, but freehand is great for capturing the Hatter's quirky style.
Step 4: Completing the Top Hat
Draw the tall crown of the hat and the band. Write '10/6' on the tag. Fun Fact: This represents 10 shillings and 6 pence, the original price of the hat, and is why we celebrate Mad Hatter Day on October 6th!
Step 5: Adding the Collar and Bowtie
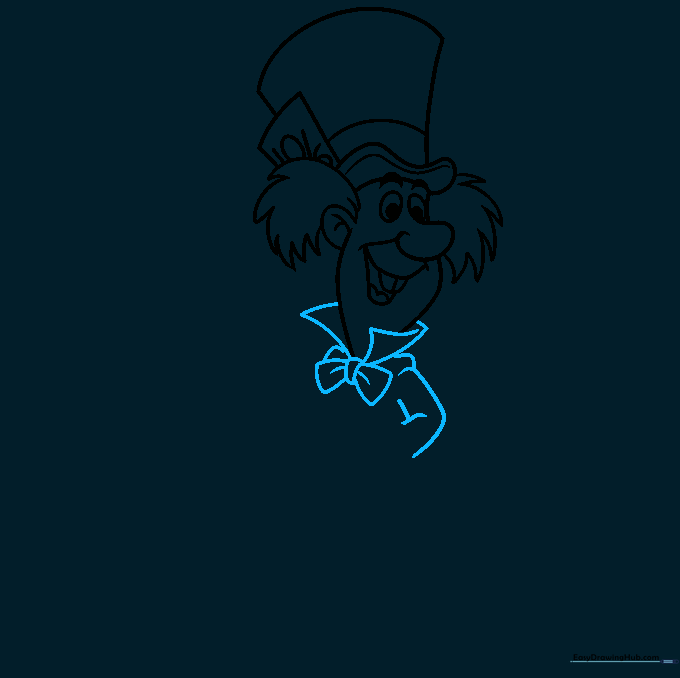
Outline the large, upturned collar and the bowtie. Add the shoulders and the start of the jacket sleeves. Teacher's Tip: Ensure the collar looks slightly oversized to match the character's exaggerated cartoon appearance.
Step 6: Drawing the Sleeves and Hands
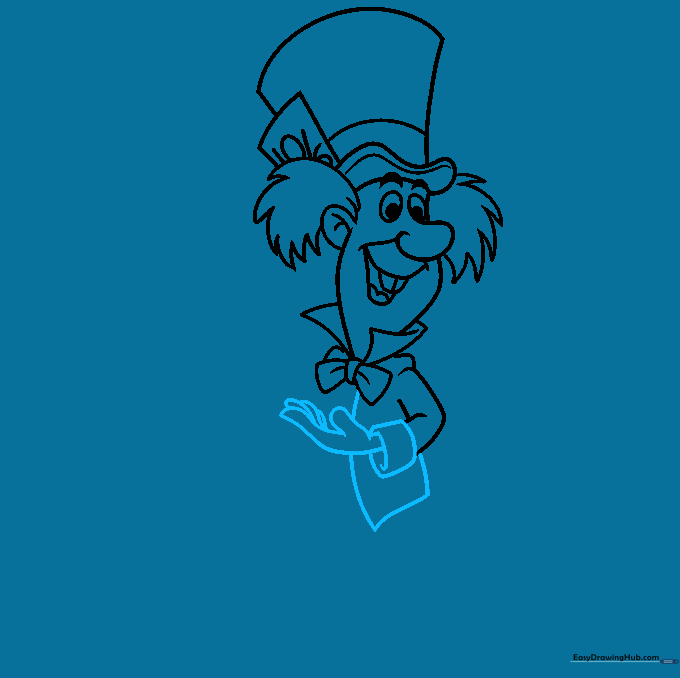
Draw the rectangular sleeve cuffs and the hands. Use overlapping lines to show the fingers. Teacher's Tip: Hands can be tricky! Try drawing a mitten shape first, then add the finger lines afterward to get the proportions right.
Step 7: Detailing the Jacket
Continue the jacket lines and add the shirt underneath. Include the 'V' shaped notches in the lapels. Teacher's Tip: Use smooth, long strokes for the jacket edges to give it a clean, finished look.
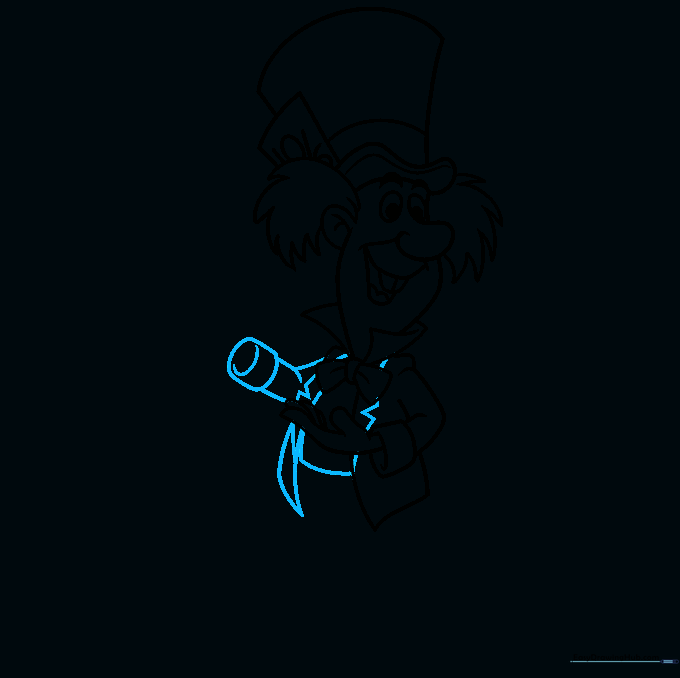
Step 8: Adding the Teacup

Draw the second hand holding a teacup with tea spilling out. Teacher's Tip: To make the tea look like it's spilling, draw a few curved 'splash' lines coming out of the cup.
Step 9: Completing the Legs and Shoes
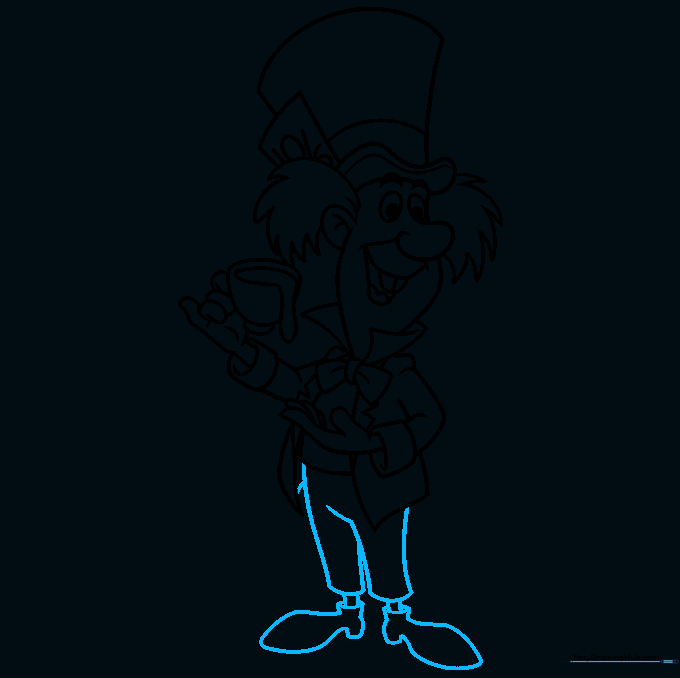
Draw the pants and the shoes. Keep the lines for the ankles thin to contrast with the wider shoes. Teacher's Tip: The shoes should have an irregular, slightly rounded shape to match the Hatter's silly personality.
Step 10: Adding Color
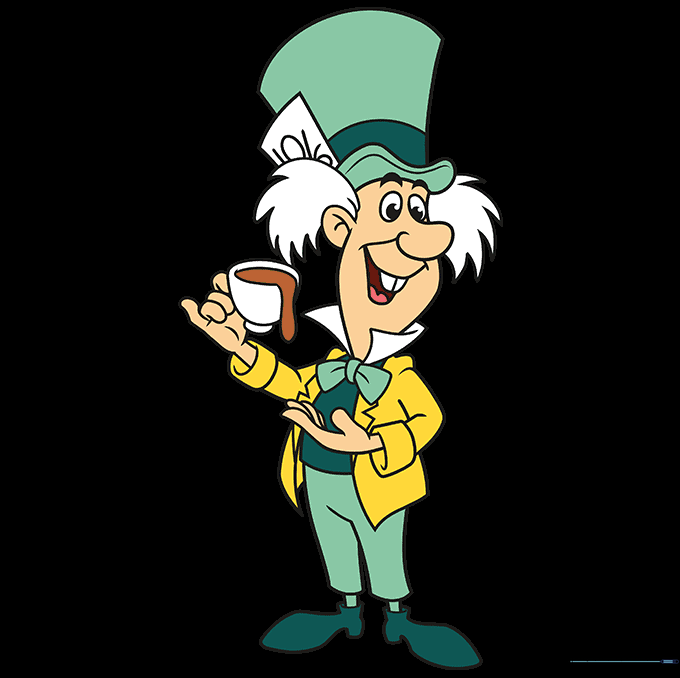
Bring your drawing to life with color! The Mad Hatter is famous for his vibrant green top hat. Use bright, bold colors for his jacket and bowtie to capture his chaotic, fun energy.
More Tutorials


