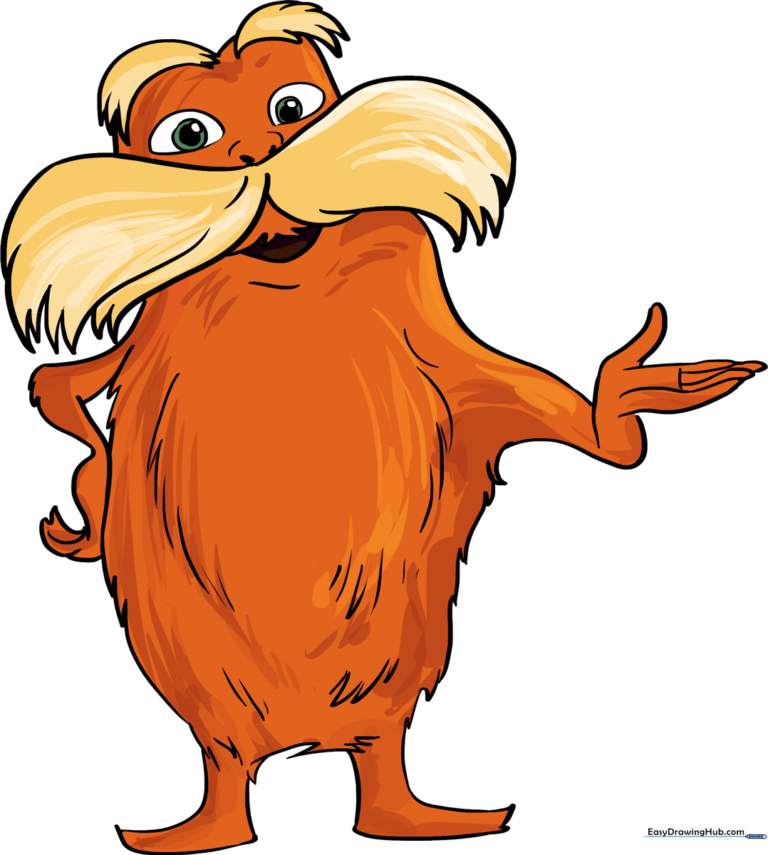
How to Draw The Lorax: Easy 10-Step Guide for Kids
Bring Dr. Seuss's iconic forest guardian to life with this simple, guided drawing lesson. Designed for young artists ages 5 and up, this activity requires only a pencil, paper, and an eraser. Follow along to master the Lorax's signature mustache and fuzzy silhouette while building your confidence in character design.
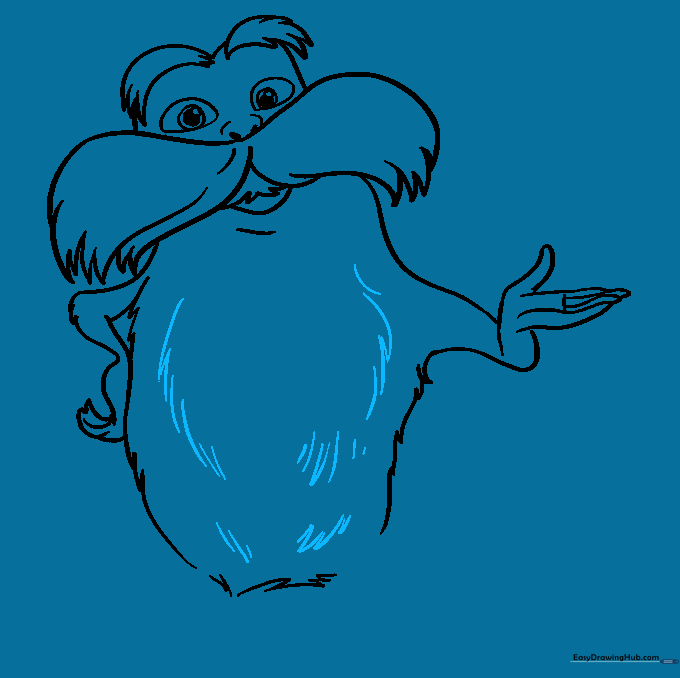
🎯 Final Result
Step-by-Step Instructions
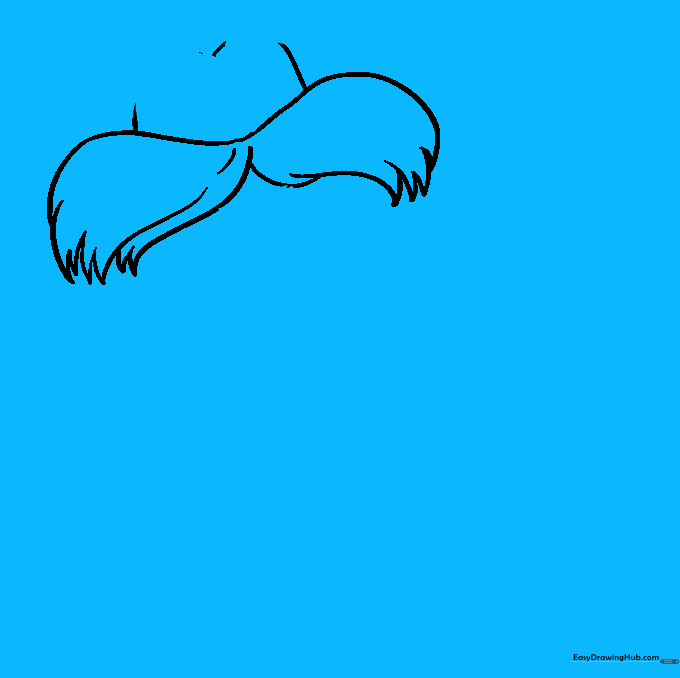
Sketching the Head Shape

Draw a rounded 'M' shaped line to form the top of the Lorax's head. Teacher's Tip: Keep your pencil pressure light so you can easily adjust the shape if it looks a bit lopsided.
Defining the Iconic Mustache

Connect the sides of the head with a wide, rounded 'M' line, then add jagged points underneath to create the mustache. Tip: Use quick, flicking motions with your pencil to make the mustache look soft and bushy.
Adding Facial Features
Draw the bushy eyebrows, round eyes, and the nose. Tip: When drawing the pupils, leave a tiny white dot uncolored to create a 'sparkle' effect, making the character look more alive.
Sketching the First Arm
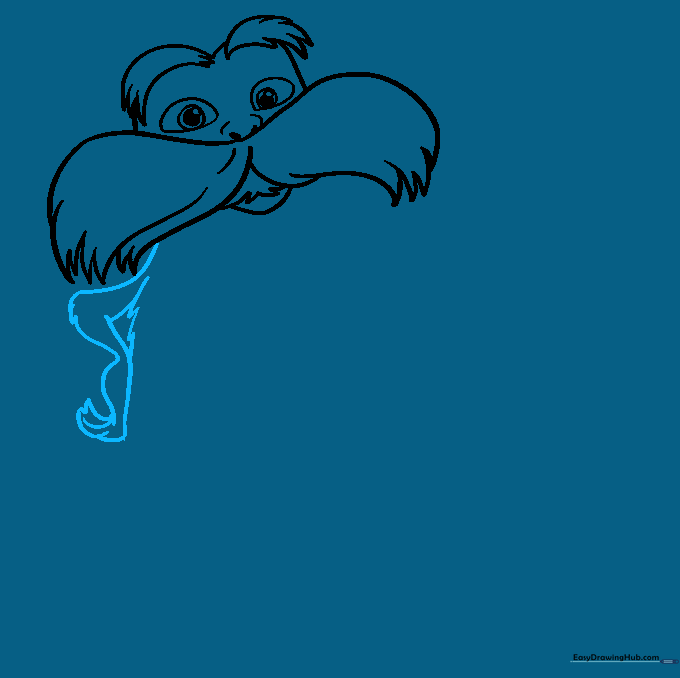
Use jagged lines to draw the side of the torso and the arm. Tip: Don't worry about making the jagged lines perfect; the Lorax is meant to look fuzzy and organic!
Continuing the Torso

Extend the torso downward using more jagged, curved lines. Tip: Vary the length of your 'fur' lines to give the body a more natural, textured appearance.
Adding the Second Arm
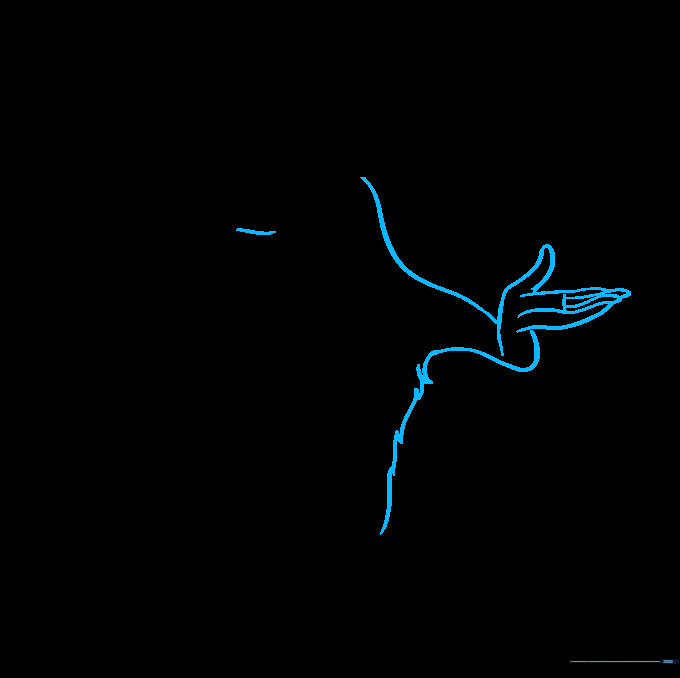
Draw the second arm, ensuring the elbow overlaps slightly to show depth. Tip: Keep the fingers rounded and soft to match the Lorax's friendly character design.
Adding Fur Texture
Add extra curved lines throughout the torso to enhance the furry look. Tip: Think of this as adding 'fluff' to your character—the more lines, the furrier he looks!
Drawing the First Leg
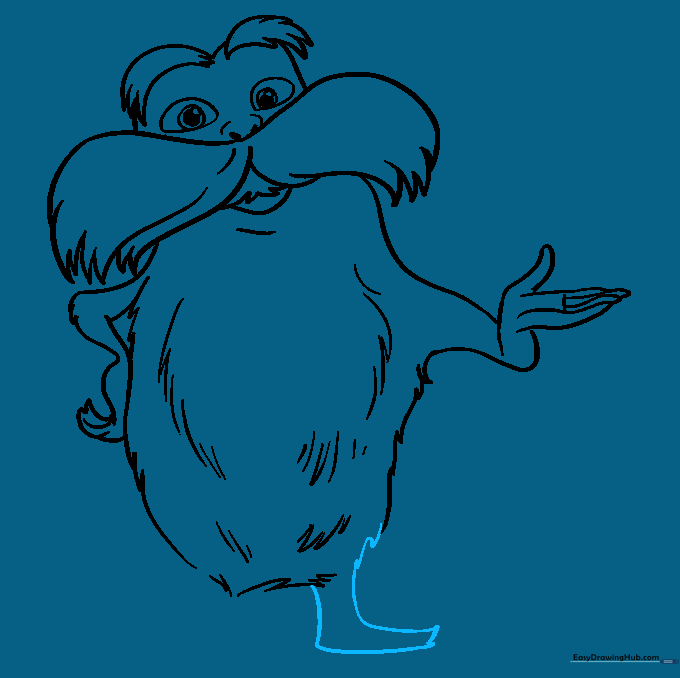
Extend two curved lines from the bottom of the torso to form the leg, ending in a rectangular foot shape. Tip: Keep the leg slightly thick to support his round body.
Completing the Legs
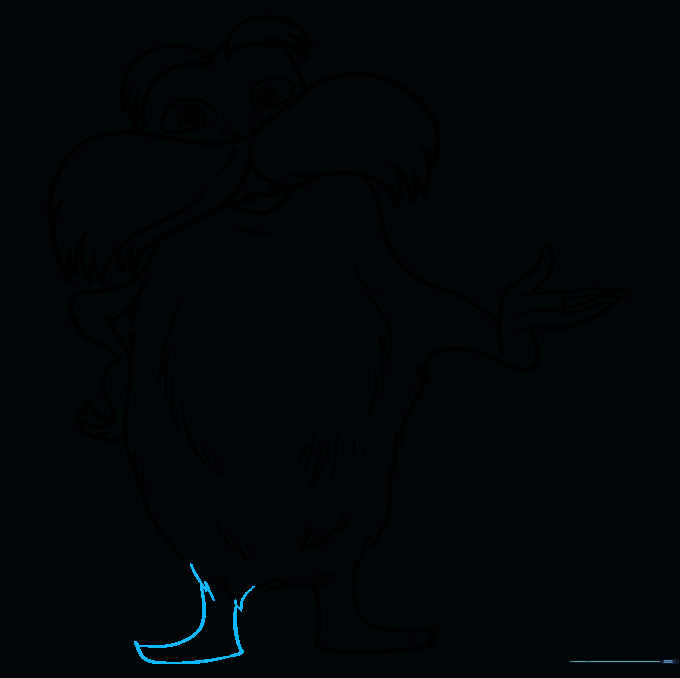
Draw the second leg and foot to match the first. Tip: Check that both feet are at the same level so your Lorax looks like he is standing firmly on the ground.
Adding Color
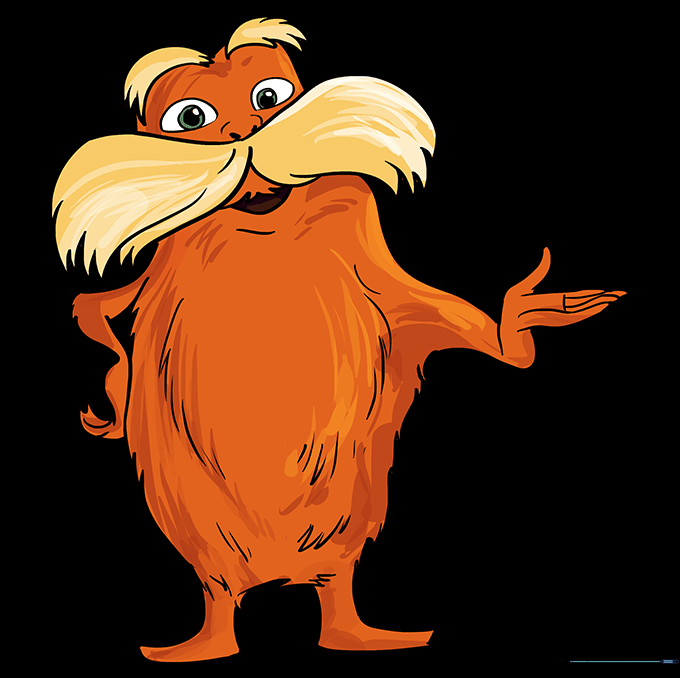
Bring your drawing to life with color! Use bright orange for his body and a sunny yellow for his iconic mustache and brows. Tip: Use light, circular strokes when coloring to keep the texture smooth.
More Tutorials


