How to Draw London Tower Bridge: Easy 10-Step Guide
Bring a piece of London to your sketchbook with this step-by-step guide to drawing the Tower Bridge. Designed for young artists and beginners, this activity helps practice geometric shapes and perspective. Grab your pencil, eraser, and paper, and let's build this architectural masterpiece together.
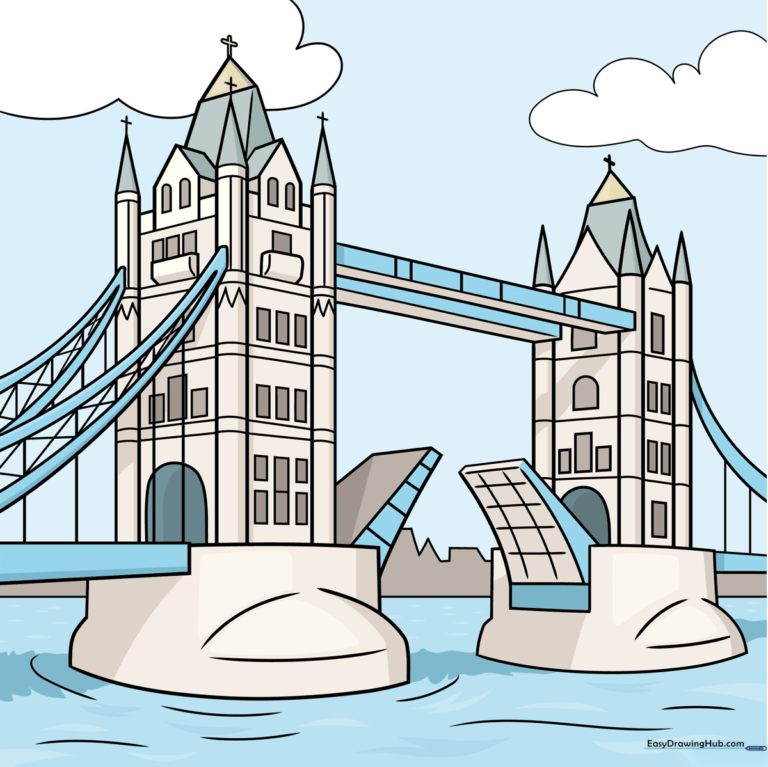
🎯 Final Result
Step-by-Step Instructions
Step 1: Establishing the Tower Base
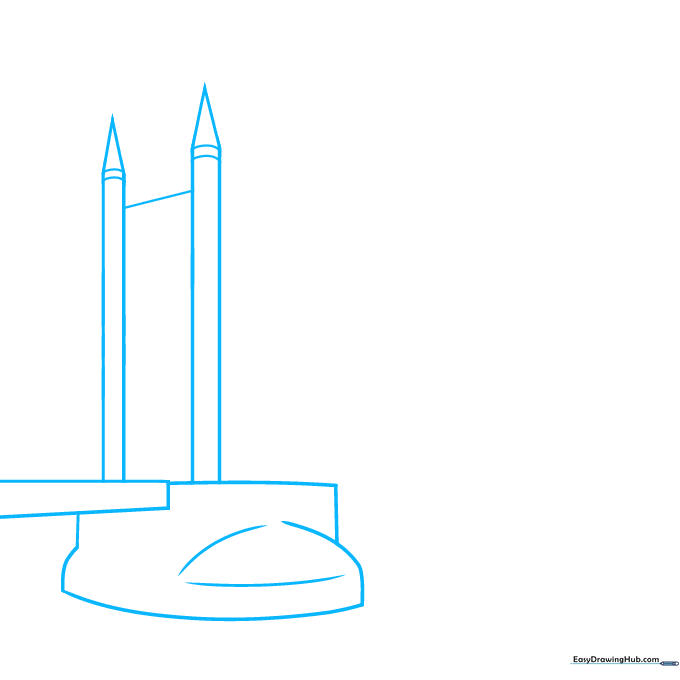
Start by drawing a central rectangle for the tower base. Add two vertical lines on either side, connecting them at the top with gentle curves. Cap them with triangles to form the roof. Tip: Keep your lines light so you can easily adjust the proportions if the towers look too wide.
Step 2: Constructing the Second Tower
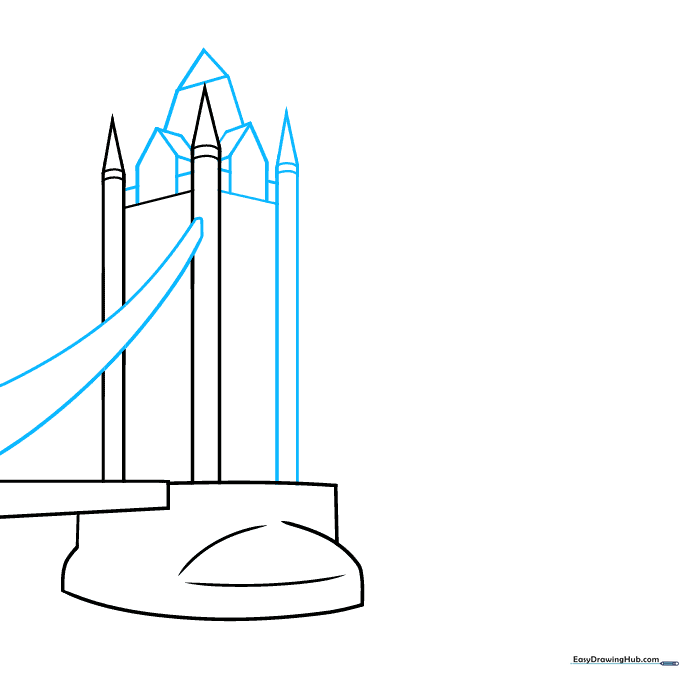
Draw a second tower mirroring the first, connecting them with a diagonal line to establish depth. Add small squares and pentagons on the sides to represent the architectural details. Tip: Think of the pentagons as tiny houses attached to the main structure.
Step 3: Adding Structural Cables
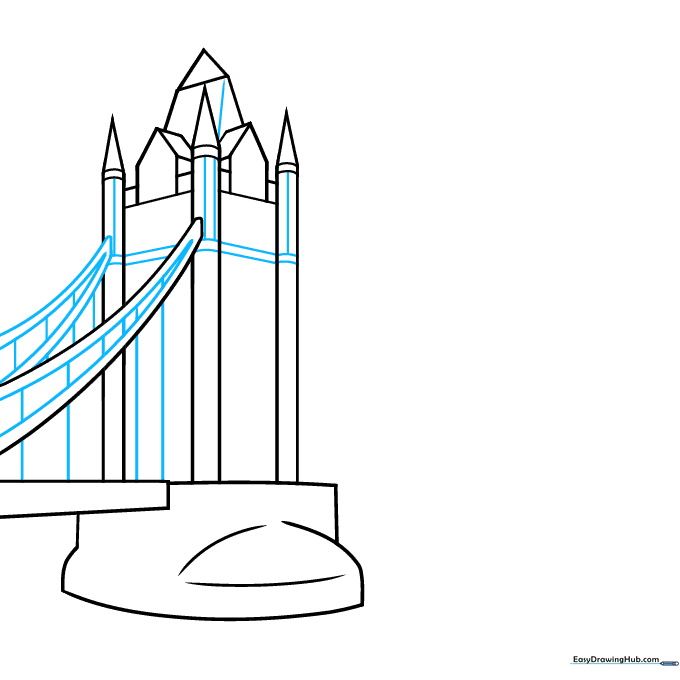
Detail the towers with horizontal and vertical bands. Add parallel curved lines between the towers to represent the suspension cables. Tip: Use short, quick strokes for the cables to keep them looking thin and wire-like.
Step 4: Incorporating Windows and Texture
Bring the towers to life by adding rectangular and arched windows. Use zigzag lines to create texture on the stone walls. Tip: Vary the size of the windows slightly to make the drawing feel more realistic.
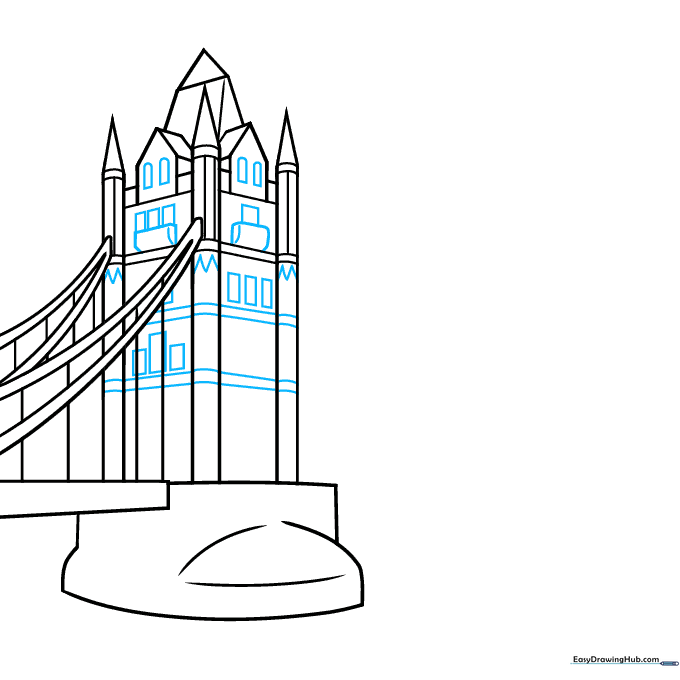
Step 5: Refining the Bridge Structure
Draw a large arched doorway at the base and add 'X' patterns for the suspension cables. Place a small cross on top of each tower. Tip: The 'X' patterns represent the steel trusses—keep them evenly spaced for a professional look.
Step 6: Adding the River Footing
Sketch the irregular shape of the bridge footing where it meets the water. Add a checkerboard pattern underneath to suggest the bridge's underside structure. Tip: Use horizontal lines for the water to create a sense of calm.
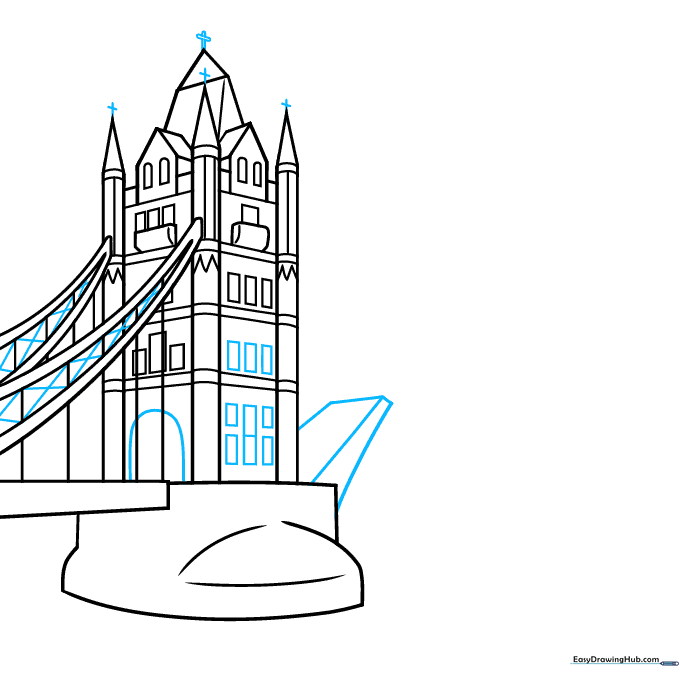
Step 7: Sketching the Background
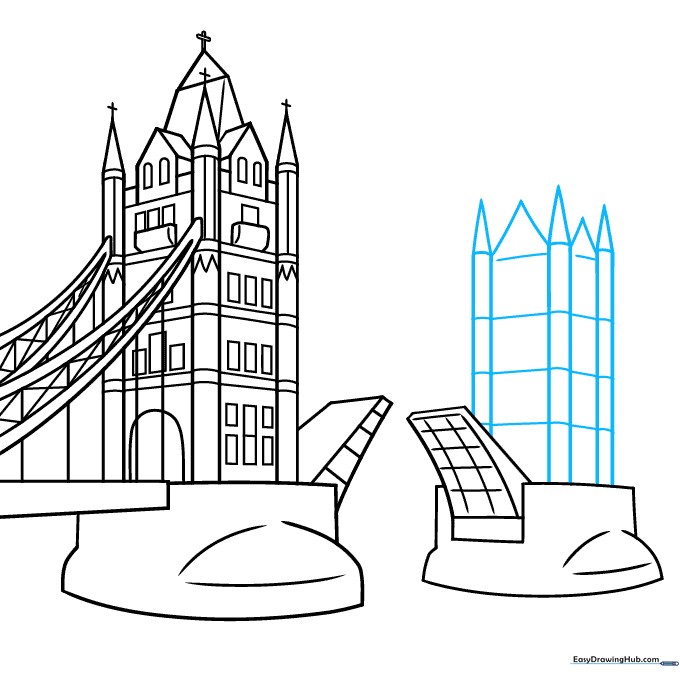
Draw the silhouette of the Tower of London in the background using simple rectangles and triangles. Keep these smaller than the bridge to show distance. Tip: Use a lighter pencil pressure for background elements to create atmospheric perspective.
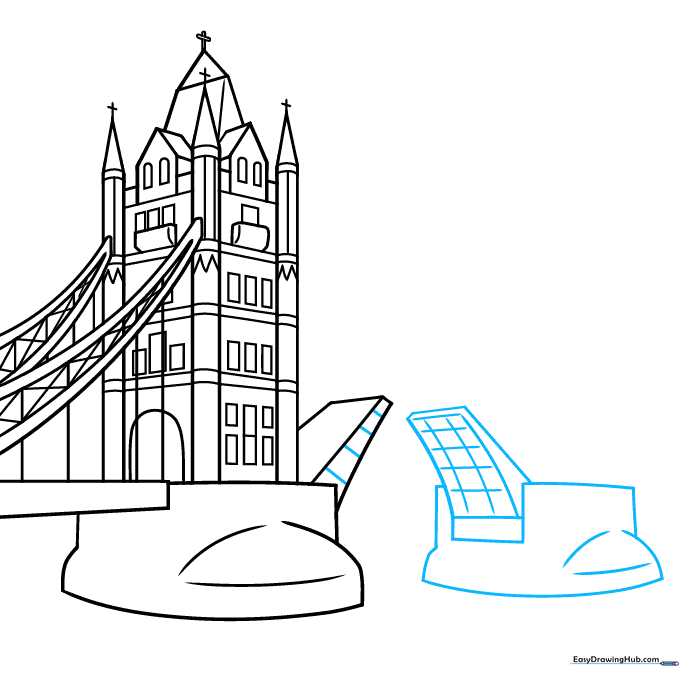
Step 8: Connecting the Bridge Deck
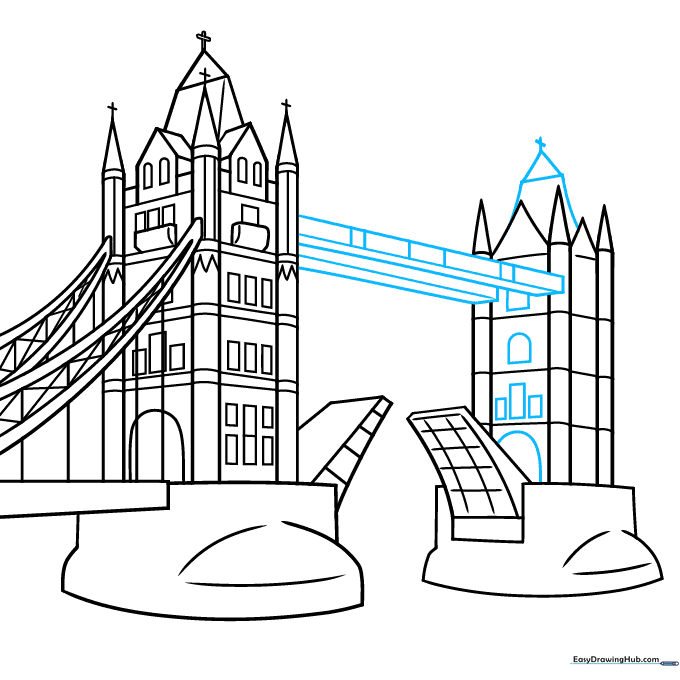
Draw a straight line connecting the two main towers to form the bridge deck. Add vertical bands to the side of the structure. Tip: Ensure your horizon line is perfectly straight to keep the bridge looking stable.
Step 9: Finalizing the Landscape
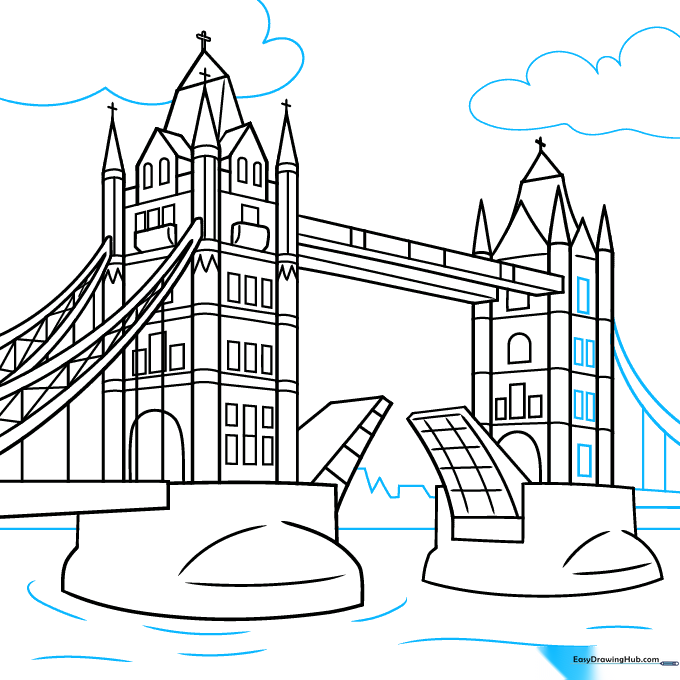
Add a city skyline with jagged lines, draw some fluffy clouds, and use curved lines to texture the river water. Tip: Vary the size of your clouds to make the sky look natural.
Step 10: Adding Color
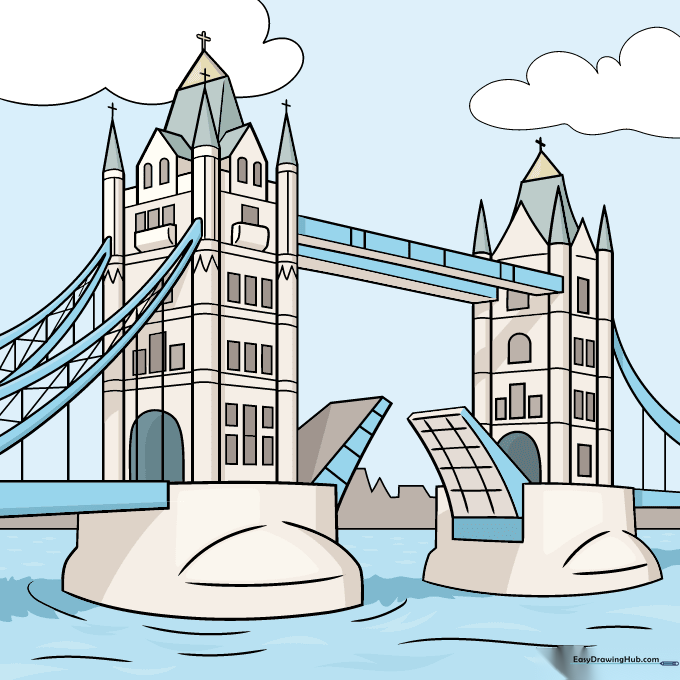
Bring your drawing to life with color! Use beige or light grey for the stone towers and deep blues for the river. Tip: Use a darker shade of grey to add shadows under the bridge deck to create a 3D effect.
More Tutorials


