How to Draw the Loch Ness Monster: Easy 10-Step Guide
Bring the legend of Nessie to life with this fun, beginner-friendly drawing tutorial. Designed for ages 5 and up, this project requires only a pencil, paper, and an eraser to build confidence in basic shape construction. Follow along to create your own mythical creature in the Scottish Highlands.
🎯 Final Result

Step-by-Step Instructions
Step 1: Sketching the Head

Draw a long, curved shape resembling a banana for the neck, then sketch an oval for the head. Tip: Keep your pencil strokes light—you'll want to erase the overlapping lines later for a clean finish.
Step 2: Defining Facial Features

Add a gentle wavy line for the mouth and small teardrop shapes for the nostrils. Tip: Focus on the placement of the eye—drawing a curve above it gives Nessie a friendly, curious expression.
Step 3: Shaping the Body
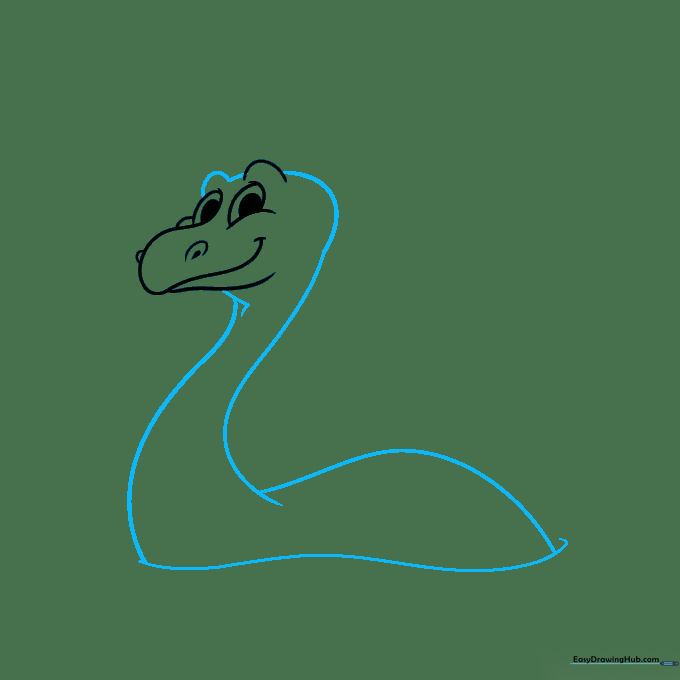
Outline the long, graceful neck using an S-shape and draw a soft hill for the back. Tip: Use a wavy line at the bottom to represent the surface of the Loch.
Step 4: Adding Detail and Fins
Add curves to the neck for texture and draw a rounded triangle for the flipper. Tip: Make the flipper slightly pointed at the end to give it a natural, aquatic look.
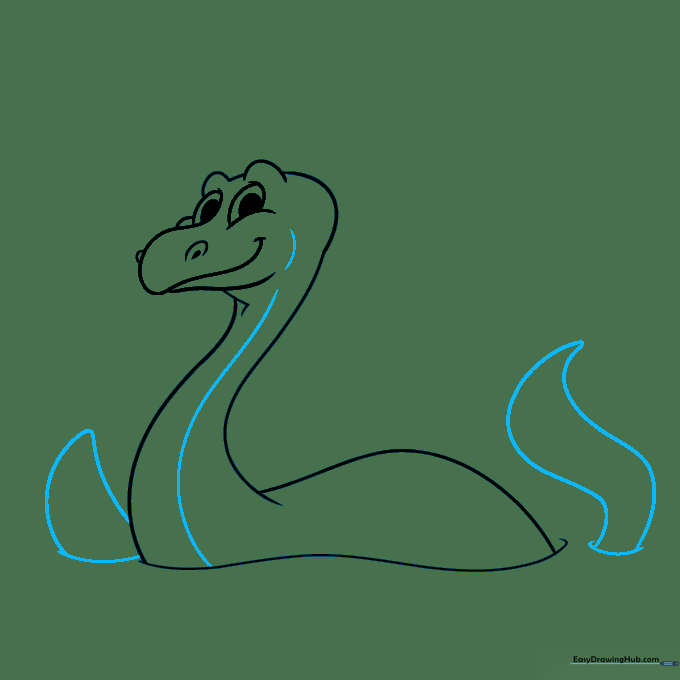
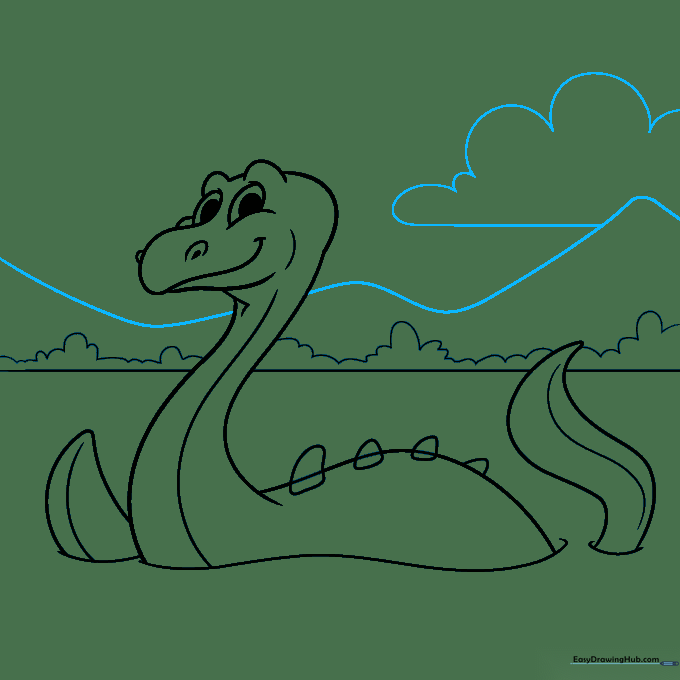
Step 5: Spikes and Tail
Draw four oblong triangles along the back for spikes. Tip: Vary the size of the spikes slightly to make them look more organic and less uniform.
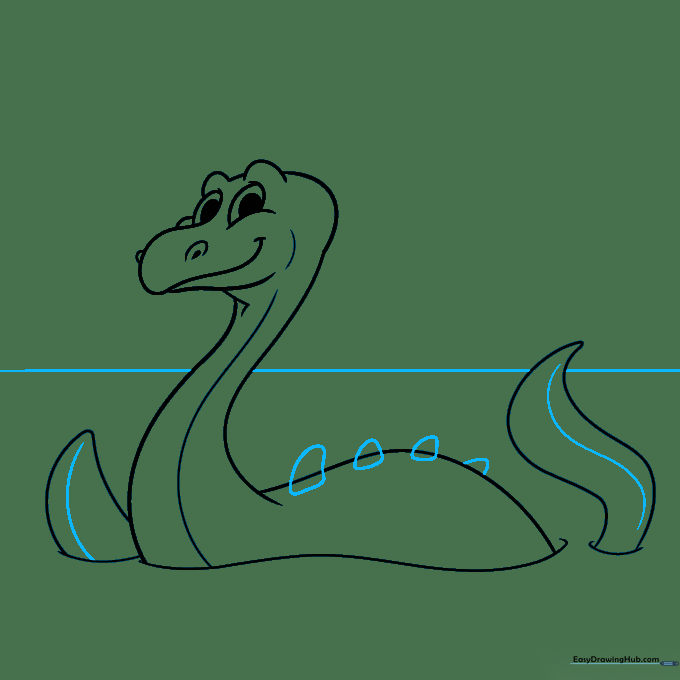
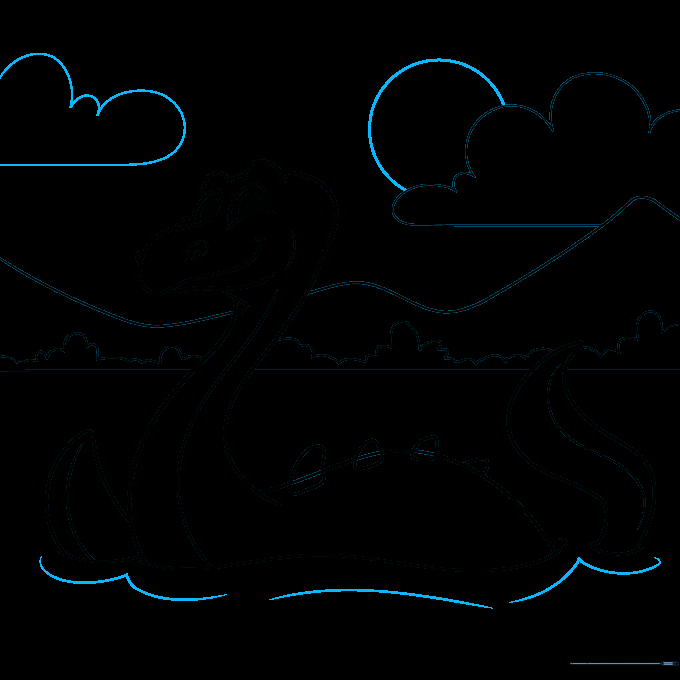
Step 6: Creating the Background
Sketch small, fluffy hills in the distance to represent clouds. Tip: Use light, circular motions with your pencil to create a soft, puffy texture.
Step 7: Adding Landscape Elements
Draw a wavy line to suggest distant mountains. Tip: Keep the lines for the mountains flatter than the water lines to show they are further away.
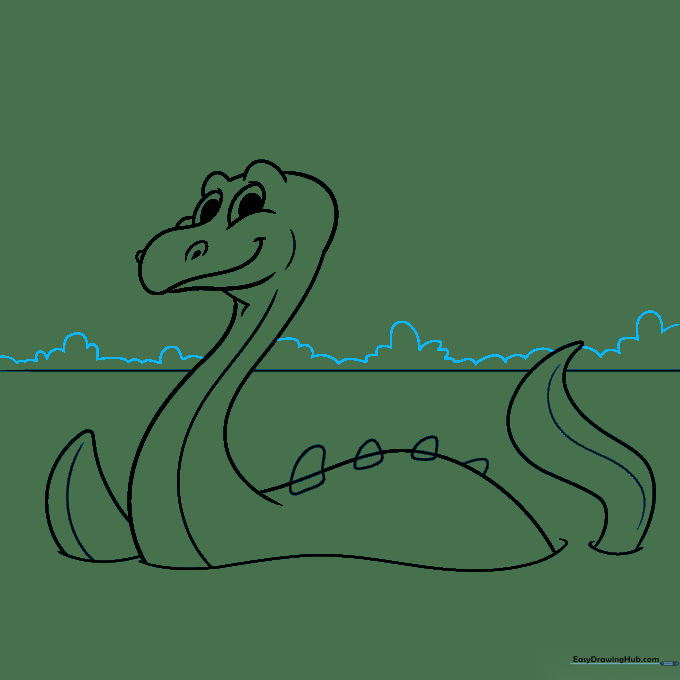
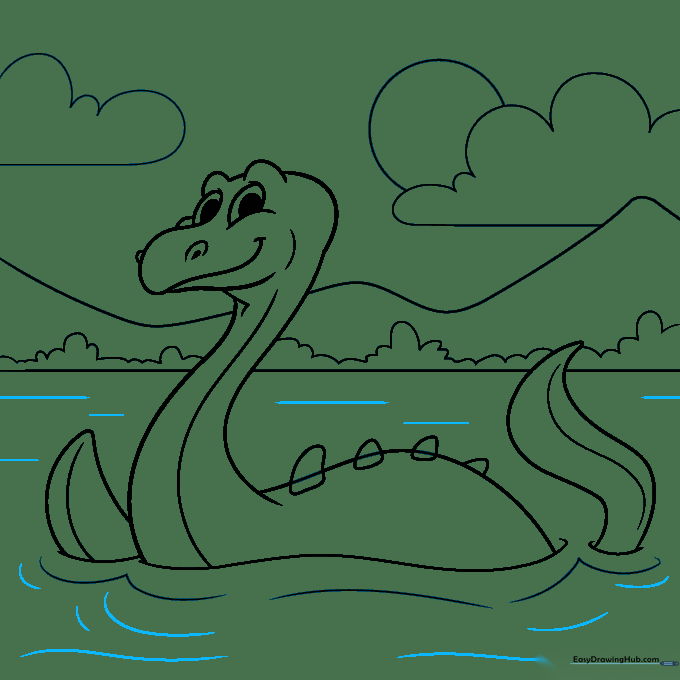
Step 8: Refining the Scene
Add more clouds and wavy lines around the monster's body to show movement in the water. Tip: Vary the length of your water lines to create a sense of ripples.
Step 9: Finalizing the Outline
Go over your drawing with a black pen or marker. Fill in the pupils and nostrils for a bold look. Tip: Use a steady hand and don't worry if the line isn't perfectly straight—it adds character!
Step 10: Adding Color
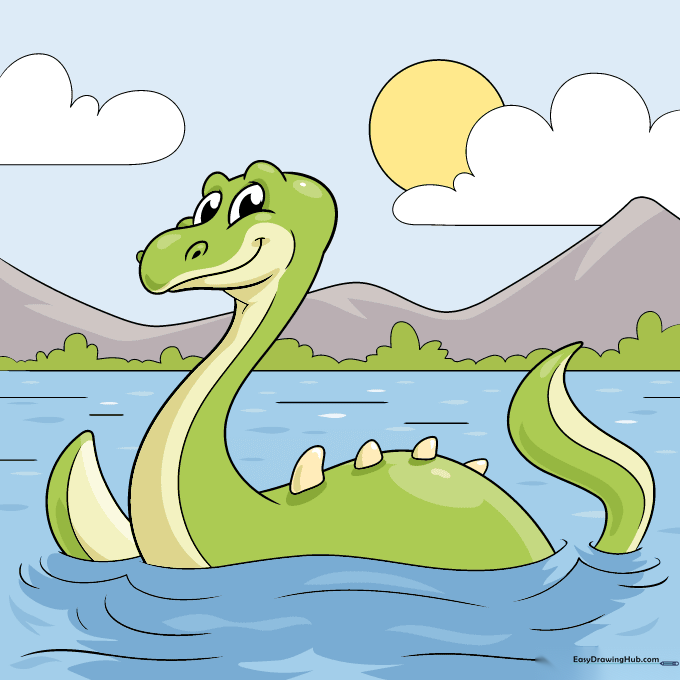
Bring your monster to life with color! Use green for Nessie, pale yellow for the spikes, and blues for the water and sky. Tip: Use light pressure with your colored pencils to create smooth, even shading.
More Tutorials


