How to Draw the Liberty Bell: Easy 10-Step Guide
Bring a piece of American history to life with this simple Liberty Bell drawing guide. Designed for ages 6 and up, this project requires only a pencil, paper, and an eraser. Follow these steps to master the iconic shape and wooden frame, building both artistic confidence and historical appreciation.
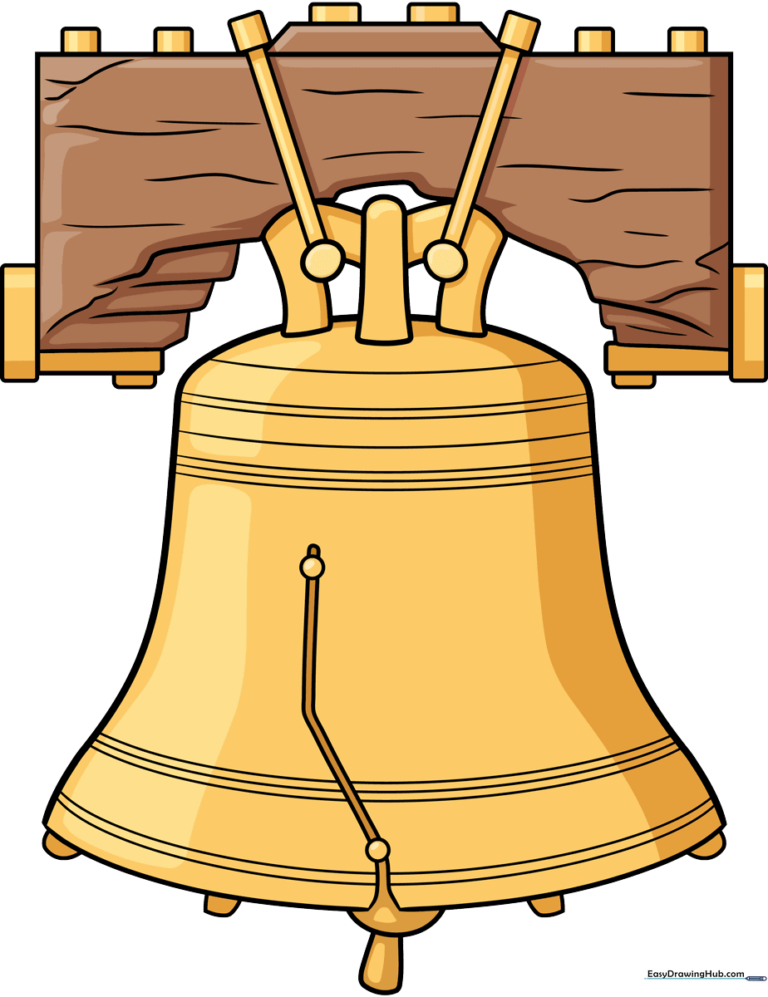
🎯 Final Result
Step-by-Step Instructions
Step 1: Sketching the Bell's Body
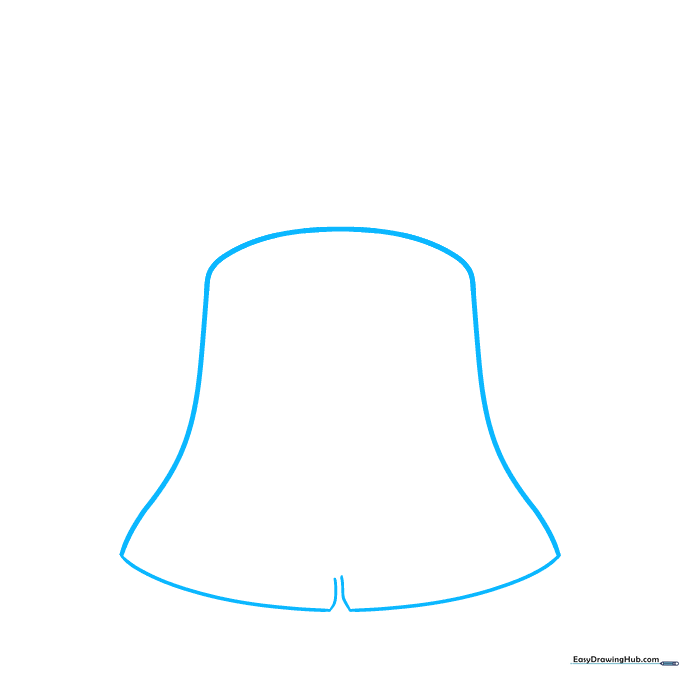
Start by drawing a wide, curved horizontal line for the base of the bell, then connect it with two vertical curves on the sides. Tip: Keep your strokes light so you can easily adjust the symmetry of the bell's flare.
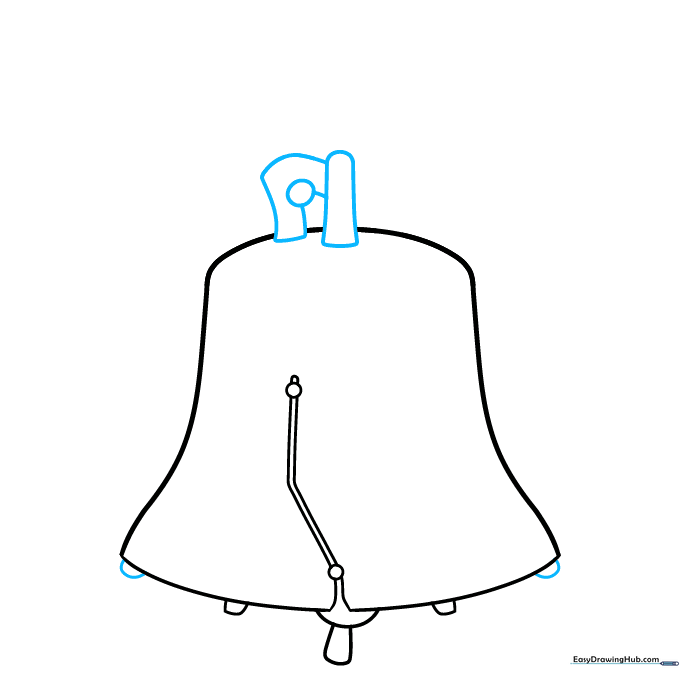
Step 2: Adding the Headstock Details
Draw two small circles near the top of the bell, connected by parallel lines. This forms the attachment point for the yoke. Tip: Use a ruler if you struggle to keep the parallel lines straight.
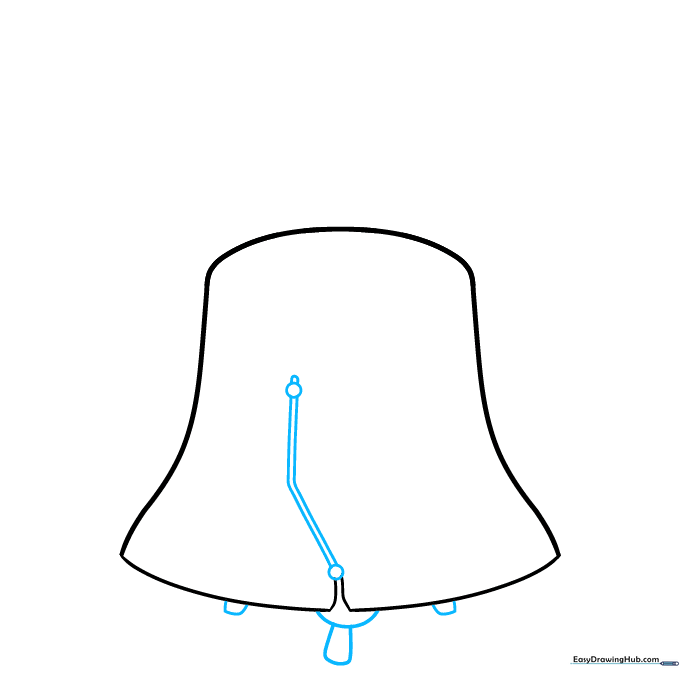
Step 3: Defining the Yoke Base
Sketch two ovals at the bottom of the bell and a flattened oval on top. These shapes act as the foundation for the wooden frame. Tip: Don't worry about perfect circles; focus on getting the placement centered.
Step 4: Constructing the Frame
Mirror the shapes from the previous step to create the other side of the frame. Use a ruler to draw three straight lines above the bell to represent the wooden support beam.
Step 5: Adding Structural Depth

Sketch an uneven line across the top of the bell and add vertical rectangles beneath the frame. This creates the illusion of a heavy, aged wooden structure. Tip: Vary the thickness of your lines to show where the wood connects.
Step 6: Refining the Frame

Add a wide M-shape on the right and connect it to the frame with a crooked line. This represents the sturdy, aged hardware of the bell. Tip: Don't make the lines too perfect; wood and metal look better with a bit of texture.
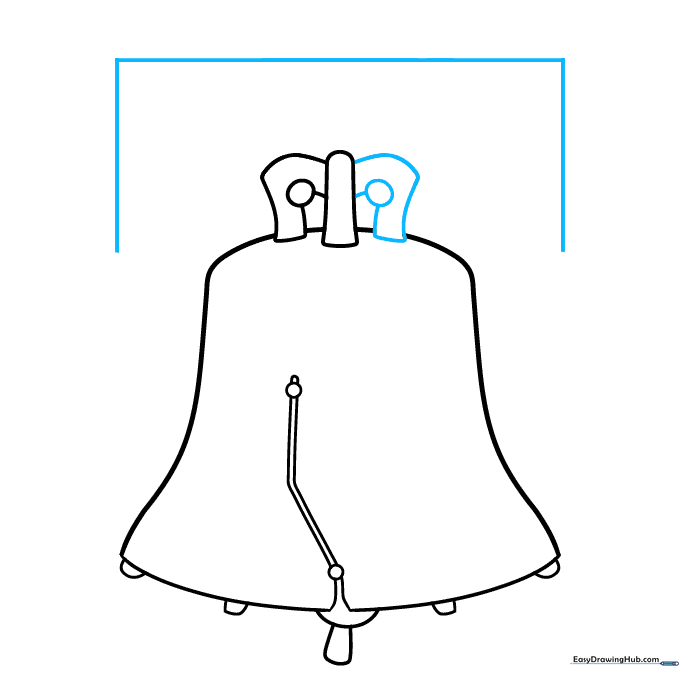
Step 7: Adding Hardware Details
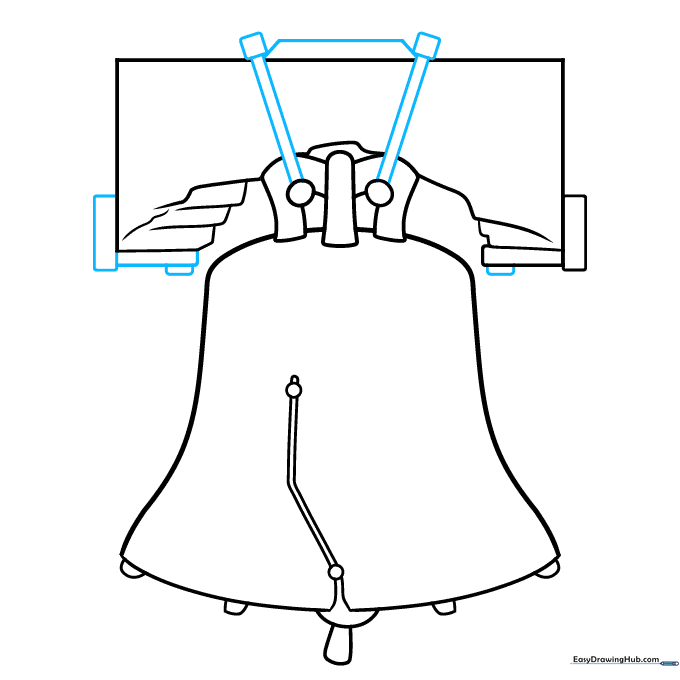
Use your ruler to draw two diamonds at the top, connecting them to the bell with diagonal lines. These are the bolts that hold the bell in place. Tip: Keep these lines sharp to contrast with the curves of the bell.
Step 8: Adding Texture
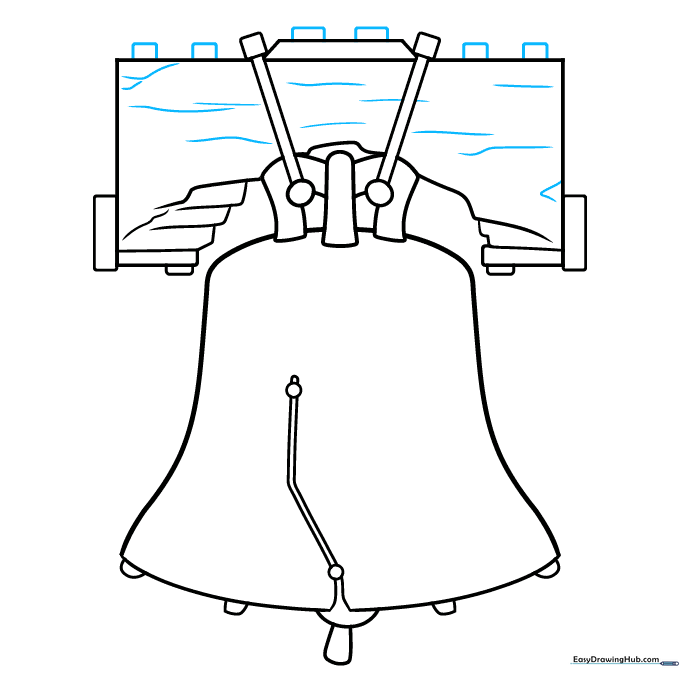
Sketch small rectangles on the frame and add short, sketchy lines to give the wood a weathered, antique look. Tip: Use a darker pencil for these small details to make them pop.
Step 9: Finalizing the Outline
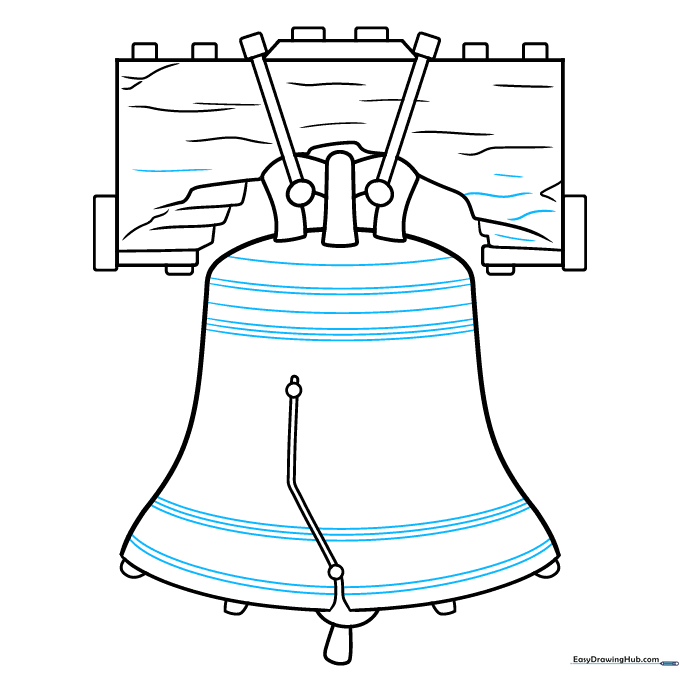
Add final curves to the bell's surface and trace over your pencil lines with a black ink pen. Erase any stray pencil marks to clean up your drawing. Tip: Use a steady hand for the final outline to ensure a professional look.
Step 10: Adding Color
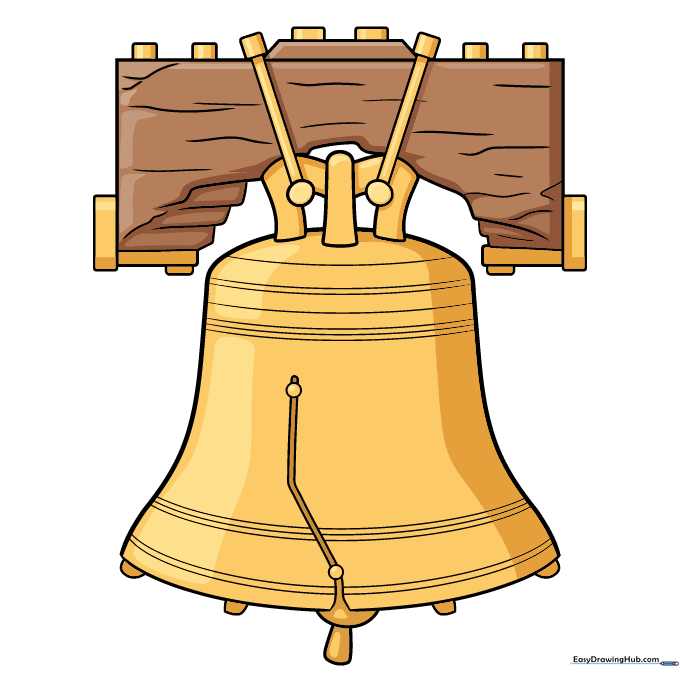
Color the bell in bronze or gold tones and use deep browns for the wooden frame. Tip: Use a light grey for the shadows to give the bell a three-dimensional appearance.
More Tutorials


