How to Draw a Kraken: Easy 10-Step Guide for Kids
Ready to bring a mythical sea monster to life? This tutorial is perfect for young artists ages 7+ who want to practice fluid, organic shapes. Grab your pencil, eraser, and paper, and follow along to build your very own Kraken from simple circles to tentacled masterpiece.
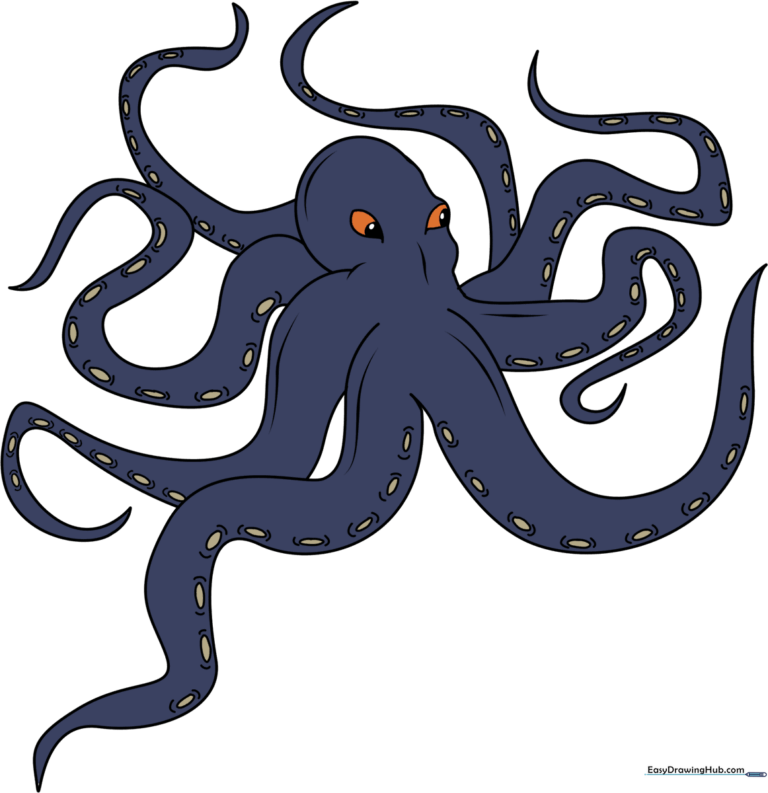
🎯 Final Result
Step-by-Step Instructions
Step 1: Sketching the Head Base

Start by drawing a light circle to serve as the top of the Kraken's head. Teacher's Tip: Keep your pencil pressure very light so you can easily erase this guide later!
Step 2: Defining the Lower Head

Draw a second, slightly smaller circle that overlaps the bottom of the first. This creates the rounded shape of the Kraken's face. Tip: Try to make the overlap look like a smooth transition.
Step 3: Starting the First Tentacles
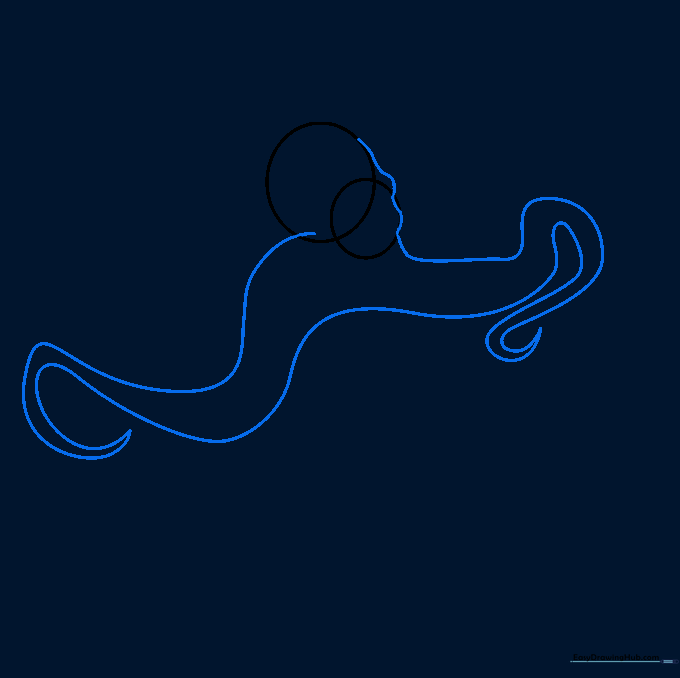
Connect the circles with a curved line for the brow, then extend two long, wavy lines downward that spiral at the ends. Tip: Use a 'flicking' motion with your wrist to get those nice, tapered points at the tips of the tentacles.
Step 4: Adding More Tentacles

Gently erase your guide circles. Now, draw four more tentacles by extending curved lines from behind the head. Tip: Vary the curves so the tentacles look like they are moving through water.
Step 5: Drawing Suction Cups

Add detail to the tentacles by drawing small, flat ovals along the underside. Add tiny lines at the ends of each oval. Tip: Don't worry about making them perfect; nature is full of variations!
Step 6: Completing the Tentacles
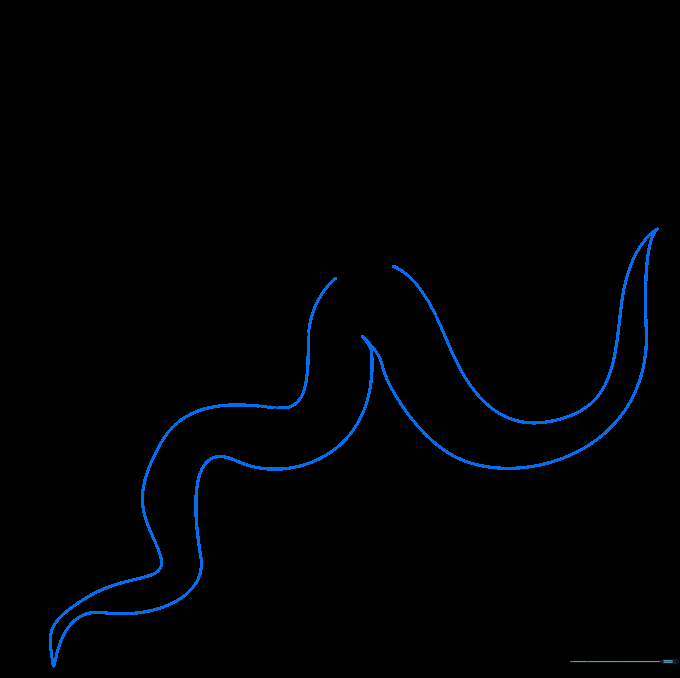
Add the final two tentacles to reach a total of eight. These should emerge from the center of the cluster. Tip: Overlapping lines help create a sense of depth.
Step 7: Final Suction Details
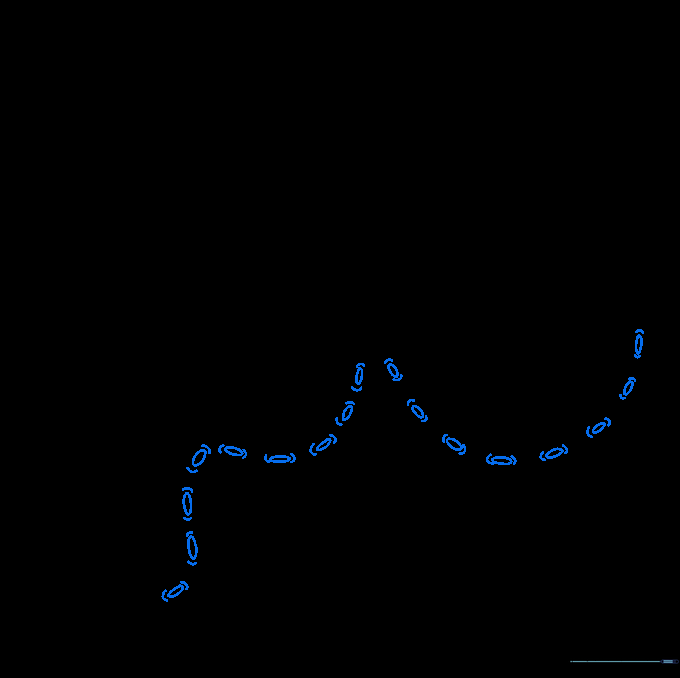
Add suction cups to your final two tentacles using the same oval technique. Clean up any leftover pencil marks. Tip: Use a kneaded eraser to gently lift away any smudges.
Step 8: Drawing the Eyes

Draw two inverted teardrop shapes for the eyes. Add a small, shaded circle inside each for the pupil. Tip: Placing the pupils in different spots can change the Kraken's expression from silly to spooky!
Step 9: Adding Contours

Add curved lines along the head and tentacles to give your Kraken a 3D, rounded look. Tip: Follow the curve of the body to make the lines look natural.
Step 10: Final Coloring
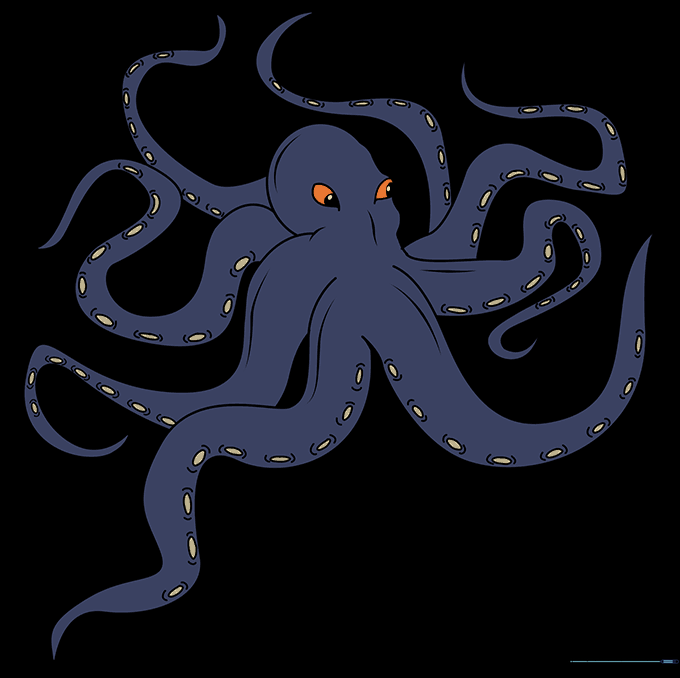
Bring your Kraken to life with color! Deep blues, purples, or greens work great for a sea monster. Once finished, explore our other mythical creature guides to build your own bestiary.
More Tutorials


