How to Draw the Joker’s Face: Easy 9-Step Guide
Capture the Joker’s chaotic energy with this easy-to-follow drawing guide, perfect for young artists and comic book fans. You will need a pencil, eraser, and some markers to bring this villain to life. By focusing on his expressive features, you'll learn how to build a character face from the eyes down.
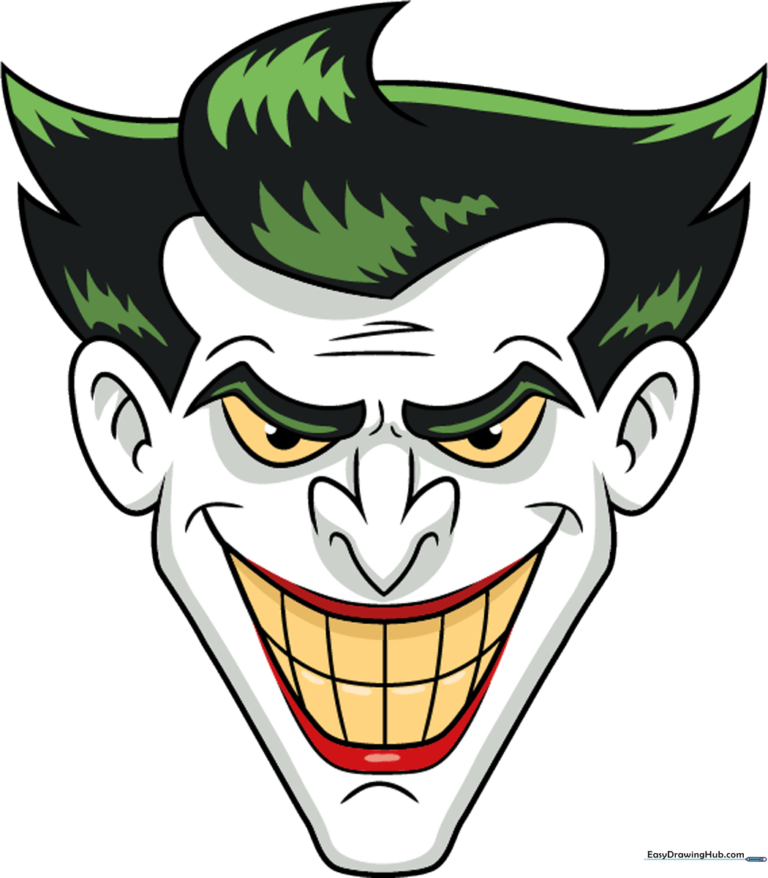
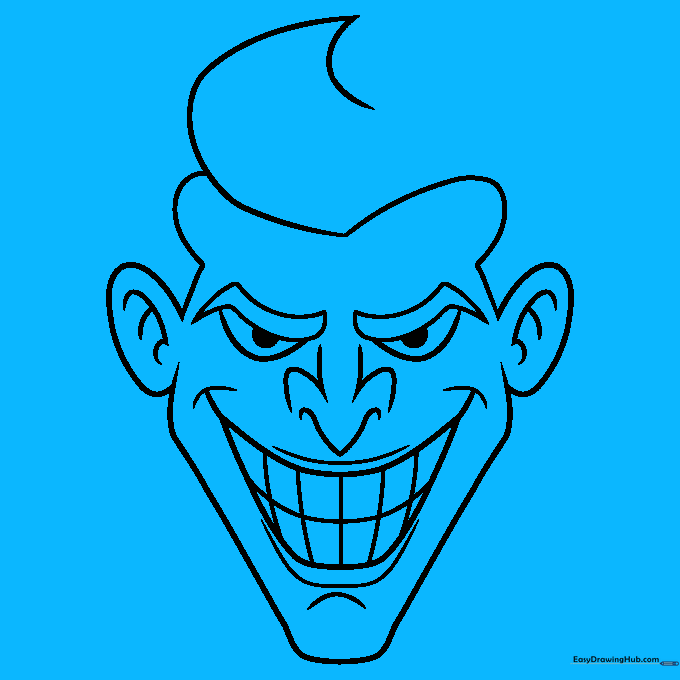
🎯 Final Result
Step-by-Step Instructions
Step 1: Sketching the Eyes

Start by drawing the Joker’s signature furrowed brows using sharp, angled lines. Beneath these, sketch two half-circles for the eyes. Teacher's Tip: Keep your pencil lines light so you can easily adjust the expression if the eyes look too symmetrical—the Joker’s look is all about being slightly off-kilter!
Step 2: Adding Pupils and Nose

Shade a small half-circle inside each eye for the pupils. Next, sketch the nose using two curved lines that taper downward. Teacher's Tip: Don't press too hard on the nose lines; you want them to look like subtle shadows rather than heavy outlines.
Step 3: The Sneering Mouth

Draw a 'V' shape with curled ends for the tip of the nose. Then, sketch a wide, exaggerated sneer using long, sweeping curved lines. Teacher's Tip: The wider the mouth, the more 'Joker-like' the character will look, so don't be afraid to make it stretch across the face.
Step 4: Defining Lips and Teeth
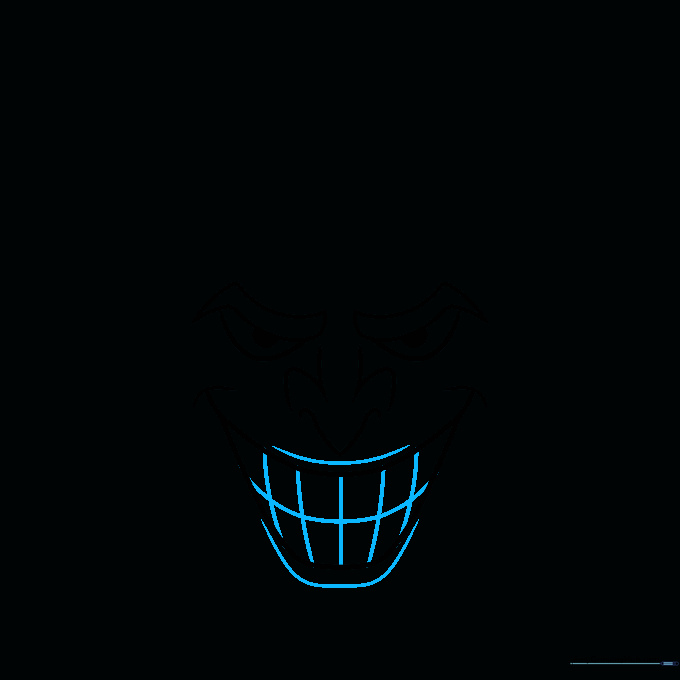
Outline the lips with curved lines following the mouth shape. Add a horizontal line through the center and several vertical lines to represent his teeth. Teacher's Tip: Keep the vertical lines for the teeth short and uneven to give him that classic, chaotic grin.
Step 5: Shaping the Jawline
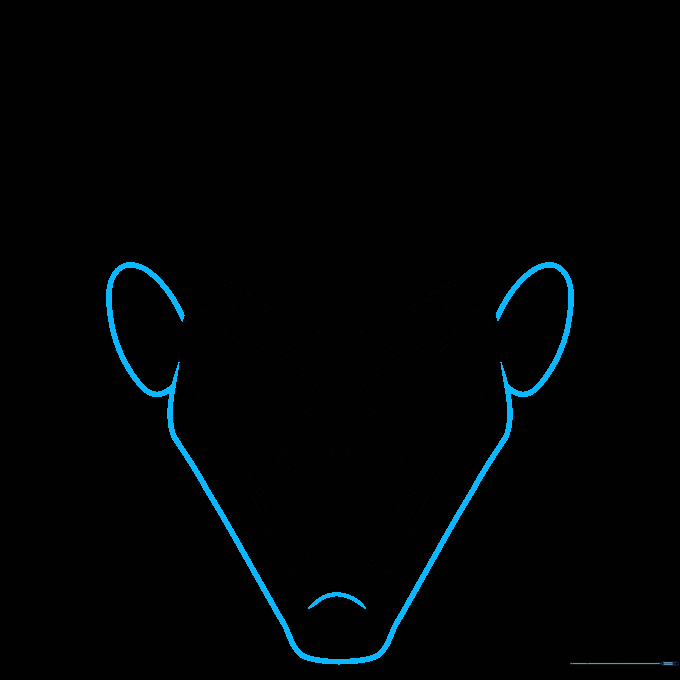
Draw the outline of the face using 'C' shapes for the ears and a long, curved line for the cheeks and sharp chin. Add an upside-down 'U' below the mouth to define the chin structure. Teacher's Tip: A sharp, angular chin helps convey the Joker's villainous personality.
Step 6: Starting the Hair
Add detail to the ears with small curved lines. Then, draw a large 'C' shaped line above the forehead to create the base of his iconic, messy hairstyle. Teacher's Tip: Think of this as a 'swoosh'—it doesn't need to be perfectly smooth!
Step 7: Developing the Hairline
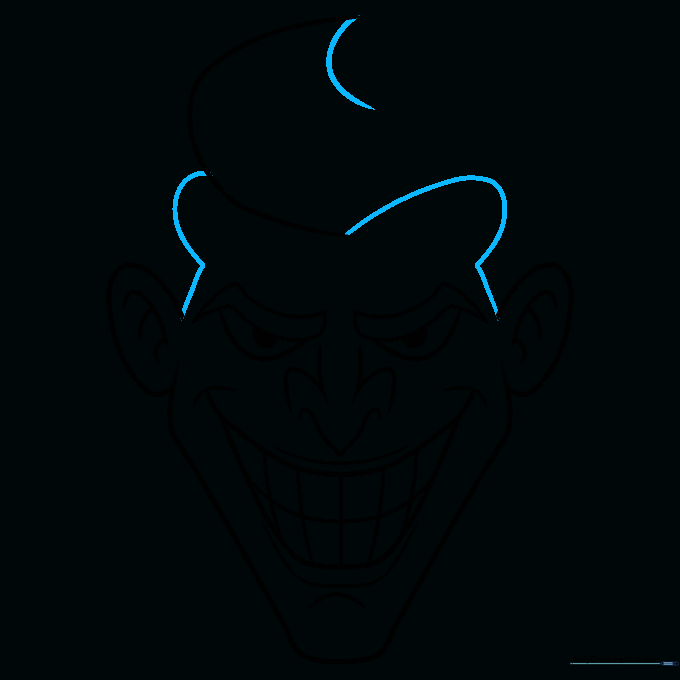
Continue the hair by drawing curved and straight lines to form the hairline and sideburns. Connect these to the 'swoosh' you created in the previous step. Teacher's Tip: Vary the length of your lines to make the hair look wild and unkempt.
Step 8: Finalizing the Hair
Finish the hair by using curved lines of varying lengths that meet at sharp points. This gives the hair a textured, spiky appearance. Teacher's Tip: Don't worry about symmetry here; the Joker's hair is famously messy.
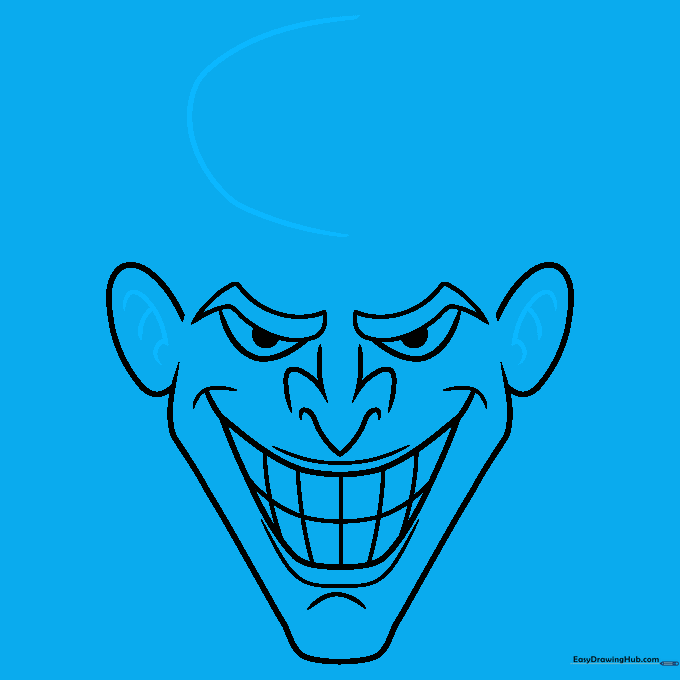
Step 9: Adding Facial Details
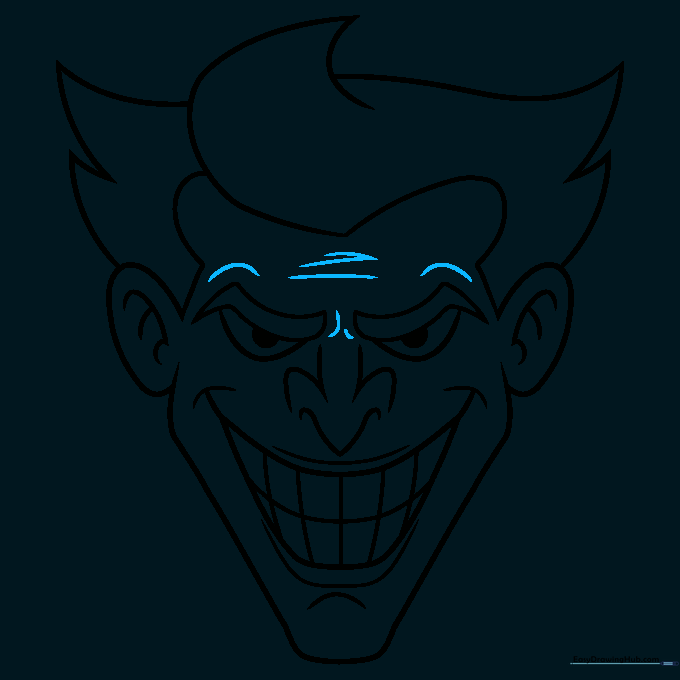
Complete the drawing by adding 'V' shaped lines on the forehead and between the eyebrows to create deep furrows. This adds age and intensity to his expression. Teacher's Tip: Use these lines to emphasize his 'wicked' look.
Step 10: Bring Him to Life with Color

Time to color! Use a pale white for the skin, bright green for the hair, yellow for the eyes and teeth, and a bold red for the lips. Teacher's Tip: If you're using markers, color in one direction to keep the finish smooth and professional.
More Tutorials


