How to Draw Jiji the Cat: Easy Step-by-Step Guide
Bring everyone's favorite magical black cat to life with this beginner-friendly tutorial. Designed for young artists ages 5 and up, this guide requires only a pencil, paper, and an eraser to master Jiji's iconic look. Follow along to develop your sketching confidence and create a character you'll love to color.
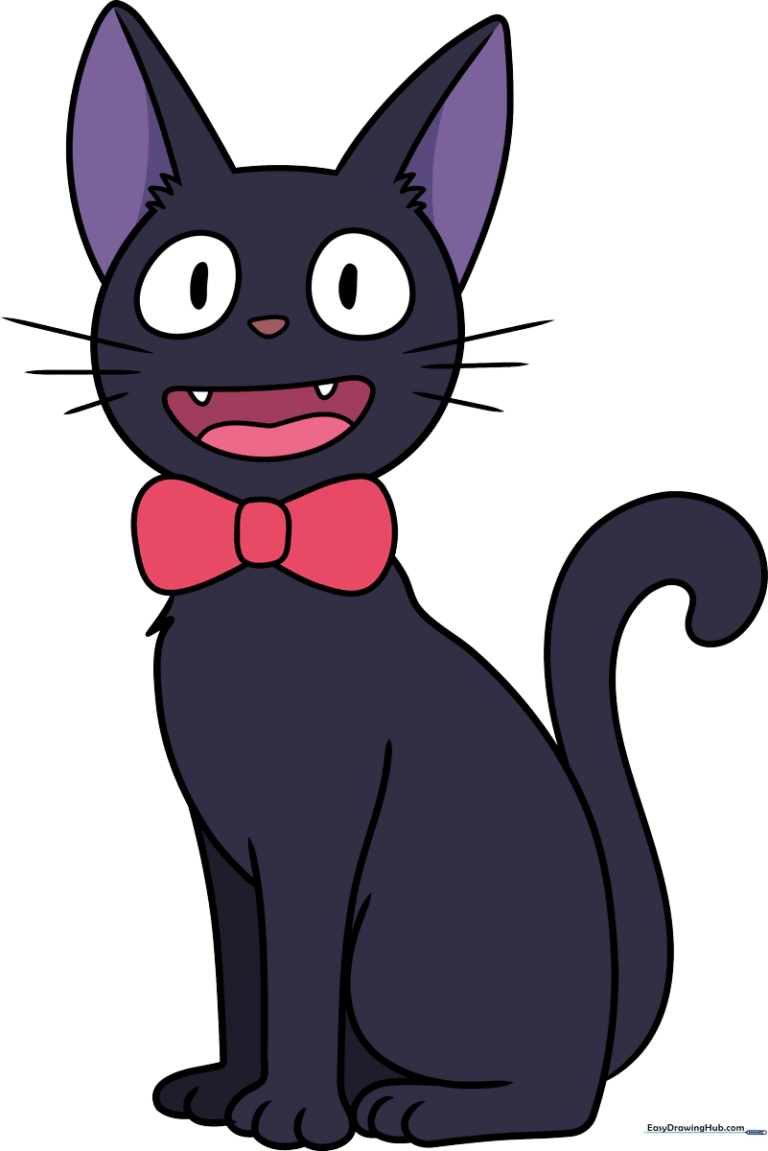
🎯 Final Result
Step-by-Step Instructions
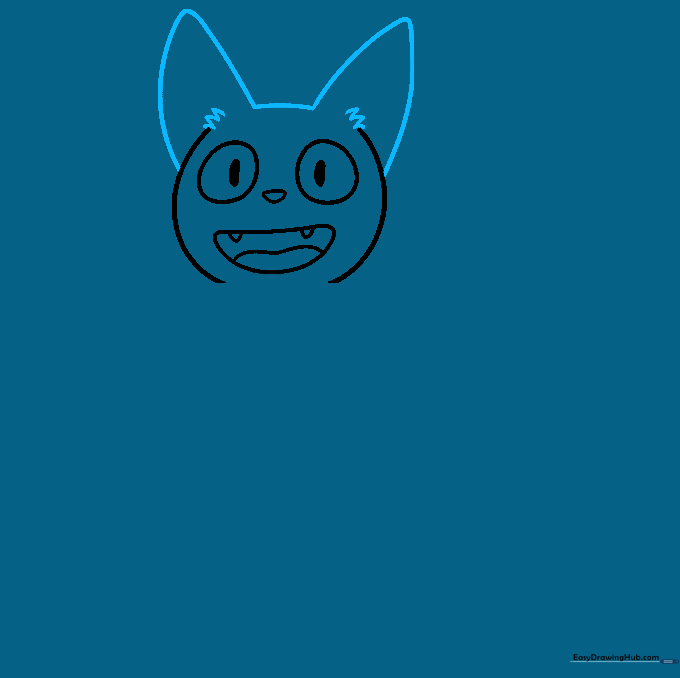
Step 1: Sketching the Face and Eyes

Start by drawing two large circles for the eyes, placing a narrow oval inside each for the pupils. Add a small rounded triangle for the nose and a wide, gentle curve for the mouth. Teacher's Tip: Keep your pencil pressure light so you can easily adjust the symmetry of the eyes before moving on.
Step 2: Defining the Mouth and Head

Add a small tongue and two tiny triangles for teeth inside the mouth. Then, draw a curved line on each side of the face to frame the head. Teacher's Tip: Use smooth, fluid motions to create the head shape; don't worry if it's not a perfect circle—cats have personality!
Step 3: Adding the Ears
Sketch two large, triangular ears on top of the head. Connect them with a soft curve and add a zigzag line inside each ear. Teacher's Tip: The zigzag line is a great way to practice 'fur texture'—keep the lines sharp and quick.
Step 4: Whiskers and Bowtie
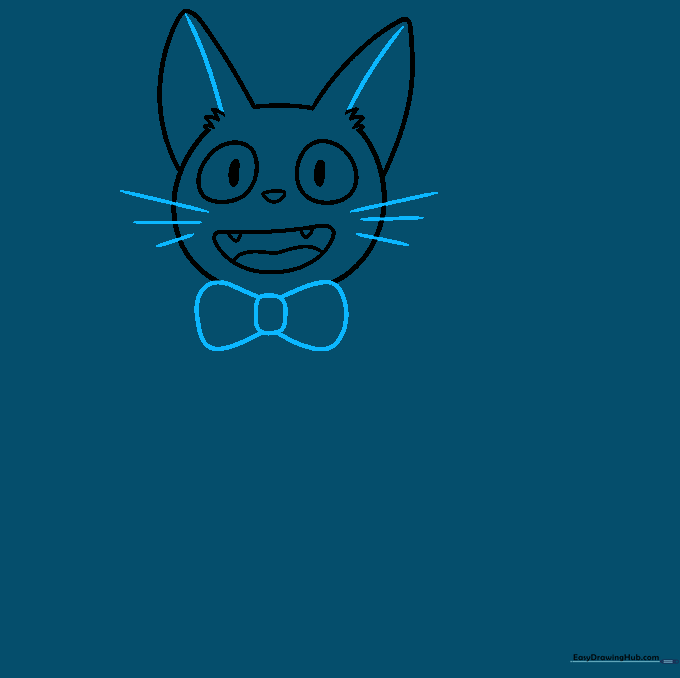
Add three curved lines on each cheek for whiskers, making them slightly shorter as they go down. Draw a cute bowtie below the chin using three rounded shapes. Teacher's Tip: Whiskers should look like they are 'flicking' out from the face, so lift your pencil at the end of each stroke.
Step 5: Sketching the Chest
Use a series of connected, jagged curved lines to form the chest and the top of the foreleg. Teacher's Tip: The jagged lines represent soft fur, so don't make them too uniform—a little variation makes it look more natural.
Step 6: Drawing the Legs
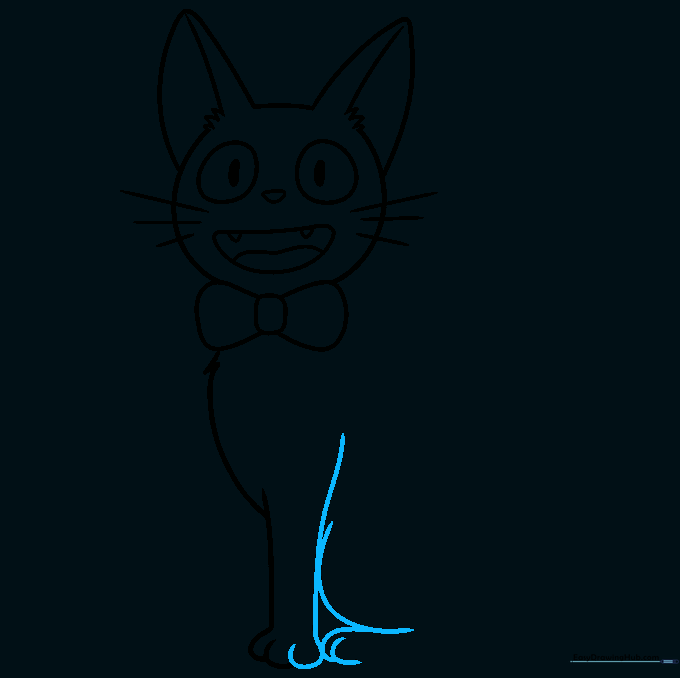
Complete the foreleg with a long curve, then add the folded rear leg using a 'C' shape for the haunch and small curves for the toes. Teacher's Tip: Focus on the overlapping lines here to show depth between the front and back legs.
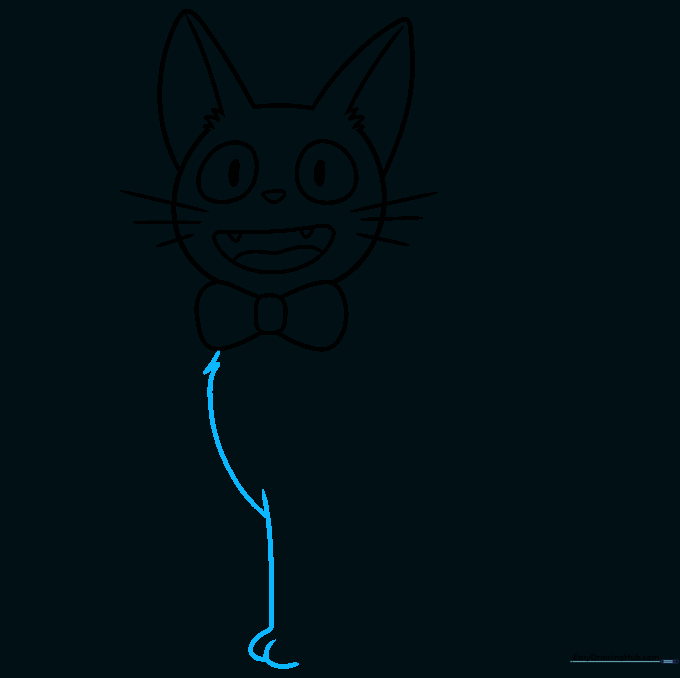
Step 7: Defining the Back
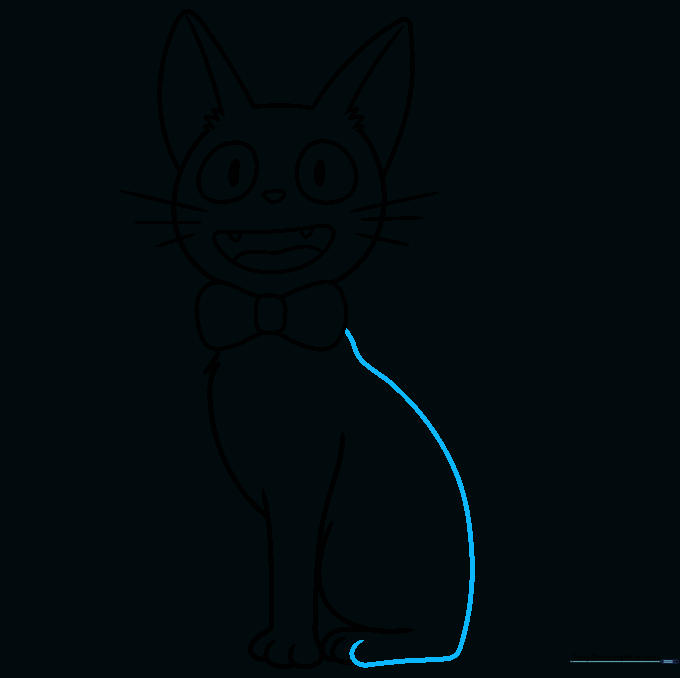
Extend a long, graceful curve from the bowtie to form the back, connecting it down to the rear foot. Teacher's Tip: This line defines the cat's posture, so keep it smooth to make Jiji look relaxed.
Step 8: Adding the Tail
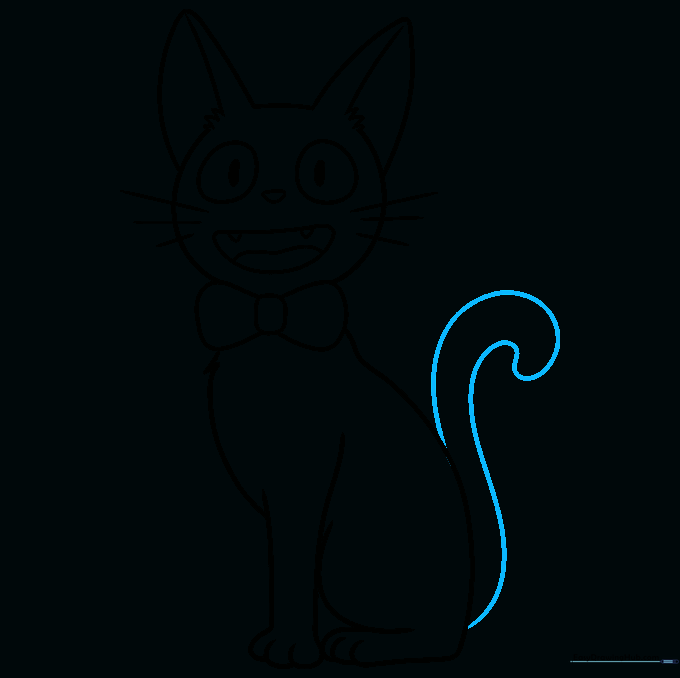
Draw a long, sweeping curve from the back and double it back to create a thick, expressive tail. Teacher's Tip: A curved tail adds movement to your drawing—try making it look like it's swishing!
Step 9: Final Touches
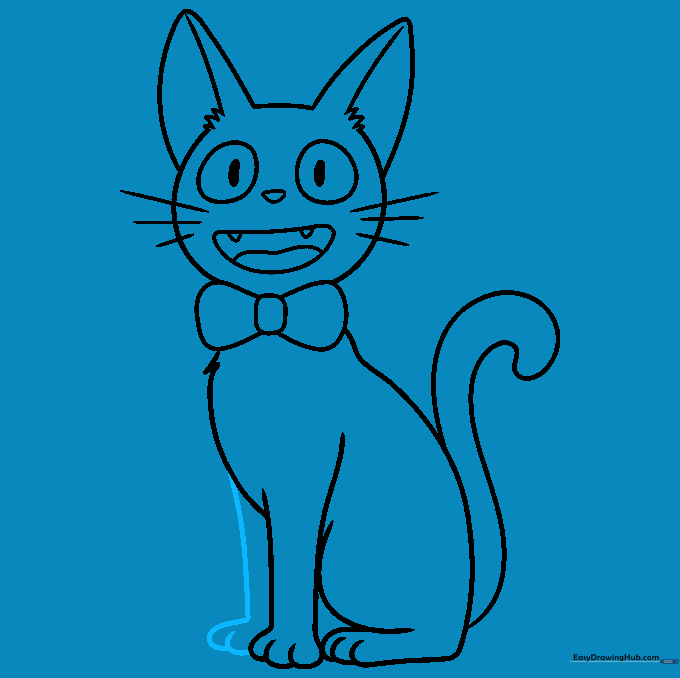
Finish the outline by sketching the remaining front leg and paw using overlapping curves. Teacher's Tip: Double-check your lines and erase any stray marks before you start coloring.
Step 10: Coloring Your Jiji
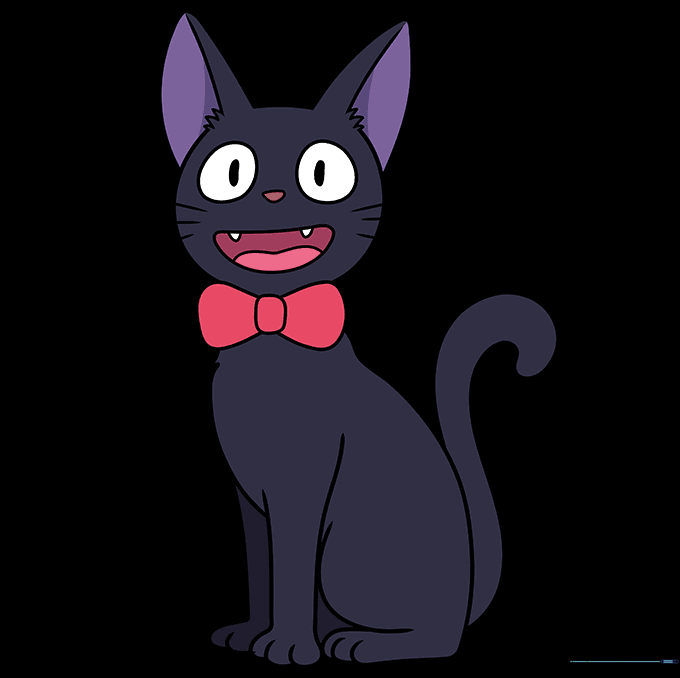
Fill in your Jiji with a deep black, leaving the eyes bright and clear. Color the bowtie a vibrant red to make it pop. Teacher's Tip: Use a black marker for the body to get a solid, bold look, and use a light touch with a red crayon for the bow to keep it smooth.
More Tutorials


