How to Draw the Infinity Gauntlet: Easy 9-Step Guide
Bring the power of the Avengers to your sketchbook with this Infinity Gauntlet drawing guide. Designed for young artists ages 8+, this activity requires only a pencil, eraser, and paper. Follow these steps to practice geometric shapes and symmetrical detailing while creating your own legendary relic.
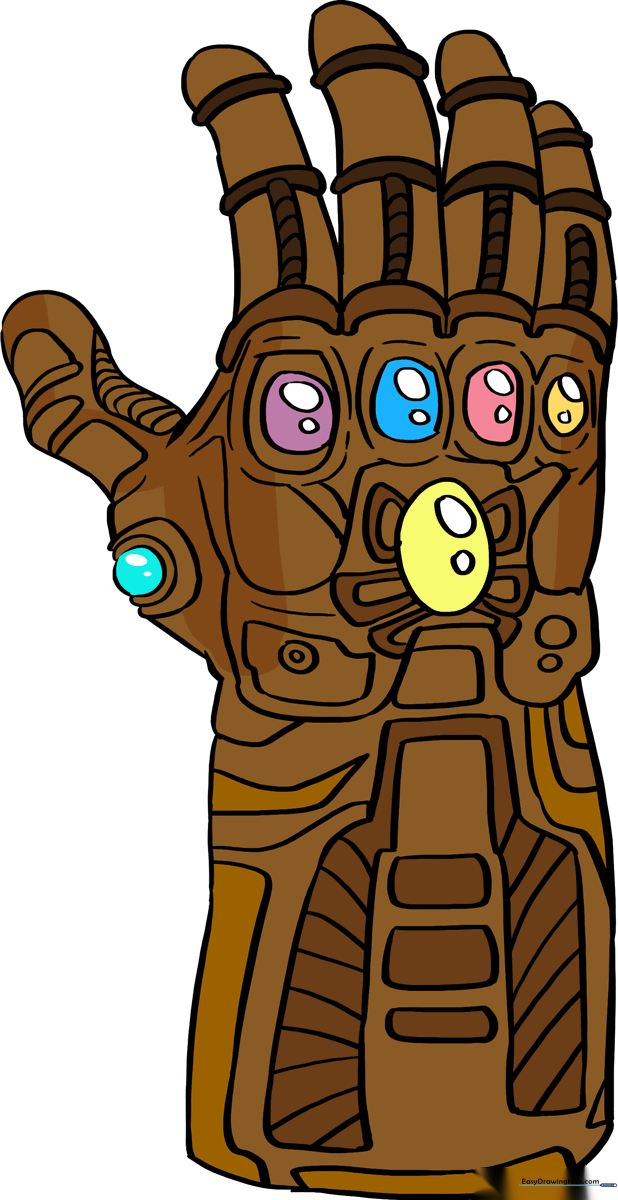
🎯 Final Result
Step-by-Step Instructions
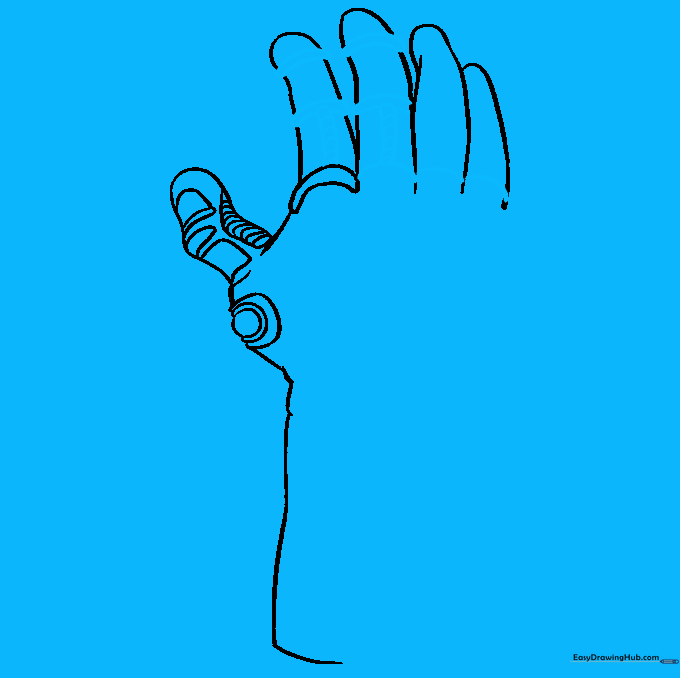
Step 1: Sketching the Base Shape
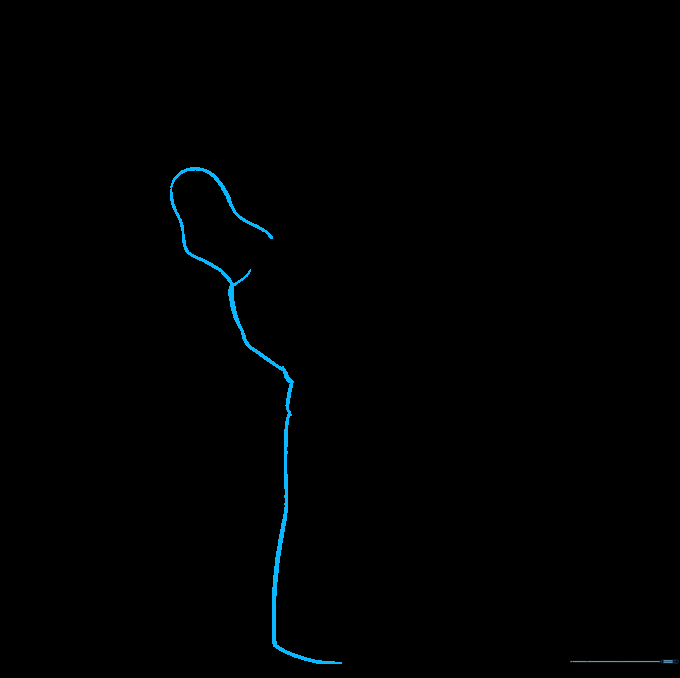
Start by drawing the thumb and the side of the wrist using smooth, curved lines. Tip: Keep your hand relaxed and use light, sweeping motions to get that natural curve of the glove's cuff.
Step 2: Adding the First Infinity Stone
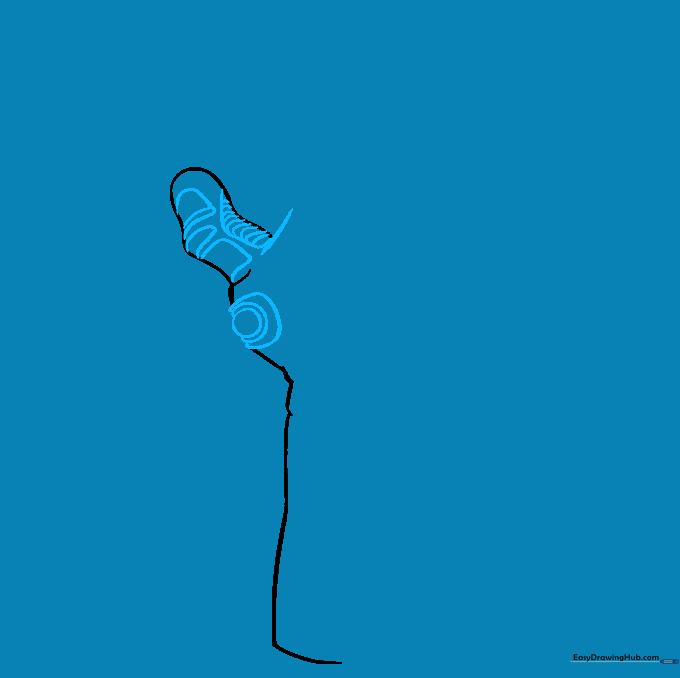
Detail the thumb area with irregular shapes and add the first Infinity Stone on the side of the palm. Tip: Draw a small circle within a circle to give the gem a 3D, faceted look.
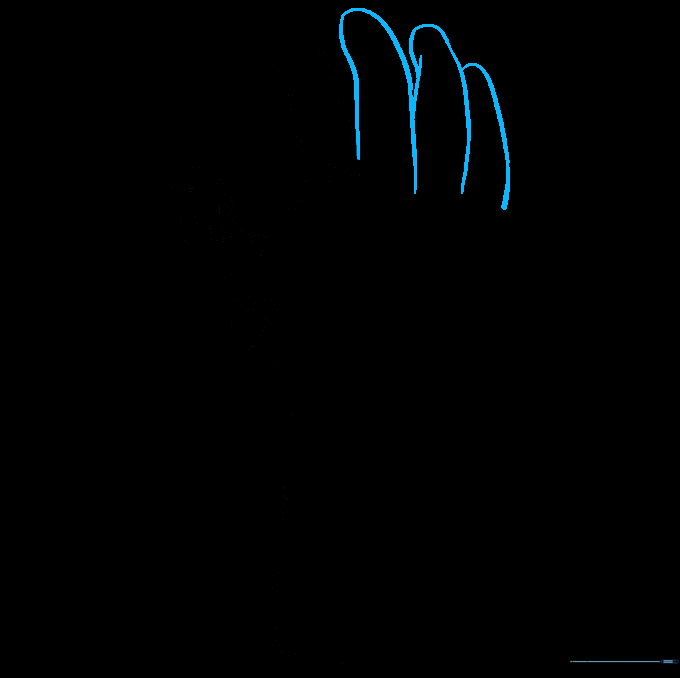
Step 3: Drawing the Forefinger
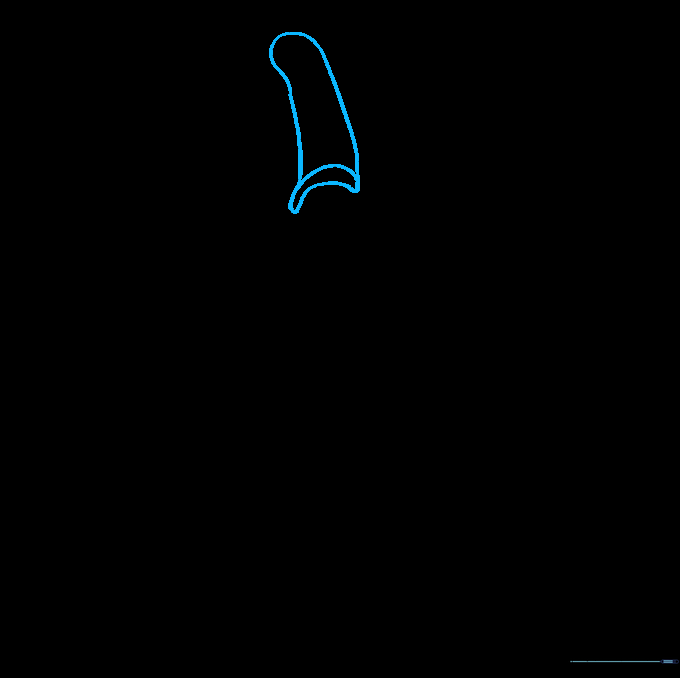
Extend a long, curved line to form the forefinger, doubling it back to create thickness. Tip: Add two horizontal lines across the finger to create the metal ring detail.
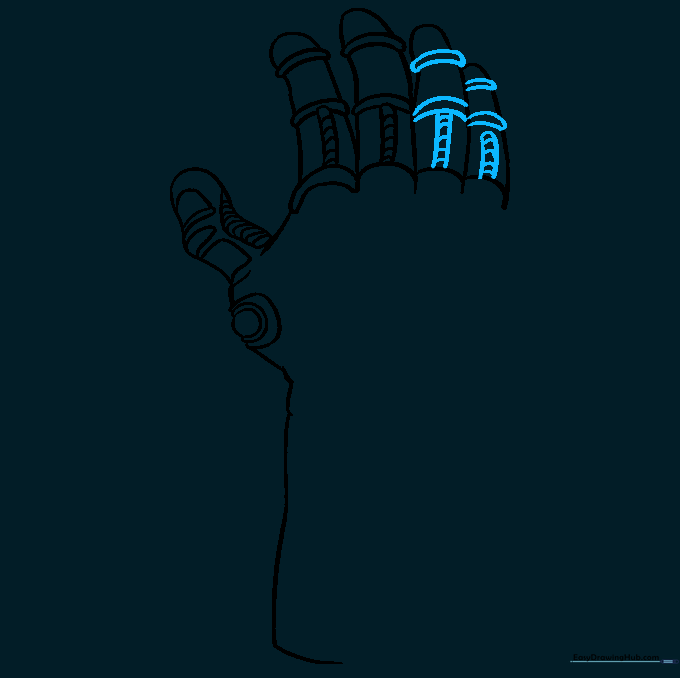
Step 4: Sketching the Remaining Fingers
Draw the other fingers using the same curved, doubled-back technique. Tip: Ensure the fingers look proportional to the thumb you drew earlier.
Step 5: Adding Texture to Fingers
Add curved lines at the base of each finger and connect the lower rings with diagonal bands. Tip: Use short, quick strokes for the diagonal lines to make them look like metal plating.
Step 6: Refining the Finger Details
Continue adding rings to the fingers and connecting them with curved lines. Tip: If you make a mistake, use your eraser to clean up the lines before moving to the next step.
Step 7: Placing the Knuckle Gems
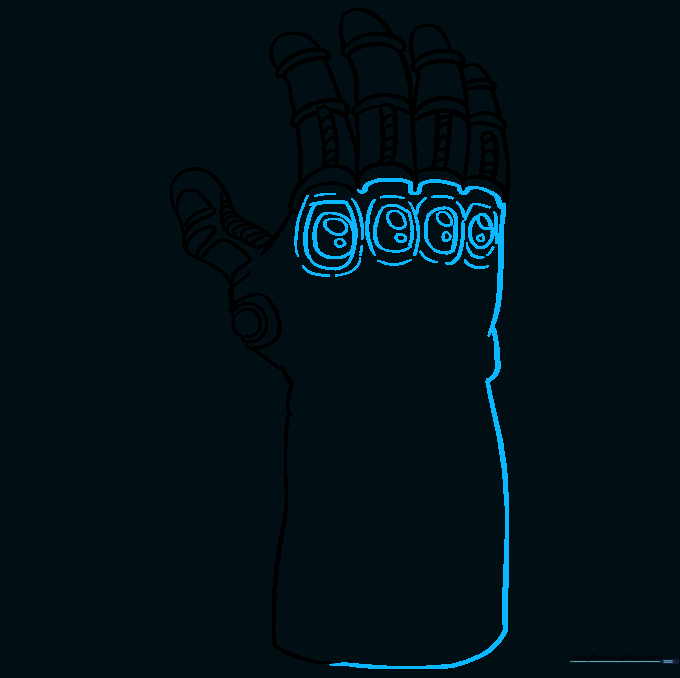
Draw rounded shapes over the knuckles and place small ovals inside them for the Infinity Stones. Tip: Draw the stone settings slightly larger than the stones themselves to create depth.
Step 8: The Center Stone and Pattern
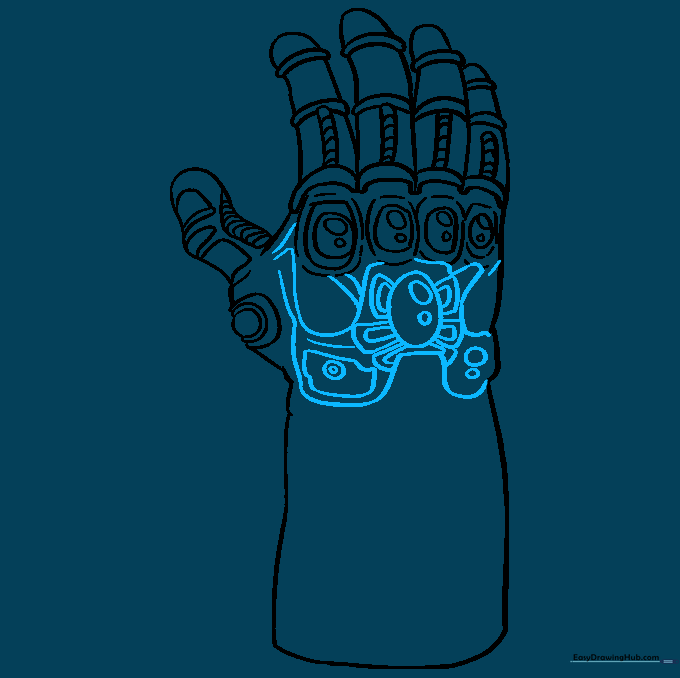
Add the large center stone on the back of the hand and surround it with the butterfly-like pattern. Tip: Take your time with the shapes-within-shapes; symmetry makes the gauntlet look more powerful.
Step 9: Finalizing the Cuff
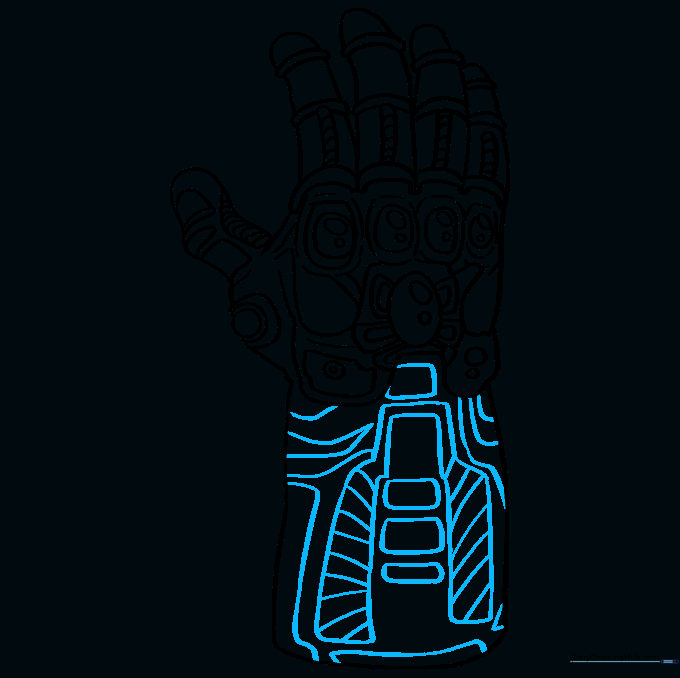
Finish by adding rectangular shapes and criss-cross lines to the cuff. Tip: Use a ruler if you want the lines to be perfectly straight, or freehand them for a more organic, battle-worn look.
Step 10: Coloring Your Masterpiece
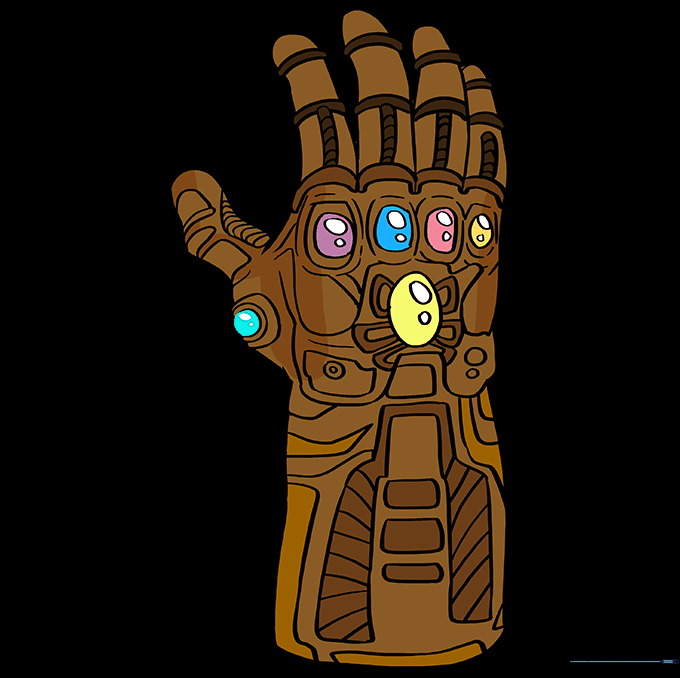
Bring your gauntlet to life with color! Use gold for the metal and orange, green, blue, yellow, red, and purple for the Infinity Stones. Tip: Press harder with your pencil for darker shades and lighter for highlights.
More Tutorials


