How to Draw the Hulk: Easy 10-Step Guide for Kids
Ready to bring the Incredible Hulk to life? This tutorial is perfect for young artists ages 7+ who want to practice drawing powerful, muscular characters. Grab a pencil, an eraser, and a piece of paper, and follow along to build your superhero drawing skills.
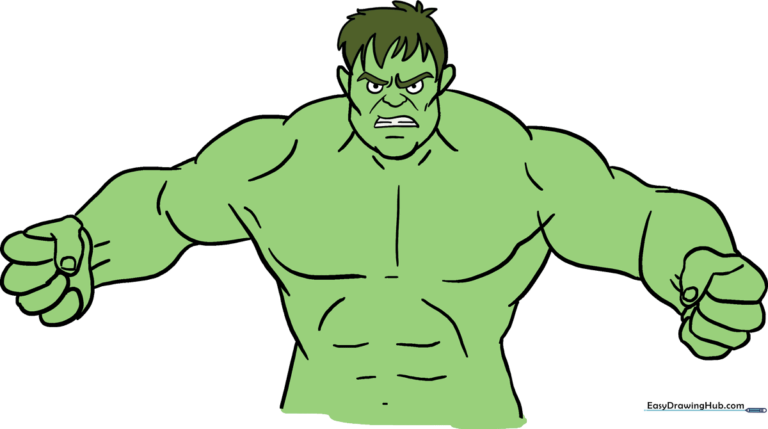
🎯 Final Result
Step-by-Step Instructions
Step 1: Sketching the Head Base
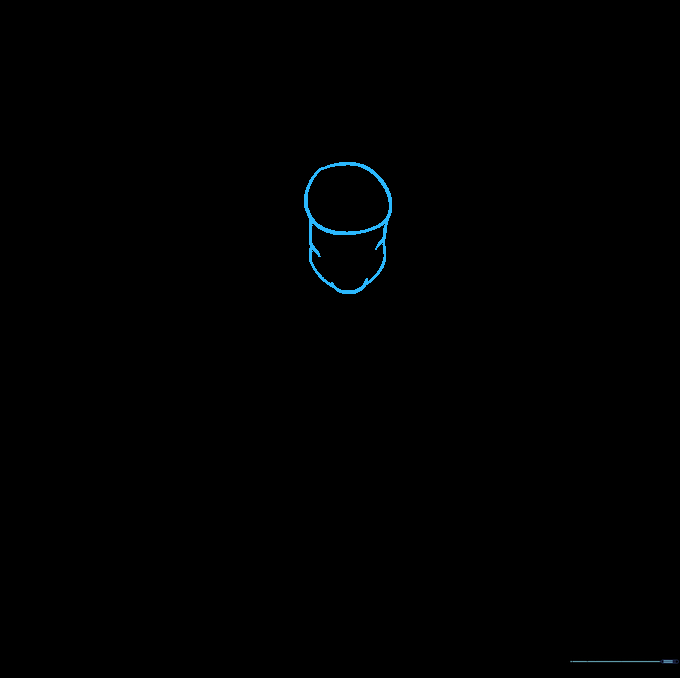
Start with a light circle for the head. Add two lines curving inward for the jaw, then connect them to form a strong chin. Teacher's Tip: Keep your pencil pressure very light here; you'll be erasing these guidelines later to make the face look clean.
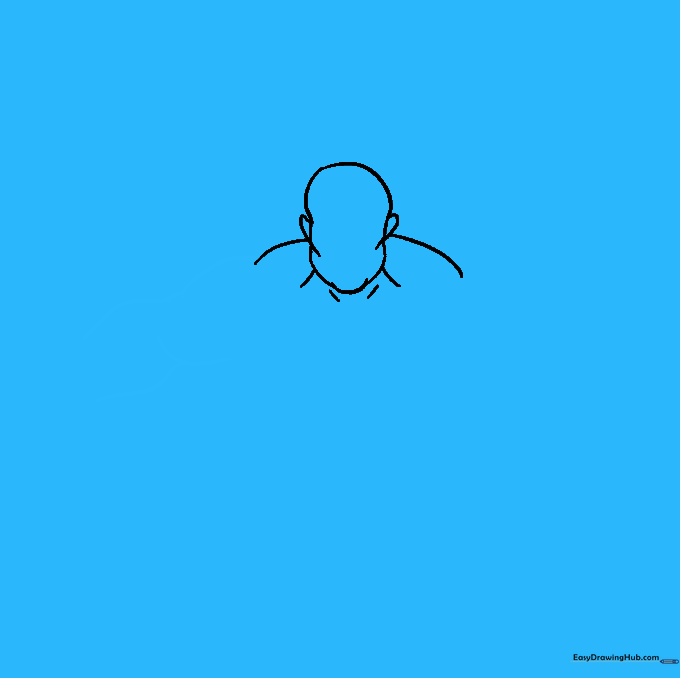
Step 2: Refining the Face

Gently erase your inner guide lines. Now, add a small curved line on each side of the head to create the ears. Teacher's Tip: Keep the ears small and close to the head—Hulk is all about big muscles, not big ears!
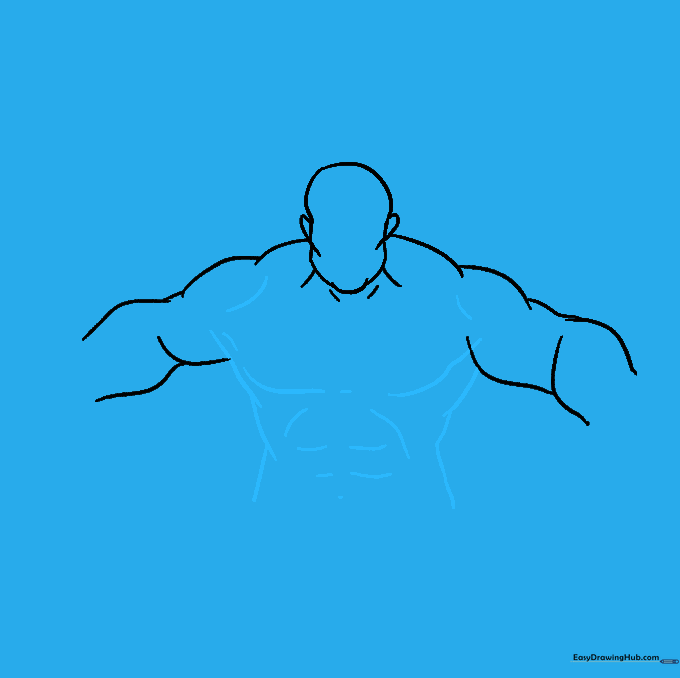
Step 3: Building the Neck and Shoulders

Draw curved lines from the jaw for the neck, then extend wide, sweeping curves for the shoulders. Add two short, diagonal lines below the neck to start the chest structure. Teacher's Tip: Make these lines bold—the wider the shoulders, the stronger your Hulk will look.
Step 4: Sketching the First Arm
Use a series of connected, curved lines to form the bicep and forearm. Teacher's Tip: Think of these as 'lumpy' shapes; muscles aren't perfectly round, so don't be afraid to make the lines a bit wavy to show strength.
Step 5: Adding the Second Arm
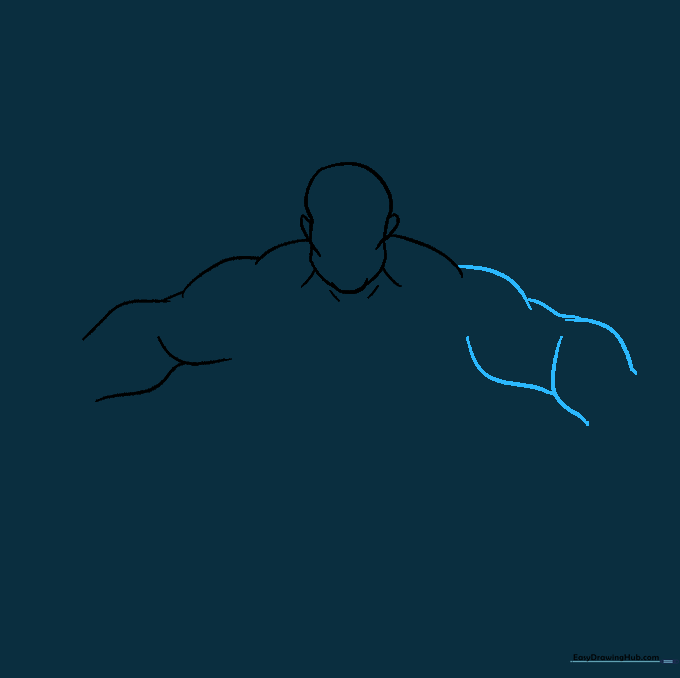
Repeat the process for the opposite arm, mirroring the muscular curves you created in the previous step. Teacher's Tip: Try to keep the arms symmetrical in size so your Hulk looks balanced and powerful.
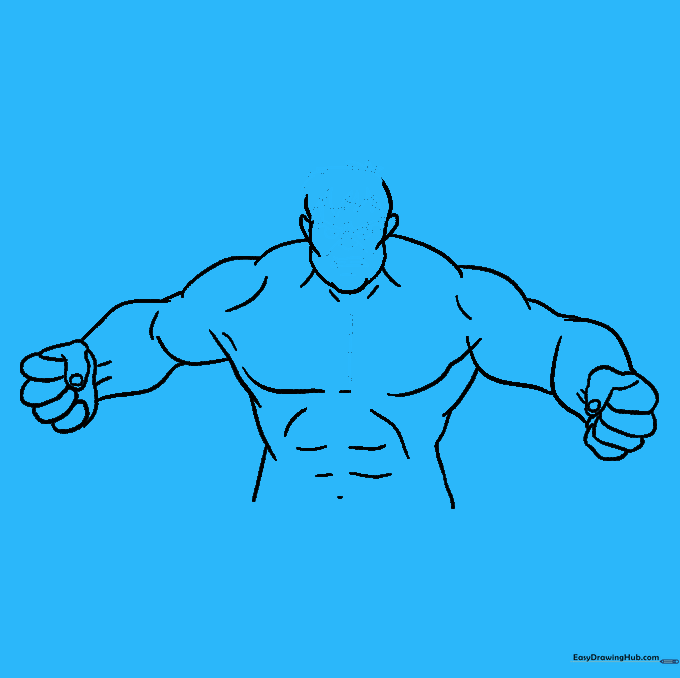
Step 6: Sculpting the Torso
Use curved lines descending from the arms to form the torso. Add extra curves across the chest and stomach to define his abdominal muscles. Teacher's Tip: Use short, quick strokes for the abs to make them look defined.
Step 7: Drawing the First Fist
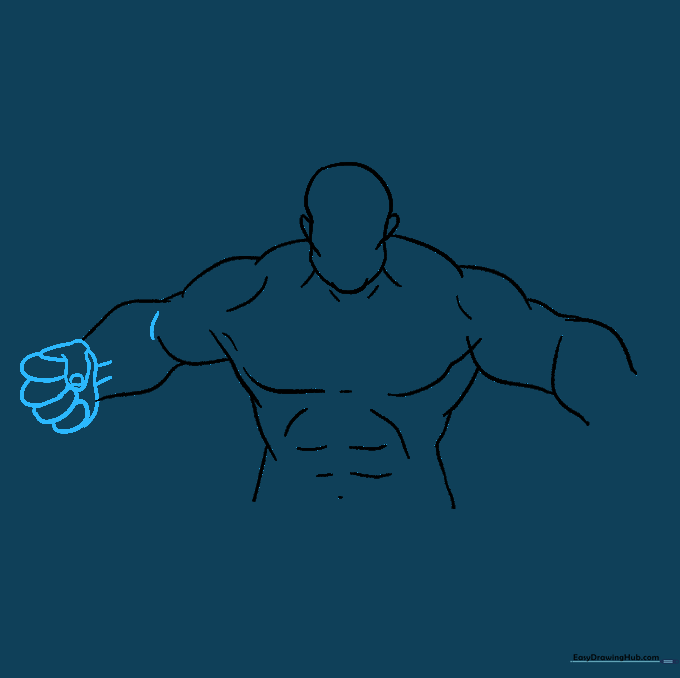
Draw a clenched fist using overlapping 'U' shapes for the fingers. Add a small circle for the thumbnail. Teacher's Tip: Hands are tricky! If it looks a bit messy, remember that Hulk's hands are huge and powerful, so don't worry about making them perfectly delicate.
Step 8: Drawing the Second Fist
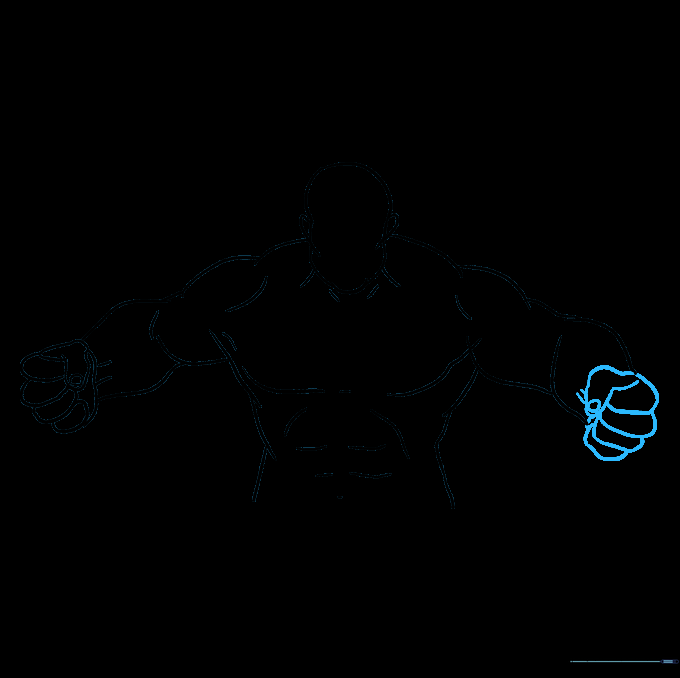
Draw the other fist using the same technique. Ensure the fingers overlap to show he is gripping tightly. Teacher's Tip: Add a few short lines on the wrist to suggest the tension in his muscles.
Step 9: Adding Facial Expressions
Draw jagged lines for the hair, angry slanted eyebrows, and small circles for pupils. Add a 'U' shape for the nose and a trapezoid for the mouth. Teacher's Tip: The secret to an 'angry' Hulk face is the eyebrows—the closer they are to the eyes, the angrier he looks!
Step 10: Bringing Hulk to Life with Color
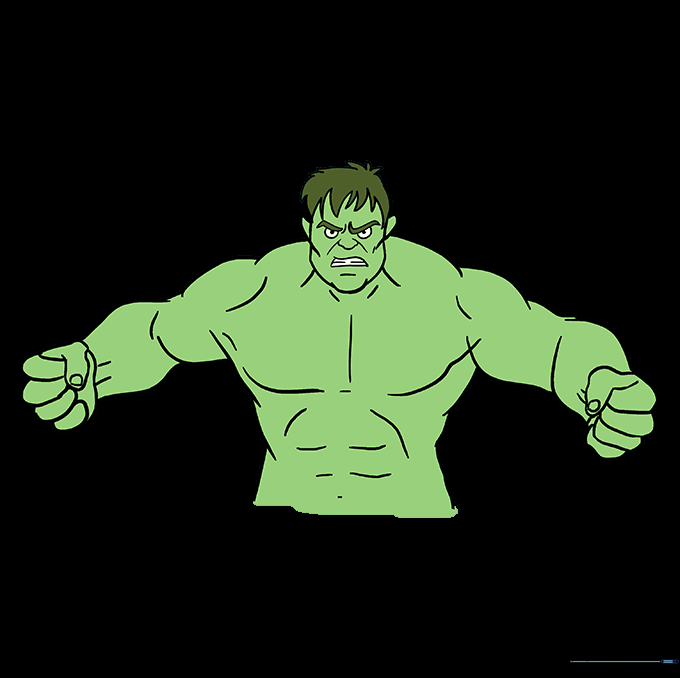
Time to color! Use a vibrant green for his skin. Teacher's Tip: Try using a darker shade of green for the shadows under his muscles to give your drawing a 3D, 'pop-out' effect.
More Tutorials


