How to Draw the Hogwarts Crest: Easy Step-by-Step Guide
Bring the magic of Hogwarts to your sketchbook with this easy-to-follow guide. Designed for young artists ages 7+, this activity requires only a pencil, eraser, and paper to build confidence in symmetry and detail work. Follow along to create your own house emblem from scratch.
🎯 Final Result

Step-by-Step Instructions
Step 1: Outlining the Base

Draw a long, gentle curve to form the bottom of the shield. At the ends, loop the line back to create rounded sides. Tip: Keep your pencil pressure light—this base is just a guide for the final shape.
Step 2: Shaping the Top

Connect the sides with a curved line that dips in the center. Tip: Imagine a shallow 'M' shape to get those iconic top bulges just right.
Step 3: Creating the Upper Quadrants

Divide the top half of the shield into two sections. Use straight lines for the inner borders and curved lines for the outer edges. Tip: Use a light touch so you can easily adjust the symmetry.
Step 4: Defining the Lower Sections

Outline the bottom two sections, leaving a square space in the center. Tip: Ensure the lines follow the curve of the shield's outer edge for a professional look.
Step 5: Adding the 'H'

Draw a bold, serif letter 'H' in the center square. Tip: Use a ruler to keep the vertical bars of the 'H' straight and parallel.
Step 6: Sketching the Lion

In the top-left section, draw a lion. Focus on the mane using jagged, pointed lines. Tip: Keep the face simple—a small oval for the eye is enough to give it character.
Step 7: Drawing the Snake

In the top-right section, draw a coiled snake using overlapping, wavy lines. Tip: Use parallel lines to show the snake's body thickness.
Step 8: Adding the Badger

In the bottom-left, sketch a badger. Use curved lines for the rounded body and snout. Tip: Keep the limbs short to make it look sturdy and cute.
Step 9: Drawing the Eagle
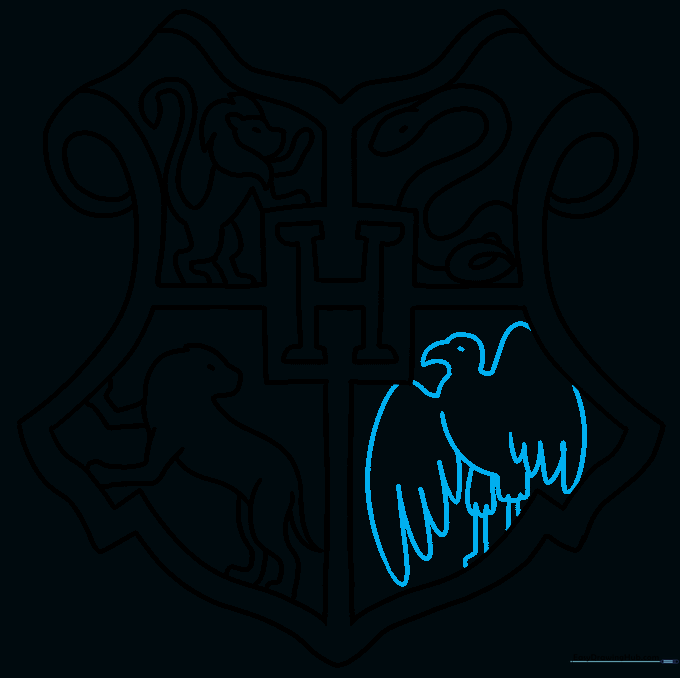
In the bottom-right, draw an eagle. Use 'U' shaped lines for the feathers on the wings. Tip: Draw the beak with a sharp downward hook to give it a regal look.
Step 10: Adding Color

Bring your crest to life with house colors! Use gold for the background, and fill the quadrants with red, green, yellow, and blue. Tip: Use light, even strokes to avoid streaks.
More Tutorials


