How to Draw Haku Dragon: Easy Step-by-Step Guide
Bring the magic of Studio Ghibli to your sketchbook with this Haku dragon tutorial. Designed for young artists and beginners, this project requires only a pencil, eraser, and paper. Follow along to master the flowing, serpentine lines that give this legendary spirit its graceful, ethereal look.
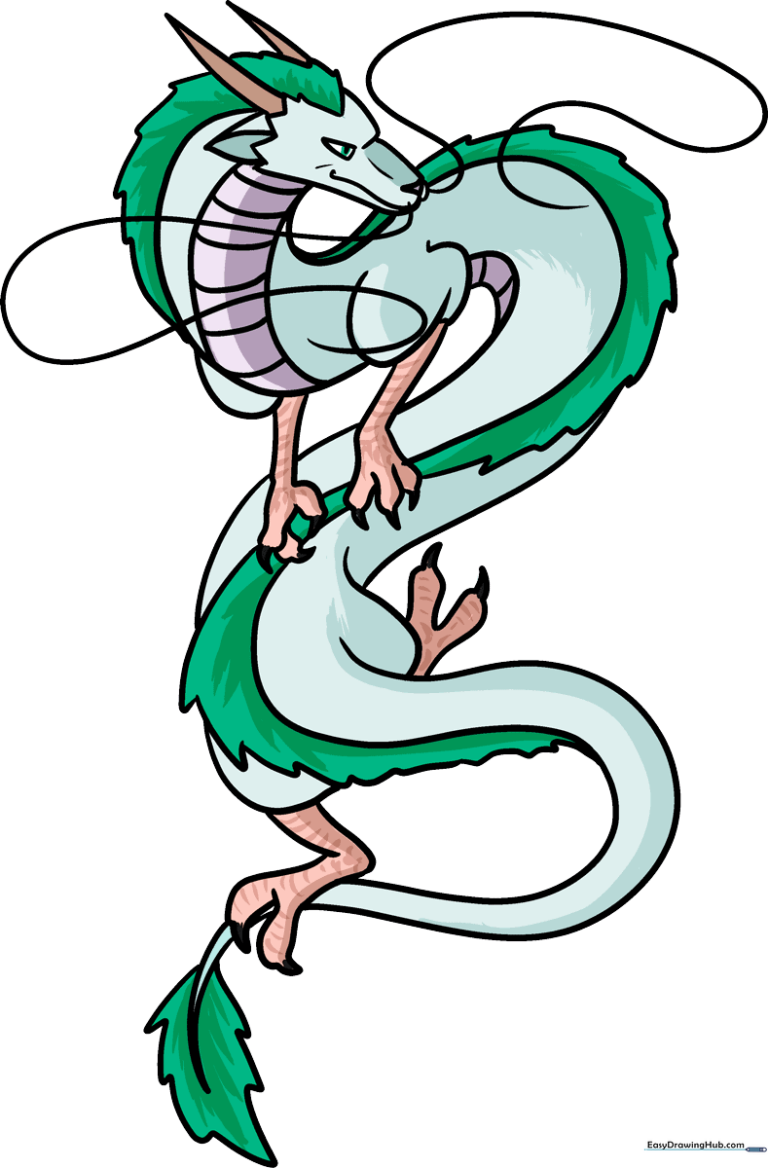
🎯 Final Result
Step-by-Step Instructions
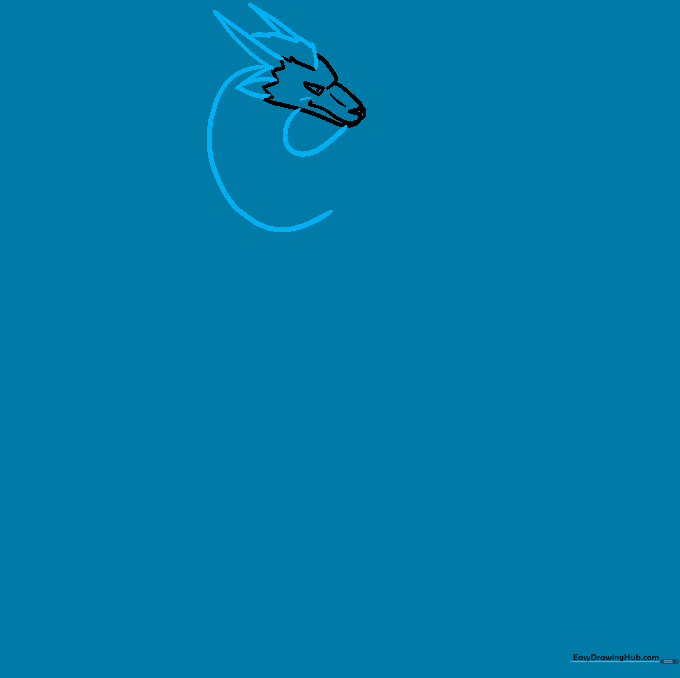
Sketching the Haku Face

Start by sketching the dragon’s face using soft, overlapping curved lines for the brow and muzzle. Teacher's Tip: Keep your pencil pressure light here so you can easily refine the jawline later if needed.
Adding Ears and Horns
Outline the ears and horns using sharp, pointed curves. Add a wavy line for the mane. Teacher's Tip: Use quick, flicking motions with your pencil to make the mane look like flowing fur rather than stiff blocks.
Defining the Neck and Shoulders
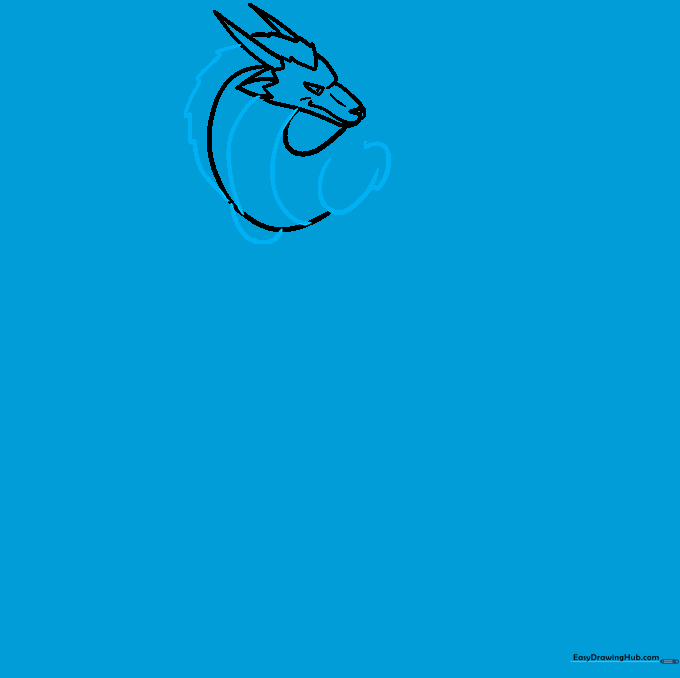
Connect the head to the body with two long, sweeping curves for the underbelly. Teacher's Tip: Imagine the neck is a ribbon; keep the lines smooth to capture that signature dragon elegance.
Drawing the Forearms and Claws

Add the forearms and sharp talons. Teacher's Tip: Draw the claws as small, narrow triangles to give them a sharp, dragon-like appearance.
Continuing the Body Mane

Extend the body lines and add jagged dorsal spines along the back. Teacher's Tip: Vary the size of the spikes slightly to make the mane look more natural and organic.
Refining the Torso
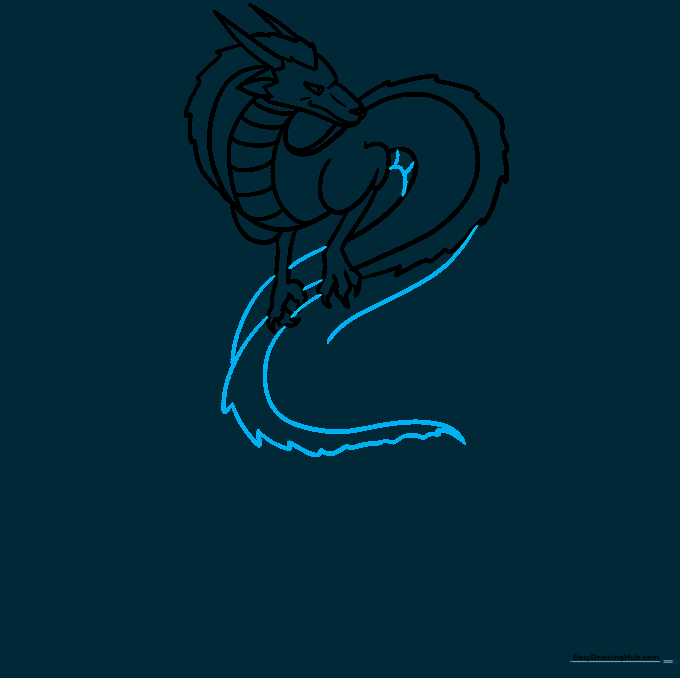
Connect the body segments and continue the dorsal spine line. Teacher's Tip: Use curved bands on the belly to suggest the dragon's ribbed, scale-like texture.
Sketching the Haunches
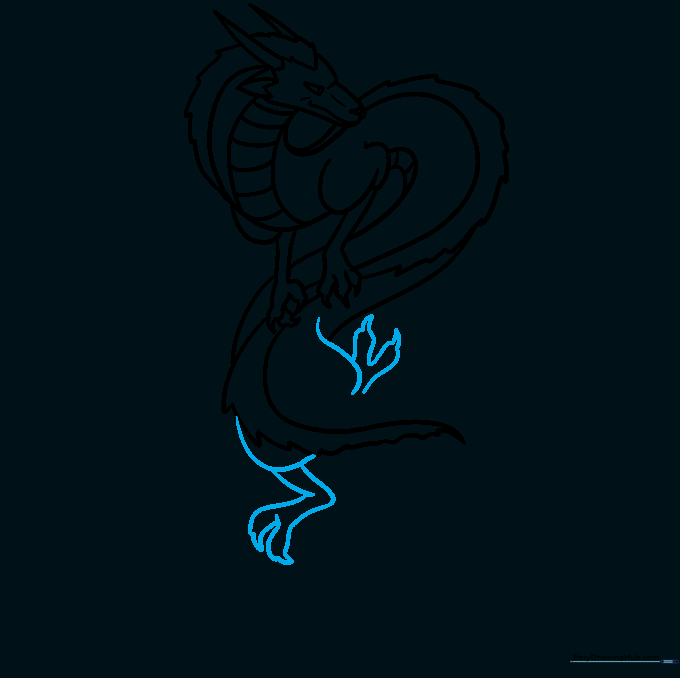
Draw the rear legs using 'L' shaped lines for the joints. Teacher's Tip: Ensure the back feet are positioned slightly behind the body to create a sense of depth.
Completing the Tail
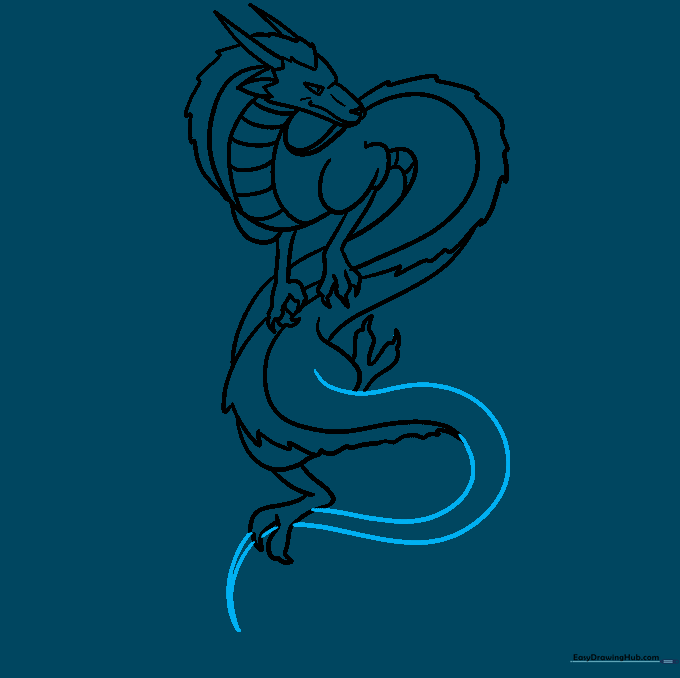
Extend the tail with long, tapering curves. Teacher's Tip: Let the tail curve off the page or behind the leg to emphasize the dragon's long, winding body.
Adding Final Details
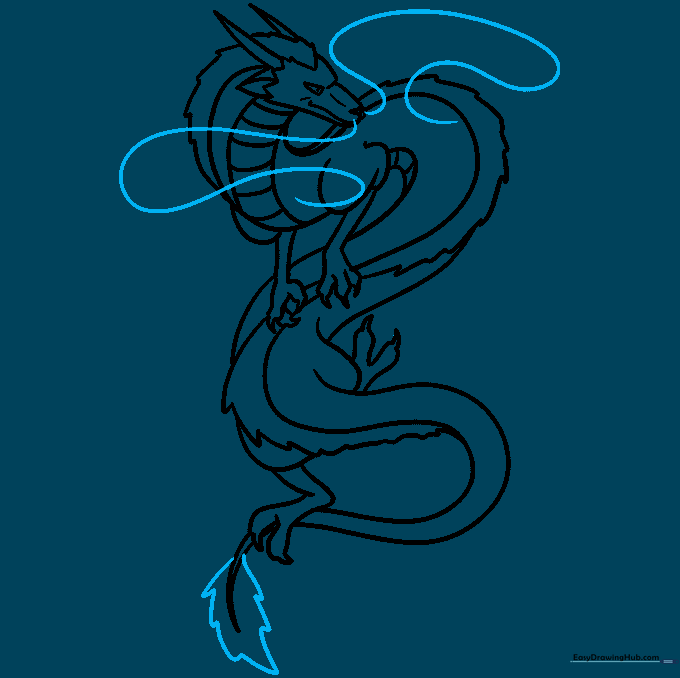
Draw the leaf-shaped tuft at the end of the tail and the long whiskers. Teacher's Tip: Keep the whiskers thin and flowing to contrast with the thicker body lines.
Adding Color
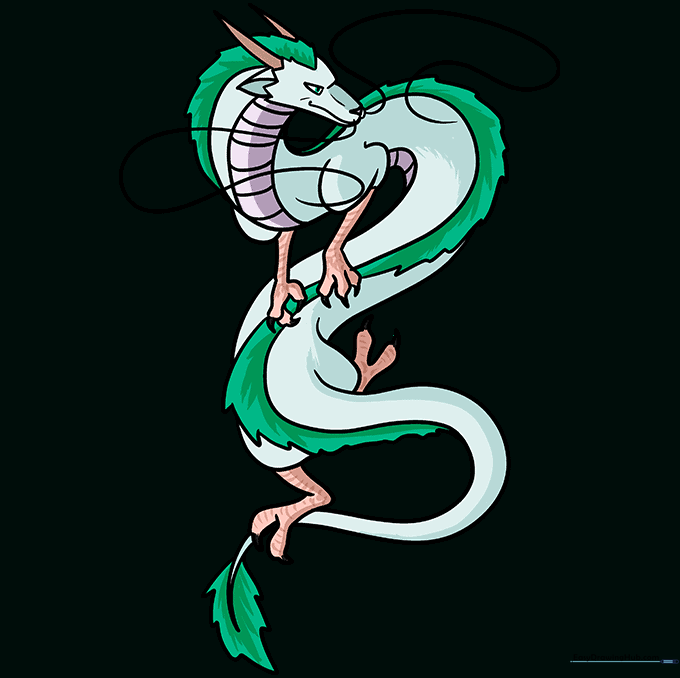
Bring Haku to life with white for the body and a vibrant green for the mane. Teacher's Tip: Use light pressure with your green pencil to create a soft, magical glow for the mane.
More Tutorials


