How to Draw the Green Goblin: Easy 9-Step Guide
Ready to bring a classic comic book villain to life? This tutorial is perfect for young artists and Marvel fans looking to practice character proportions and dynamic posing. You will need a pencil, an eraser, and your favorite markers to complete this iconic look.
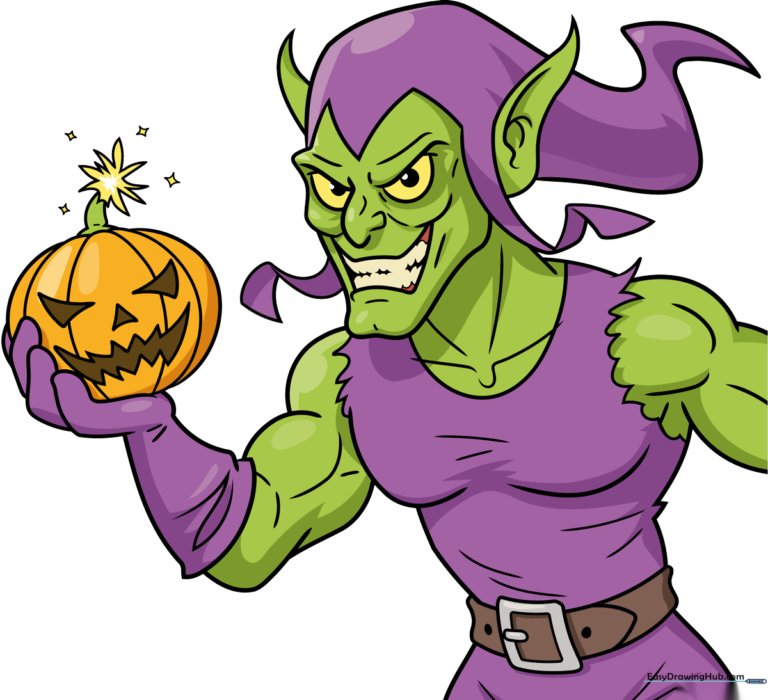
🎯 Final Result
Step-by-Step Instructions
Step 1: Sketching the Eyes and Nose
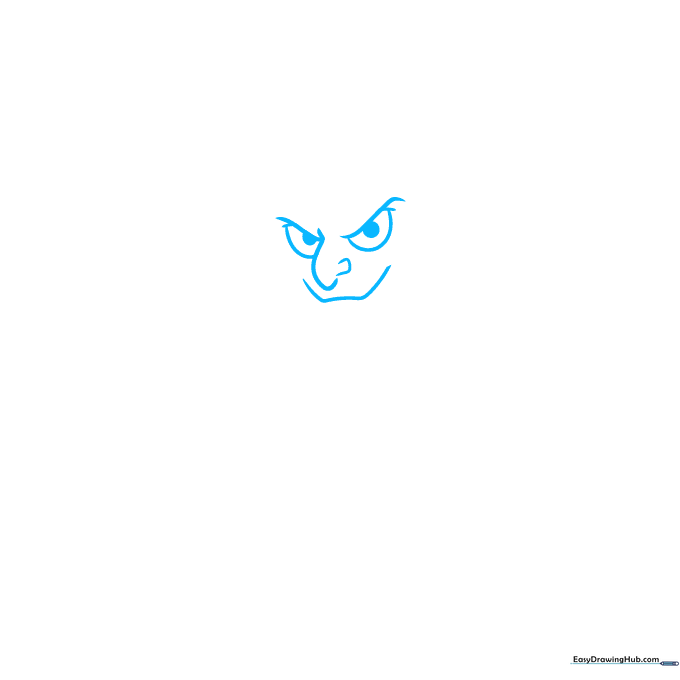
Draw two lemon-shaped eyes with circles inside for pupils. Add a loose semi-oval and a small rectangle for the nose. Teacher's Tip: Keep the eyes symmetrical to give the face a balanced, menacing look.
Step 2: Defining the Face and Jaw
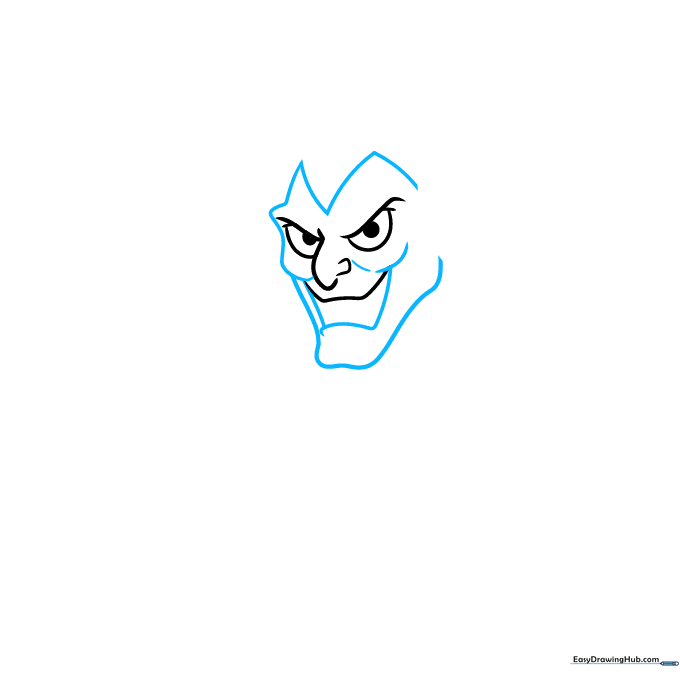
Sketch three triangles above the eyes for the brow. Use a vertical line and two bumps to define the chin and jawline. Teacher's Tip: Use short, light strokes to build the jaw shape so you can adjust the curve easily.
Step 3: Adding the Ears and Cap
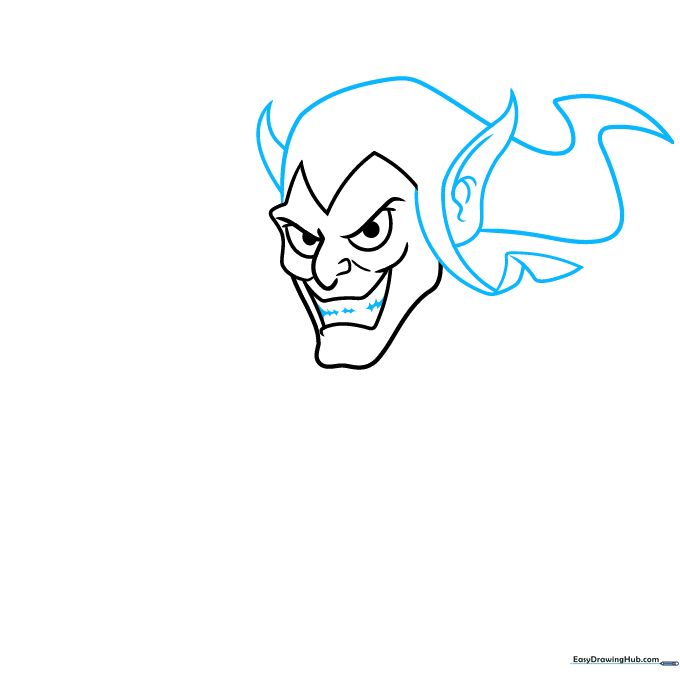
Draw long, pointed triangles for the ears. Outline the top of the head and complete the cap with sweeping curves. Teacher's Tip: Make the ears slightly uneven to give the Goblin a more organic, mischievous appearance.
Step 4: Sketching Shoulders and Chest
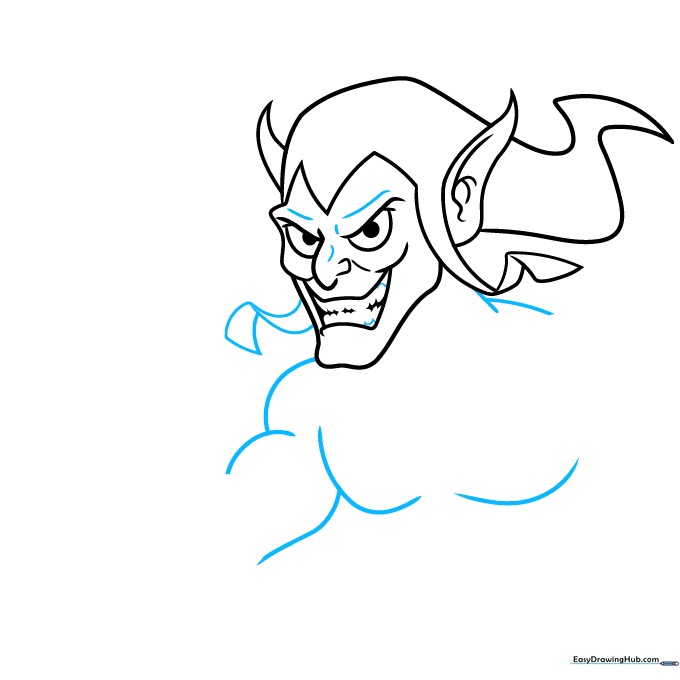
Add curves for the shoulders and chest area. Use simple hills for the shoulder joints. Teacher's Tip: Focus on keeping the chest lines rounded to suggest the muscular build of the character.
Step 5: Drawing the Pumpkin Bomb

Draw an incomplete oval for the pumpkin, overlapping it with three cylindrical shapes. Add curves inside the arm to show muscle definition. Teacher's Tip: Think of the pumpkin as a simple sphere—don't worry about perfect circles!
Step 6: Detailing the Pumpkin and Hand
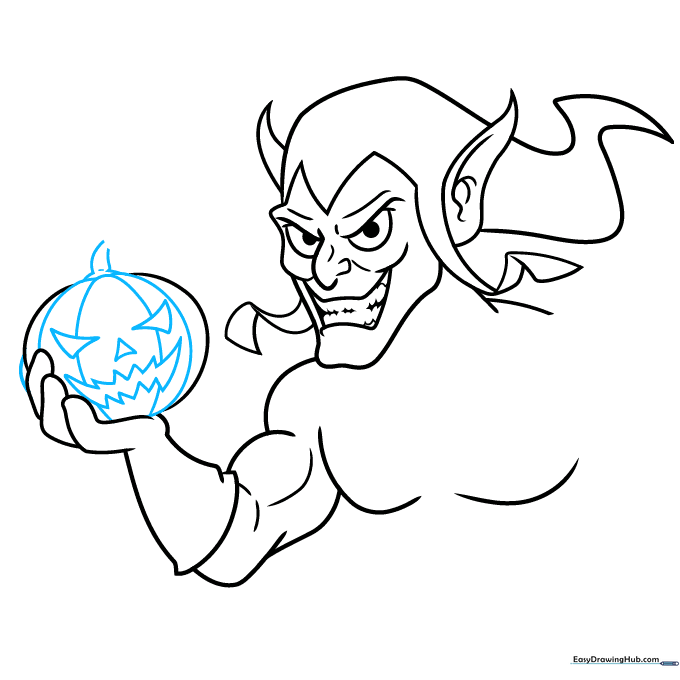
Add the pumpkin's face using triangles and a stem. Sketch the fingers with small, curved lines. Teacher's Tip: Use a darker pencil stroke for the pumpkin's face to make it stand out from the rest of the drawing.
Step 7: Adding Costume Details
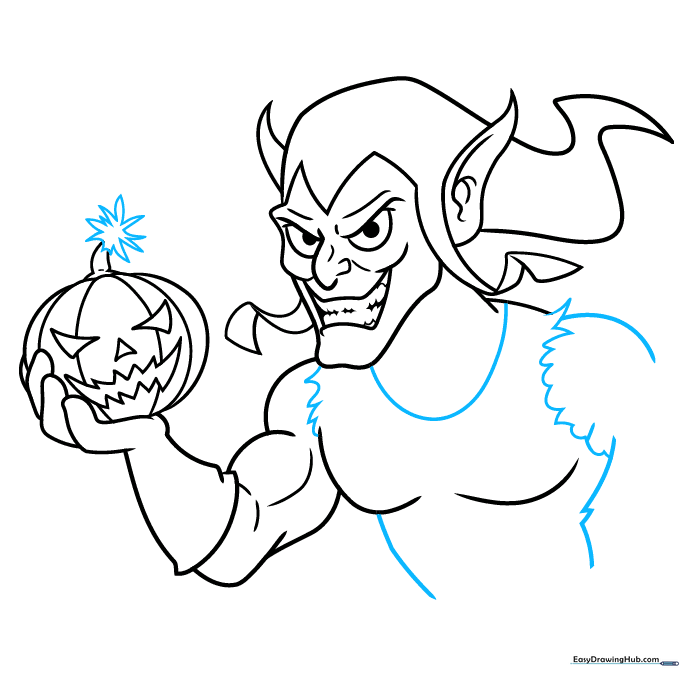
Add bristly shapes to the stem and uneven waves for the sleeves. Sketch the shoulder and chest armor lines. Teacher's Tip: Use jagged, uneven lines for the sleeves to give them a worn, villainous texture.
Step 8: Finalizing the Belt and Armor
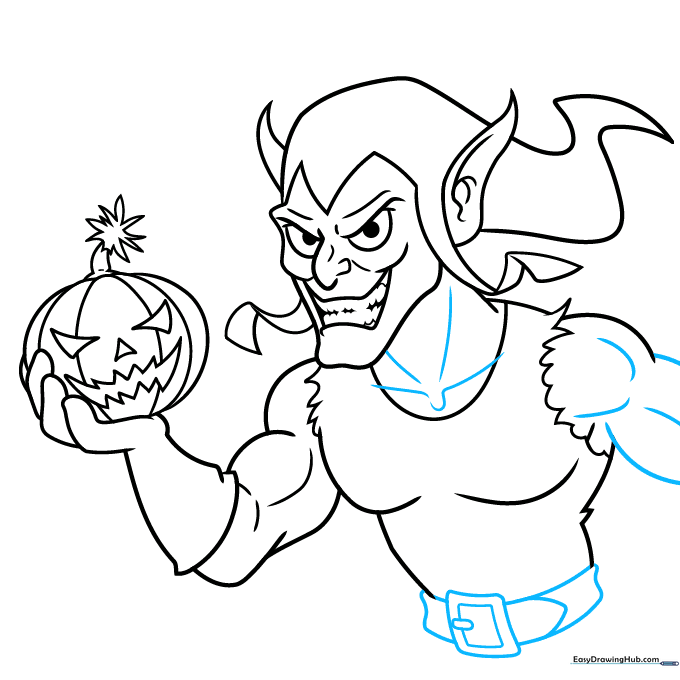
Add the belt buckle and extra armor details with squares and rectangles. Teacher's Tip: Keep your shapes simple; you can add more complex shading later with your markers.
Step 9: Final Outline
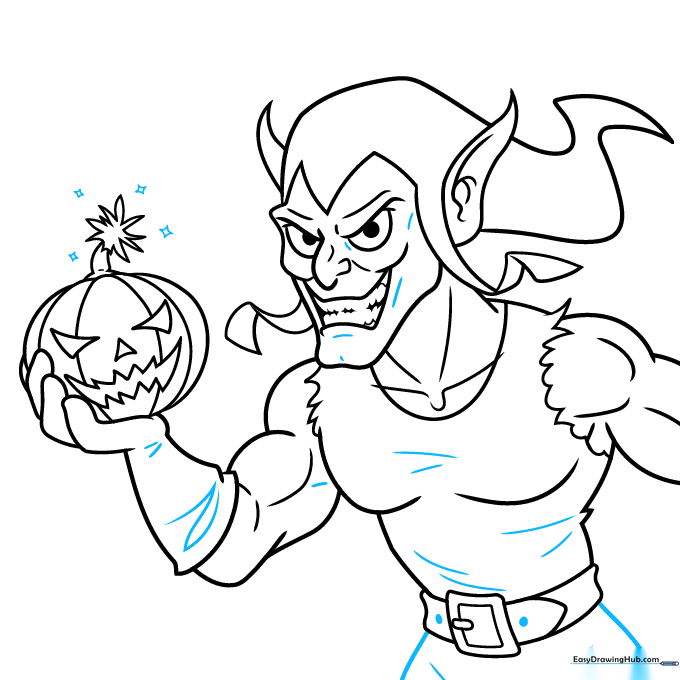
Outline your entire drawing with a black pen. Erase any remaining pencil marks. Teacher's Tip: Use a steady hand and go slowly—this is the most important step for a clean, professional look.
Step 10: Color Your Masterpiece
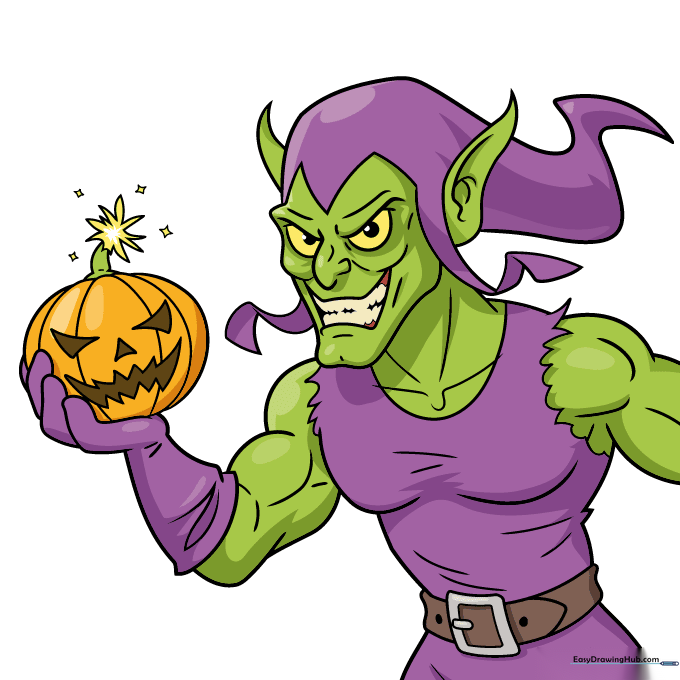
Use green for the skin, purple for the clothes, and orange/yellow for the pumpkin bomb. Teacher's Tip: Try coloring in one direction to keep your work looking smooth and neat.
More Tutorials


