How to Draw the Grand Canyon: Easy 10-Step Landscape Guide
Capture the majesty of the Grand Canyon with this beginner-friendly landscape tutorial. Designed for young artists and hobbyists, this guide uses basic shapes to build complex rock formations and river depth. Grab a pencil, an eraser, and some colored pencils to bring this iconic landmark to life.
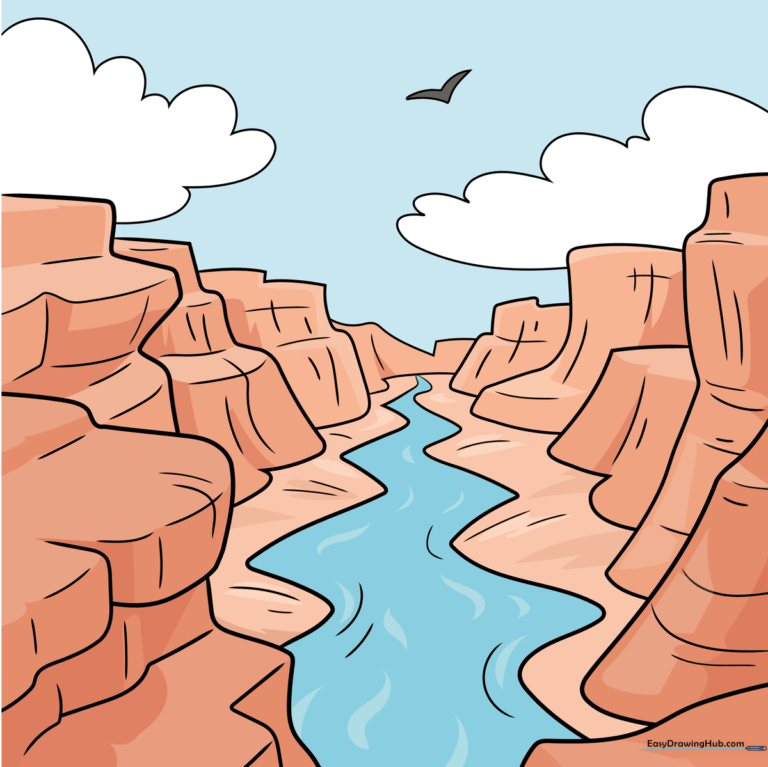
🎯 Final Result
Step-by-Step Instructions
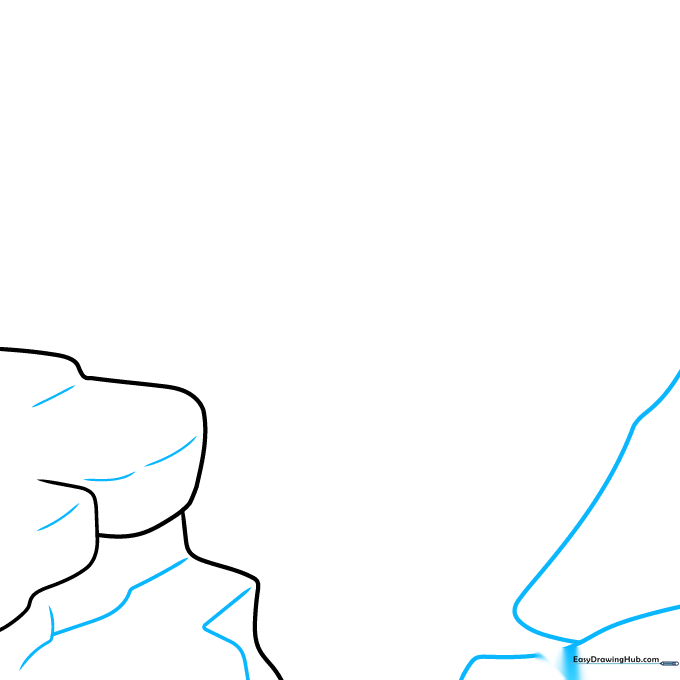
Step 1: Sketching the Primary Rock Outcropping

Begin by drawing a series of overlapping curved lines to create the first rocky cliff. Teacher's Tip: Keep your pencil pressure light so you can easily adjust the shape of the rocks if they look too symmetrical.
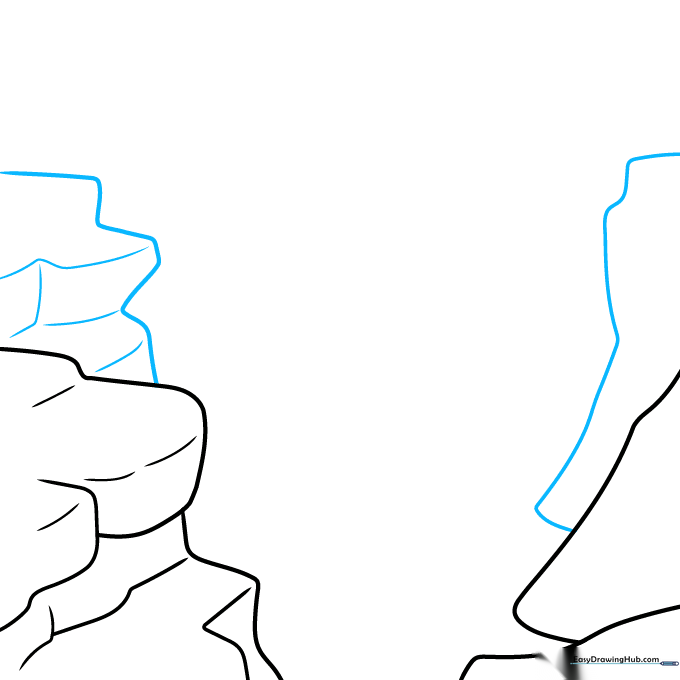
Step 2: Establishing Depth with Contours
Use a mix of short and long curved lines to contour the rocks, creating a 3D effect. Then, mirror this on the opposite side to form the second cliff. Tip: Varying the length of your lines makes the rock faces look more natural and rugged.
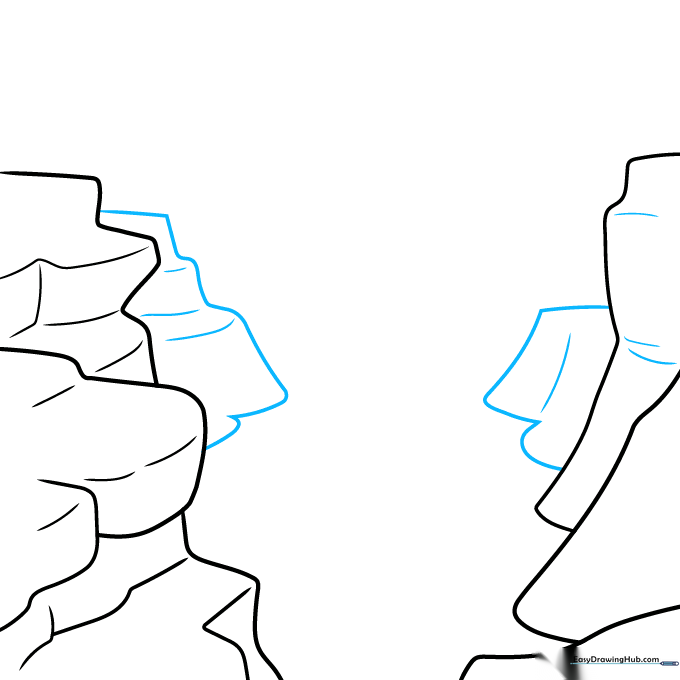
Step 3: Defining the Cliff Faces
Continue building the canyon walls using long, sweeping curved lines. On one side, add horizontal and vertical lines to indicate flat rock faces. Tip: Think of these as 'steps' in the rock; they help define the canyon's massive scale.
Step 4: Adding Layers to the Canyon Walls
Outline another segment of the cliff on each side to create layers. Add texture with small, broken curved lines. Tip: Don't worry about making these lines perfect; rocks in nature are jagged and irregular.
Step 5: Creating Distant Canyon Sections
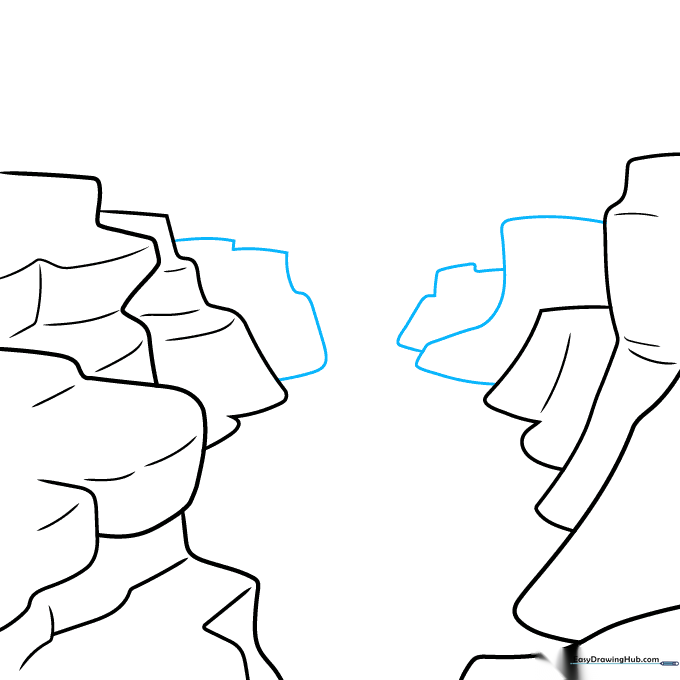
Draw three more sections of the canyon further back in the distance using long, soft curved lines. Tip: Drawing these lines slightly higher up on the page creates the illusion that they are further away.
Step 6: Drawing the Colorado River
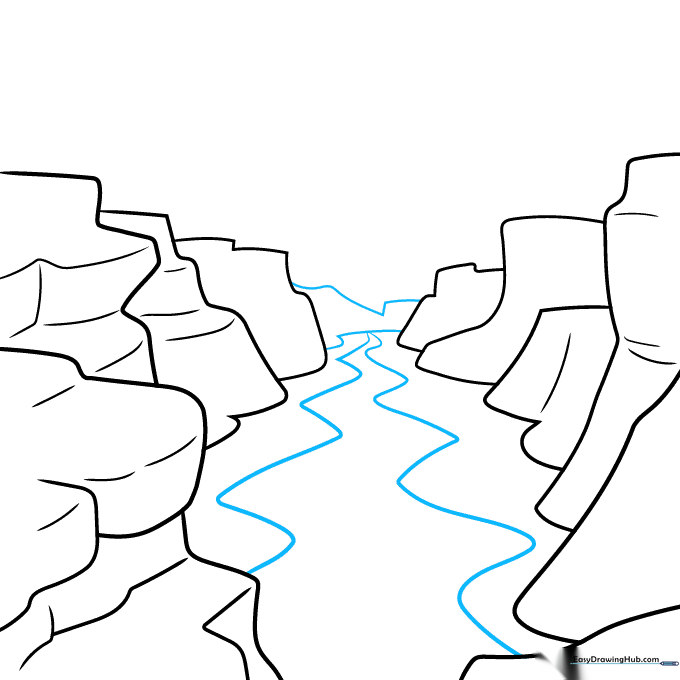
Connect the distant sides with two curved lines to show the canyon bend. Then, draw two wavy, zig-zag lines down the center for the Colorado River. Tip: Keep the river lines fluid to contrast with the sharp, jagged edges of the rocks.
Step 7: Adding Geological Texture
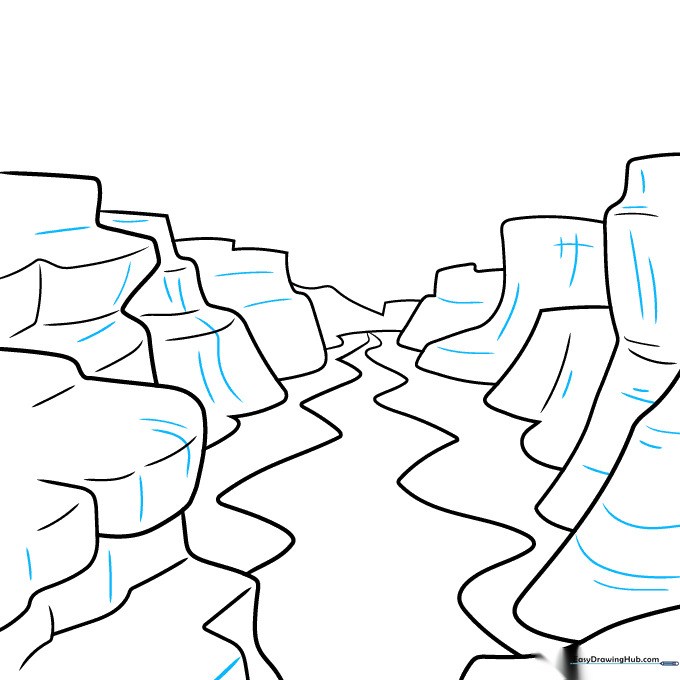
Add more detail to the cliff faces using perpendicular lines. Tip: Use these lines to show where the rock is 'cracked' or weathered by the wind.
Step 8: Adding Atmosphere and Clouds
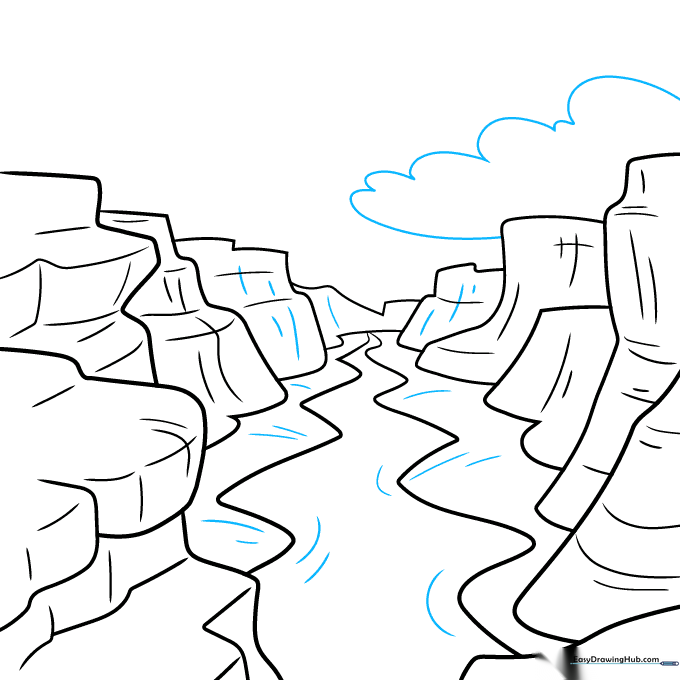
Use curved lines to texture the distant cliffs and the river banks. Then, draw a fluffy cloud above the canyon using connected curved lines. Tip: Clouds should be soft and rounded, which helps balance the sharp, angular lines of the canyon.
Step 9: Final Touches and Wildlife
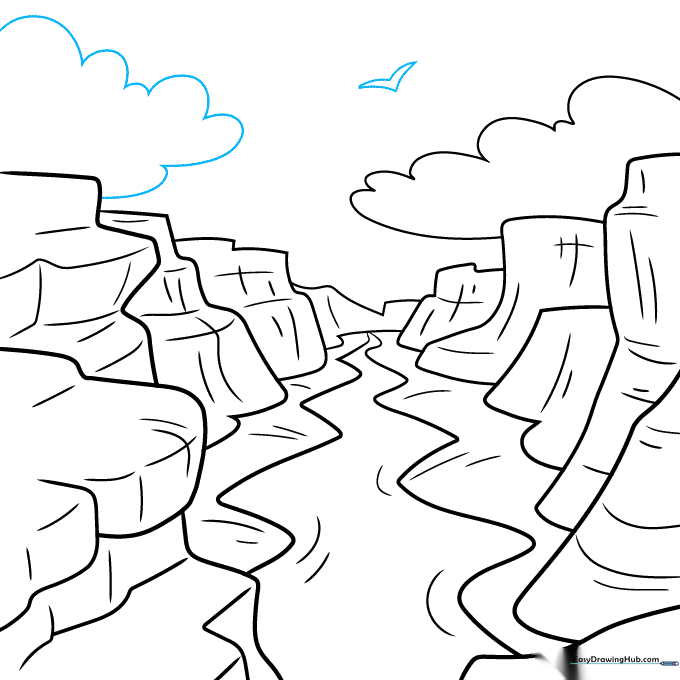
Add a second cloud on the opposite side. Finally, draw a simple 'V' shape in the sky to represent a soaring bird. Tip: A single bird adds a sense of scale and life to your vast landscape.
Step 10: Bringing the Canyon to Life with Color
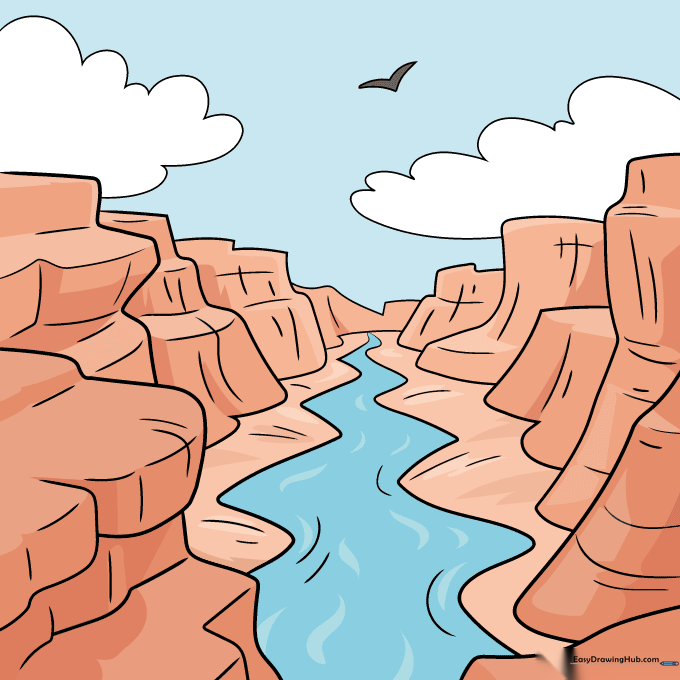
Your outline is complete! Now, use warm reds, oranges, and deep browns to color the canyon walls. Use a cool blue for the river. Tip: Layer your colors, pressing harder in the shadows and lighter on the sunlit edges to create depth.
More Tutorials


