How to Draw a Genie Lamp: Easy 10-Step Guide
Bring a touch of magic to your sketchbook with this classic genie lamp tutorial. Designed for young artists and beginners, this project requires only a pencil, paper, and an eraser. Follow along to master curved lines and symmetry while creating your own enchanted treasure.
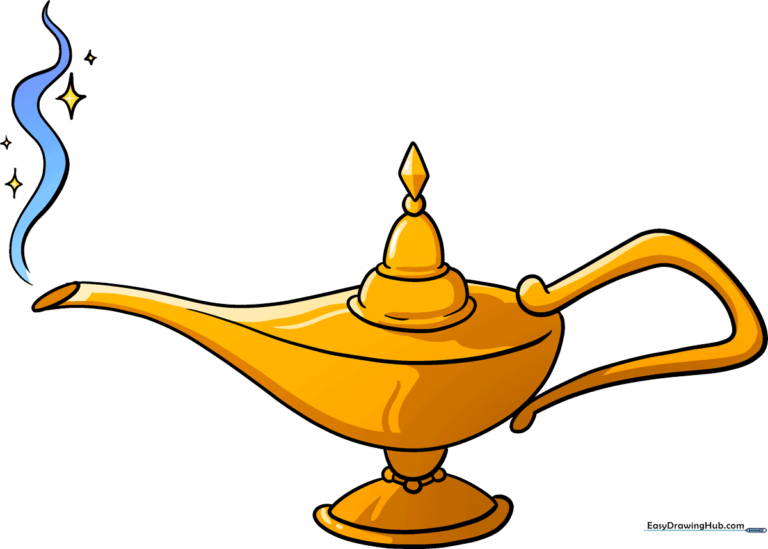
🎯 Final Result
Step-by-Step Instructions
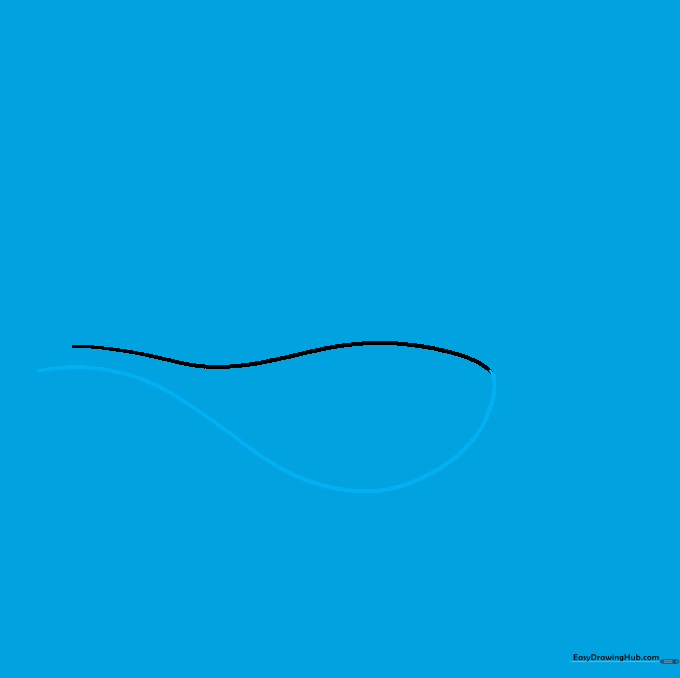
Sketching the Spout

Start by drawing a long, elegant curved line to outline the top of the lamp and its spout. Teacher's Tip: Keep your pencil pressure light so you can easily adjust the shape if the curve feels too steep.
Defining the Lamp Body
Continue the curved line, doubling it back to form the bottom of the lamp. It should resemble the shape of a spoon. Tip: Focus on keeping the bottom curve smooth to give the lamp a balanced, weighted look.
Adding Depth and Spout Opening

Connect the lines at the tip with a small diagonal oval to create the spout opening. Add a curved line down the center of the body to show volume. Tip: Imagine the lamp is 3D; this center line helps define the 'belly' of the lamp.
Drawing the Handle

Sketch a horseshoe-shaped handle on the side opposite the spout. Use two curved lines and connect them with small circles. Tip: Make sure the handle looks like it is attached to the body by slightly overlapping the lines.
Constructing the Base
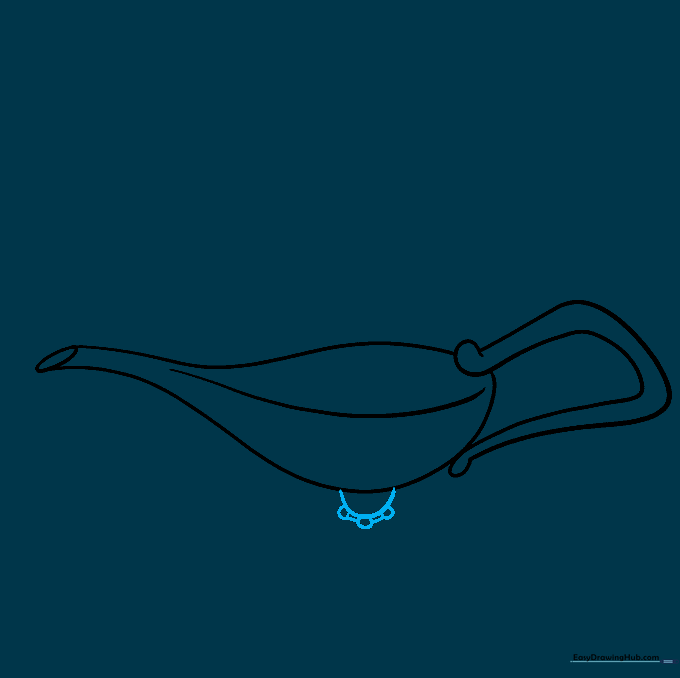
Draw a half-circle for the base, then add three small circles beneath it, connecting them with short lines. Tip: Keep these circles uniform in size to ensure your lamp looks sturdy and balanced.
Refining the Base
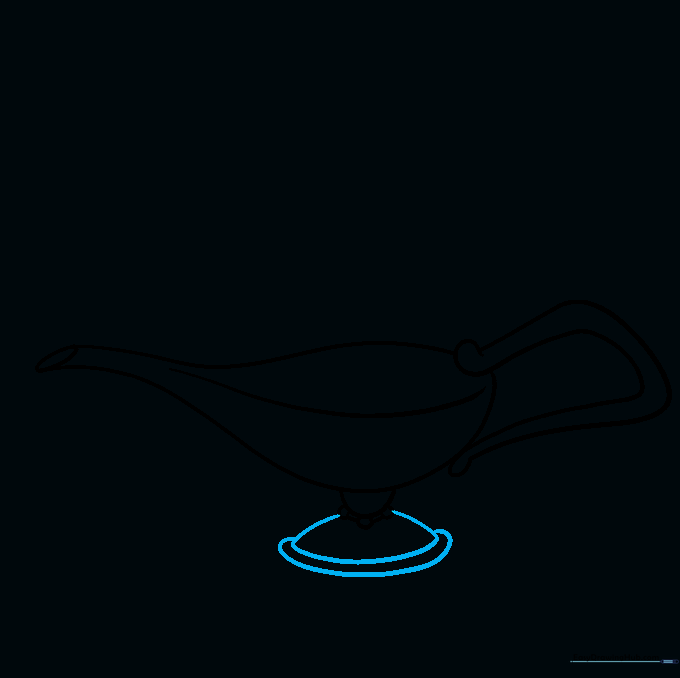
Extend curved lines from the base circles and connect them to create a solid foundation. Add an extra curved line around the base to give it a decorative edge. Tip: Use smooth, sweeping motions for these curves.
Adding the Lid
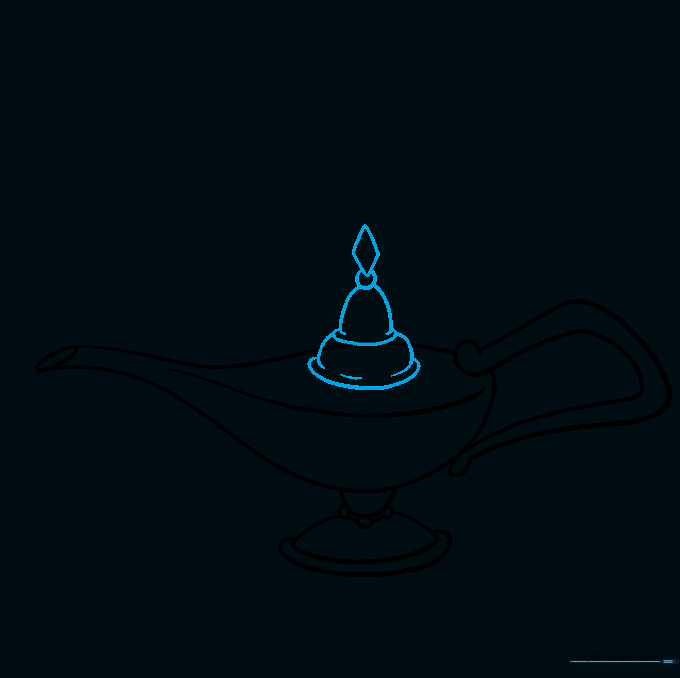
Draw two stacked bell shapes on top of the lamp for the lid, finishing with a small circle and diamond shape at the very peak. Tip: Erase any overlapping lines inside the lid to make it look like one solid piece.
Adding Magical Smoke
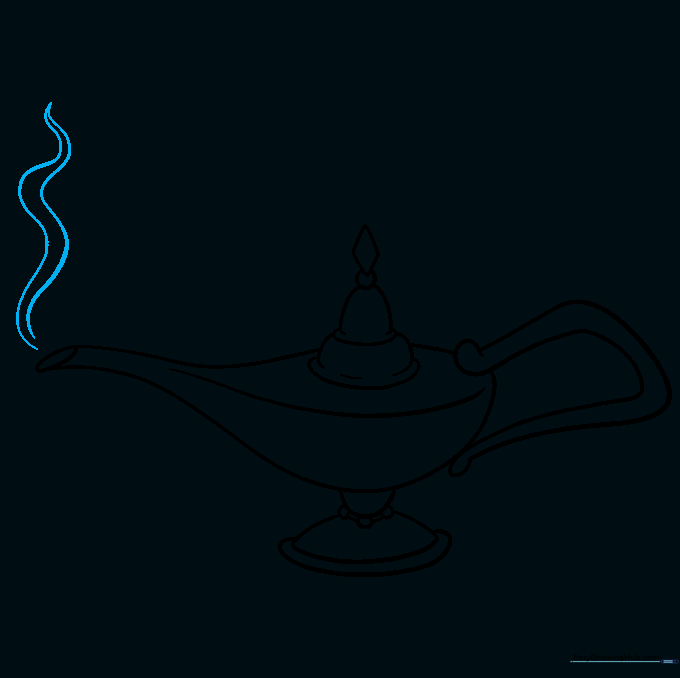
Draw a wisp of smoke curling from the spout using two curved lines that meet at a sharp point. Tip: Make the smoke look fluid and light by using soft, wavy lines rather than rigid ones.
Adding Magical Sparkles
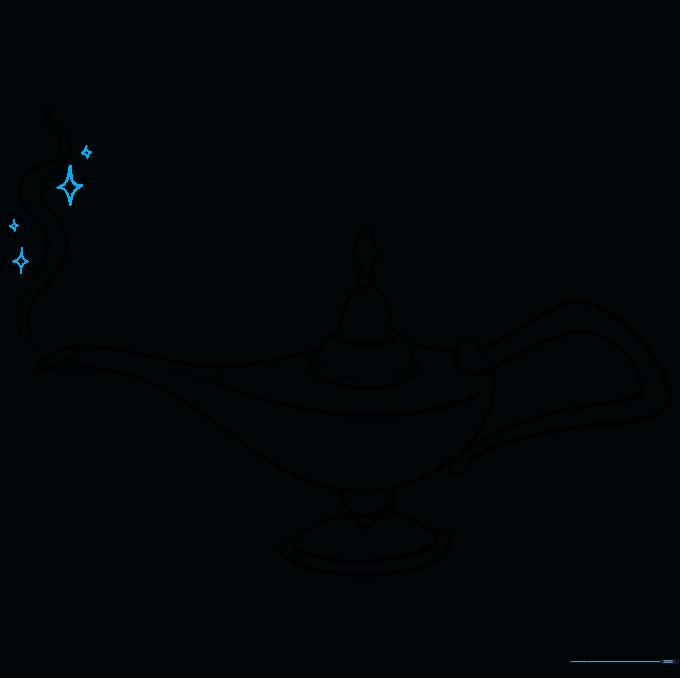
Draw several four-pointed stars of varying sizes around the smoke to represent magic. Tip: Varying the size of the stars creates a sense of depth and movement in your drawing.
Adding Color
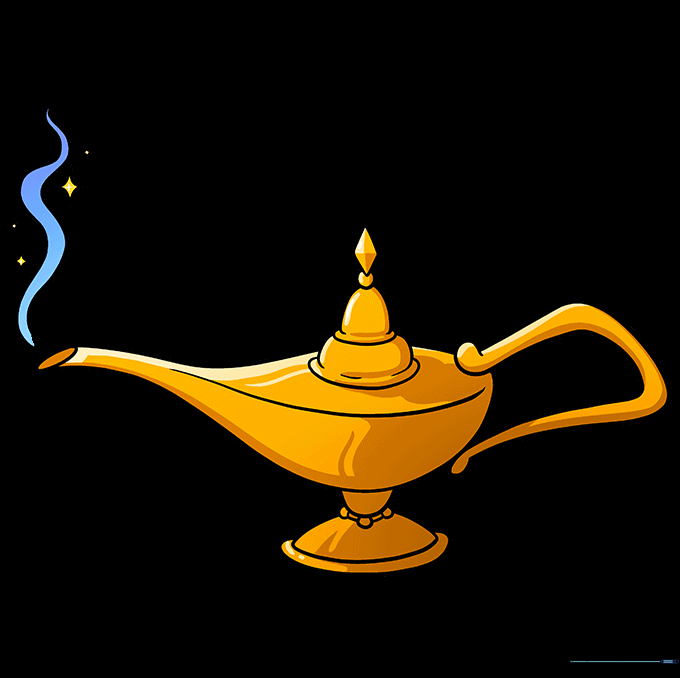
Bring your lamp to life with color! Use shades of yellow and gold to give it a metallic, treasure-like appearance. Tip: Leave a small white space on the top curve to act as a 'highlight,' making the gold look shiny.
More Tutorials


