How to Draw a Frog Prince: Easy Step-by-Step Guide
Bring a fairytale character to life with this engaging drawing tutorial, perfect for young artists ages 7 and up. You will only need a pencil, an eraser, and some paper to master this whimsical character. Follow along to develop your sketching skills and create a magical frog prince ready for his royal debut.
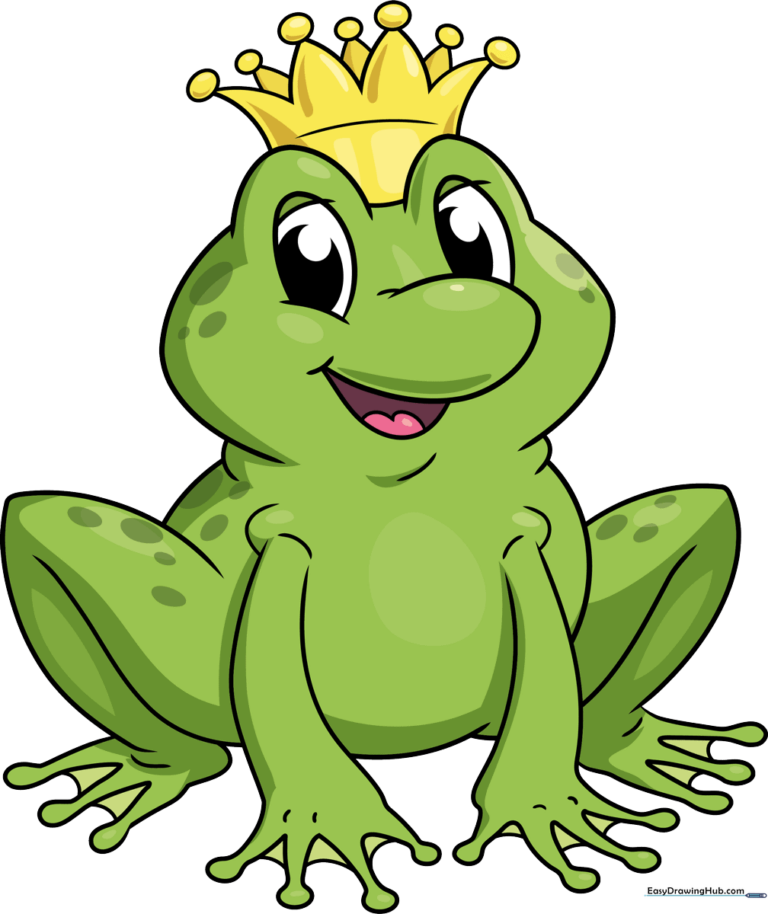
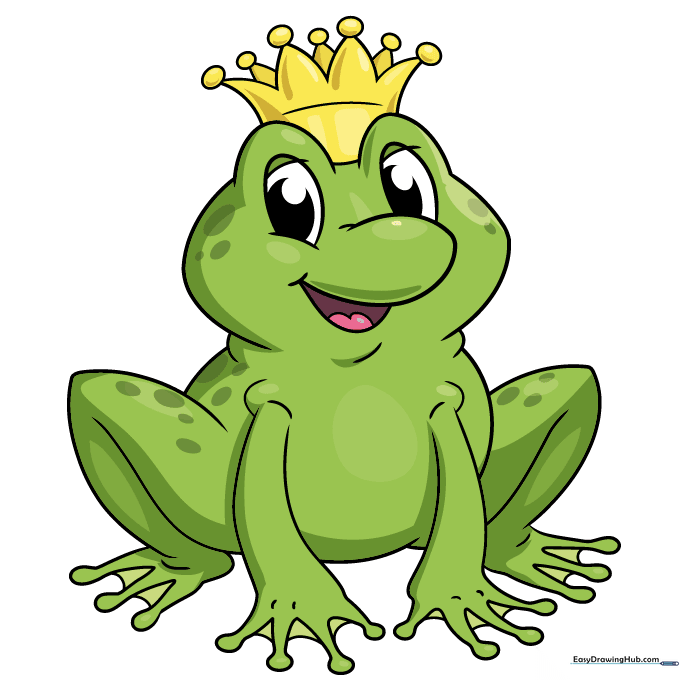
🎯 Final Result
Step-by-Step Instructions
Sketching the Face

Start by drawing the frog's face using soft, curved lines to form the cheek and eyelid. Add the pupil and a small nose line. Teacher's Tip: Keep your pencil pressure light here so you can easily adjust the shape of the eye later.
Adding the Mouth and Second Eye
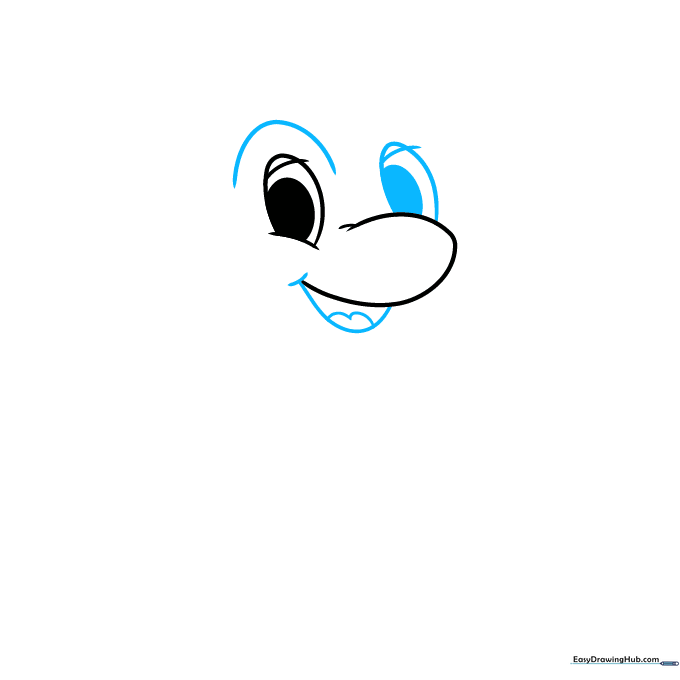
Draw the second eye to match the first, then sketch a wide, happy mouth with a tongue inside. Tip: A slightly curved line at the corner of the mouth creates a cute dimple, giving your frog a friendly personality.
Defining the Head and First Arm
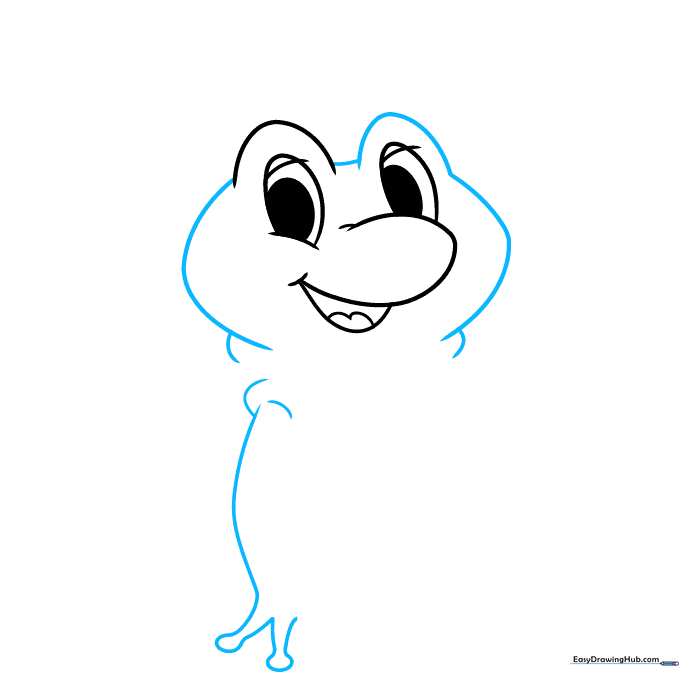
Use overlapping curved lines to define the head shape. Then, draw the first arm using long, flowing strokes. Tip: When drawing the fingers, think of them as small, rounded sausages—this makes them look natural and soft.
Drawing the Second Arm
Complete the first hand, then sketch the second arm reaching out. Tip: Notice the ridge at the shoulder; adding this small detail helps show where the arm connects to the body.
Starting the Legs
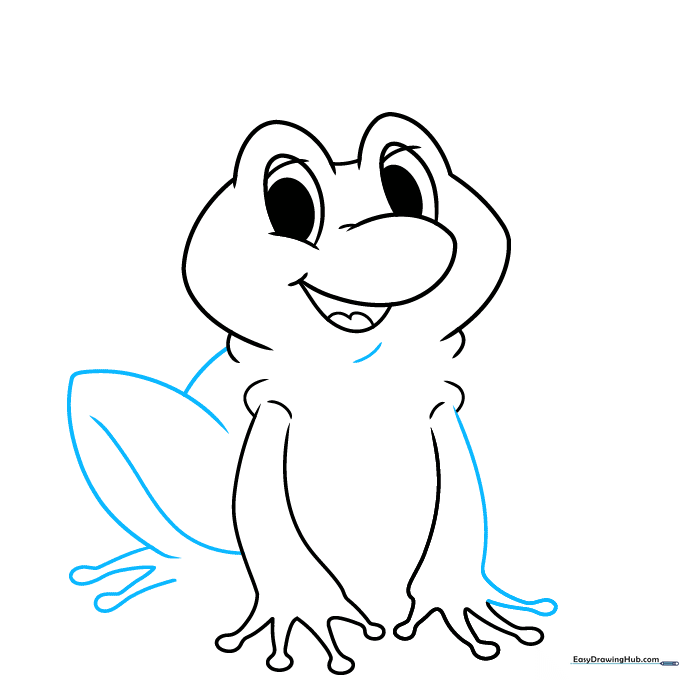
Draw the legs using long, overlapping curves to suggest a bent, sitting posture. Tip: Use small ovals for the toe tips to give them that classic cartoon frog look.
Defining the Body

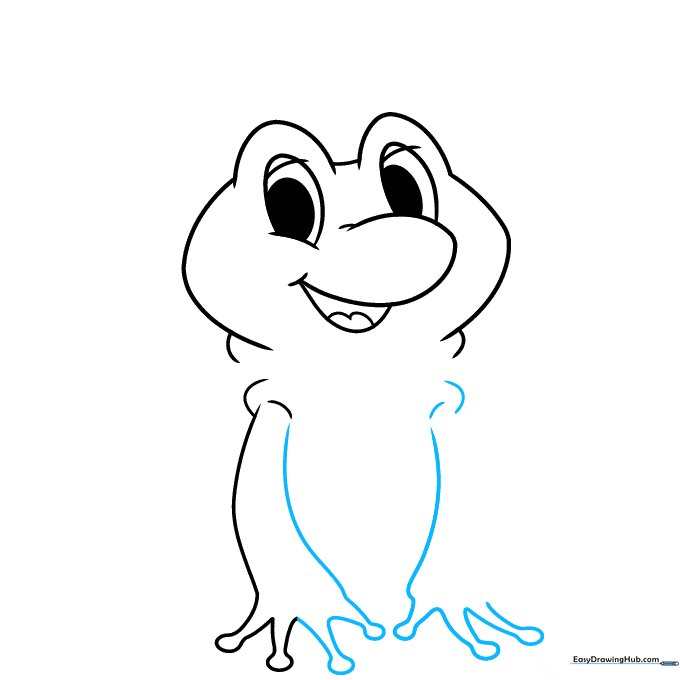
Complete the rear leg and enclose the round body with smooth, continuous lines. Tip: Imagine the frog is sitting on a lily pad; keeping the body rounded makes him look plump and friendly.
Adding Webbed Feet
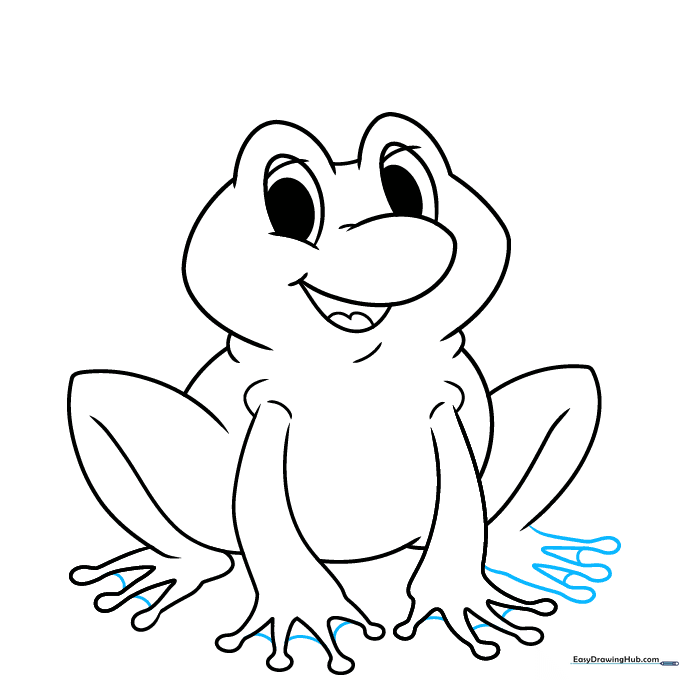
Finish the feet by drawing small, curved lines between the toes to create the webbing. Tip: Don't worry if the lines aren't perfect; nature is rarely perfectly symmetrical!
Drawing the Crown
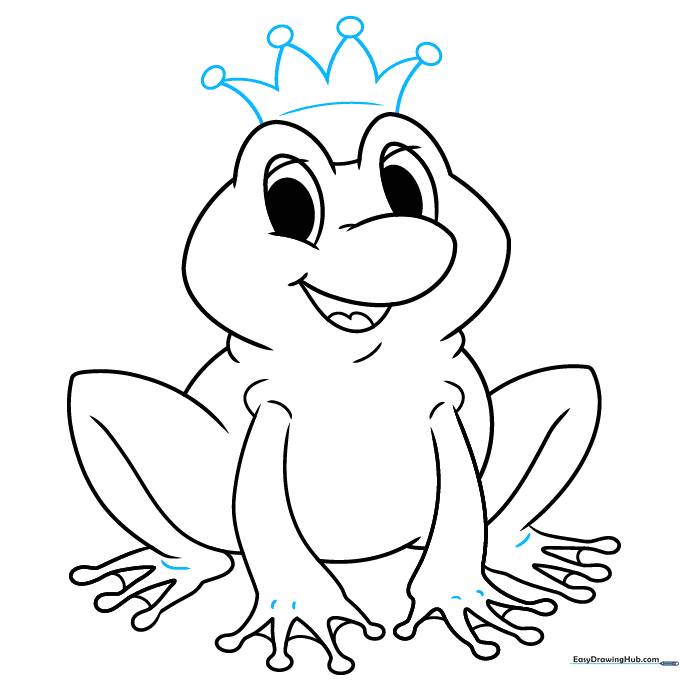
Add detail to the knuckles and ankles, then sketch the base of the crown. Tip: Draw the crown points as triangles with small circles on top to make it look like a classic royal accessory.
Final Details and Texture
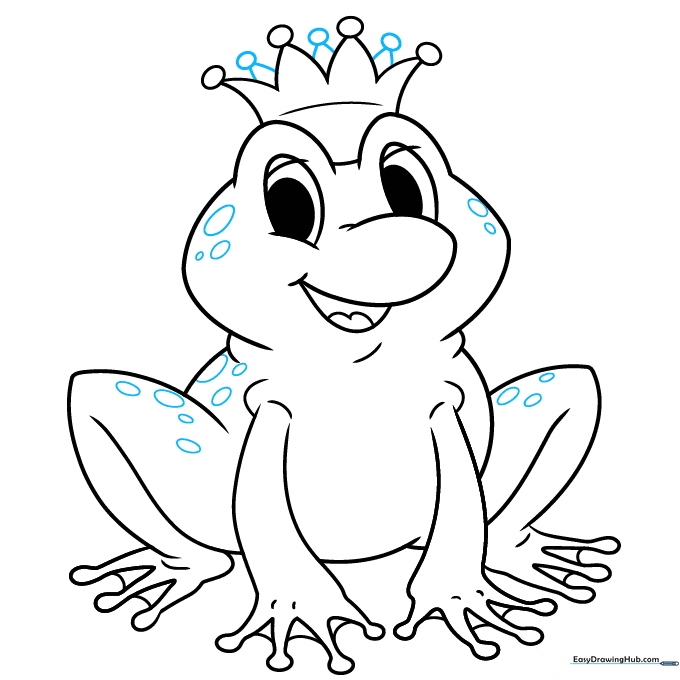
Complete the crown and add small ovals across the frog's body to represent skin texture. Tip: Vary the size of the ovals to make the skin look more realistic and interesting.
Coloring Your Masterpiece
Bring your prince to life with color! Use bright greens for the body and a rich gold for the crown. Tip: Use a darker green for the shadows under the arms to give your drawing more depth.
More Tutorials


