How to Draw The Flash: Easy 10-Step Superhero Guide
Ready to bring the Scarlet Speedster to life? This tutorial is perfect for young artists ages 7+ looking to master superhero anatomy. Grab your pencil, eraser, and paper, and follow along to build your confidence in character design.
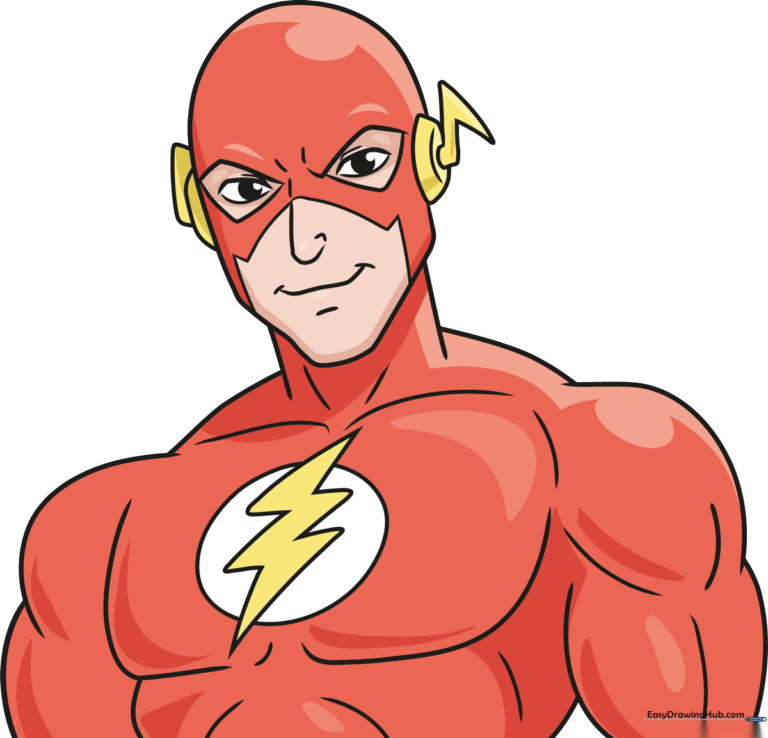
🎯 Final Result
Step-by-Step Instructions
Step 1: Sketching the Expressive Eyes

Start by drawing two curved lines for the almond-shaped eyes. Add a small circle inside each for the pupil. Teacher's Tip: Keep your pencil pressure light here; these guidelines help you place the mask later.
Step 2: Defining Facial Features

Use soft, curved lines to outline the nose, nostrils, and mouth. Add a small curve for the chin dimple. Teacher's Tip: Focus on the symmetry of the nose to keep the face looking balanced.
Step 3: Shaping the Head and Mask

Draw a long, continuous curved line to define the jawline and cheeks. Add diamond-shaped outlines around the eyes for the mask. Teacher's Tip: Don't worry if the lines aren't perfect; superheroes have strong, angular features!
Step 4: Adding the Mask Details
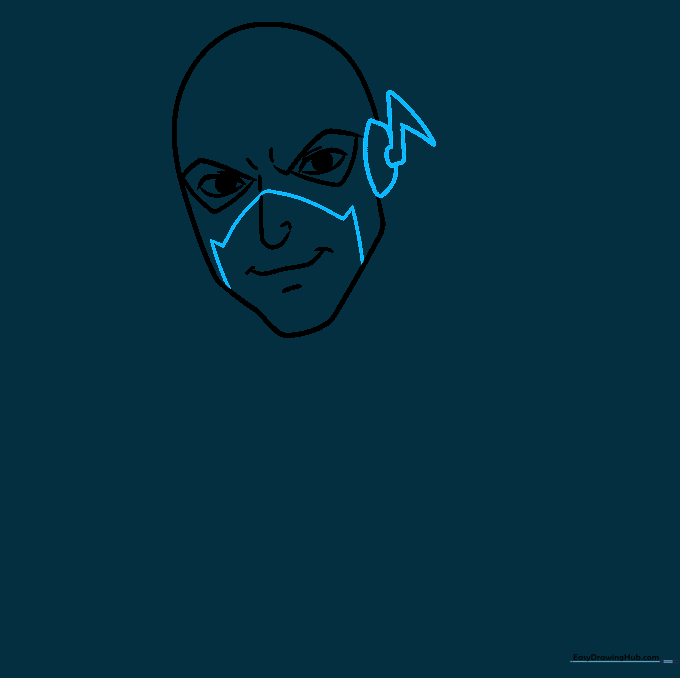
Sketch the mask opening around the mouth and add the iconic lightning bolt over the ear. Teacher's Tip: Use a ruler if you struggle with the straight edges of the lightning bolt, then trace over it freehand.
Step 5: Neck and Ear Bolts
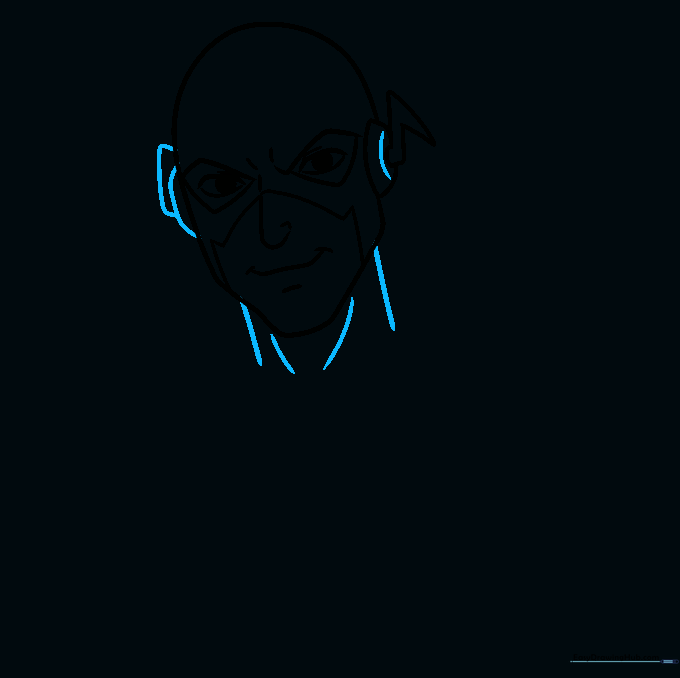
Draw the second lightning bolt and connect the head to the torso with two neck lines. Add muscle contours to the neck. Teacher's Tip: Keep the neck lines slightly curved to show strength.
Step 6: Sketching Broad Shoulders
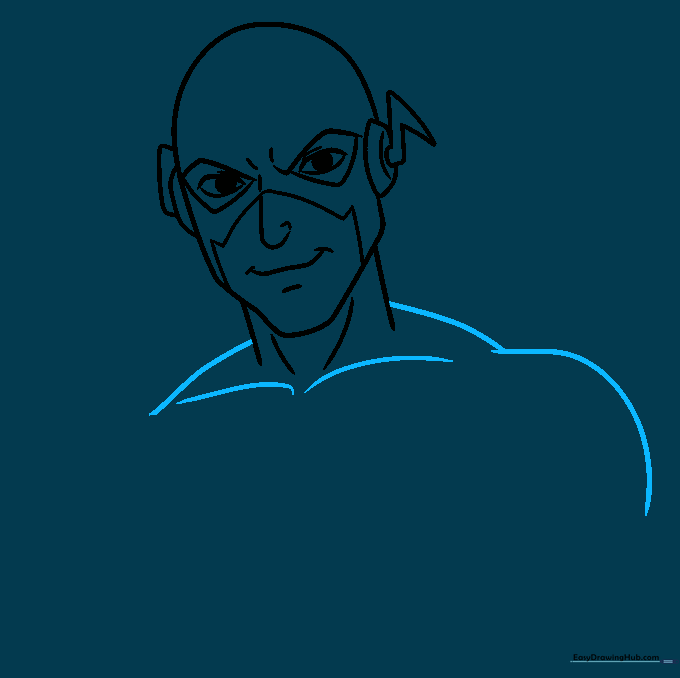
Use wide, curved lines to sketch the shoulders and collarbone. Teacher's Tip: Think of these as two rounded triangles to help get the proportions right for a superhero build.
Step 7: Defining the Arms

Continue the arm lines, adding curves for the biceps and pectoral muscles. Teacher's Tip: Use smooth, fluid lines to make the muscles look natural rather than blocky.
Step 8: Torso and Abdominal Detail
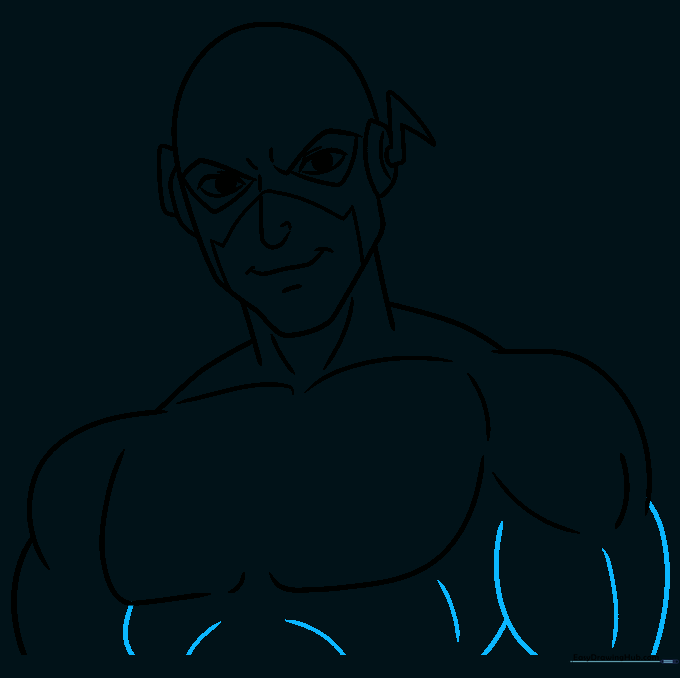
Finish the bicep outline and sketch the rib cage and abdominal muscles. Teacher's Tip: Keep these lines subtle—they are just guides for the suit's form.
Step 9: The Iconic Flash Logo
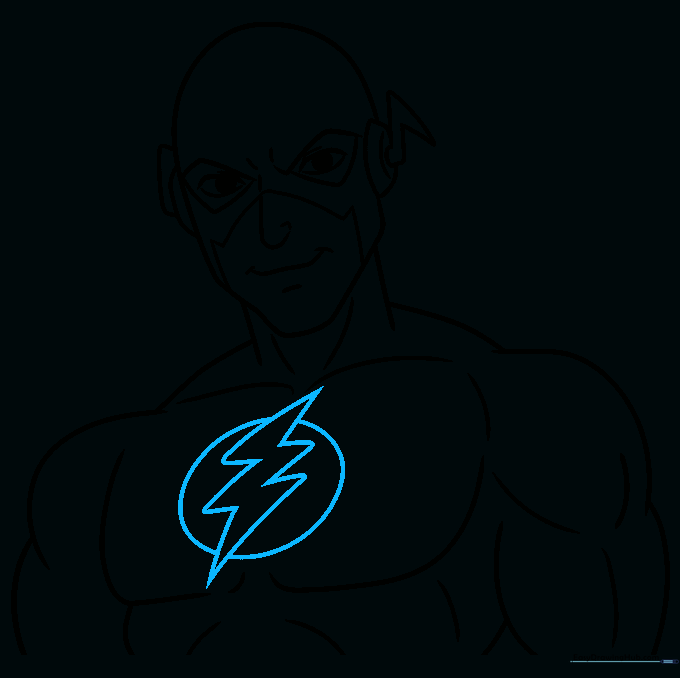
Draw the lightning bolt emblem inside a circle on the chest. Teacher's Tip: Draw the circle first, then fit the lightning bolt inside to ensure it stays centered.
Step 10: Bringing it to Life with Color
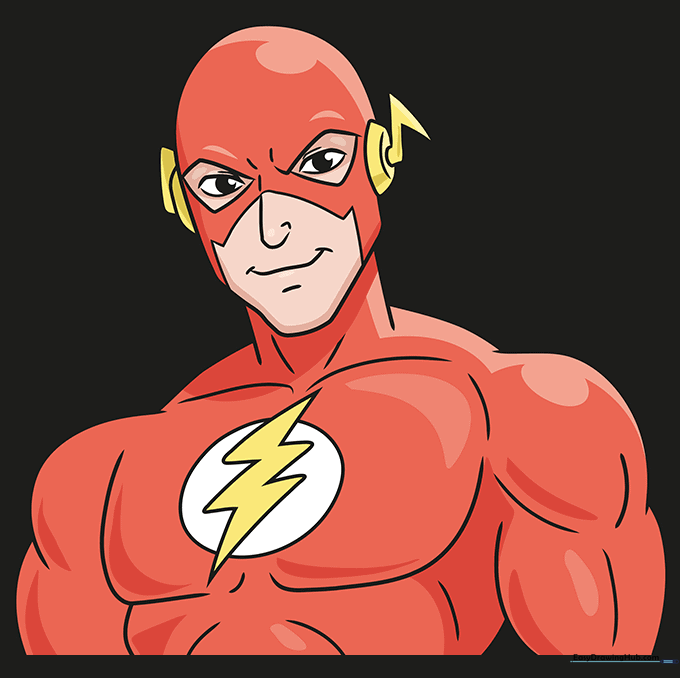
Time to color! Use vibrant red for the suit and bright yellow for the lightning bolts. Teacher's Tip: Use a marker for the bold lines and colored pencils for the suit to get a clean, professional look.
More Tutorials


