How to Draw the FIFA World Cup Trophy: Easy 10-Step Guide
Capture the spirit of the beautiful game by drawing the iconic FIFA World Cup trophy! This tutorial is designed for young artists ages 7+ and requires only a pencil, eraser, and paper. Follow these steps to master the trophy's unique silhouette and celebrate your love for soccer.
🎯 Final Result

Step-by-Step Instructions
Step 1: Sketching the Foundation
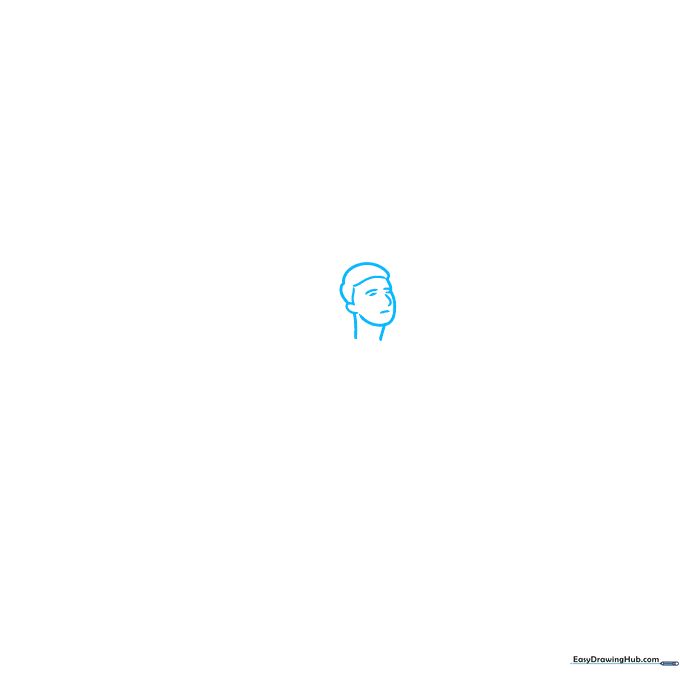
Start by lightly sketching the central structure. Draw a small oval for the head and a simple vertical line for the neck. Tip: Keep your pencil pressure very light here so you can easily erase these guidelines later once the trophy takes shape.
Step 2: Defining the Shoulders
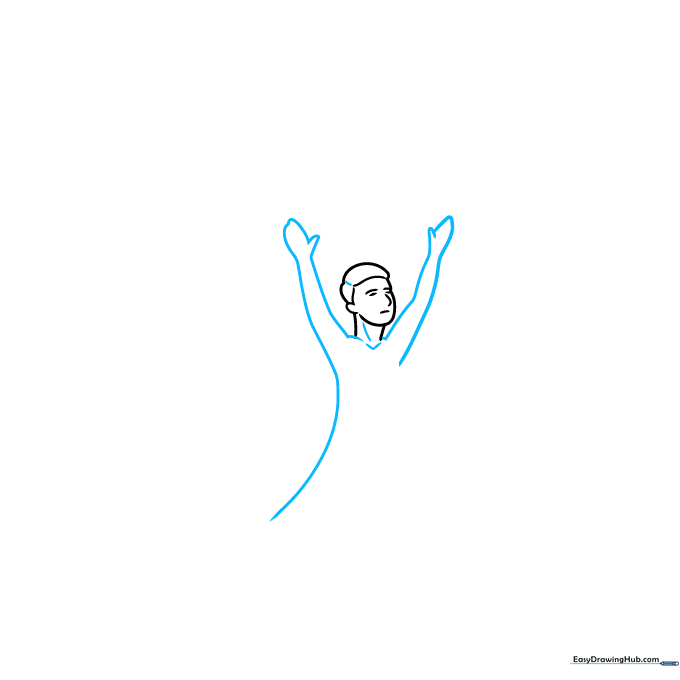
Add a soft V-shape below the neck to represent the shoulders. Use curved diagonal lines to extend the arms outward. Tip: Think of these as flowing ribbons rather than rigid lines to give the trophy its characteristic elegant movement.
Step 3: Creating the Globe Base

Sketch an incomplete circle above the figure to form the globe. Connect it with a wavy line to show the trophy's top section. Tip: Don't worry about making the circle perfect; the trophy has a slightly organic, hand-crafted feel.
Step 4: Connecting the Sections
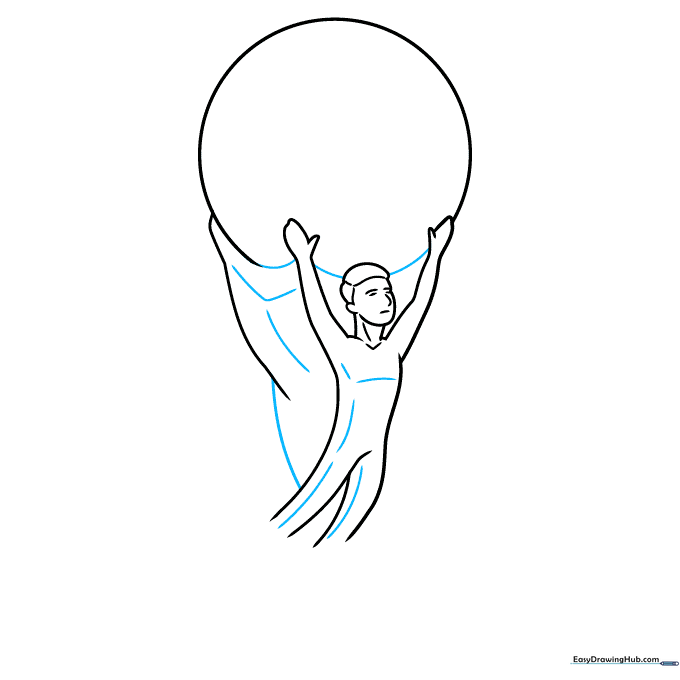
Use smooth, flowing curves to connect the globe to the main body. Add internal curves to suggest the trophy's metallic, spiraling texture. Tip: Use a 'C' motion with your wrist to get those smooth, natural-looking curves.
Step 5: Adding Depth
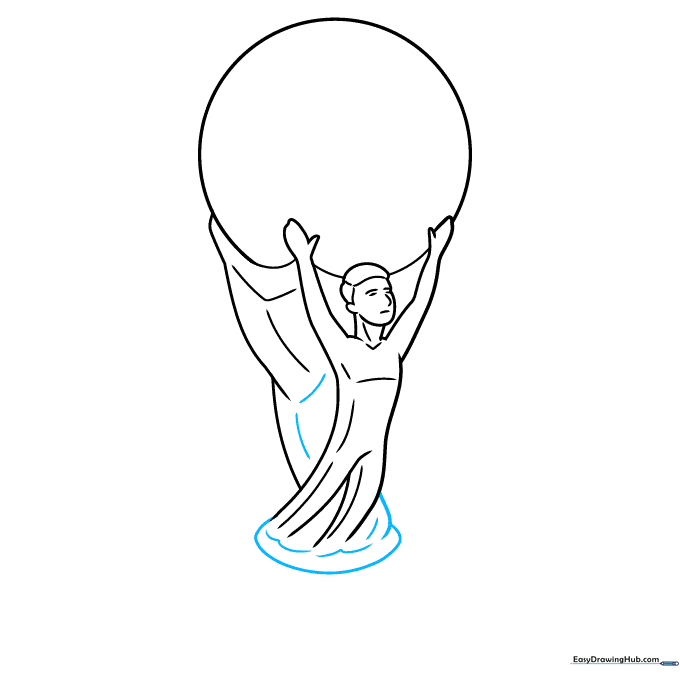
Add more curves behind the main figure to create a sense of 3D volume. Sketch horizontal curves at the base to ground the drawing. Tip: Varying the thickness of your lines here will help the trophy look more solid and metallic.
Step 6: Refining the Globe
Draw two diagonal lines and connect them with three parallel curves. Add a squiggly line inside the sphere to start mapping out the continents. Tip: Keep these lines light; they are just guides for the final details.
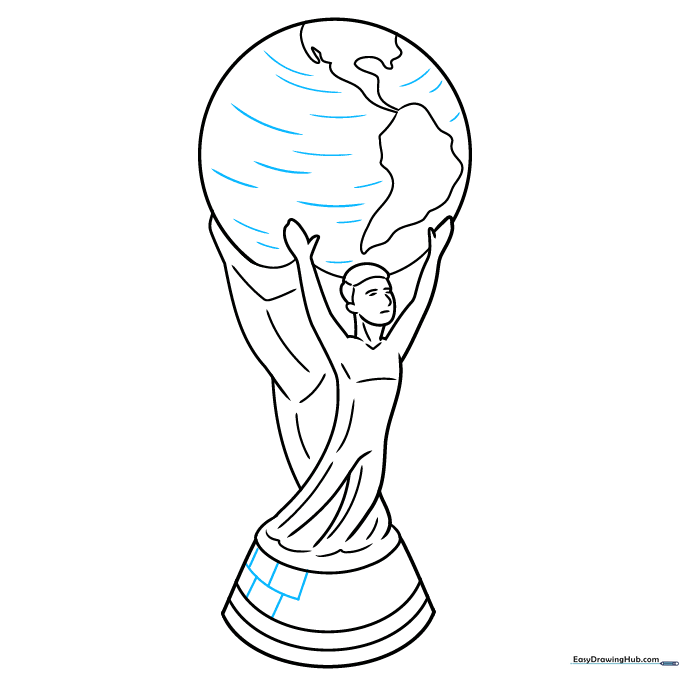
Step 7: Detailing the Continents

Use squiggly lines to define the shapes of the continents on the globe. Make South America taper as it moves downward. Tip: Look at a reference photo of the actual trophy to see how the landmasses wrap around the sphere.
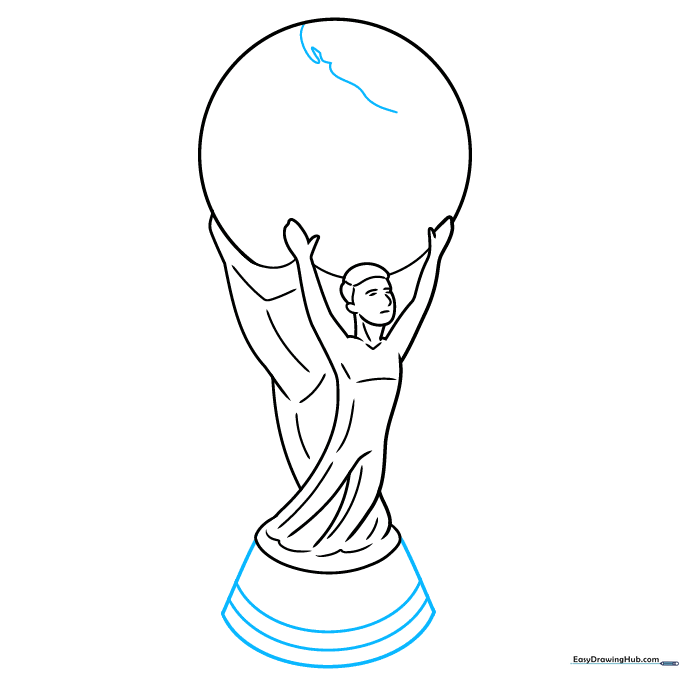
Step 8: Finalizing the Base
Add curves inside the globe to show its roundness. Draw five straight lines inside the base to create the classic tiered look. Tip: Use a ruler if you want the base lines to be perfectly straight, or freehand them for a more artistic look.
Step 9: Adding the Label
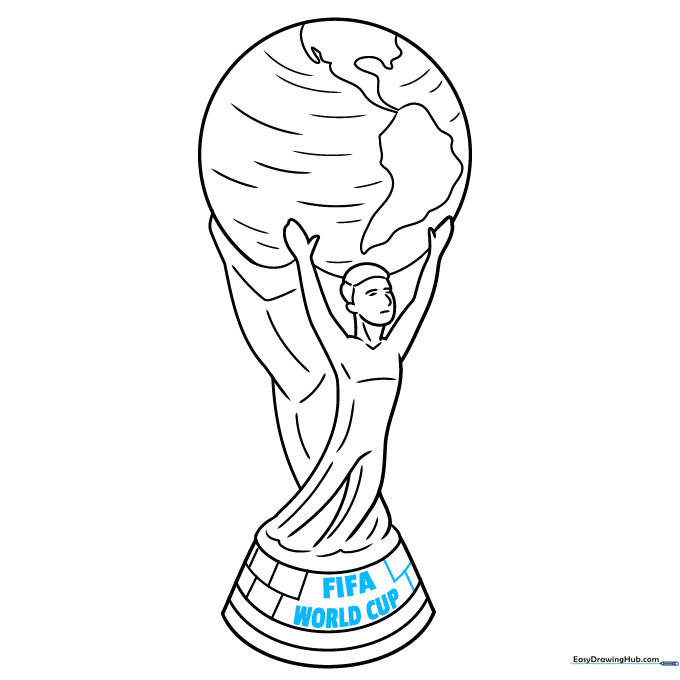
Sketch two rectangles at the bottom and write "FIFA WORLD CUP" in clear, capital letters. Outline your entire drawing with a dark pen or marker, then erase your pencil guidelines. Tip: Save the lettering for last so you don't smudge the ink.
Step 10: Bringing it to Life with Color

Use shades of gold to color the trophy, adding teal stripes on the base for authenticity. Use a darker gold for the lettering to make it pop. Tip: Use light, circular motions with your colored pencils to create a smooth, metallic shine.
More Tutorials


