How to Draw the Death Star: Easy Step-by-Step Guide
Ready to bring the galaxy's most iconic space station to your sketchbook? This tutorial is perfect for young Star Wars fans and budding artists looking to practice symmetry and geometric shapes. All you need is a pencil, an eraser, and a steady hand to recreate the Death Star's legendary structure.
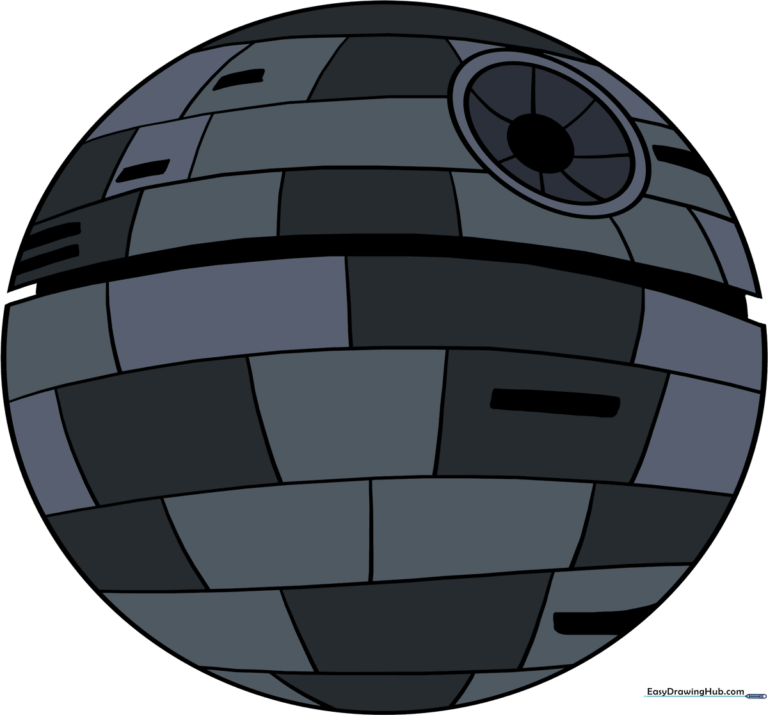
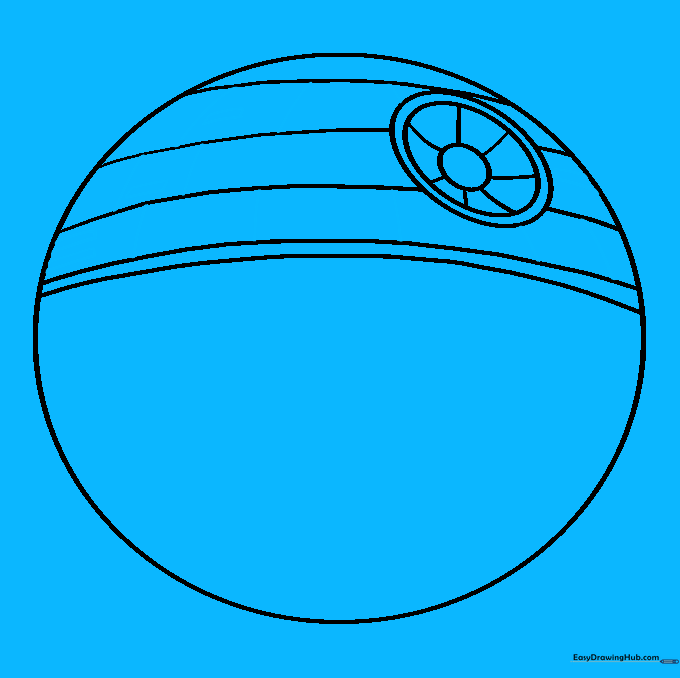
🎯 Final Result
Step-by-Step Instructions
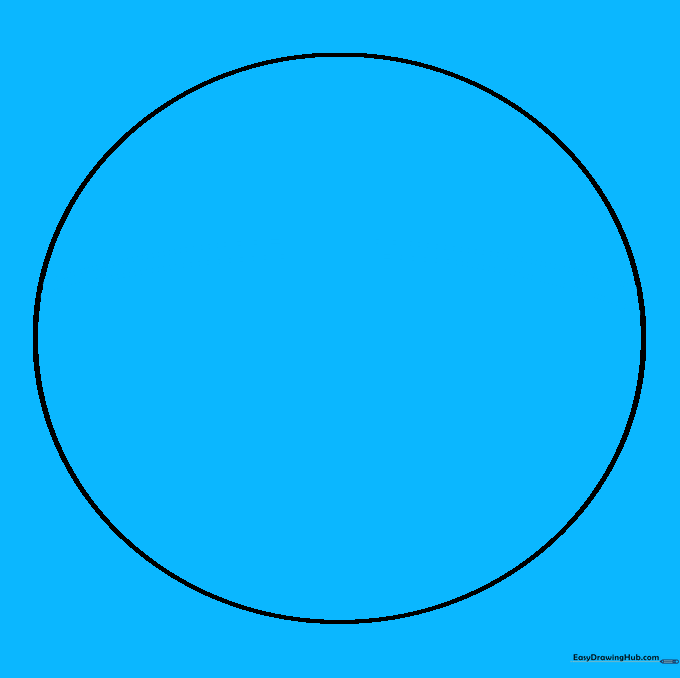
Sketching the Main Sphere

Start by drawing a large, light circle to serve as the base of the Death Star. Teacher's Tip: Use a compass or trace a round object if you struggle with freehand circles; keeping your lines light makes erasing easier later!
Defining the Equatorial Trench
Draw two parallel, curved lines across the center of your circle. This defines the station's famous equatorial trench. Tip: Keep the lines slightly bowed to match the curvature of the sphere, giving it a 3D look.
Locating the Super Laser
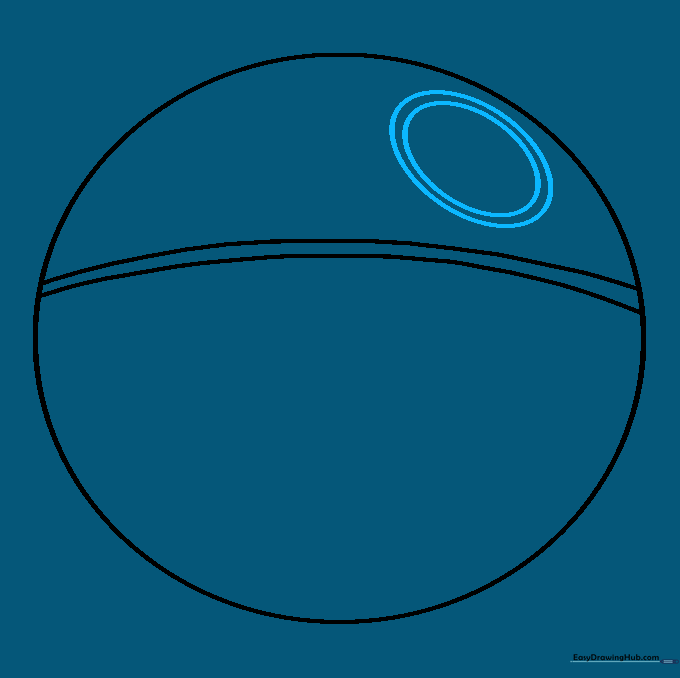
In the upper portion, draw a smaller circle within a circle. This is the super laser focus lens. Tip: Position this slightly off-center to give your drawing more character and depth.
Refining the Laser Lens
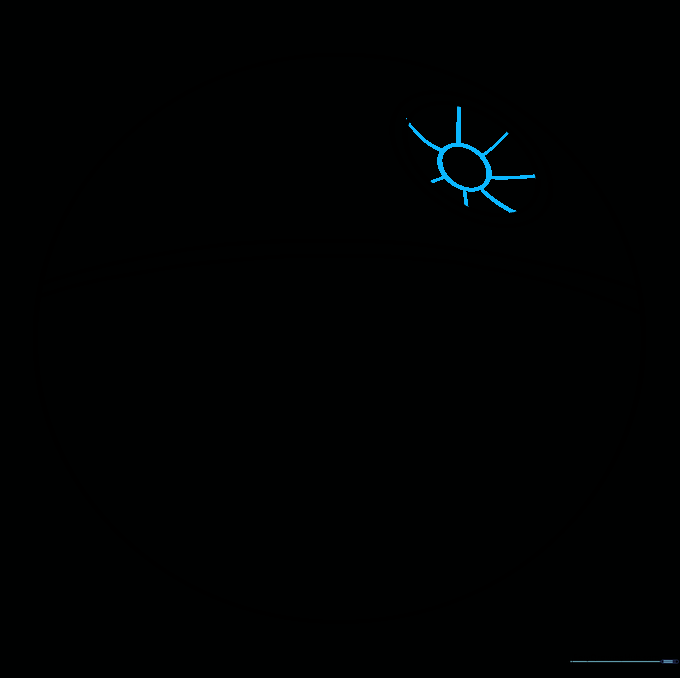
Add a tiny circle inside the laser lens and connect it to the outer edge with short, curved lines. This creates the 'dish' effect. Tip: Use a sharp pencil to ensure these small details remain crisp.
Adding Upper Panels
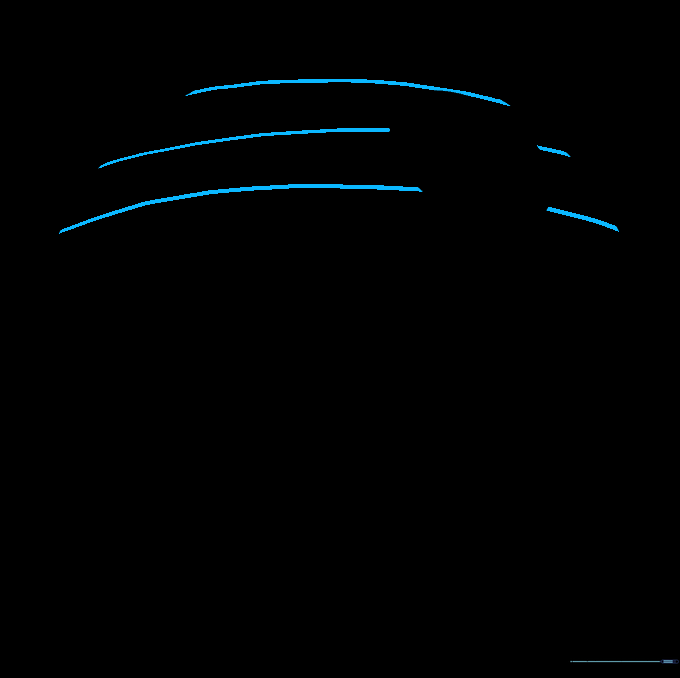
Fill the top half of the sphere with parallel, curved lines. These represent the armored plating. Tip: Don't worry about perfect spacing; slight variations make the station look more realistic.
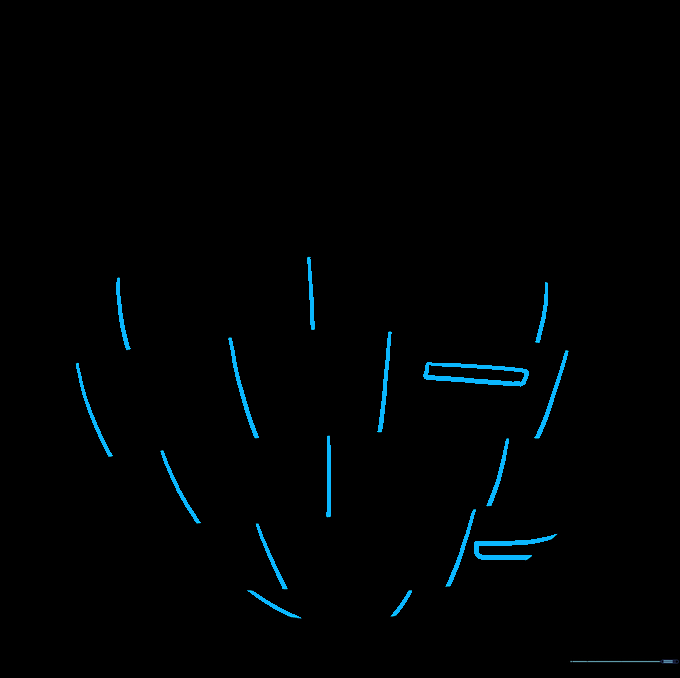
Detailing the Armor
Add short vertical lines between your horizontal ones to create individual panels. Add a few small rectangles for extra texture. Tip: Vary the size of the rectangles to make the station look massive.
Lower Panel Structure
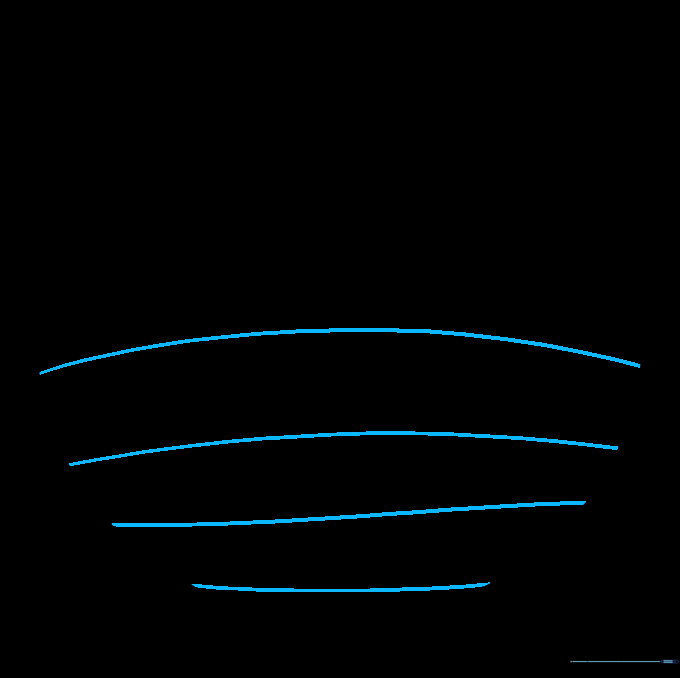
Repeat the process on the bottom half by drawing curved, horizontal lines. Tip: Ensure these lines follow the same curve as the equatorial trench to maintain the spherical shape.
Finalizing the Trench

Clean up the edges of the trench by erasing the original circle lines that cross it. Add short lines at the ends to give it depth. Tip: Use a kneaded eraser for precise cleanup without smudging your work.
Completing the Surface
Add the final vertical dividers and rectangular panels to the bottom half. Tip: Keep your lines consistent to ensure the whole station looks like one cohesive structure.
Adding Color and Shadow

Bring your Death Star to life using various shades of grey. Use darker tones near the edges to create a sense of roundness. Tip: Use a blending stump or your finger to soften the shadows for a metallic finish.
More Tutorials


