How to Draw a Cyclops: Easy Step-by-Step Guide
Bring Greek mythology to life with this fun, guided drawing activity perfect for ages 7+. You will need a pencil, an eraser, and a sheet of paper to create your own legendary giant. Follow along to master basic shapes and character proportions while exploring the world of epic storytelling.
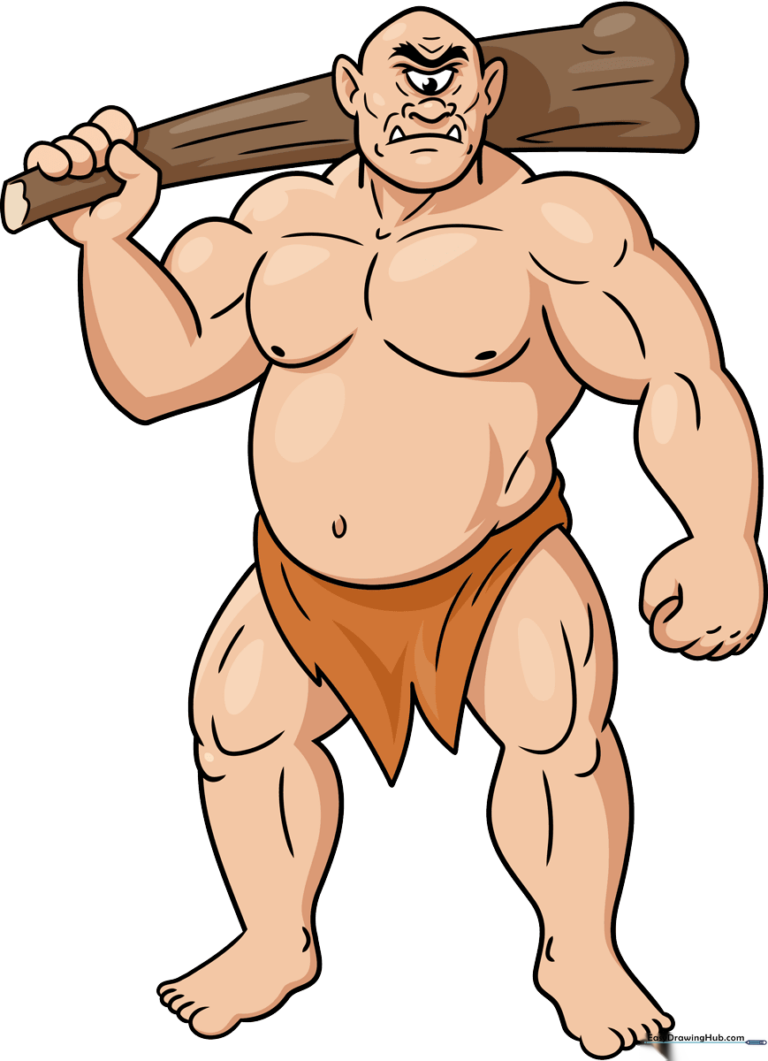
🎯 Final Result
Step-by-Step Instructions
Step 1: Sketching the Head and Eye

Draw a light horizontal line and a curve to form a lemon-like shape for the head. Add an overlapping curve above it, then sketch a circle for the single eye. Teacher's Tip: Keep your pencil pressure light here; you'll want to erase these guide lines later for a clean finish.
Step 2: Defining Facial Features

Add a line with two triangles for the mouth, then sketch the ears as ovals with L-shapes inside. Outline the head with blocky, uneven curves to give him a rugged, giant-like appearance. Tip: Use short, choppy strokes for the jawline to make him look tough!
Step 3: Building the Shoulders and Chest
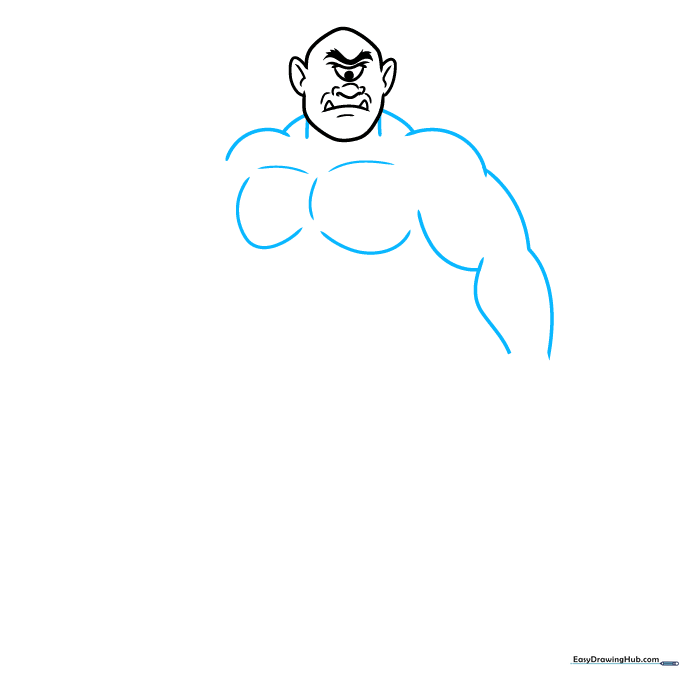
Sketch two straight lines beneath the head for the neck. Use wide, sweeping curves for the shoulders, then sketch the arms pointing downward. Tip: Make the arms look bulbous and thick to emphasize the Cyclops' immense strength.
Step 4: Drawing the Hands
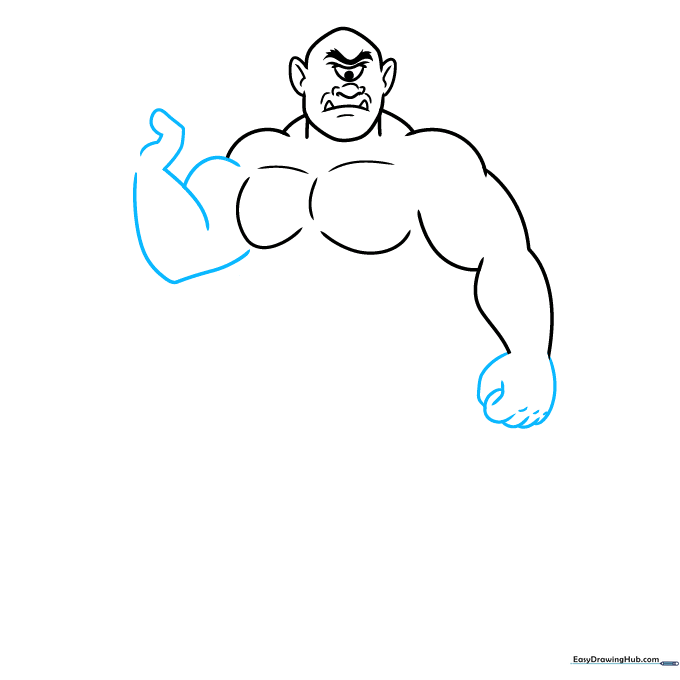
Outline the left arm with a wavy V-shape and draw fingers using simple cylinders. On the right, sketch the hand with one large loop and overlapping smaller loops for the fingers. Tip: Don't worry about perfect fingers; focus on the overall shape of the hand first.
Step 5: Adding the Club
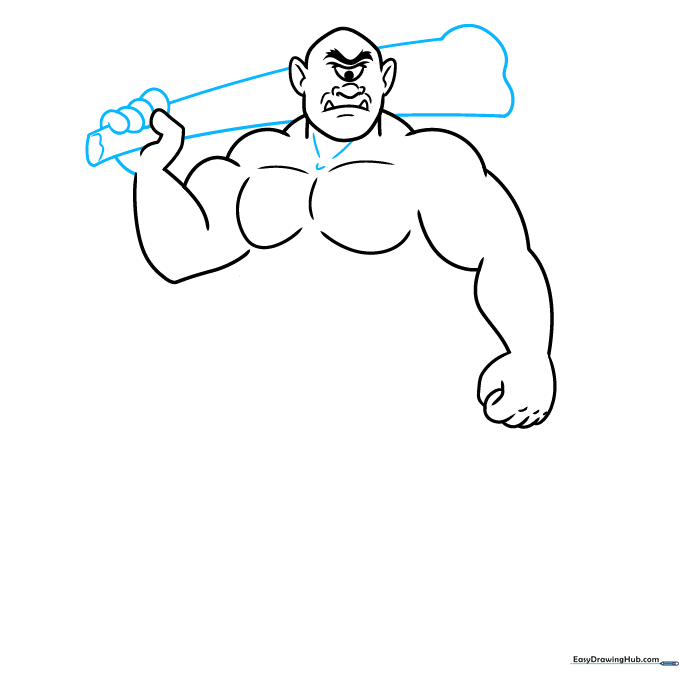
Draw two long diagonal lines to form the club, connecting them with a curve at the top. Add a '3' shape on the side to give it a textured, wooden look. Tip: Make the club look heavy by keeping the lines slightly irregular.
Step 6: Drawing the Torso and Loincloth
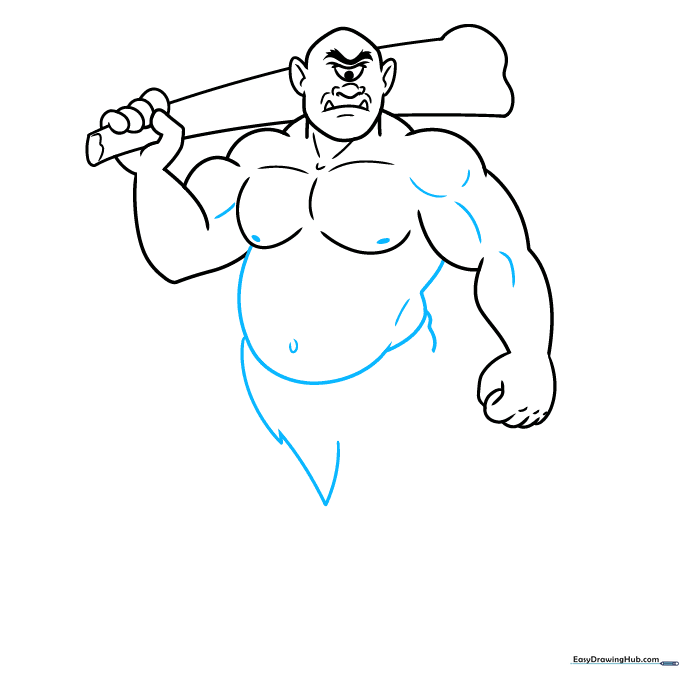
Outline the stomach with a wide, rounded curve. Add a wavy line for the loincloth, using triangles to create a jagged, primitive fabric look. Tip: Keep the stomach curve nice and wide to show his giant stature.
Step 7: Sketching the First Leg
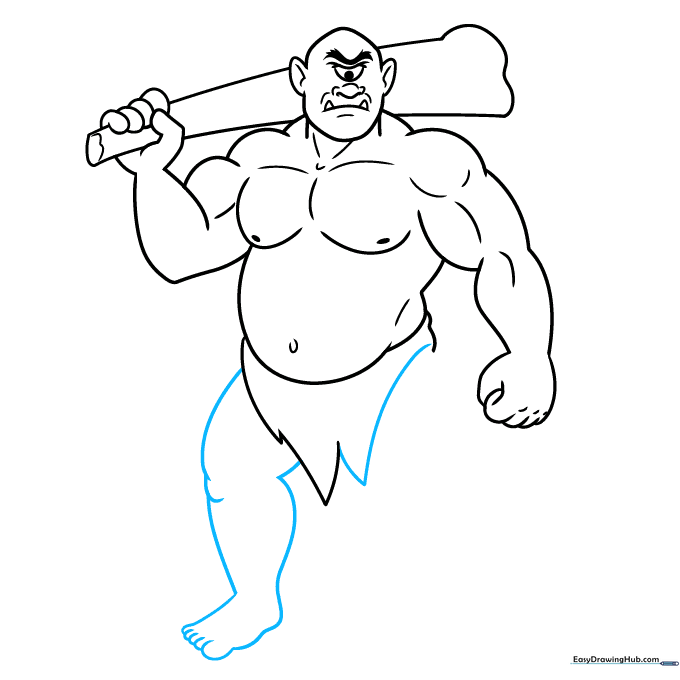
Draw the leg with a curve and a small bump for the knee. Carry the line down to round out the foot with ovals for toes. Tip: Use a wavy line for the bottom of the foot to make it look like he's standing firmly on the ground.
Step 8: Adding the Second Leg
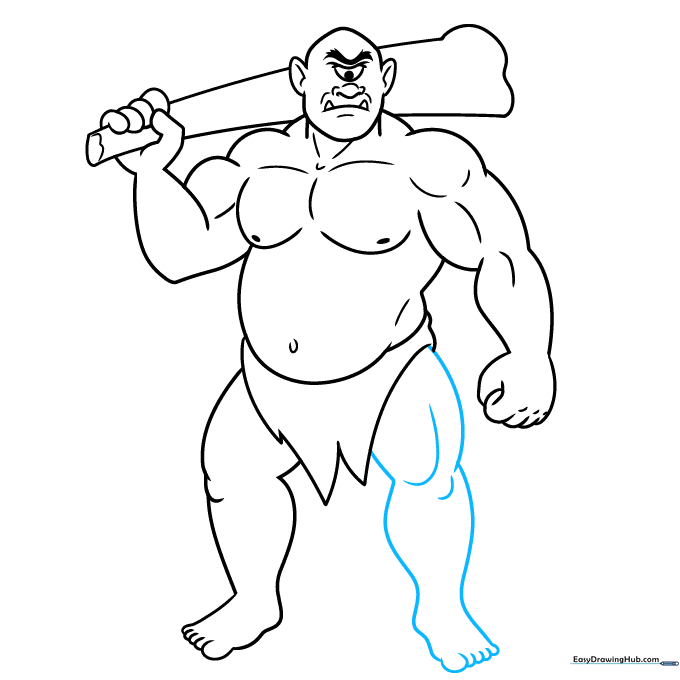
Repeat the previous step for the second leg, facing the opposite direction. Add a semi-oval above the knee to show muscle definition. Tip: Ensure the legs are spaced apart to give your Cyclops a balanced, stable stance.
Step 9: Finalizing the Outline
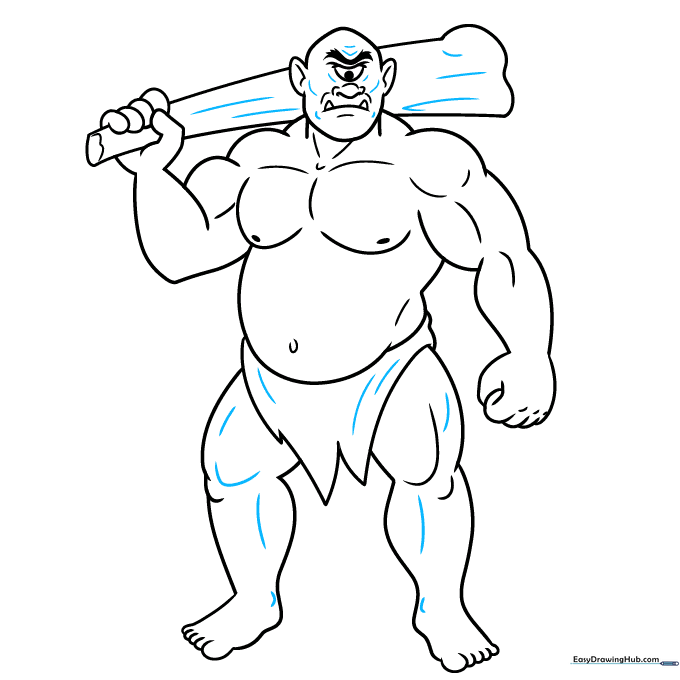
Add small lines inside the face, club, and legs for extra detail. Go over your pencil lines with a black marker or pen to create a bold, clean outline. Tip: Take your time with the ink; slow, steady strokes look much better than fast, shaky ones.
Step 10: Adding Color
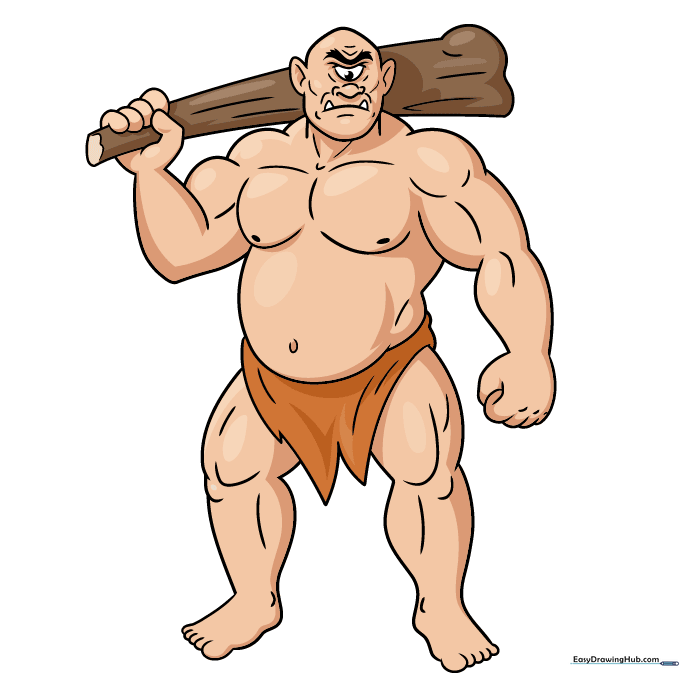
Bring your Cyclops to life with color! Use tan for the skin, brown for the club, and orange for the loincloth. Leave the eye and teeth white for a bright, clean look. Tip: Try using light shading around the edges of the skin to give him a more 3D, muscular look.
More Tutorials


