How to Draw the Corpse Bride: Easy 10-Step Guide
Capture the haunting elegance of the Corpse Bride with this easy-to-follow drawing guide. Designed for intermediate artists, this tutorial breaks down her iconic features into simple, manageable shapes. Grab your pencil and paper to bring this beloved gothic character to life.
🎯 Final Result

Step-by-Step Instructions
Step 1: Sketching the Jawline

Start by sketching the chin and cheeks using a series of short, curved lines. Teacher's Tip: Keep the lines light and fluid; the slight overlap on one side creates that signature slender, delicate face shape.
Step 2: Defining the Hairline

Enclose the top of the face using two curved lines that meet at an off-center point. Teacher's Tip: This point acts as the anchor for her hair, so ensure it’s slightly off-center to give her a more natural, dynamic look.
Step 3: Drawing the Neck and Shoulders
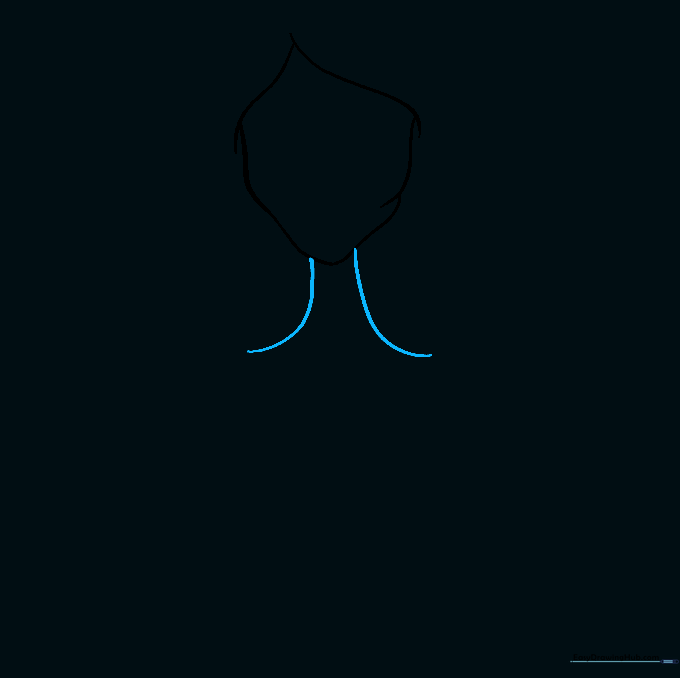
Draw two narrow, curved lines descending from the chin to form the neck. Teacher's Tip: Let these lines diverge at the bottom to suggest the slope of the shoulders, keeping the neck thin to match her stylized proportions.
Step 4: Outlining the Hair

Use long, wavy lines to outline the hair. Teacher's Tip: Don't worry about perfection here; overlapping the lines and creating gentle points helps simulate the look of individual locks of hair.
Step 5: Completing the Hair
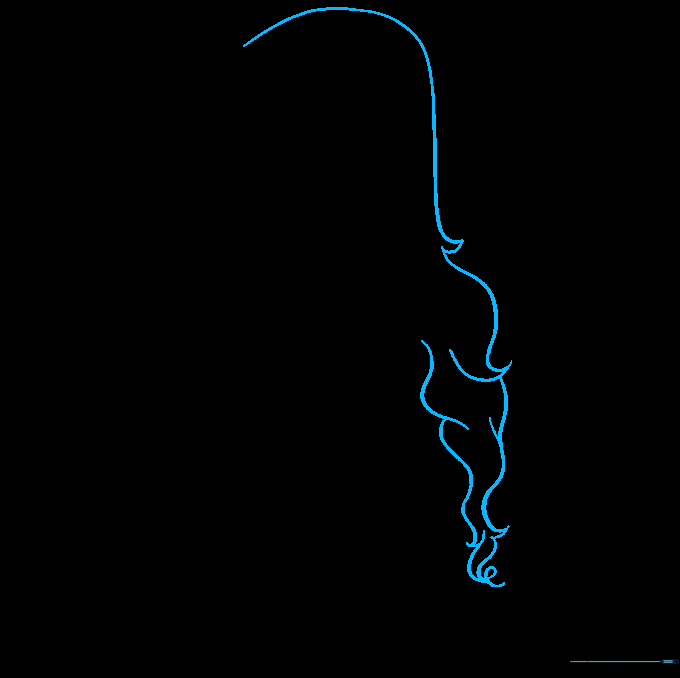
Continue adding curved lines over the top of the head and across the opposite shoulder. Teacher's Tip: Vary the length of your strokes to make the hair look voluminous and layered.
Step 6: Sketching the Torso and Arm
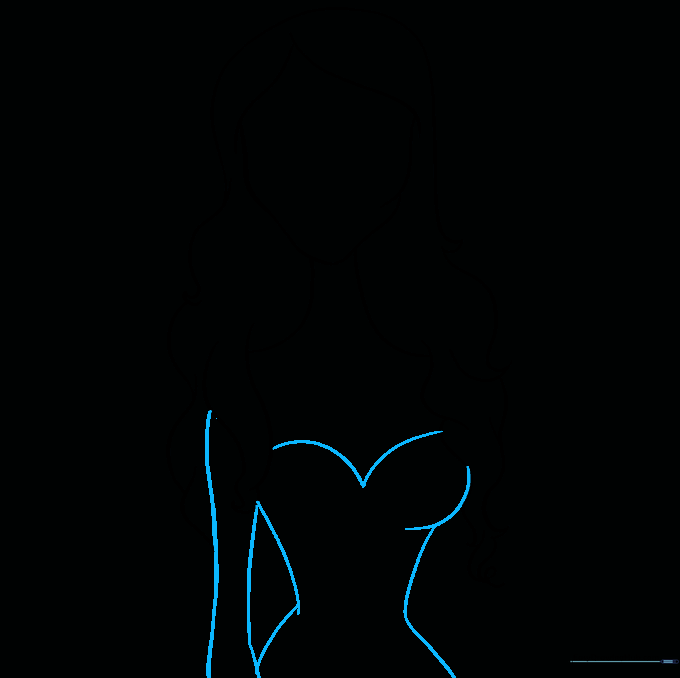
Draw a curved 'V' shape for the dress neckline, then sketch the torso and hips. Extend a pair of curved lines for the arm. Teacher's Tip: Keep the arm lines slightly tapered to emphasize her slender frame.
Step 7: Adding Skeletal Detail
Extend a curved line from the hair to form the bare arm bone, doubling it back on itself. Teacher's Tip: Use a second curved line to show the joint, adding that distinct skeletal detail that makes the character unique.
Step 8: Expressive Eyes
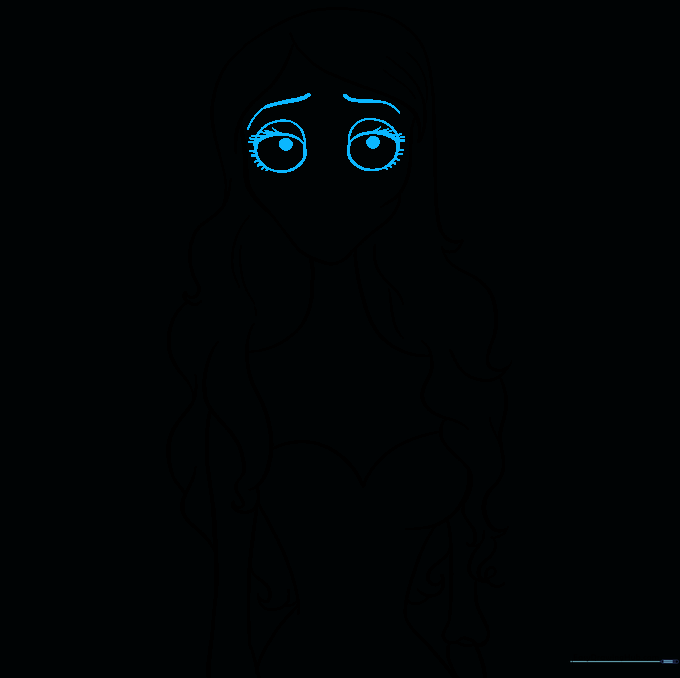
Draw two large circles for the eyes, adding a curved line across the top for the eyelid. Shade a small circle for the pupil. Teacher's Tip: Adding the eyebrow line above the eye will instantly give her that characteristic melancholic expression.
Step 9: Finalizing Details
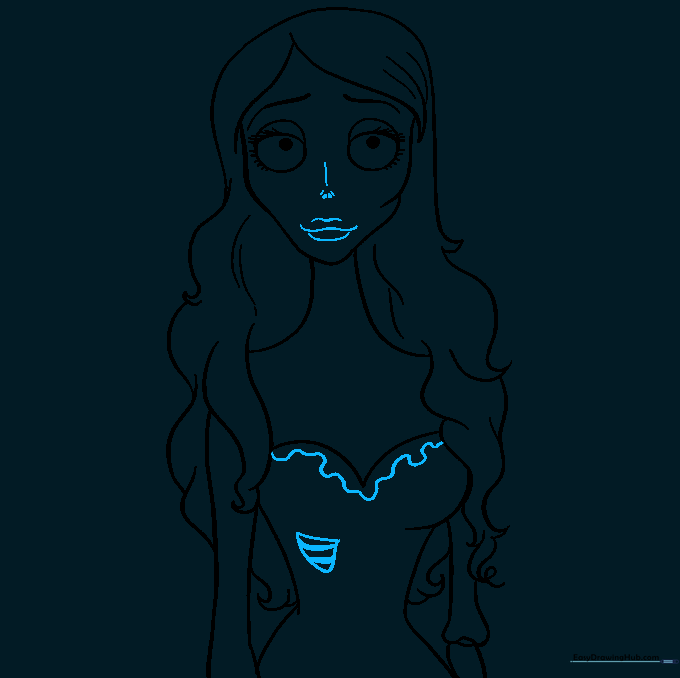
Draw the nose, lips, and a jagged line for the lace on the dress. Add a triangular shape on the torso to represent a tear in the fabric. Teacher's Tip: Use thick, bold lines for the dress tear to make it stand out against the delicate lace detail.
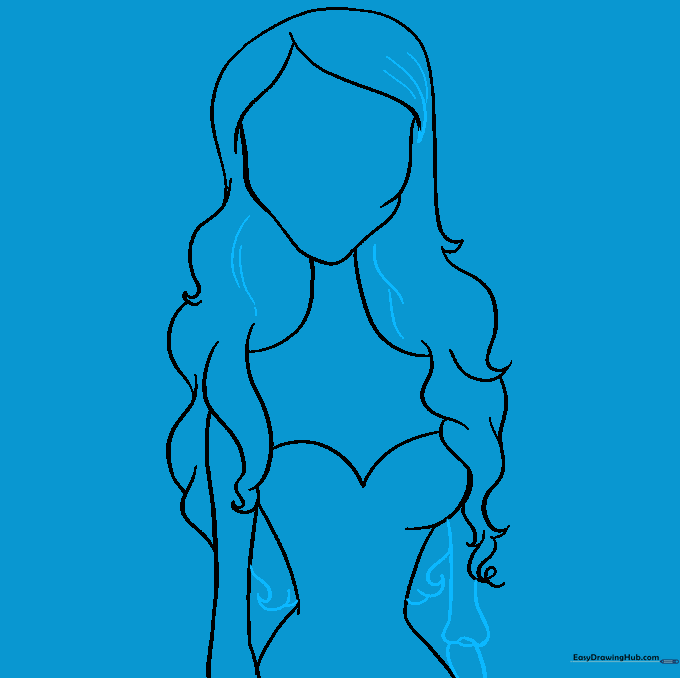
Step 10: Bringing Her to Life with Color

Bring your drawing to life using shades of pale blue and grey. Teacher's Tip: Use a light blue for her skin and darker greys for the shadows to emphasize her ghostly, ethereal appearance.
More Tutorials


