How to Draw the Colosseum: Easy 9-Step Guide for Kids
Bring ancient history to life with this fun, step-by-step Colosseum drawing tutorial. Designed for ages 7+, this activity uses basic geometric shapes to build the iconic amphitheater. Grab your pencil, eraser, and paper, and let's recreate this architectural wonder together.
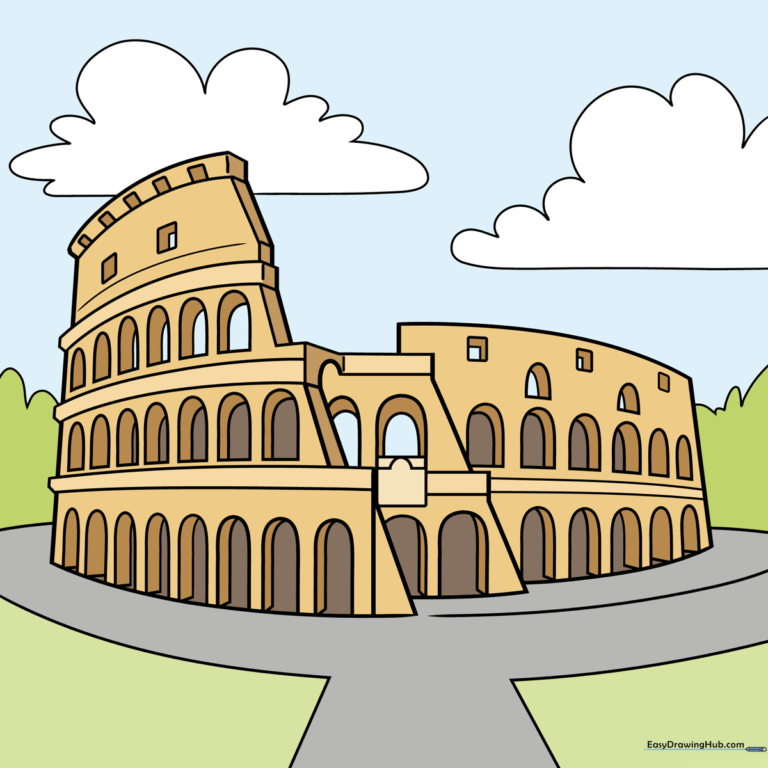
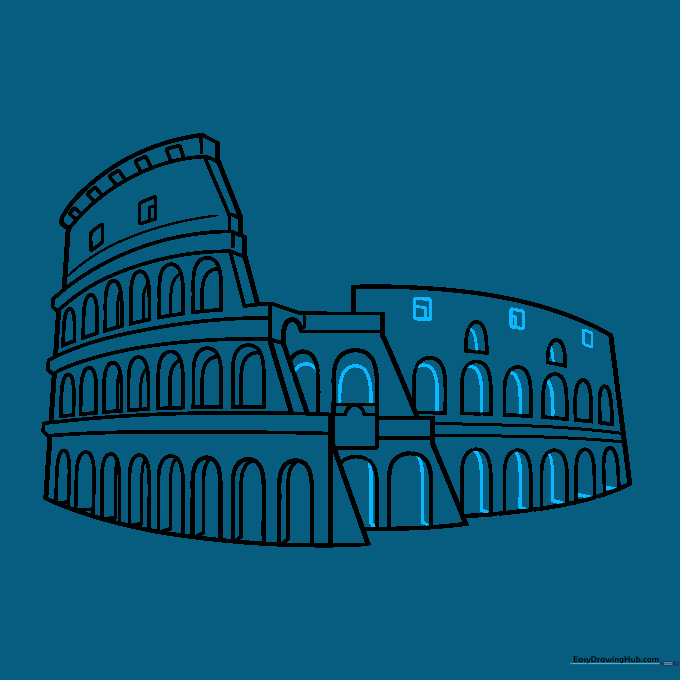
🎯 Final Result
Step-by-Step Instructions
Step 1: Establishing the Foundation

Start by sketching a series of rectangles to represent the outer walls. Mix narrow and wide shapes to create depth. Teacher's Tip: Keep your pencil pressure light—these are just guidelines that we will build upon later.
Step 2: Adding Structural Depth
Add curved rectangular shapes to the sides to suggest the building's circular form. Use parallel lines to create a 3D effect. Teacher's Tip: Think of these as 'blocks'—the more variety in width, the more realistic your building will look.
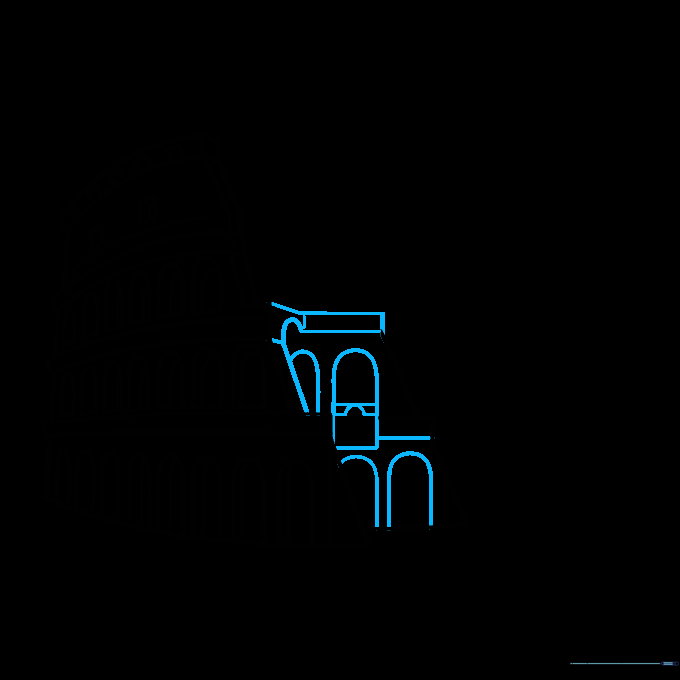
Step 3: Sketching the Arches
Draw 'U' shaped lines connected by straight bases to form the iconic arches. Add parallel lines on the top level to define the wall thickness. Teacher's Tip: Keep your 'U' shapes consistent in size to make the architecture look professional.
Step 4: Refining the Windows

Add curved lines inside your arches to create a sense of depth. Notice how the placement of the line shifts as the wall curves away from the viewer. Teacher's Tip: This is a great exercise in perspective—imagine where the light is hitting the building!
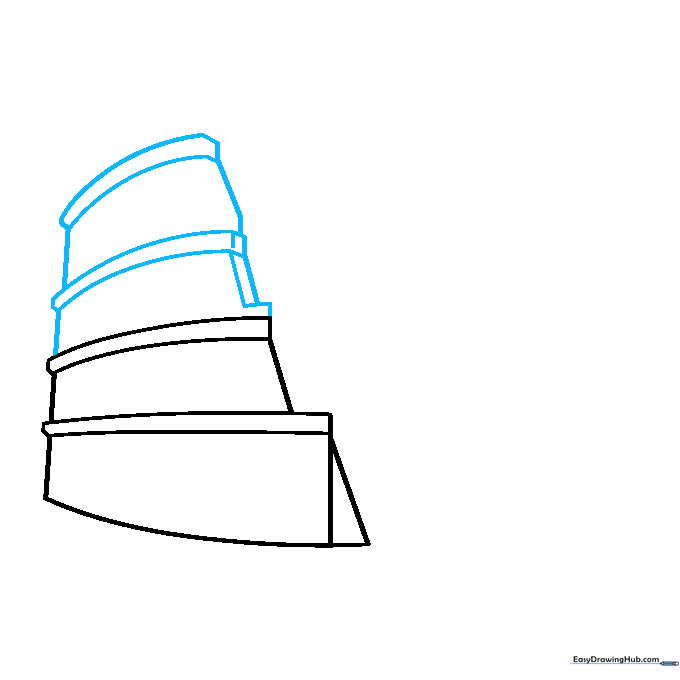
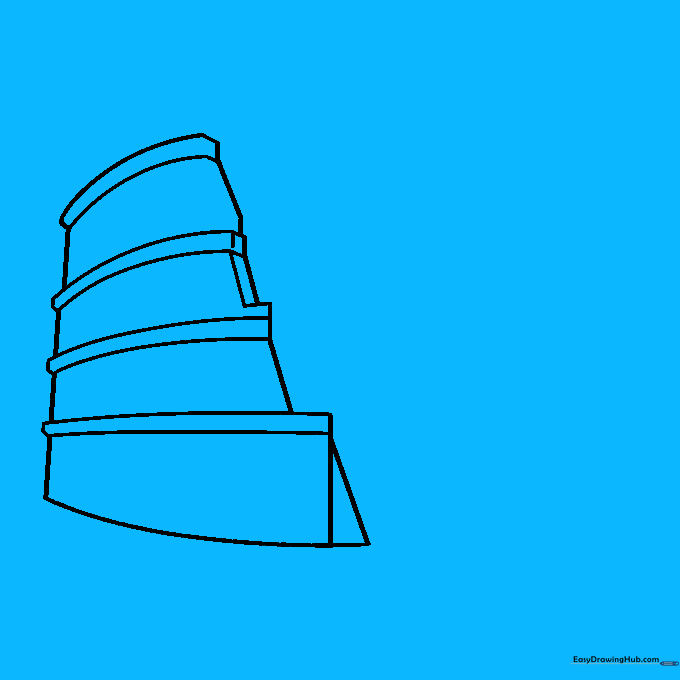
Step 5: Building the Ruins
Use overlapping straight lines to sketch the crumbling sections of the ruins. This adds historical character. Teacher's Tip: Don't worry about making these lines perfectly straight; ruins are naturally jagged and uneven.
Step 6: Adding Architectural Levels
Divide the walls into levels using horizontal lines and add more arch-shaped openings. Teacher's Tip: Use a ruler if you want perfectly straight levels, or go freehand for a more organic, artistic feel.
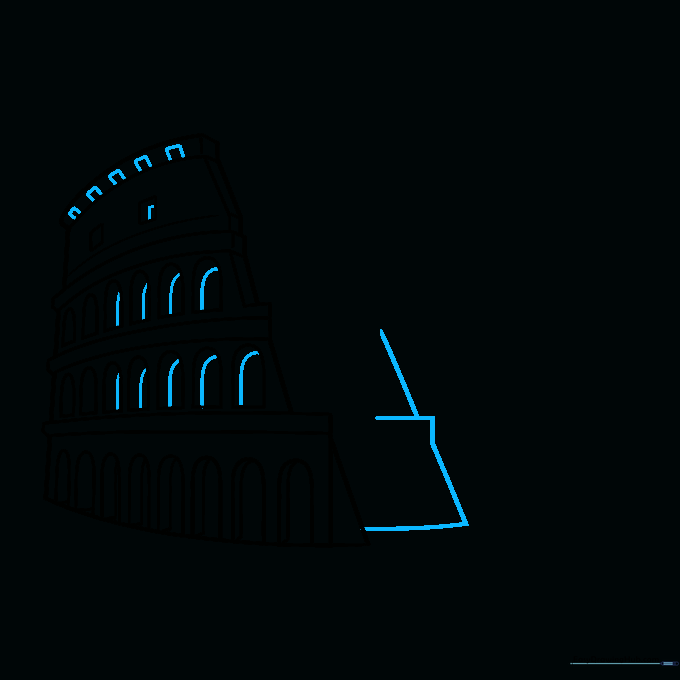
Step 7: Detailing the Main Facade
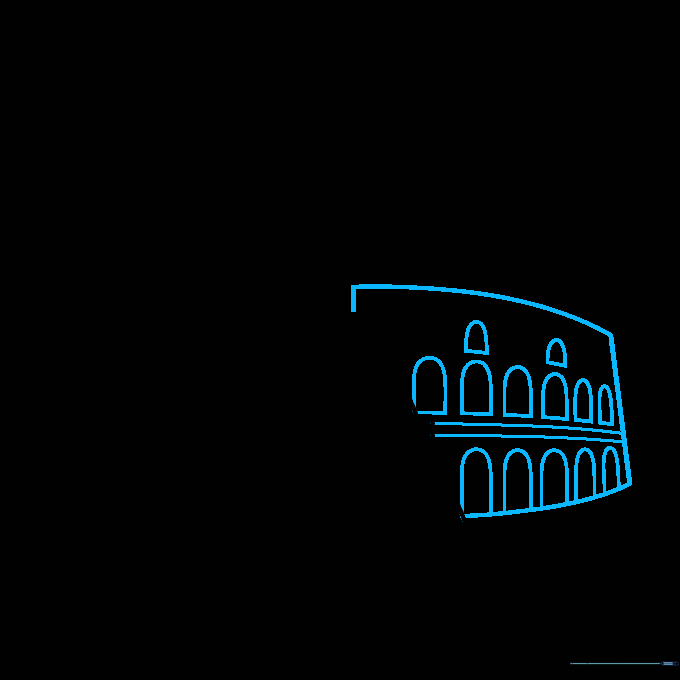
Draw a large curved rectangle and divide it into two distinct levels with parallel lines. Fill the surface with repeating arch shapes. Teacher's Tip: Repetition is key here—take your time to make the arches look uniform.
Step 8: Final Structural Touches
Add square windows near the top and use 'L' shaped lines to give the architecture a solid, three-dimensional look. Teacher's Tip: The 'L' shapes act as shadows, making your drawing pop off the page.
Step 9: Setting the Scene
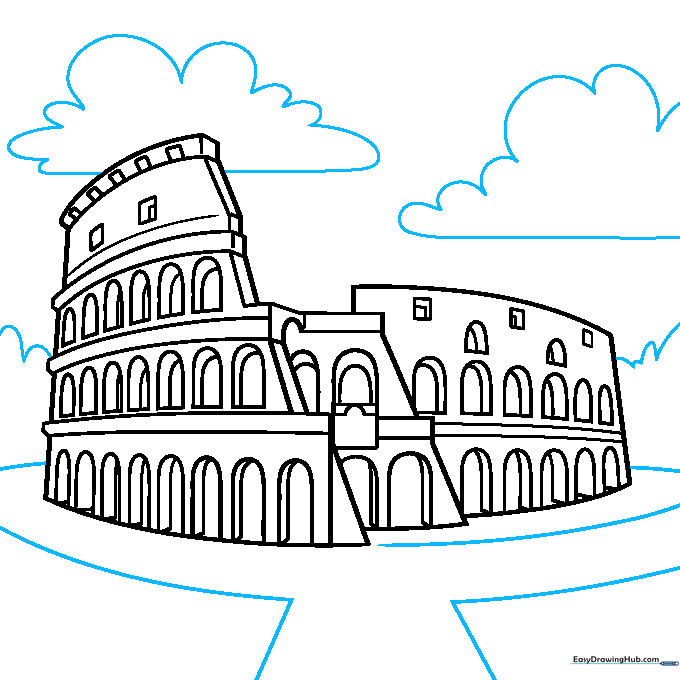
Complete your masterpiece by adding a simple foreground road and background elements like trees and clouds. Teacher's Tip: Keep the background light so the Colosseum remains the star of the show!
Step 10: Bringing it to Life with Color

Add color to your drawing. Use sandy yellows, browns, and soft grays to capture the look of ancient stone. Teacher's Tip: Use a darker shade on the inside of the arches to create a realistic sense of depth.
More Tutorials


