How to Draw the CN Tower: Easy 10-Step Guide for Kids
Bring the Toronto skyline to your sketchbook! This tutorial is designed for young artists ages 6+ to practice geometric shapes and vertical perspective. All you need is a pencil, an eraser, and a piece of paper to build your own architectural masterpiece.
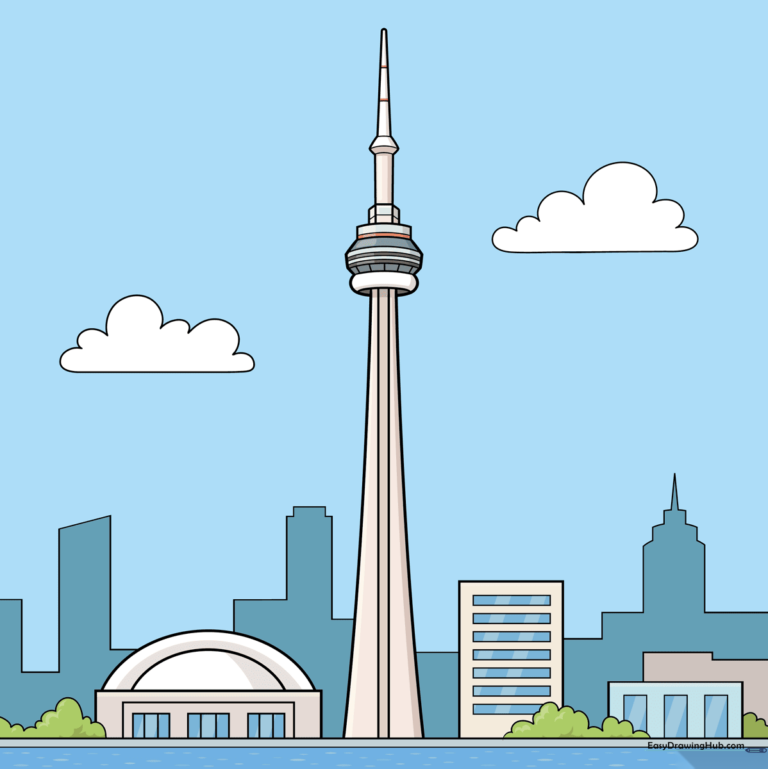
🎯 Final Result
Step-by-Step Instructions
Step 1: Establishing the Tower Base
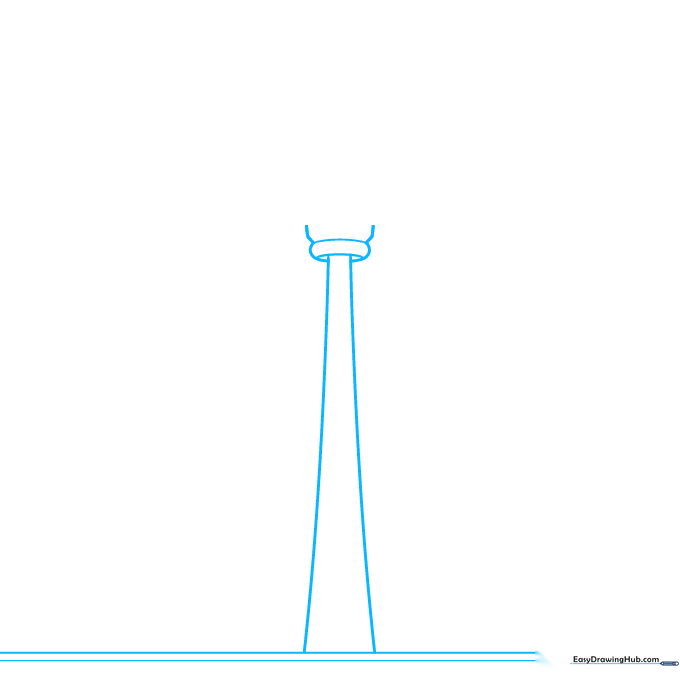
Start by drawing two horizontal lines at the bottom for the ground. Then, draw two long, slightly curved lines that reach upward but don't touch. Teacher's Tip: Keep these lines light—they act as your 'skeleton' for the tower's height.
Step 2: The Observation Deck
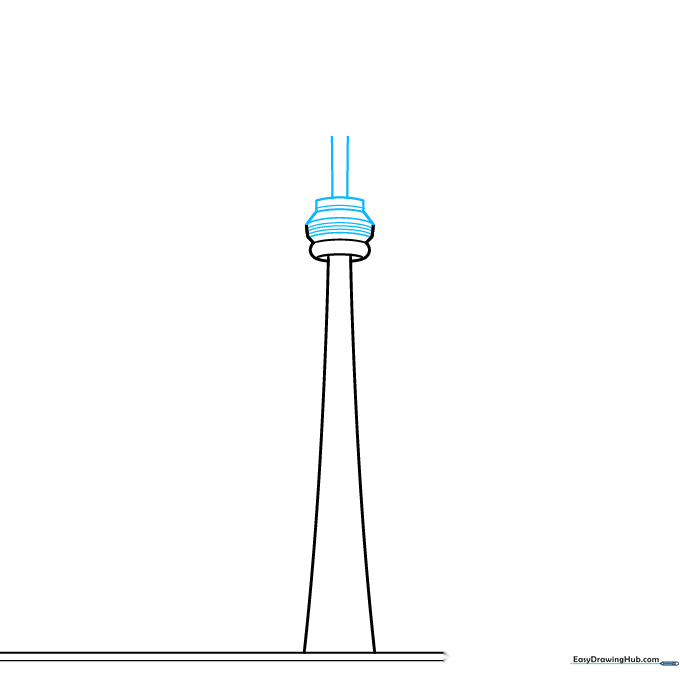
Draw a horizontal, curved rectangle near the top of your lines to form the observation deck. Connect it to the tower base with short, straight lines. Tip: Think of this as a 'belt' around the tower's waist.
Step 3: The Antenna Spire
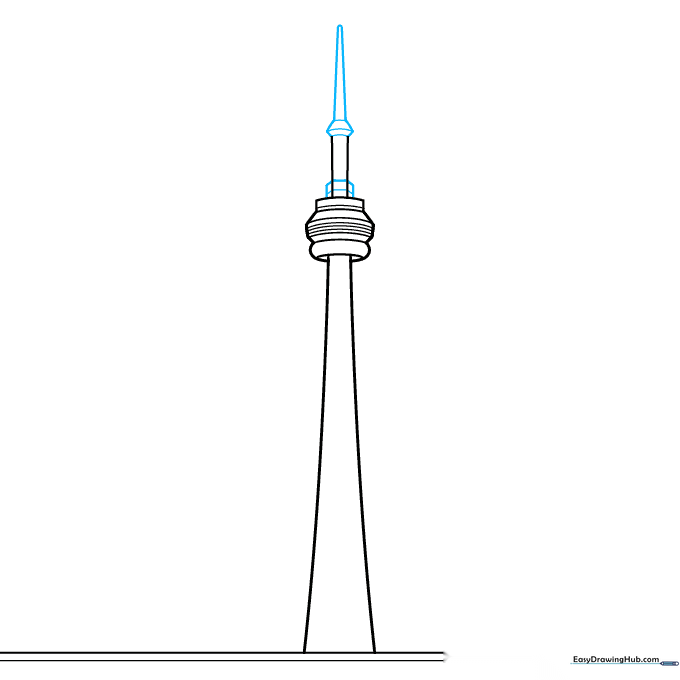
Draw two small rectangles on top of the observation deck, then connect them with a hexagon shape. Finish with a tall, narrow triangle pointing toward the sky. Tip: Use short, quick strokes to keep the spire straight.
Step 4: Adding the Rogers Centre
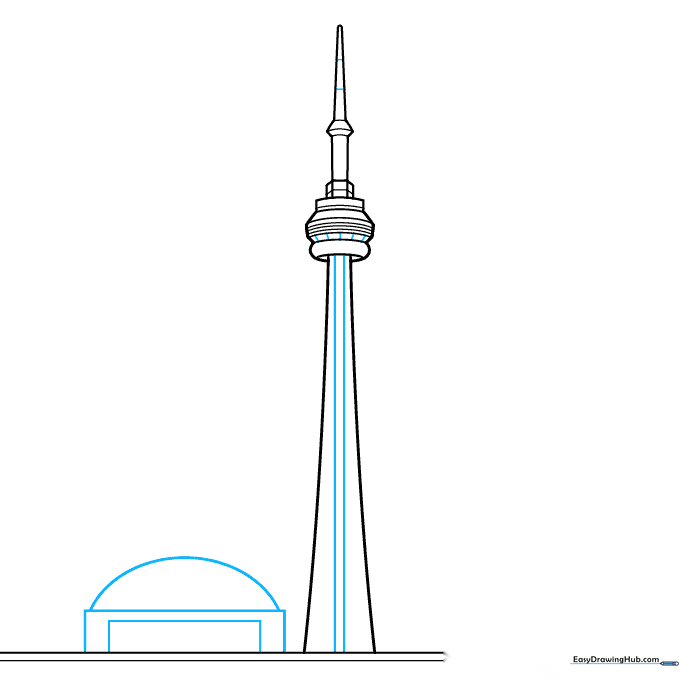
Draw two nested rectangles beside the tower, topped with a half-circle. This creates the Rogers Centre stadium. Tip: Make sure the stadium is shorter than the tower to show proper scale.
Step 5: Stadium Details and Greenery
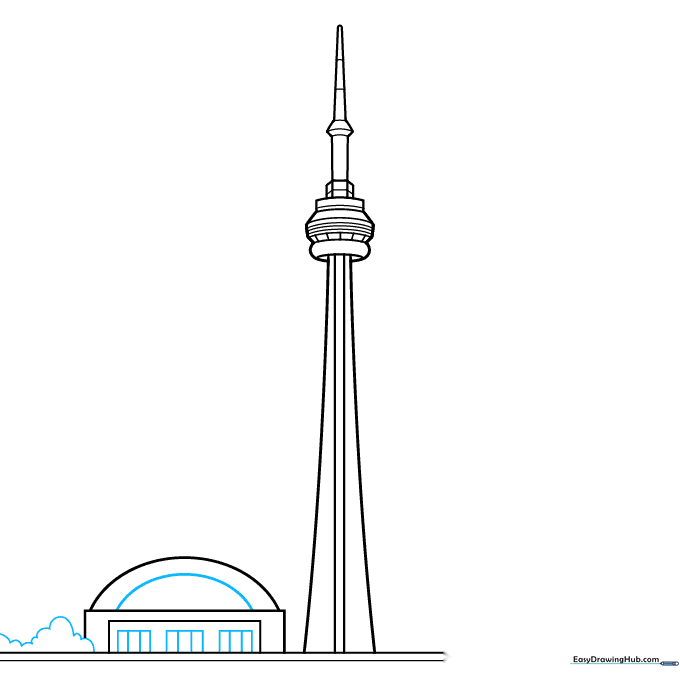
Add vertical lines to the stadium for doors and windows. On the side, sketch some loose, wavy lines to represent trees. Tip: Don't worry about making the trees perfect; nature is naturally irregular!
Step 6: Building the Cityscape
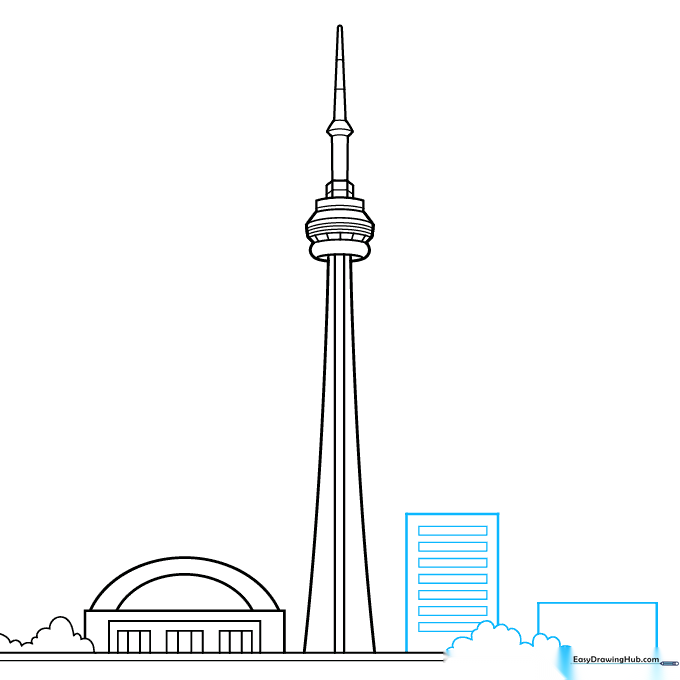
Draw more rectangular buildings on the opposite side of the tower. Add horizontal lines for windows. Tip: Vary the heights of these buildings to make your city look realistic.
Step 7: Expanding the Horizon
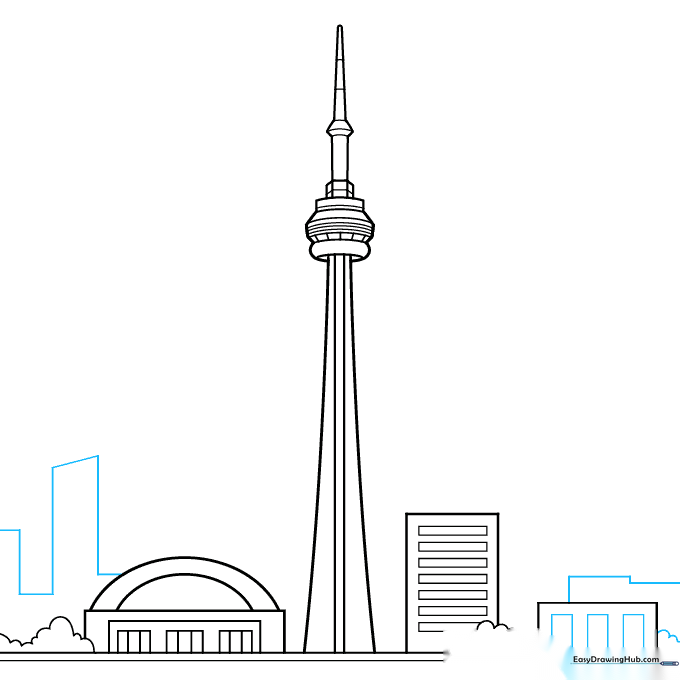
Continue adding buildings and trees to fill out your scene. Use a series of straight, connected lines to create a distant skyline. Tip: Keep these background lines thinner to create a sense of depth.
Step 8: Final Skyline Details
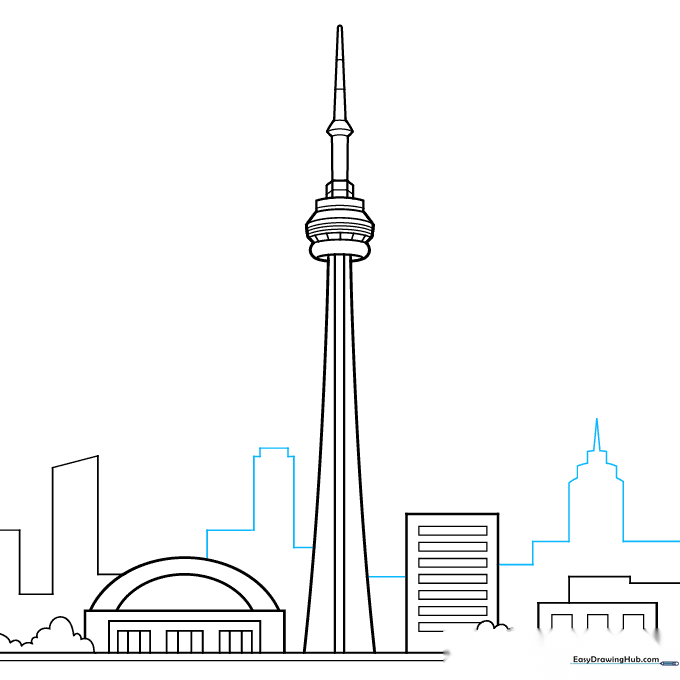
Refine your skyline by adding more connected straight lines. This creates the silhouette of a bustling city. Tip: Focus on making the shapes varied so the city looks busy and alive.
Step 9: Adding Clouds
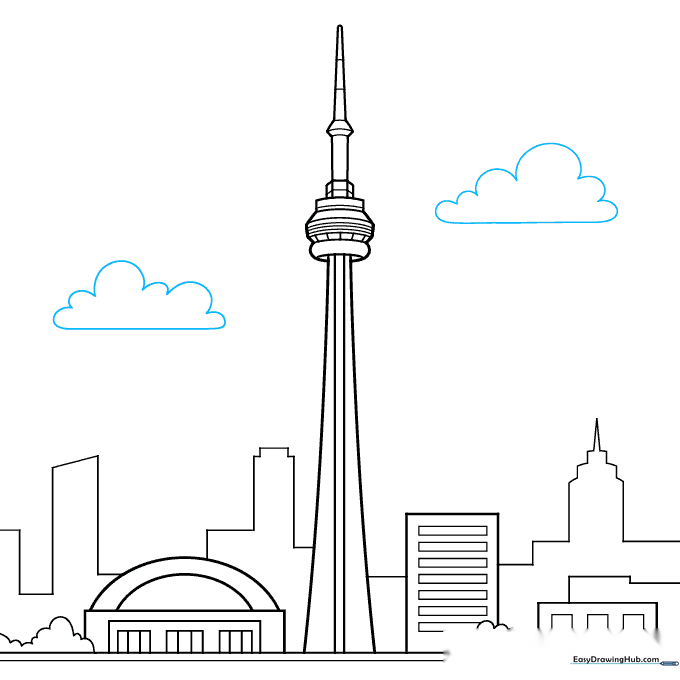
Draw a few fluffy, cloud-like shapes in the sky using soft, curved lines. Tip: Clouds are great for filling empty space and making your drawing feel complete.
Step 10: Bringing it to Life with Color
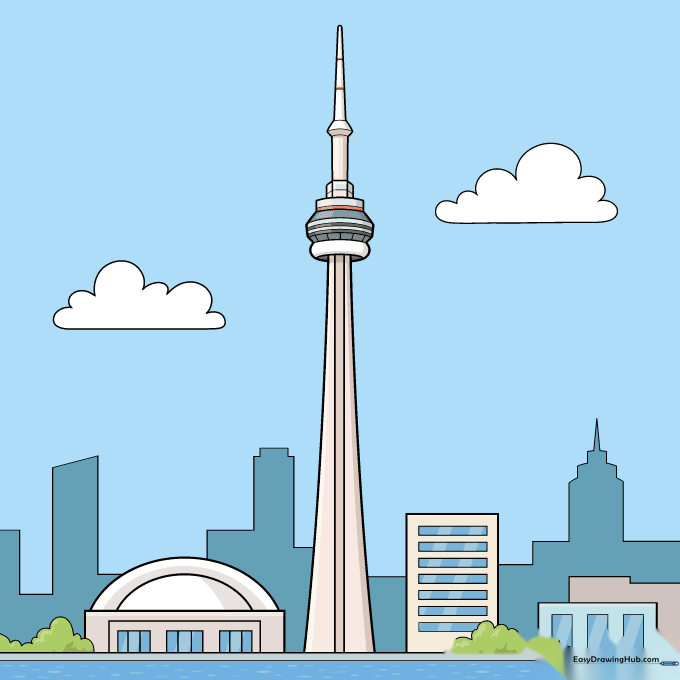
Time to color! Use beige or light grey for the concrete tower, and bright blues for the sky. Tip: Use a darker grey for shadows on one side of the tower to give it a 3D look.
More Tutorials


