How to Draw The Cat in the Hat: Easy 10-Step Guide
Bring Dr. Seuss's most mischievous character to life with this fun, guided drawing activity. Designed for ages 5 and up, this tutorial requires only a pencil, paper, and an eraser. Follow along to master the iconic hat and bowtie while building confidence in your character sketching skills.
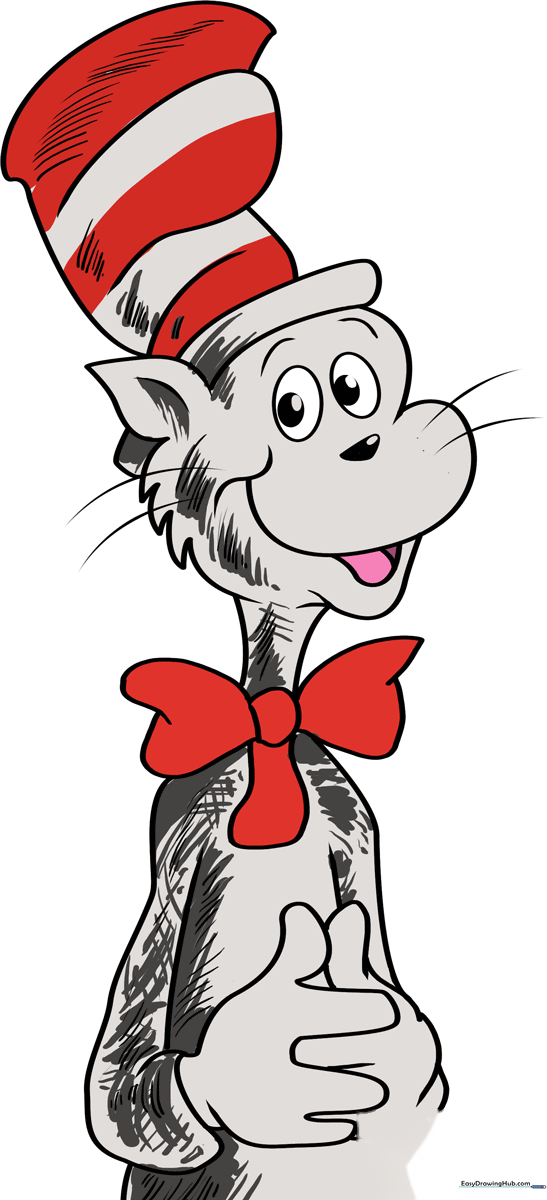
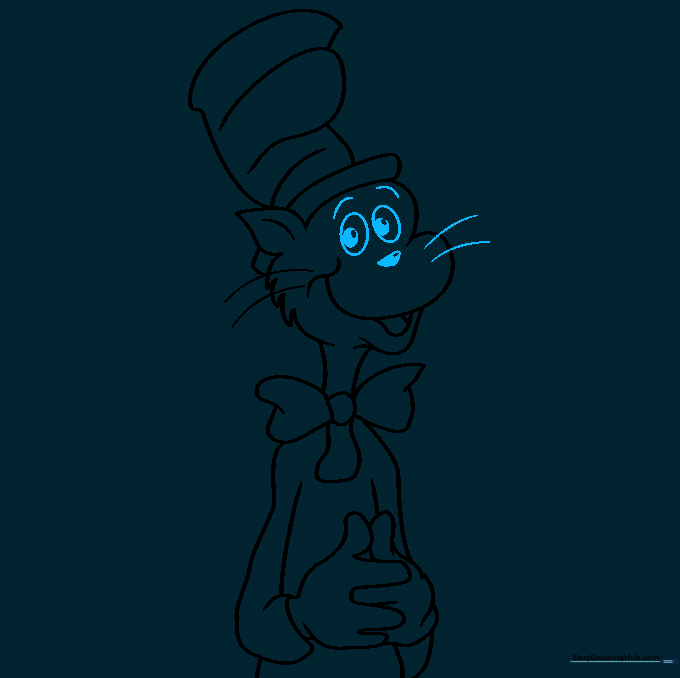
🎯 Final Result
Step-by-Step Instructions
Step 1: Sketching the Face Shape

Lightly sketch the cat's face using curved lines. Aim for a rounded heart shape for the forehead and snout. Teacher's Tip: Keep your pencil pressure very light here so you can easily erase any overlapping guidelines later.
Step 2: Defining the Jaw and Tongue

Use two 'U' shaped lines to create the open mouth and lower jaw. Add a small curved line inside for the tongue. Teacher's Tip: Make the tongue look rounded to give the character a playful, happy expression.
Step 3: Ears, Fur, and Whiskers
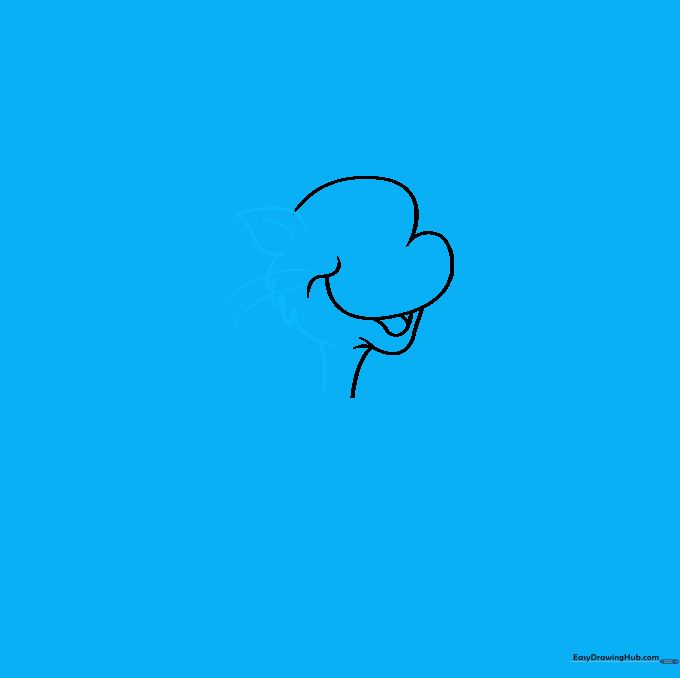
Sketch a pointed ear and add a curved line inside for depth. Use short, jagged strokes along the cheeks to mimic fur. Teacher's Tip: Don't worry about making the fur perfectly symmetrical; real fur is messy and organic!
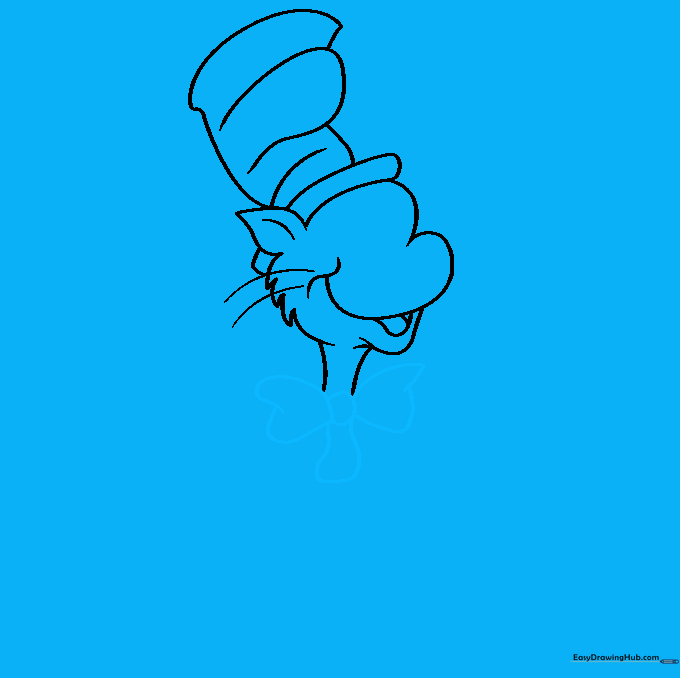
Step 4: Drawing the Iconic Hat
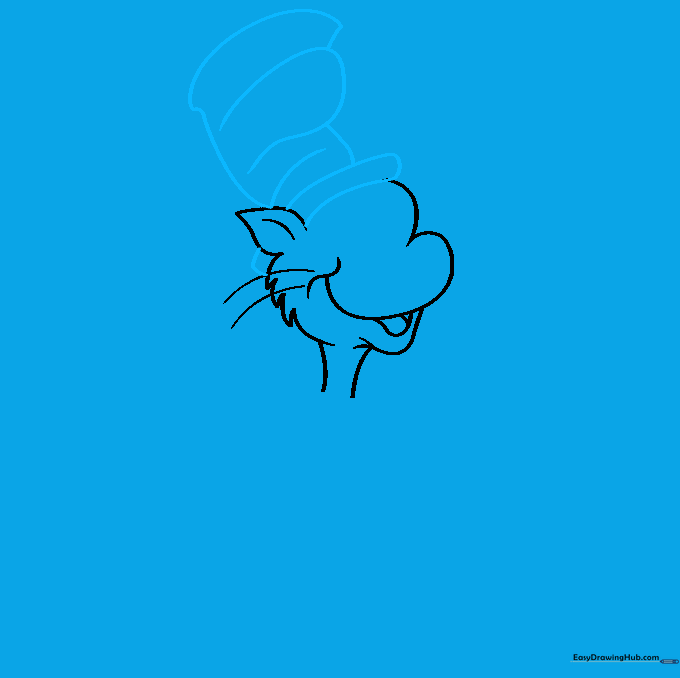
Draw a narrow, rounded rectangle for the brim, then stack curved, overlapping lines to create the tall, crumpled hat. Teacher's Tip: The hat doesn't have to be straight—a little wobble makes it look more authentic to the book illustrations.
Step 5: The Bow Tie
Draw a small circle at the neck for the knot, then add two curved shapes for the bow. Teacher's Tip: Ensure the bow looks slightly puffy to give it a 3D feel.
Step 6: Sketching the Arm

Use long, sweeping curved lines to form the arm and sleeve. Teacher's Tip: Keep your hand loose and fluid to get that smooth, cartoon-style curve.
Step 7: Adding the Hands

Draw the hands by doubling back your lines to create the fingers. Teacher's Tip: Cartoon hands are often simplified—don't worry about drawing every knuckle, just focus on the overall shape.
Step 8: Facial Features
Draw two large ovals for eyes, adding small circles inside for pupils. Shade the pupils, then add a triangular nose. Teacher's Tip: The eyes are the most important part—make sure they are large and expressive to capture the character's personality.
Step 9: Adding Texture and Shading
Use hatching (closely spaced lines) to add depth to the hat and fur. Teacher's Tip: Vary the distance between your lines to create shadows—closer lines mean darker shadows.
Step 10: Bringing it to Life with Color
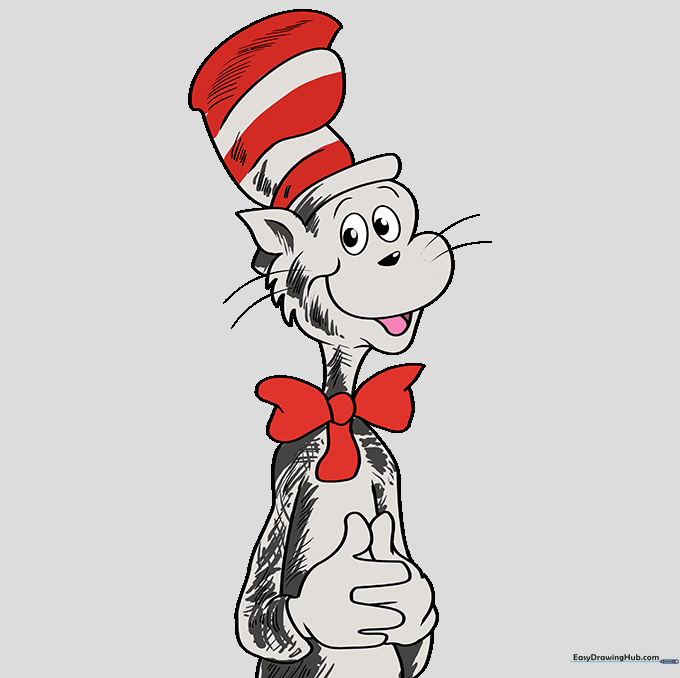
Finish your drawing by coloring the hat and bowtie red. Use black or gray for the fur. Teacher's Tip: Use a red marker for the stripes to make them pop against the black fur!
More Tutorials


