How to Draw Black Panther: Easy 10-Step Superhero Guide
Ready to bring the King of Wakanda to life? This tutorial is perfect for young artists ages 6+ looking to master character design. All you need is a pencil, an eraser, and a black marker to capture the iconic details of the Black Panther suit.
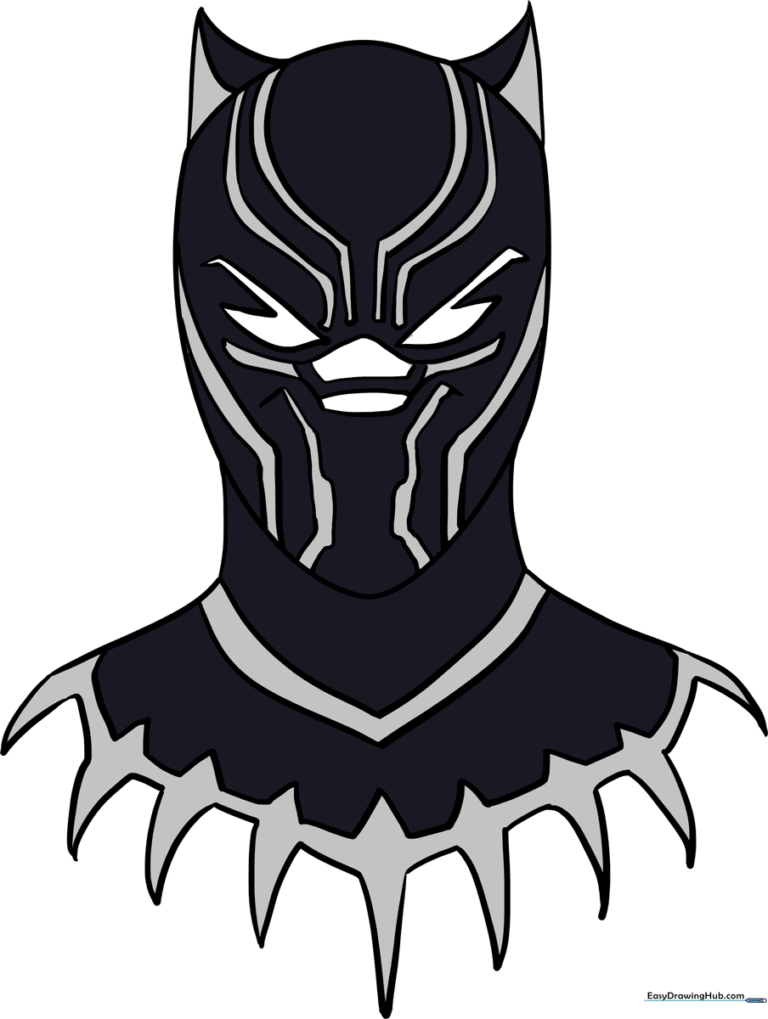
🎯 Final Result
Step-by-Step Instructions
Step 1: Sketching the Head Shape

Draw a soft, inverted egg shape—rounded at the top and slightly tapered at the chin. Tip: Keep your hand loose and draw this shape lightly so you can adjust the proportions later.
Step 2: Adding the Ears
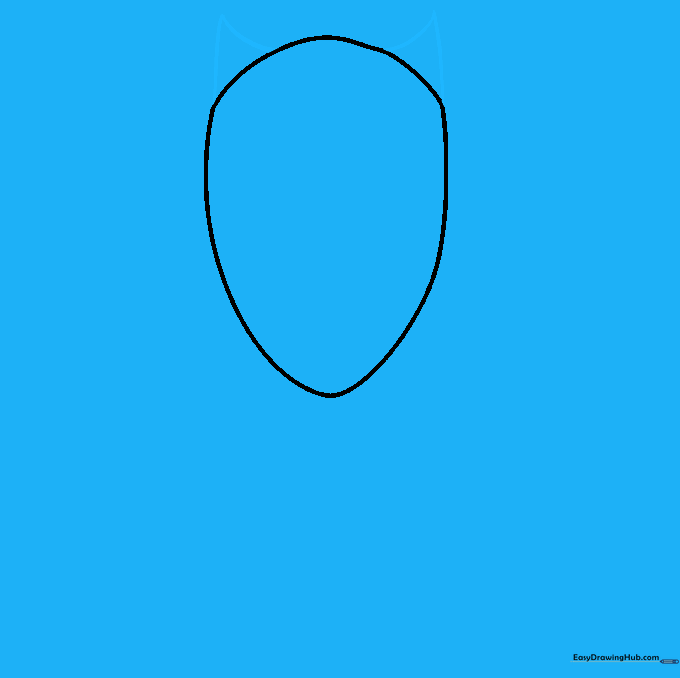
Add two small, curved triangles to the top of the head. Tip: Make sure the ears are symmetrical to give the mask that sharp, feline look.
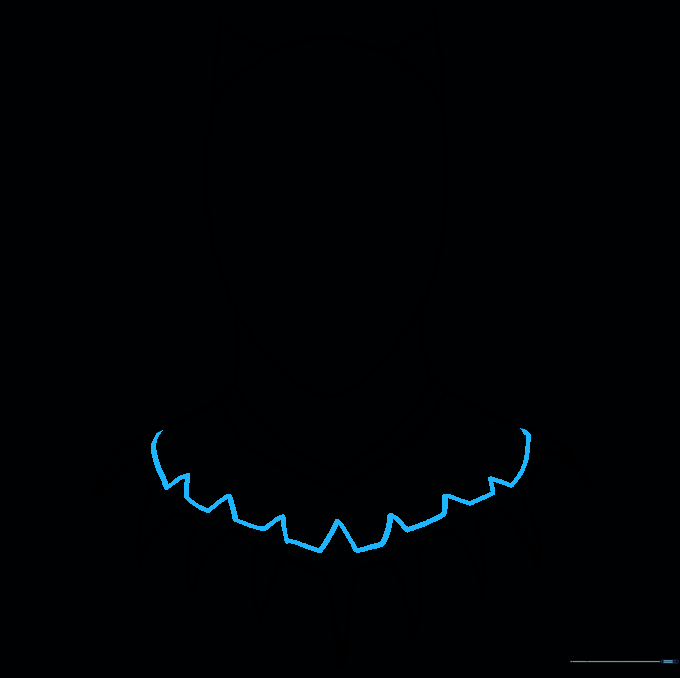
Step 3: Designing the Neckline
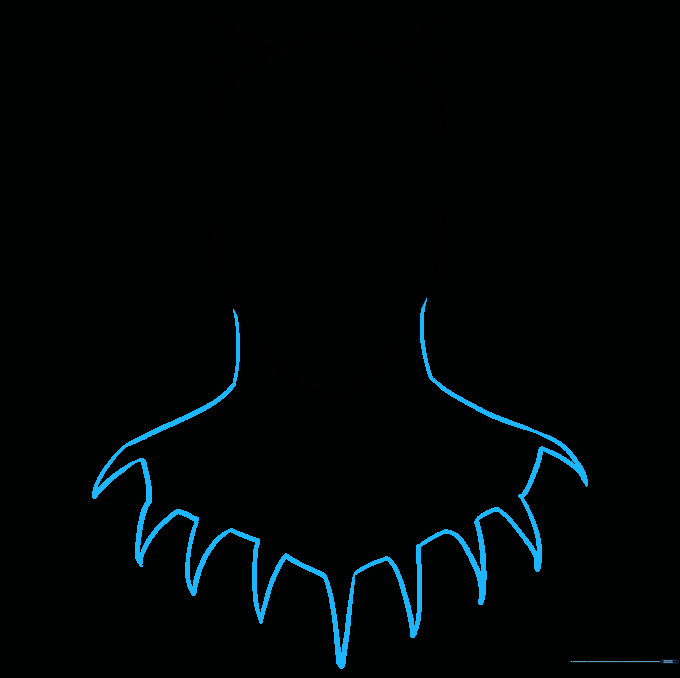
Extend two curved lines downward for the neck, ending in sharp, zigzag points to form the base of his necklace. Tip: Use a rhythmic 'up-down' motion with your pencil to keep the points consistent.
Step 4: Refining the Collar
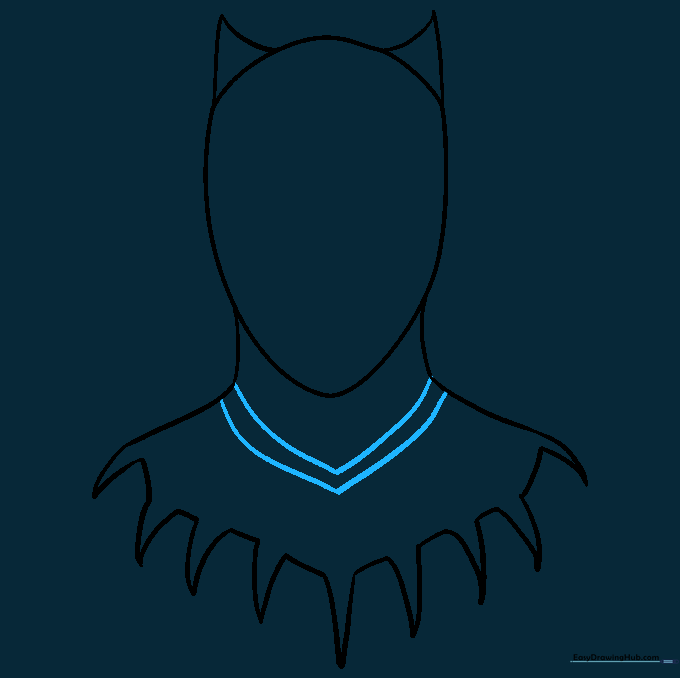
Draw two parallel 'V' shaped lines across the neck area. Tip: These lines act as a guide for the armor plating, so keep them parallel to maintain the suit's structure.
Step 5: Adding Armor Detail
Create a pattern of small triangles along the top of the necklace. Tip: Focus on keeping the triangles uniform in size to make the suit look high-tech.
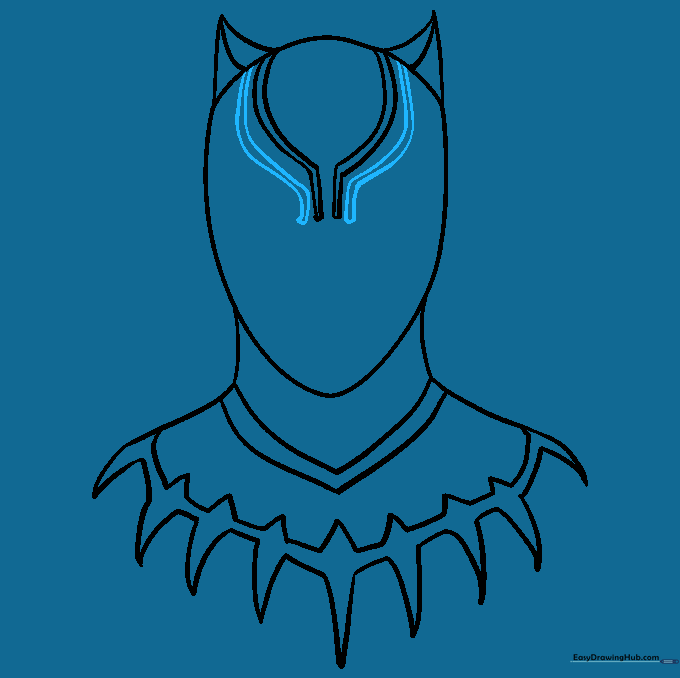
Step 6: Facial Markings

Draw two sets of narrow, parallel lines down the center of the face, curving slightly. Tip: These lines define the mask's contours, so keep them close together.
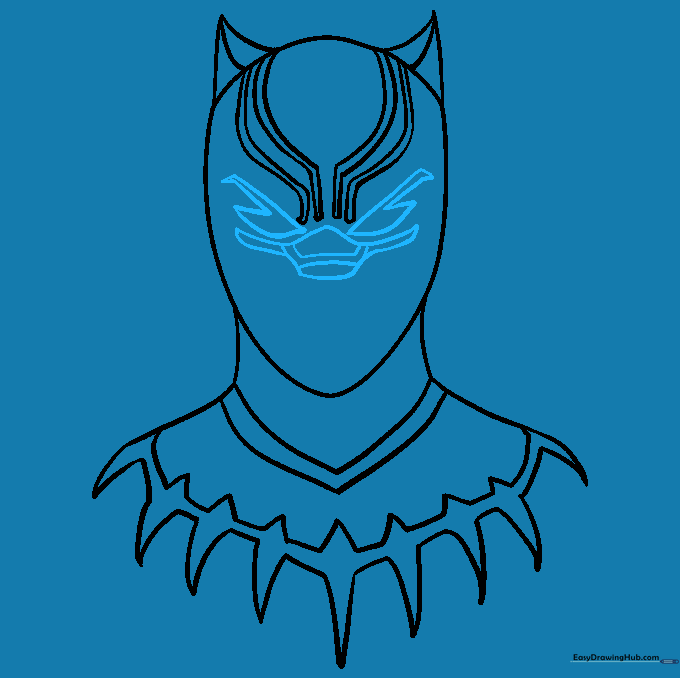
Step 7: Adding Mask Texture
Add a second set of parallel lines across the face, mirroring the first. Tip: Imagine you are drawing the 'seams' of the suit.
Step 8: Eyes and Nose
Sketch the angular eyes and the nose shape. Tip: The eyes should be sharp and narrow to give the character a focused, heroic expression.
Step 9: Final Mask Details
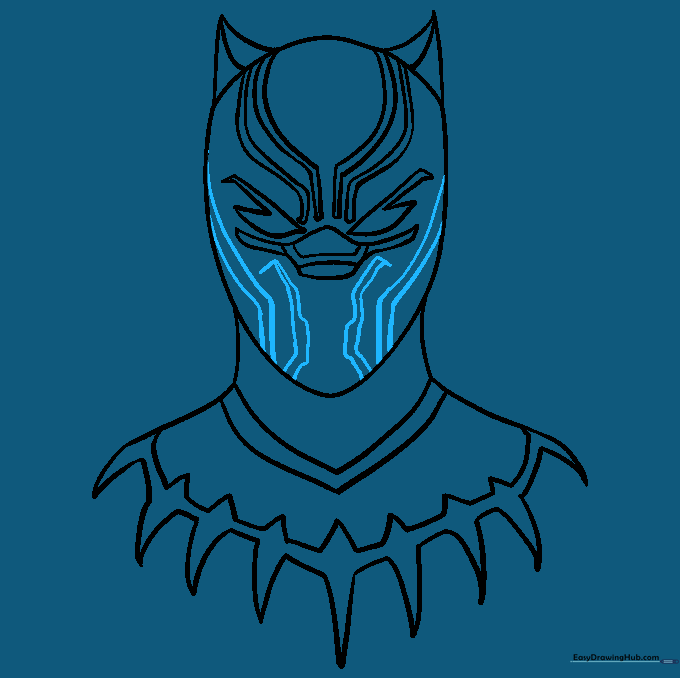
Add four more sets of parallel lines rising from the bottom of the face. Tip: These final details complete the 'vibranium' suit look.
Step 10: Coloring Your Hero
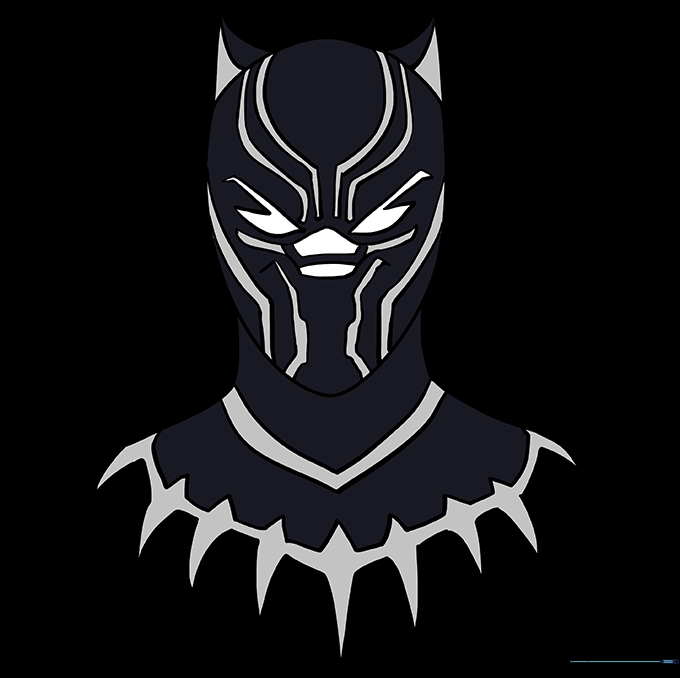
Color the suit using shades of black and dark grey. Tip: Use a lighter grey to highlight the edges of the armor, making it look metallic and shiny!
More Tutorials


