How to Draw Big Ben: Easy 10-Step Guide for Kids
Bring a piece of London to your sketchbook with this fun, architectural drawing lesson. Designed for ages 7+, this activity uses basic geometric shapes to build the iconic clock tower. Grab a pencil, a ruler, and an eraser to get started on your masterpiece.
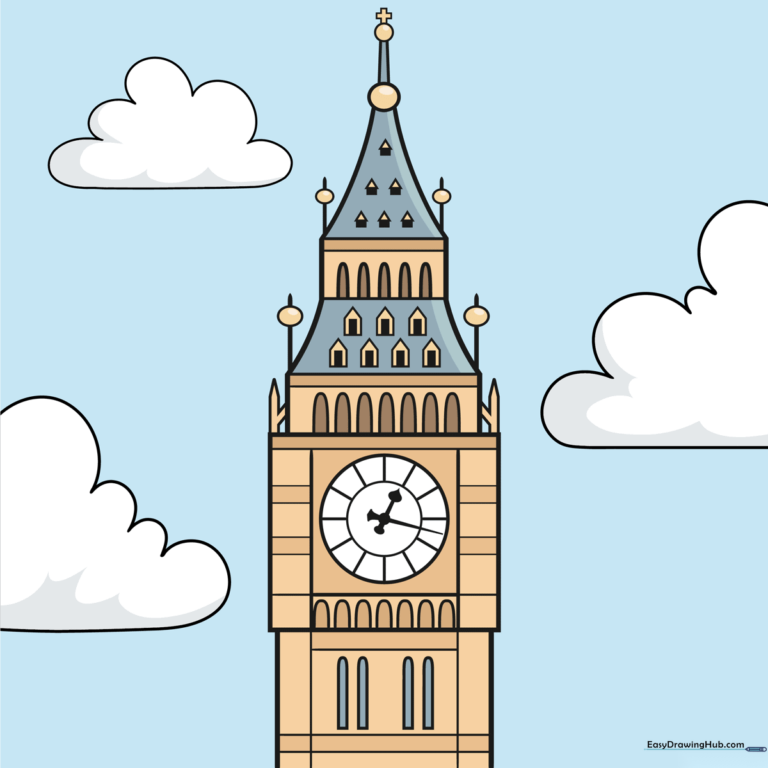
🎯 Final Result
Step-by-Step Instructions
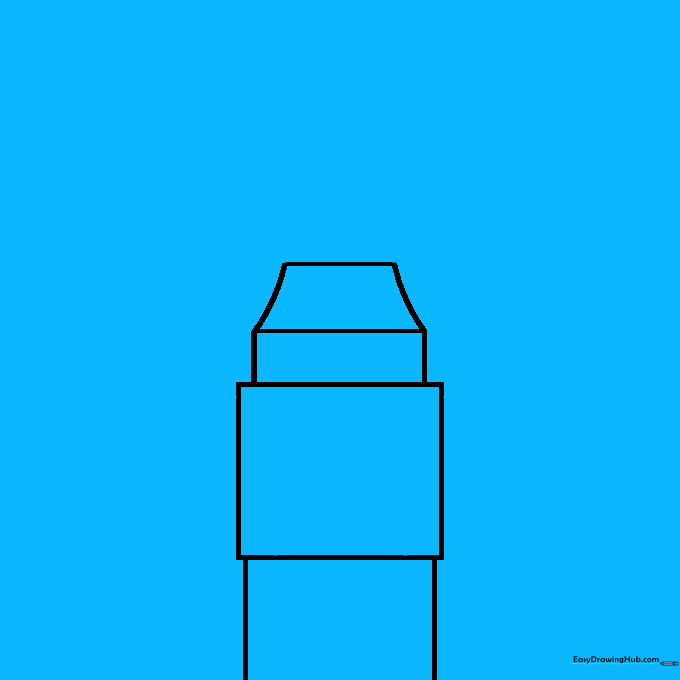
Step 1: Establishing the Base
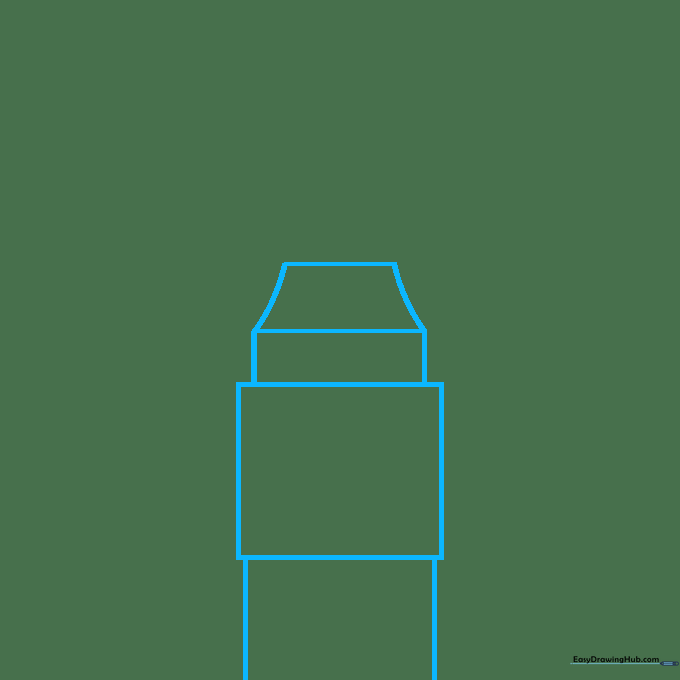
Start by sketching a central rectangle near the bottom of your page. Add narrower rectangles stacked on top and below to create the tower's foundation. Teacher's Tip: Use a ruler to keep your vertical lines straight—it makes the tower look much more professional!
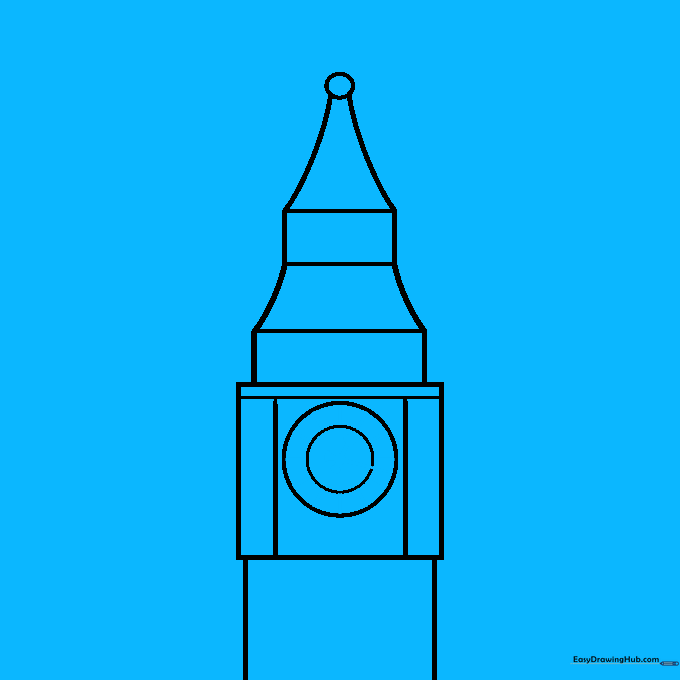
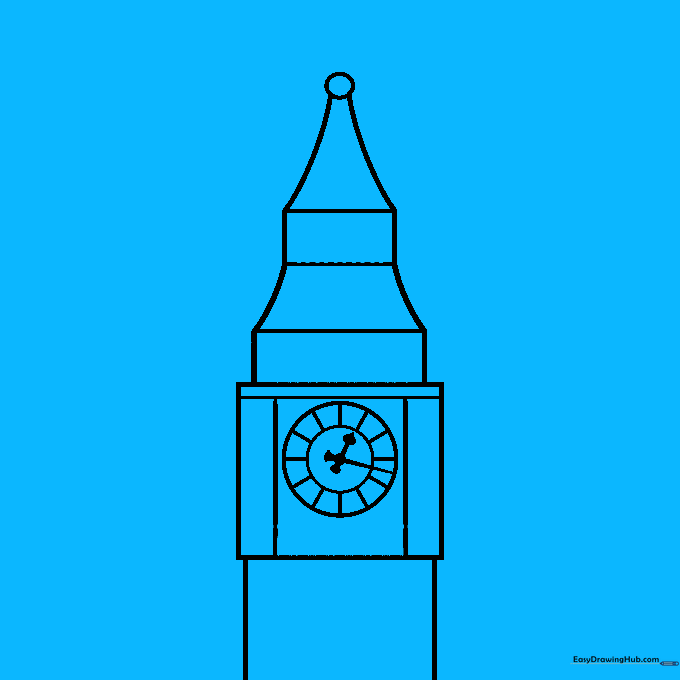
Step 2: The Clock Face
Draw a circle inside the upper square to represent the clock face, then add a smaller circle inside it to create a ring. Add straight lines extending from the ring to define the clock's frame. Tip: If your circle isn't perfect, don't worry—you can trace a small coin to get a clean shape.
Step 3: Adding Clock Hands
Sketch straight lines inside the clock ring to mark the hours. Add two hands pointing to any time you like. Tip: Keep the hands thick so they stand out clearly against the background.
Step 4: Creating Architectural Details
Draw straight lines inside the upper sections of the tower, then sketch small, even 'hills' or arches underneath each line. Tip: Take your time to ensure the arches are spaced evenly; this creates the illusion of the tower's ornate stonework.
Step 5: The Tower Roofline

Add seven small boxes with triangles on top to mimic the tower's decorative roofline. Fill in small rectangles inside each box for depth. Tip: Use a light touch with your pencil here so you can easily erase any overlapping lines later.
Step 6: Adding Spires
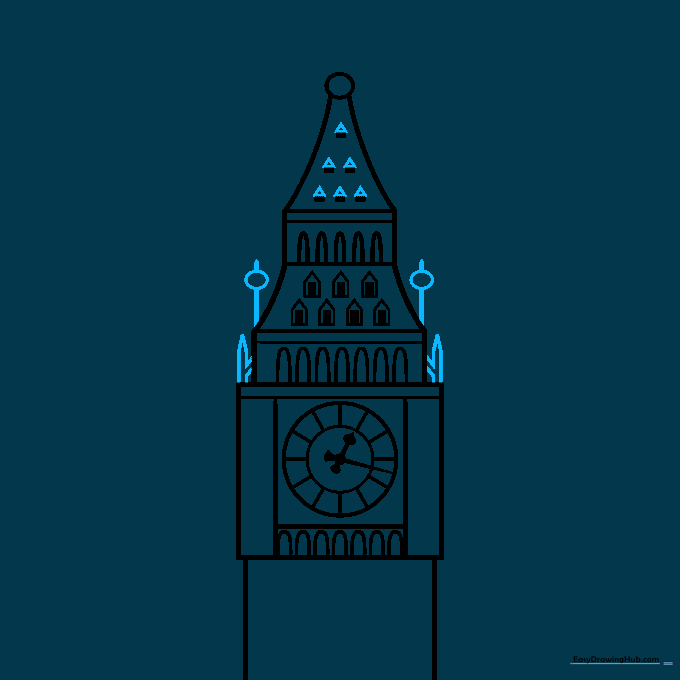
Sketch triangles above the small rectangles. Draw an oval on each side to represent the tower's side spires, connecting them with straight lines. Tip: Keep your lines sharp to maintain the building's geometric look.
Step 7: Finalizing the Peak

Add more ovals attached to vertical lines near the very top. Sketch a small cross on a circle and a narrow cylinder to finish the spire. Tip: This is the most detailed part, so slow down and focus on the symmetry of the top piece.
Step 8: Adding Atmosphere
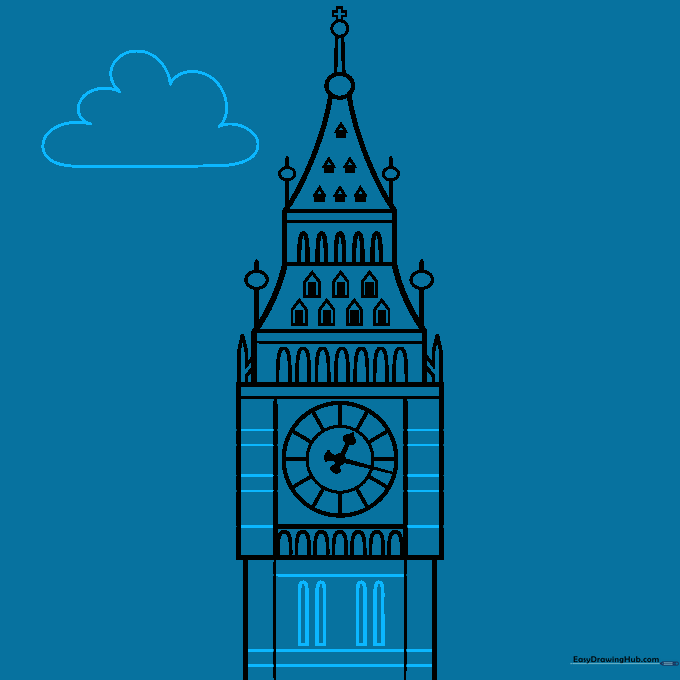
Sketch more lines and cylinders to refine the tower's body. Use soft, wavy lines to outline a fluffy cloud behind your tower. Tip: Clouds should be loose and organic, contrasting with the rigid, straight lines of the building.
Step 9: Completing the Scene
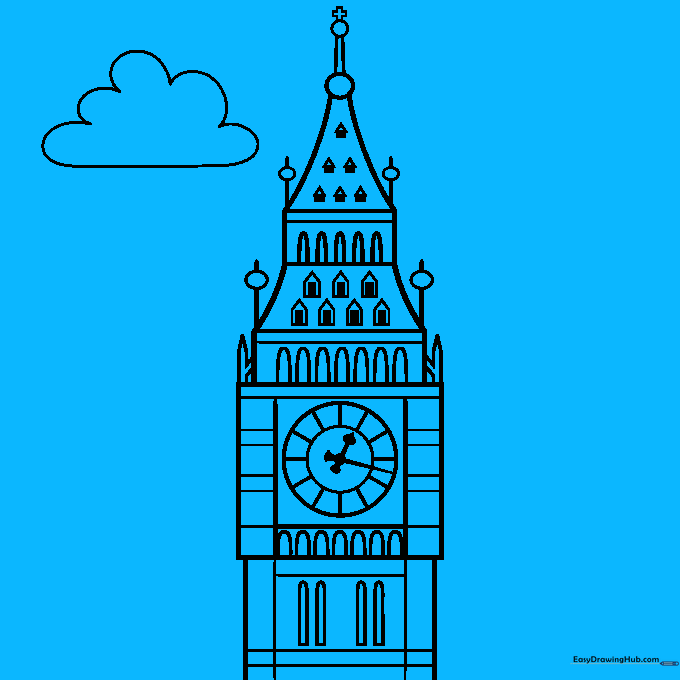
Add a few more fluffy clouds around the tower to complete the composition. Tip: Vary the size of your clouds to make the sky look more natural.
Step 10: Adding Color

Outline your drawing with a black pen for a clean finish. Color the tower in shades of pale yellow and tan, using gray for the shadows on the clouds. Tip: Use a light blue for the sky to make the tan tower pop!
More Tutorials


