How to Draw a Bible: Easy 9-Step Guide for Kids
This simple drawing guide is perfect for children ages 5 and up who want to illustrate a classic book. All you need is a pencil, an eraser, and a piece of paper to get started. Follow these steps to build confidence in your sketching skills while creating a clean, recognizable Bible illustration.
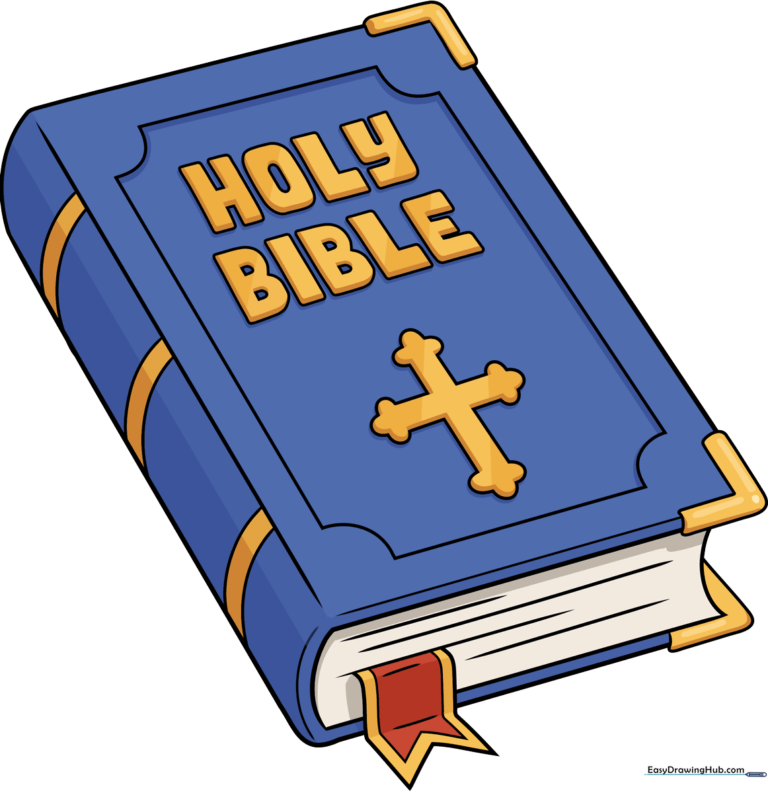
🎯 Final Result
Step-by-Step Instructions
Step 1: Sketching the Main Cover
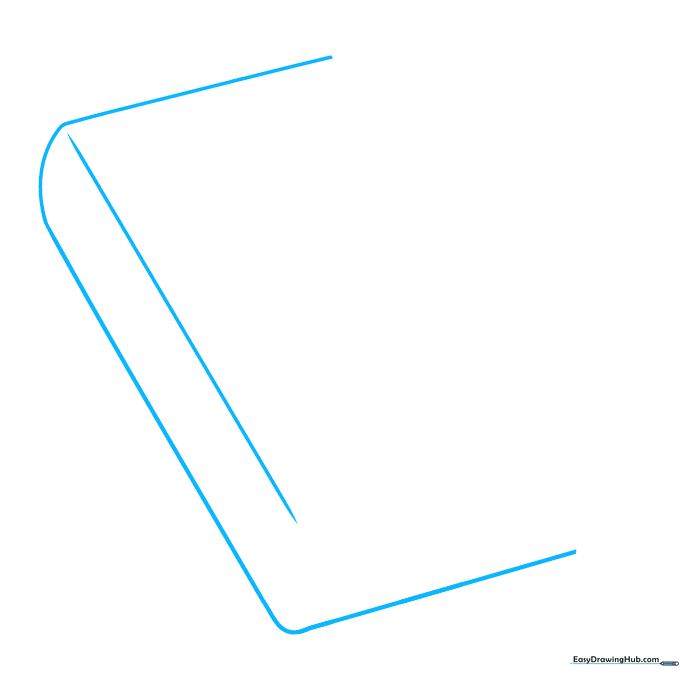
Start by drawing a rectangle with slightly rounded corners to form the front cover. Add a vertical line parallel to the left side to represent the spine. Tip: Keep your pencil pressure light so you can adjust the shape if needed.
Step 2: Defining the Edges
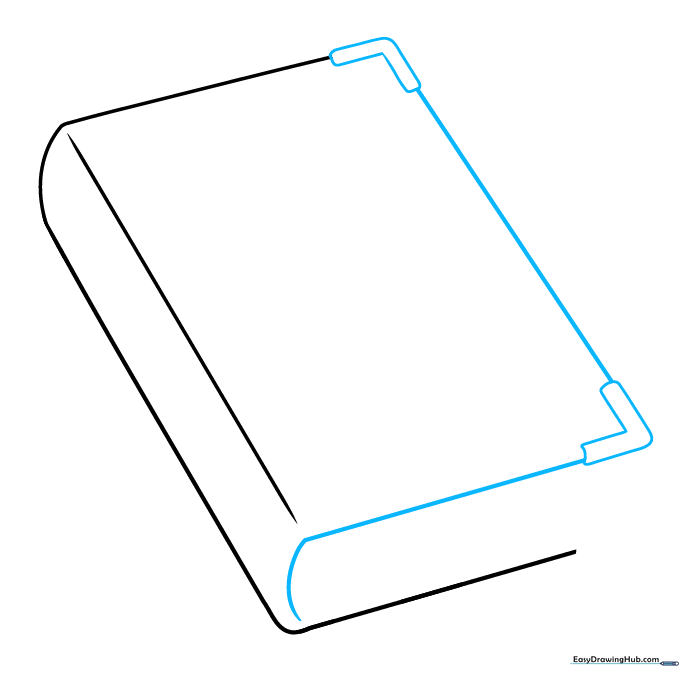
Draw small 'L' shapes on the outer corners of your rectangle and connect them with straight lines. Add a curved line at the bottom of the spine to give the book volume. Tip: Imagine the book is sitting on a table to help you visualize the depth.
Step 3: Adding Pages and Bookmark
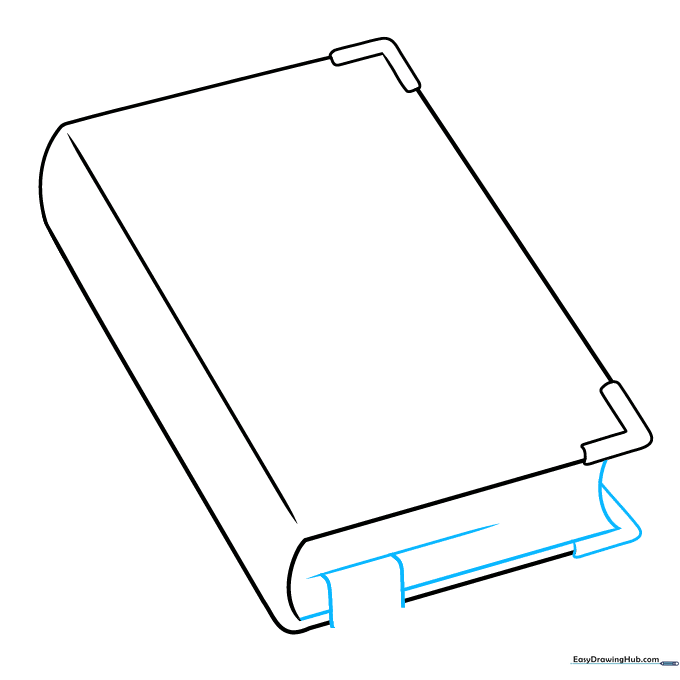
Draw a line parallel to the bottom cover to represent the pages. Add a thin, curved ribbon shape extending from the bottom to create a bookmark. Tip: Use your eraser to clean up any overlapping lines where the ribbon meets the book.
Step 4: Detailing the Ribbon and Spine
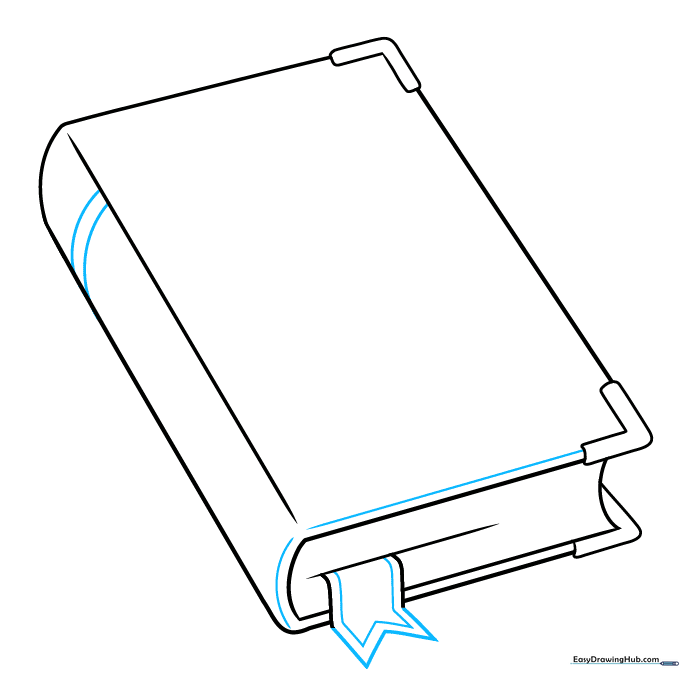
Give your bookmark a 'V' shape at the end. Add decorative horizontal bands across the spine and the bottom of the cover. Tip: Keep your lines straight by moving your whole arm rather than just your wrist.
Step 5: Creating the Cover Pattern
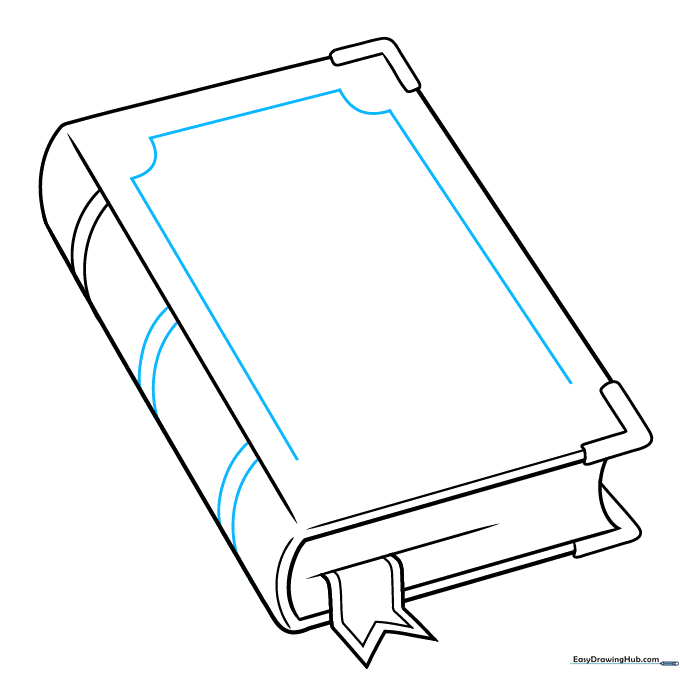
Add more curved bands to the spine. On the front cover, sketch a large rectangle to serve as a frame for the title. Tip: Use a light touch so the frame doesn't overpower the text you'll add next.
Step 6: Lettering the Cover
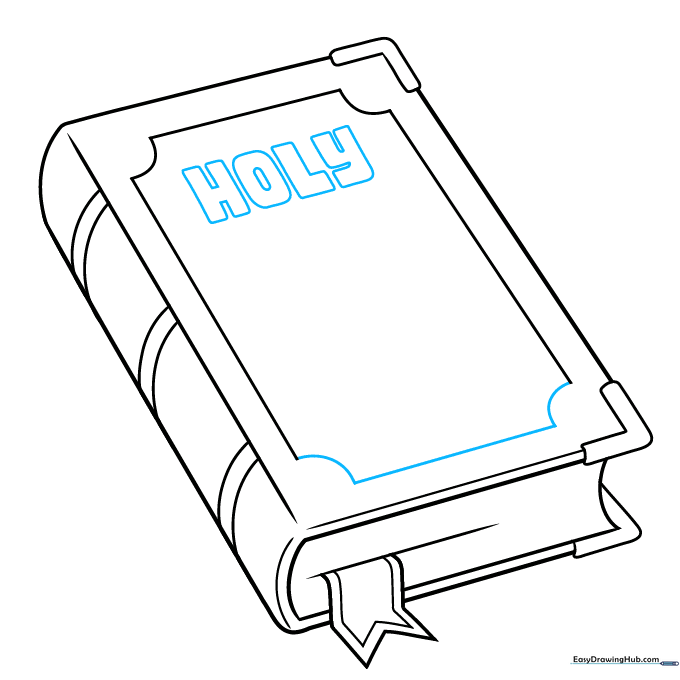
Add small circles to the corners of your frame for a decorative look. Carefully print 'HOLY' in block letters inside the top of the frame. Tip: If you find lettering difficult, draw faint guide lines with your pencil first.
Step 7: Completing the Title
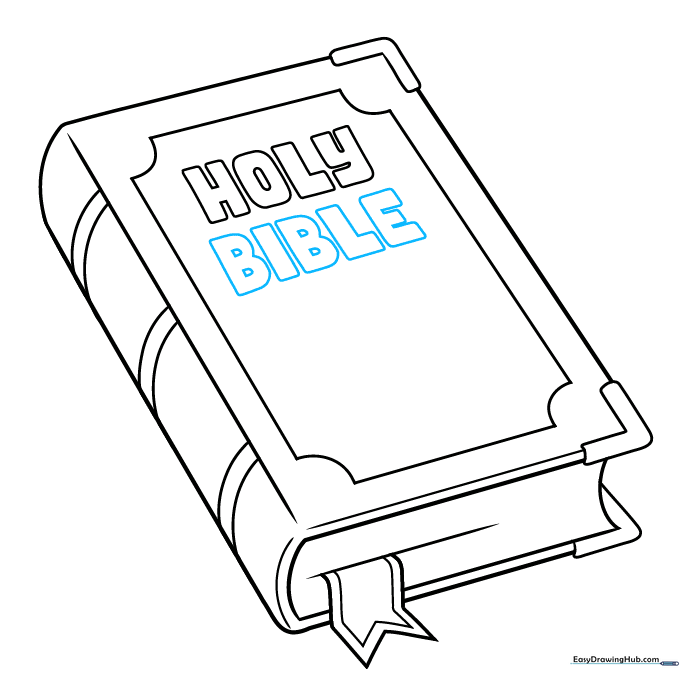
Write 'BIBLE' in bold, clear letters directly under 'HOLY'. Ensure your spacing is even so it looks balanced. Tip: Take your time with the lettering—it's the focal point of your drawing!
Step 8: Adding a Cross Symbol
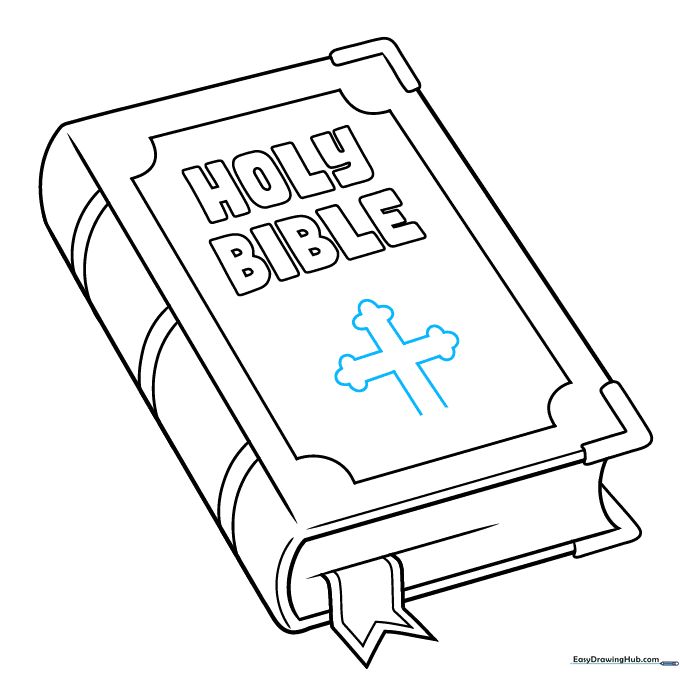
Draw a cross shape in the center of the cover using straight lines. Add small 'U' shapes to the ends of the cross to give it a finished, stylized look. Tip: Use a small eraser to clean up any lines inside the cross.
Step 9: Final Touches
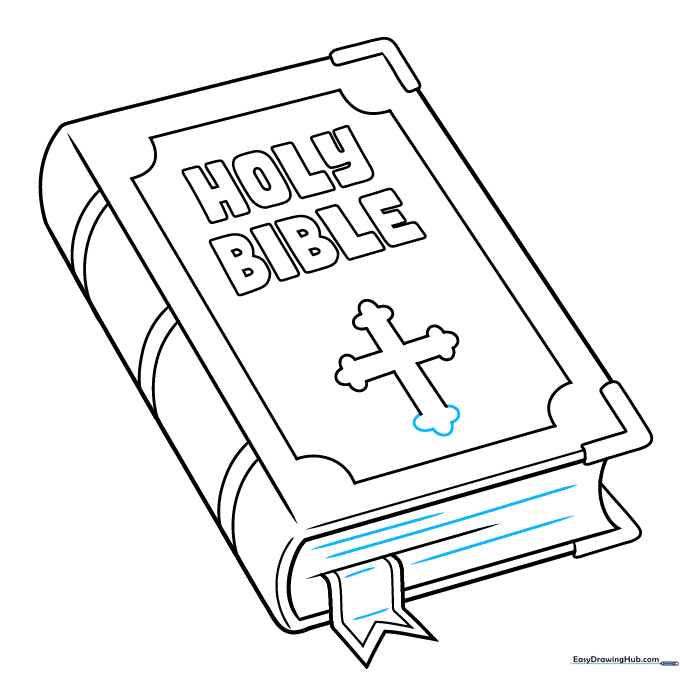
Refine your lines and add a few straight marks on the page edges to show texture. Your Bible is now ready for color! Tip: Use a fine-liner or dark pencil to go over your final lines for a professional look.
Step 10: Coloring Your Bible
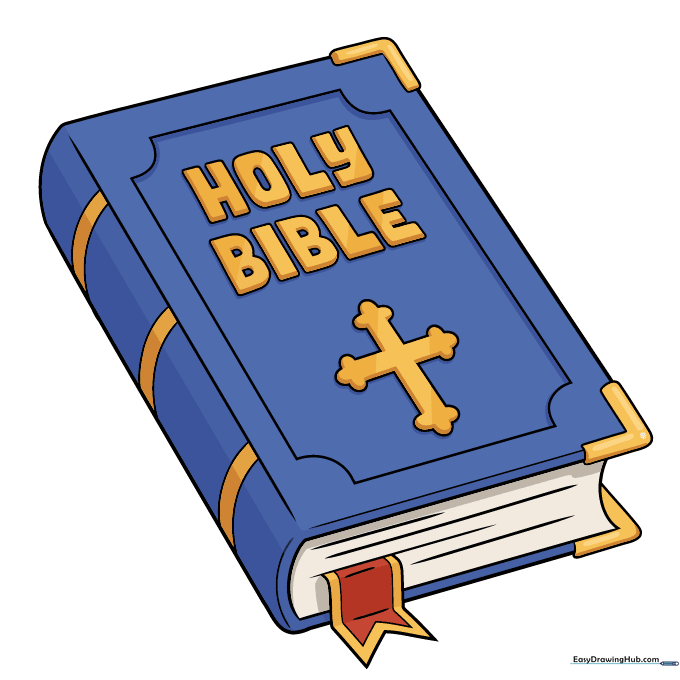
Bring your drawing to life! Traditional Bibles often have black or burgundy covers with gold lettering. Try using metallic gold for the text to make it pop. Tip: Use light pressure with your colored pencils to blend colors smoothly.
More Tutorials


