How to Draw The Beast: Easy 10-Step Disney Tutorial
Ready to bring the enchanted prince to life? This tutorial is perfect for young artists ages 8+ who want to master character proportions. Grab a pencil, an eraser, and a piece of paper to follow along as we break down The Beast’s complex features into manageable, fun shapes.
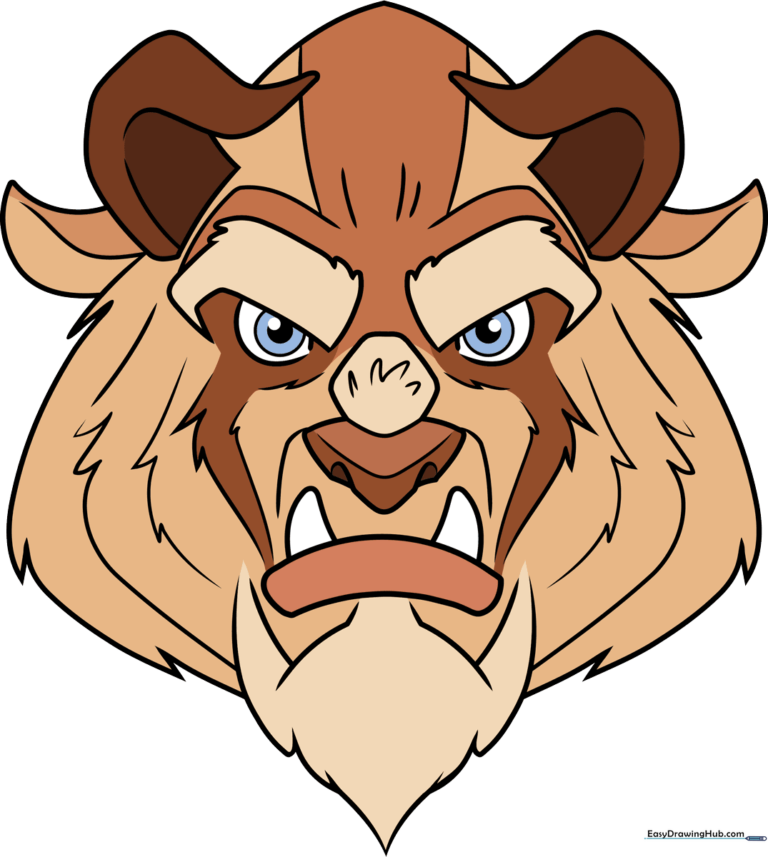
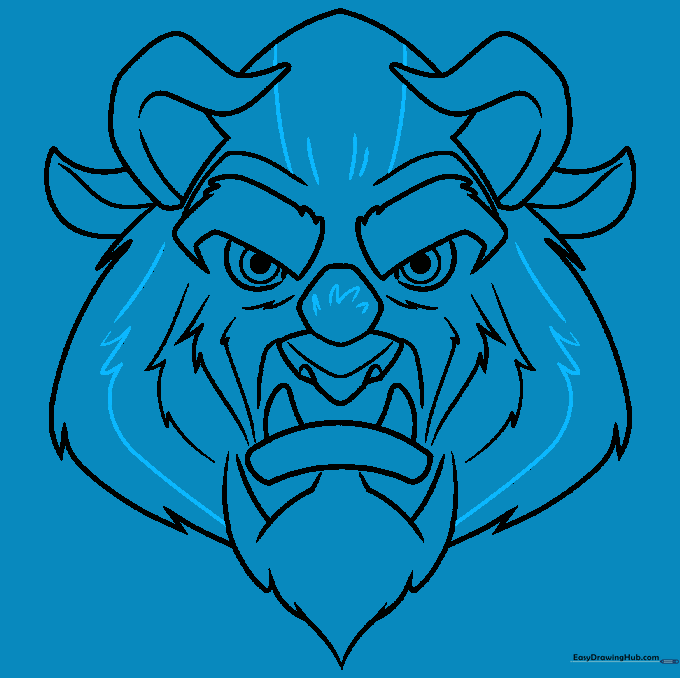
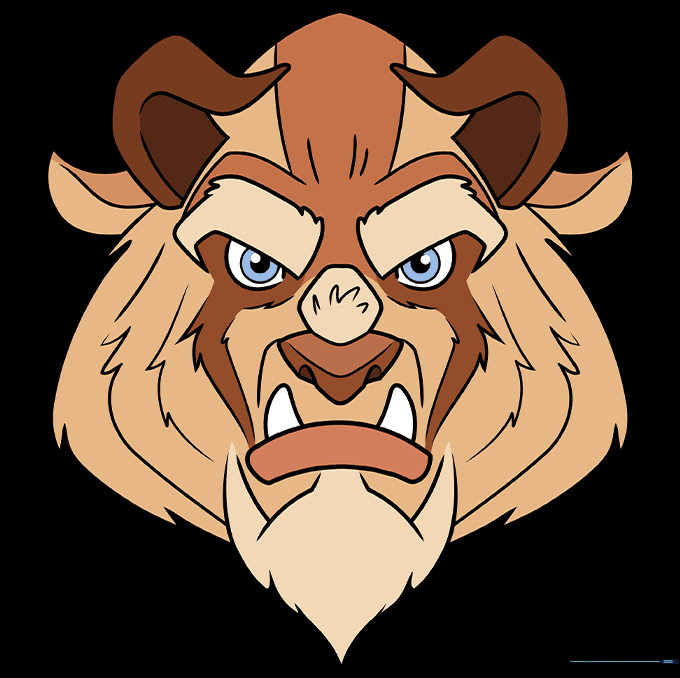
🎯 Final Result
Step-by-Step Instructions
Step 1: Sketching the Eye Structure

Start by drawing two diagonal lines pointing upward, then add small curves for the eyebrows. Sketch two half-circles beneath them for the eyes. Teacher's Tip: Keep these shapes light and loose; they act as the foundation for his intense expression.
Step 2: Defining the Brow and Bridge

Draw two half-diamond shapes for the brow ridge and add jagged lines to suggest fur. Between the eyes, sketch a hexagon-like shape for the nose bridge. Tip: Use short, quick strokes to mimic the look of coarse fur.
Step 3: Creating the Snout and Teeth
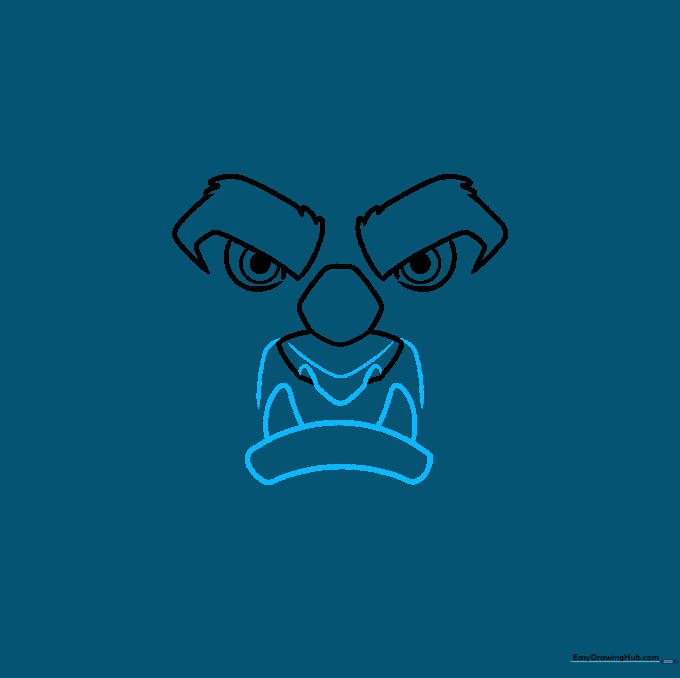
Sketch a triangle inside the nose area, then add two 'hooks' for the nostrils. Below, draw a curved 'noodle' shape for the mouth and add two small triangles for his fangs. Tip: Make the fangs sharp and slightly uneven to give him that signature Beast look.
Step 4: Adding Facial Depth
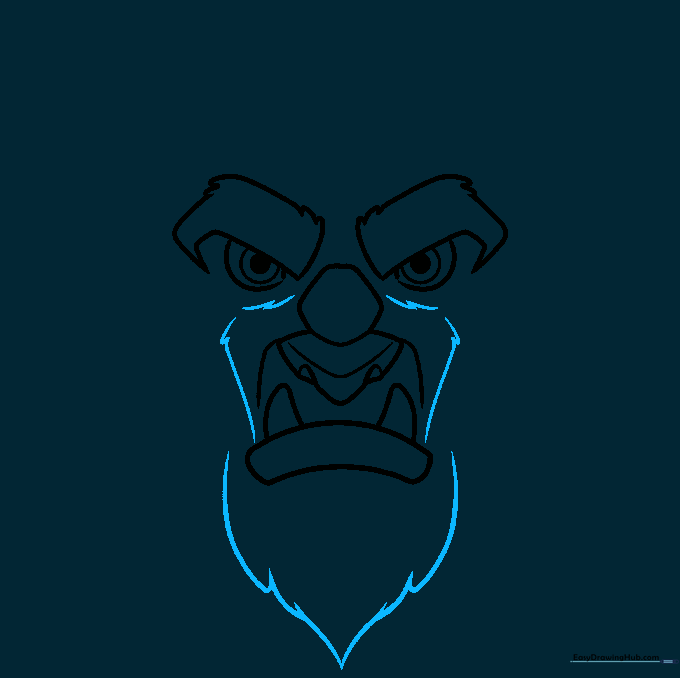
Draw swooping curved lines under the mouth to form the chin. Add zigzag lines around the nose and mouth area to create the appearance of thick fur. Tip: Vary the length of your zigzags to make the fur look natural and wild.
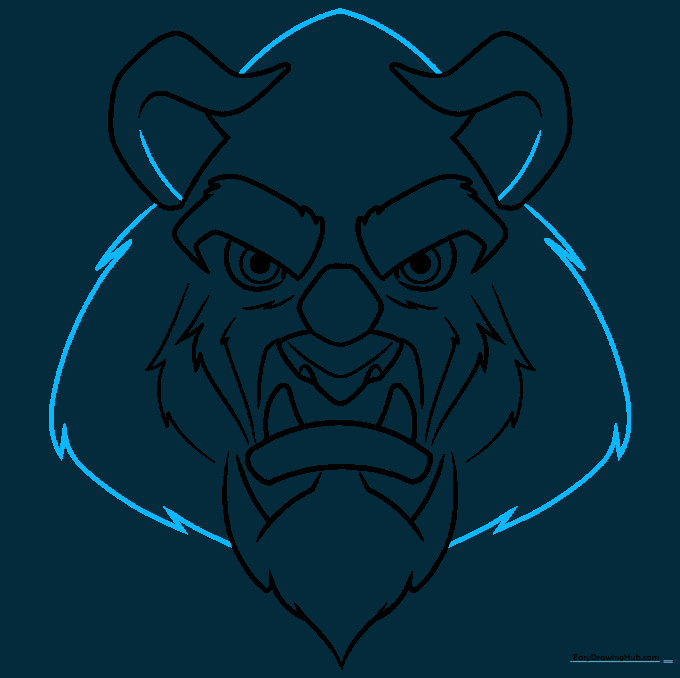
Step 5: Framing the Face
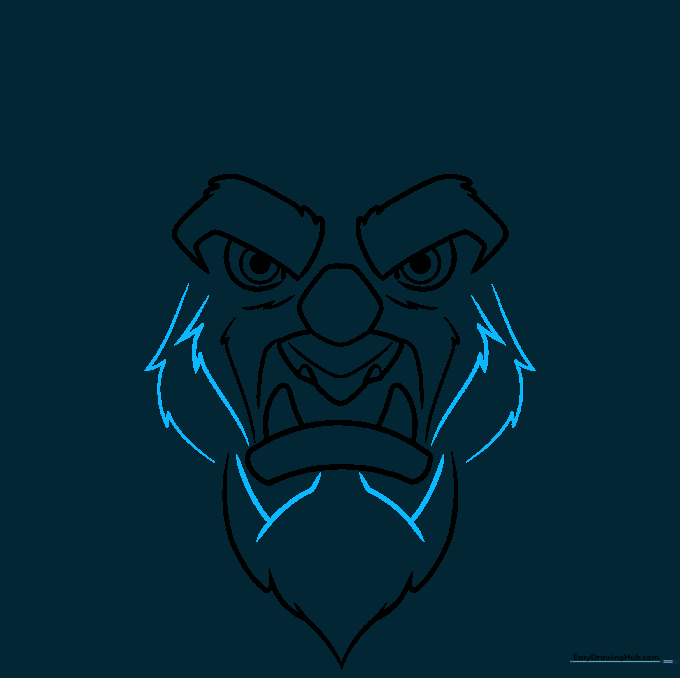
Use more jagged, curved lines to frame the entire face. Connect these to the lower jaw with straight lines. Tip: Think of this as creating a 'mane'—the more volume you add here, the more powerful he will look.
Step 6: Sketching the Horns
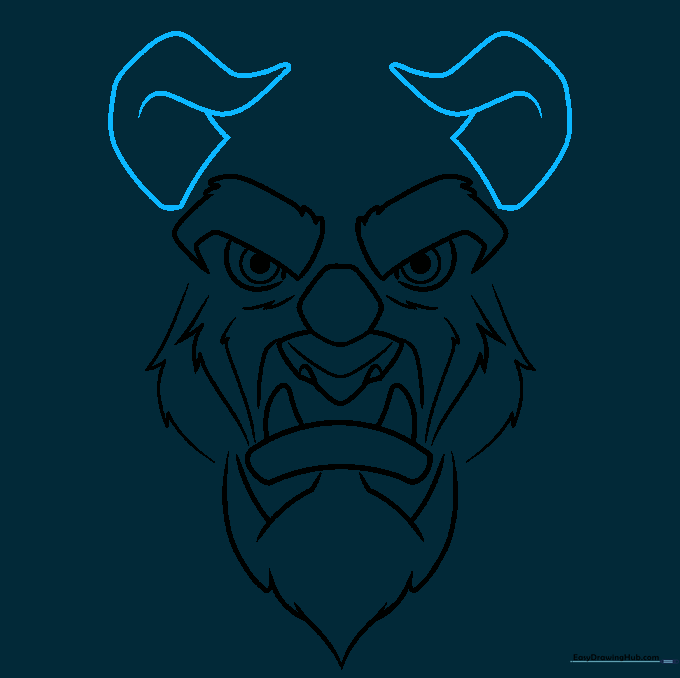
Draw two curved lines on either side of the head, extending upward into points. Add a swooping line underneath to give them thickness. Tip: Horns are curved, not straight, so keep your lines fluid and organic.
Step 7: Refining the Head Shape
Add depth to the horns with extra lines. Sketch a curved triangle at the top of the head and continue the zigzag fur pattern around the face. Tip: This connects the horns to the head, making them look like a natural part of his anatomy.
Step 8: Adding Ears and Details
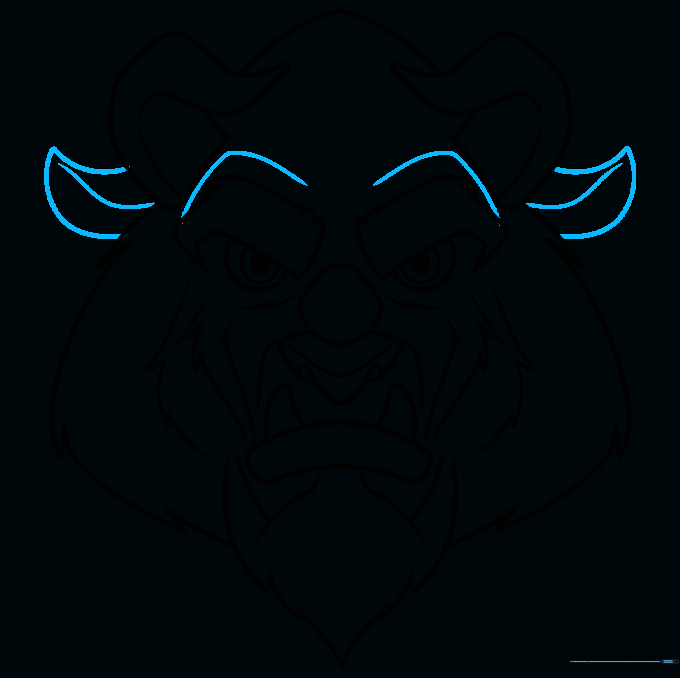
Draw loose L-shapes above the eyebrows and add curved lines on the sides for the ears. Sketch an upward curve inside each ear for depth. Tip: The ears should be placed slightly lower than the horns to maintain correct proportions.
Step 9: Final Fur Texturing
Add final tufts of fur to the nose and forehead. Use extra zigzag lines to create shadows and texture. Tip: Don't overdo it—a few well-placed tufts are better than too many messy lines.
Step 10: Inking and Cleaning
Go over your final lines with a black pen or marker. Once the ink is dry, gently erase your original pencil guidelines. Tip: Use a steady hand for the eyes to make them pop!
More Tutorials


