How to Draw the Batmobile: Easy 10-Step Guide
Ready to design your own crime-fighting vehicle? This tutorial is perfect for young artists ages 6+ who love superheroes. Grab a pencil, an eraser, and some paper, and follow along to build your own Batmobile from scratch.
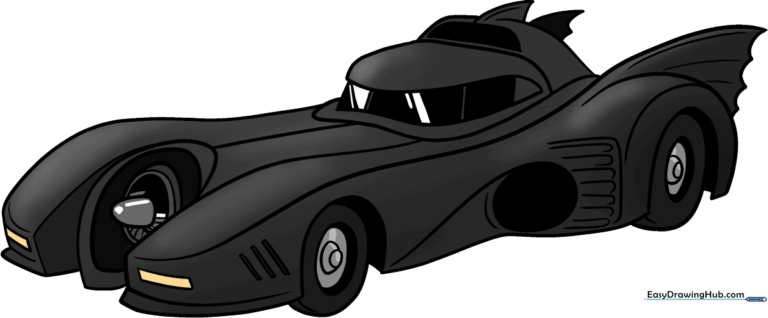
🎯 Final Result
Step-by-Step Instructions
Step 1: Sketching the Windshield
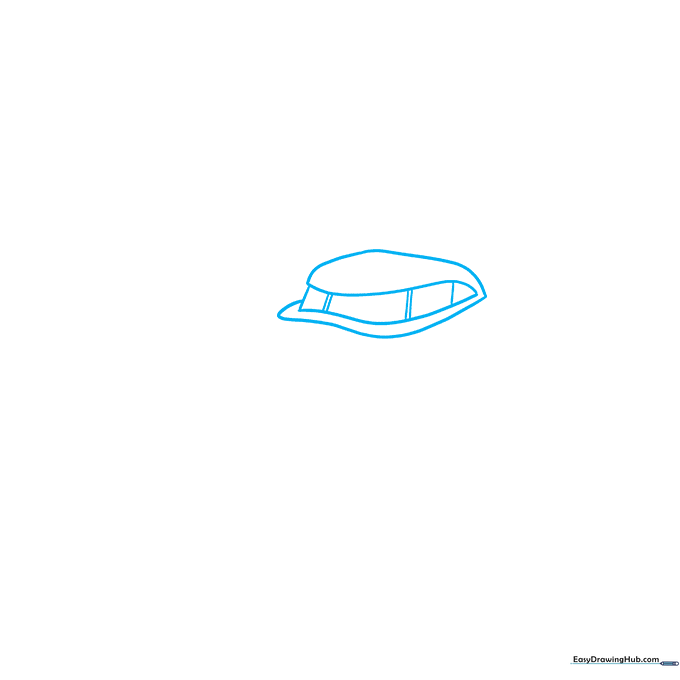
Start by sketching the cab of the car using a long, gentle curve. Tip: Keep your pencil strokes light—this is just the frame, and you'll want to erase any overlapping lines later.
Step 2: Adding the Rear Fins
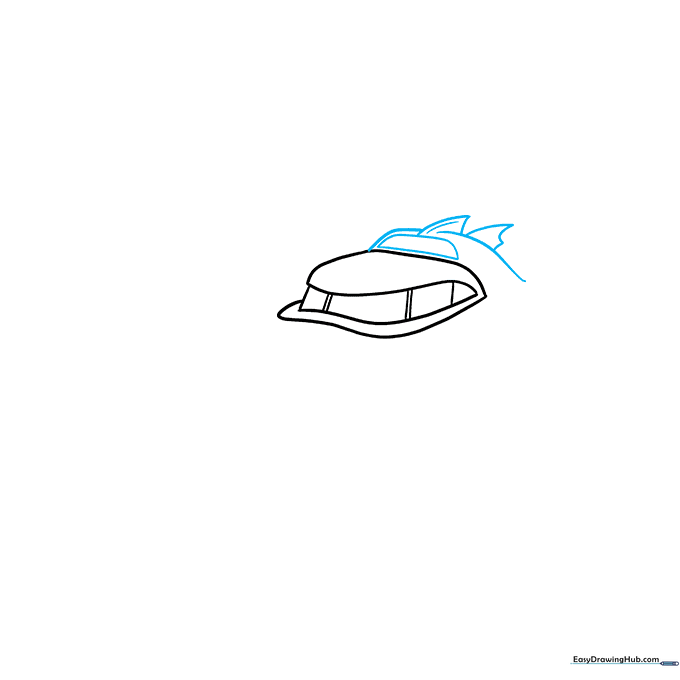
Draw a half-oval above the cab, then add two curved lines that don't quite touch. In that gap, sketch a triangular fin. Tip: Make the fins look sharp and aerodynamic to give the car its signature 'Bat' look.
Step 3: Forming the Wheel Fenders
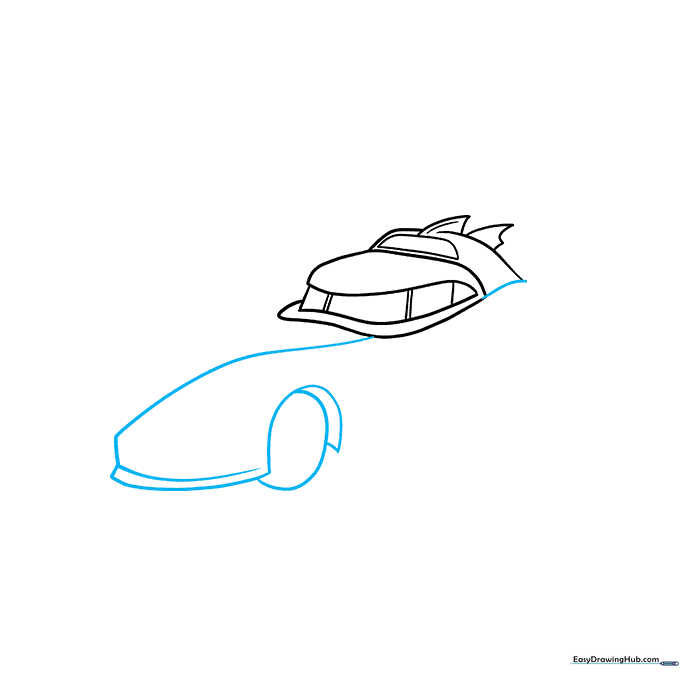
Connect the back of the cab to the front with a smooth, flowing line. Extend this line to create the wheel fender. Tip: Use a light touch to ensure the fender looks rounded, not boxy.
Step 4: Detailing the Wheels
Draw the rear wheel well and add concentric ovals for the hubcaps. Tip: Concentric circles (circles inside circles) are great practice for steady hand control!
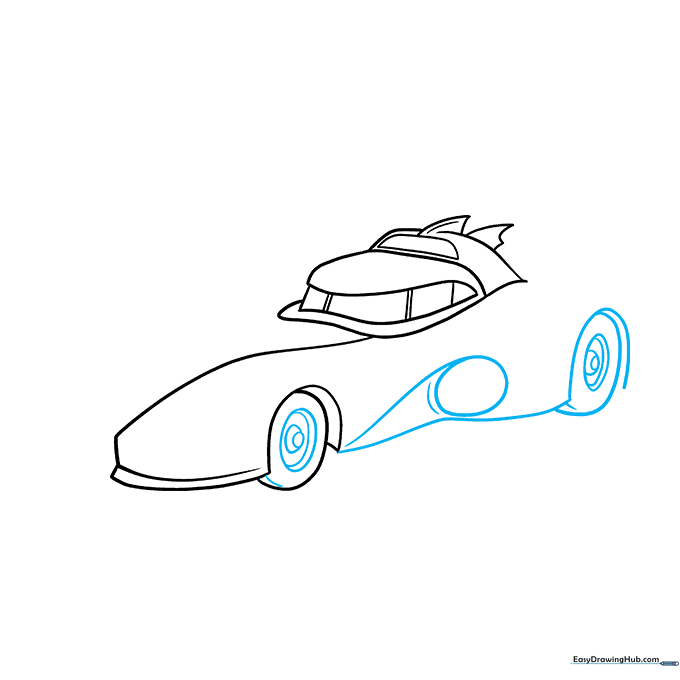
Step 5: Refining the Body
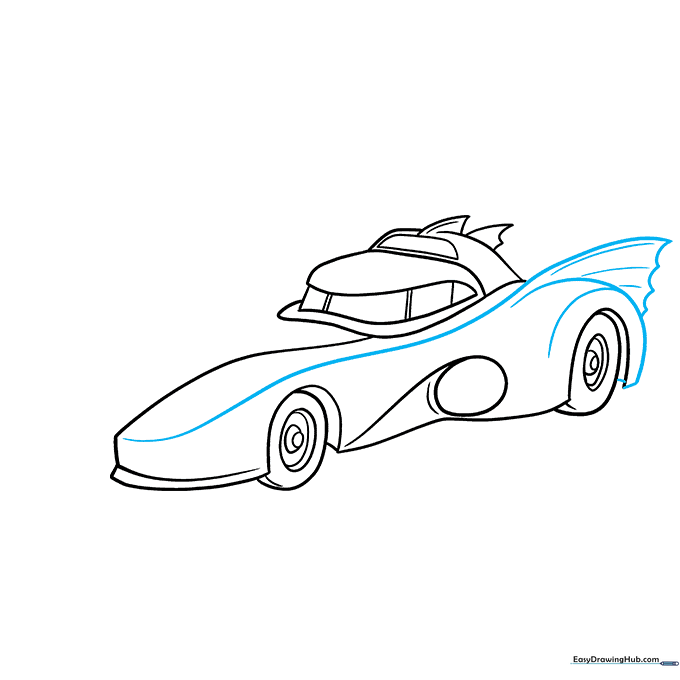
Extend a long curve from the front to the back tire. Outline the back fender to match the bat-wing style. Tip: Don't worry if the lines aren't perfect; the Batmobile is meant to look rugged and fast.
Step 6: Adding Mechanical Details
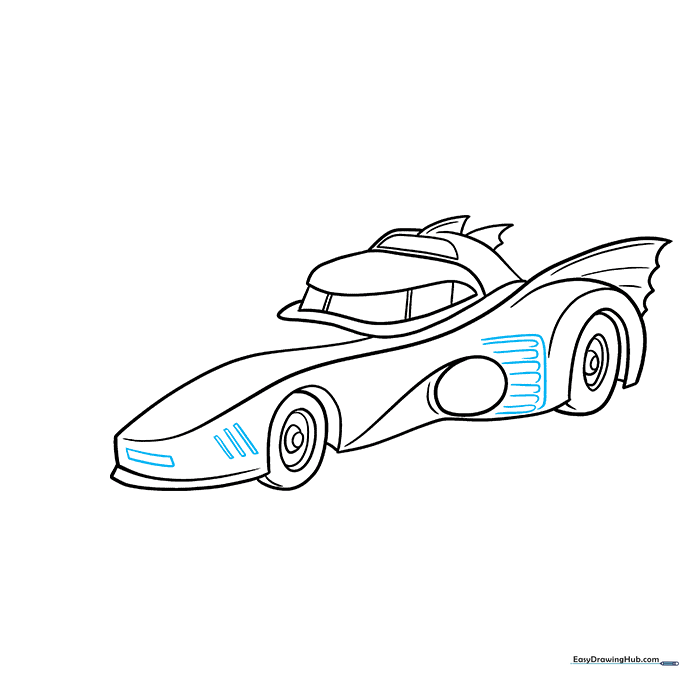
Add a rectangular headlight and some diagonal lines near the tires. Tip: These small geometric shapes add 'mechanical' texture, making your drawing look more professional.
Step 7: The Jet Engine
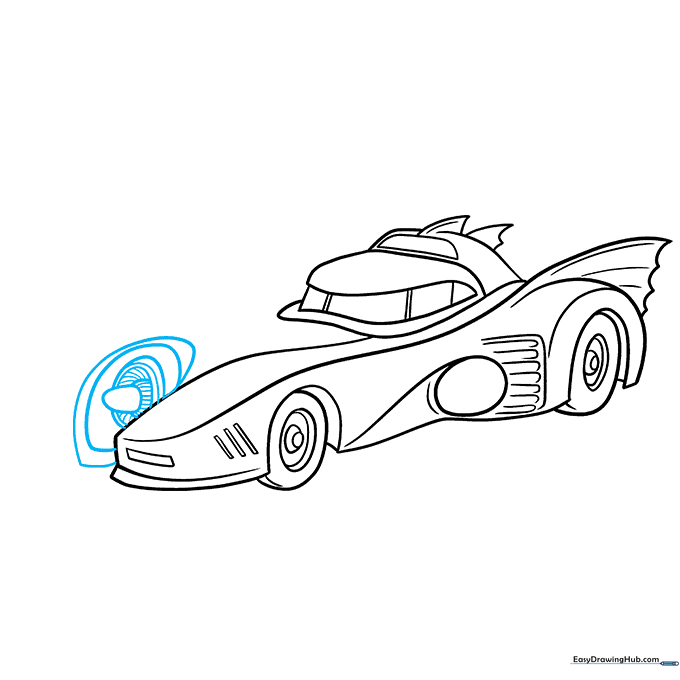
Draw a jet engine on the front using smaller, nested ovals. Tip: Use slightly darker pressure on your pencil for the inner circles to create depth.
Step 8: Finalizing the Hood
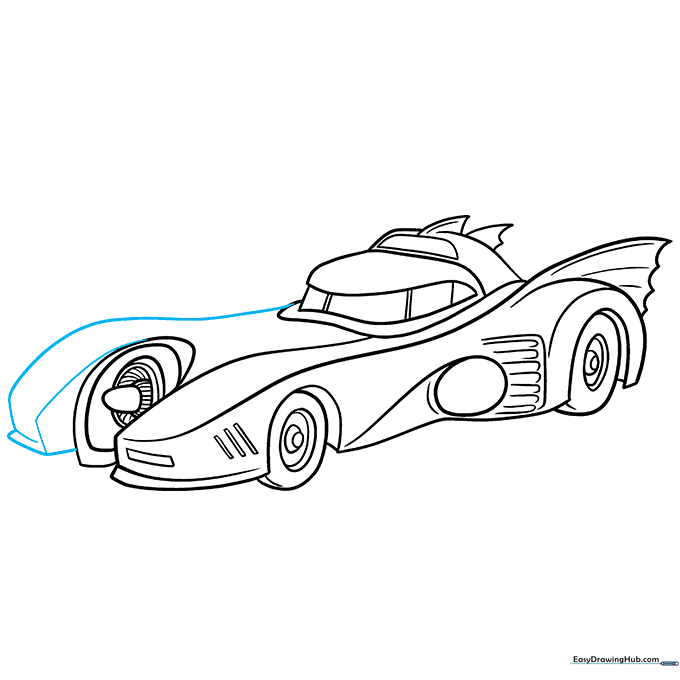
Add more curved lines to define the front hood. Tip: Follow the natural curve of the car's body to keep the flow consistent.
Step 9: Final Touches
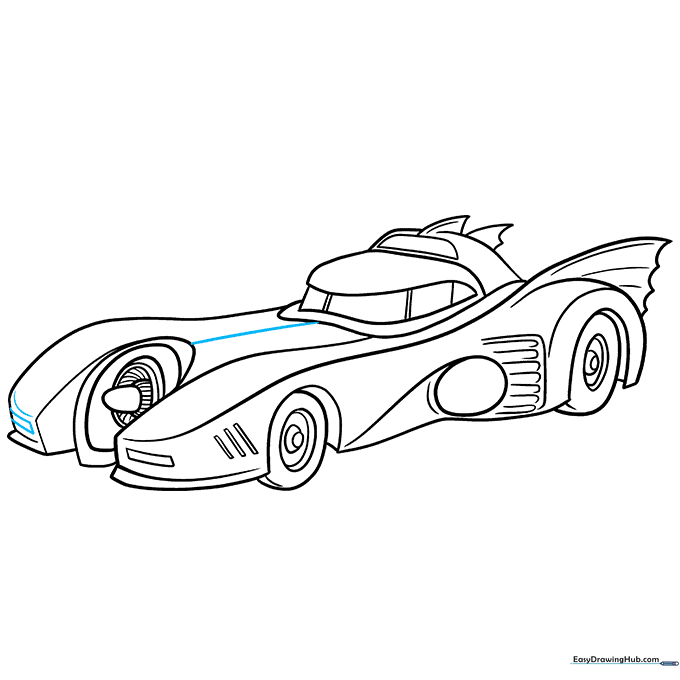
Add the final headlight and a center line down the hood. Tip: Use a ruler if you want the hood line to be perfectly straight, or keep it freehand for a more artistic look.
Step 10: Coloring Your Masterpiece
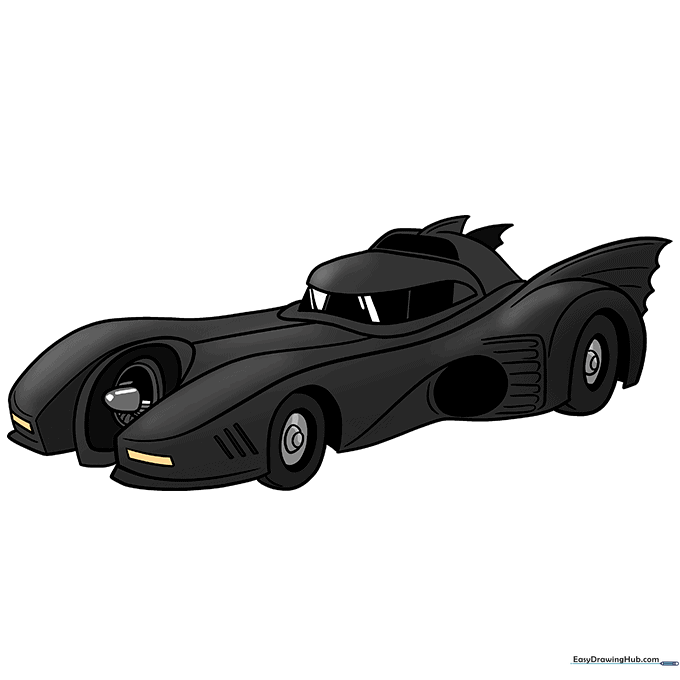
Time to bring it to life! Use black for the body, but leave some white spaces for highlights to make it look shiny. Tip: Use a silver or grey pencil to add metallic reflections.
More Tutorials


