How to Draw an Egg Anatomy Diagram: Easy Science Lesson
Combine art and biology with this simple, step-by-step guide to drawing the internal anatomy of an egg. Perfect for elementary science projects or homeschool lessons, this activity helps students visualize complex structures through drawing. All you need is a pencil, paper, and your favorite coloring tools to get started.
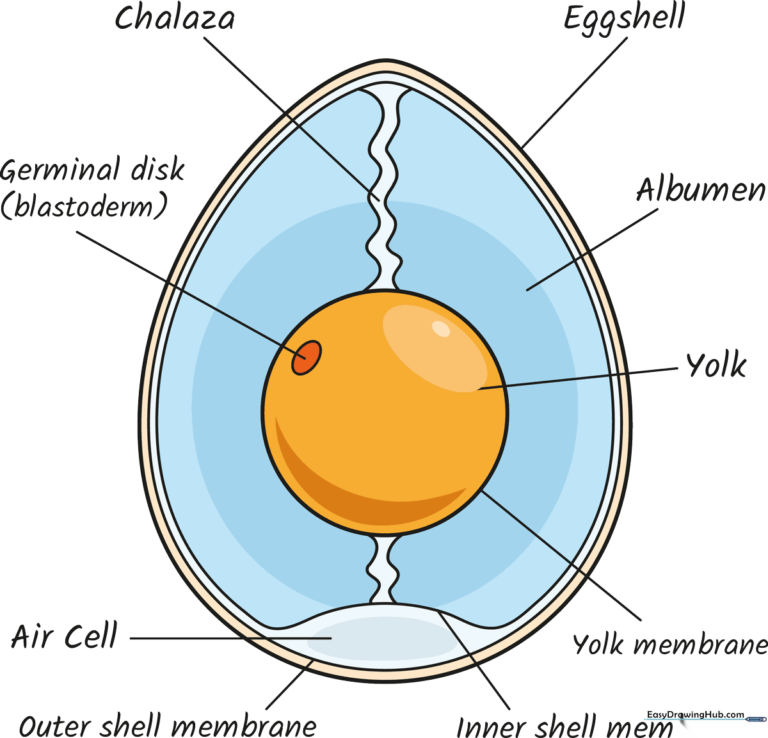
🎯 Final Result
Step-by-Step Instructions
Step 1: Sketch the Outer Shell
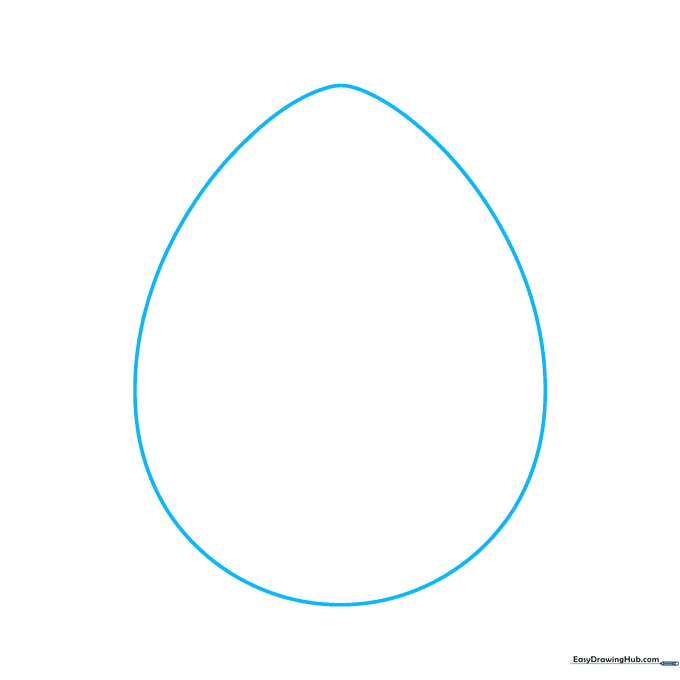
Draw a large, elongated oval that is slightly more pointed at the top. Teacher's Tip: Keep your pencil lines light and loose so you can easily adjust the shape if it looks a bit lopsided.
Step 2: Add the Inner Membrane
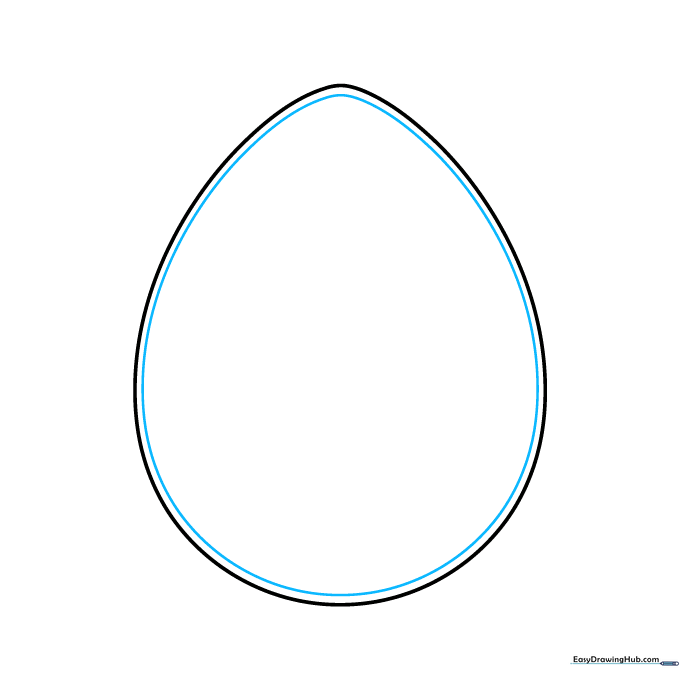
Draw a second, smaller oval inside the first, following the same contour. Tip: Try to maintain an even gap between the two lines to represent the shell thickness.
Step 3: Define the Air Cell
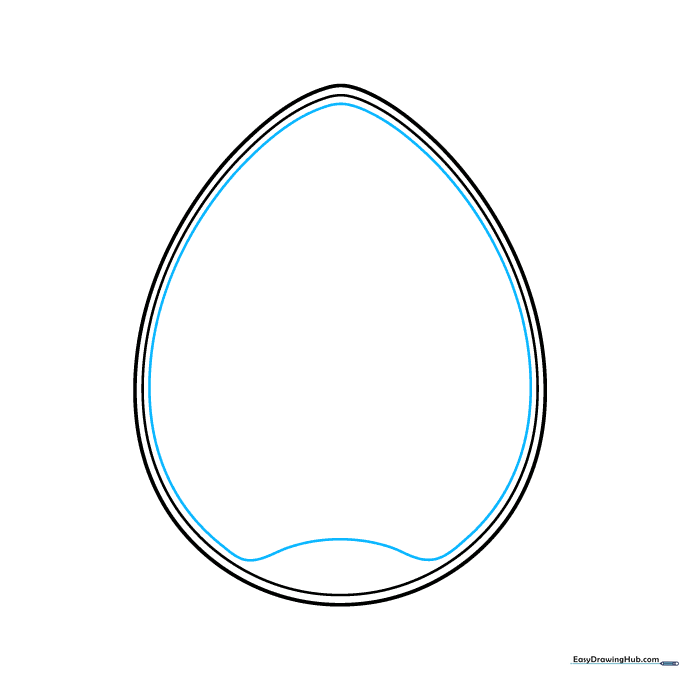
Draw a third curved line near the top, creating a distinct pocket between the layers. This represents the air cell. Tip: Make this line slightly flatter to show where the air pocket sits.
Step 4: Sketch the Yolk
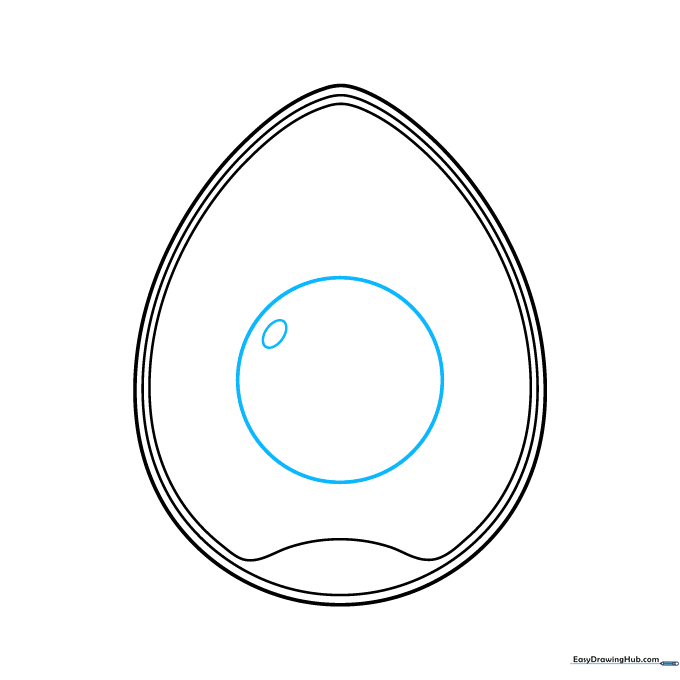
Draw a circle in the center for the yolk and a small oval on its side for the germinal disk. Tip: Don't worry about making the circle perfect; yolks are naturally organic shapes.
Step 5: Draw the Chalaza
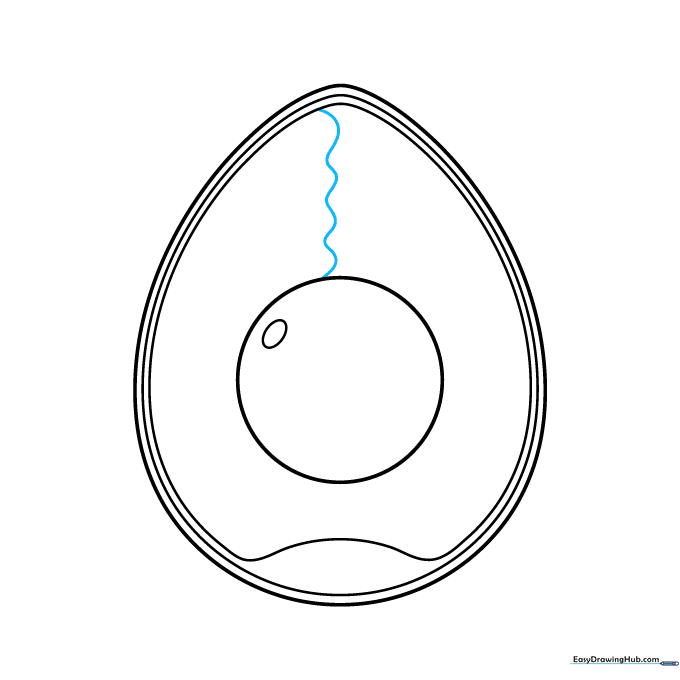
Add a wavy line extending from the yolk toward the top of the egg. This represents the chalaza, which holds the yolk in place. Tip: Use a light, flowing motion to make the line look natural.
Step 6: Complete the Chalaza
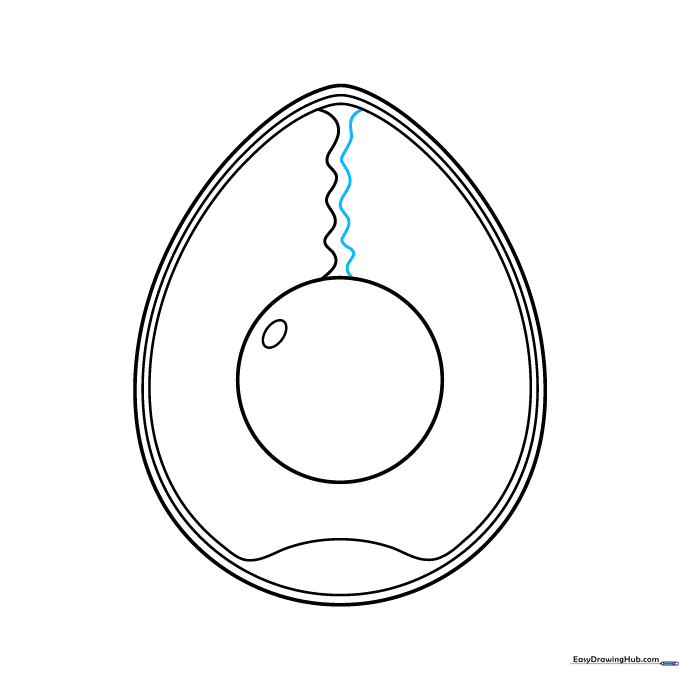
Draw a second wavy line parallel to the first to give the chalaza thickness. Tip: Keep the lines close together to show it is a thin, cord-like structure.
Step 7: Add Lower Chalaza Details
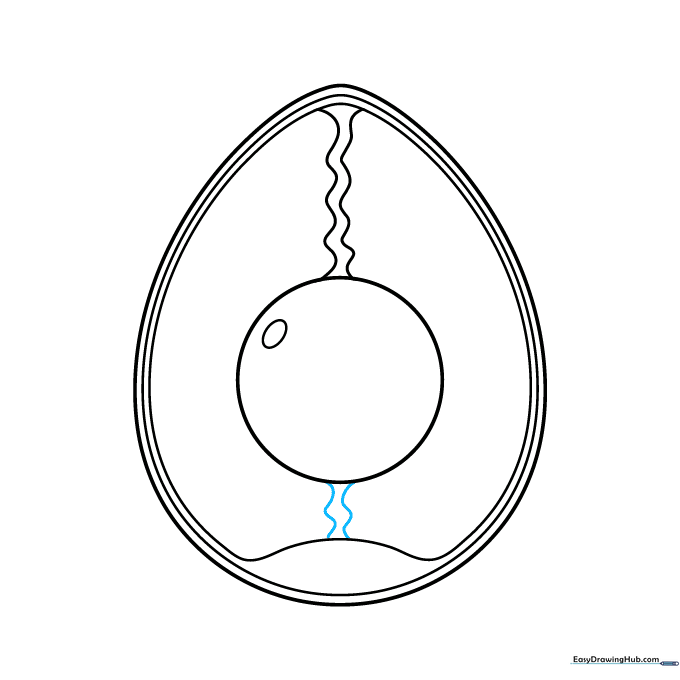
Repeat the process below the yolk, drawing two parallel wavy lines. Tip: Ensure these lines connect smoothly to the yolk area.
Step 8: Labeling Key Parts
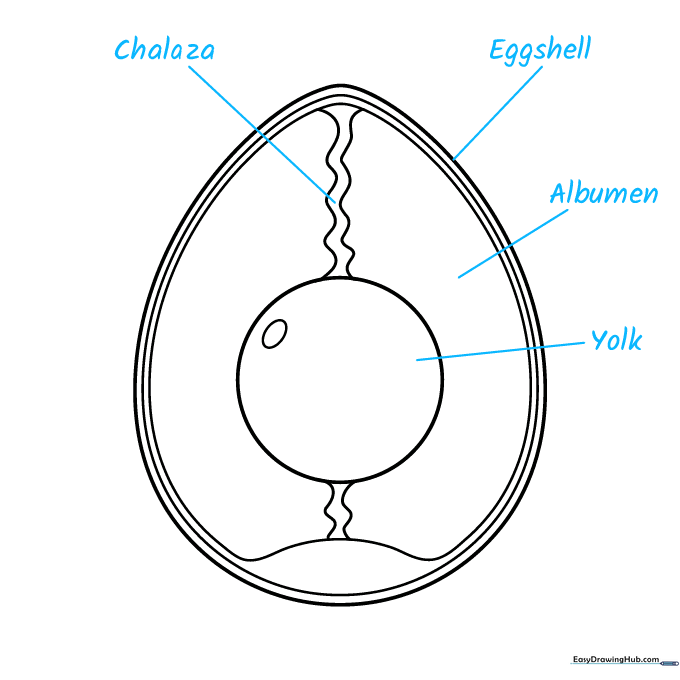
Use a ruler to draw straight lines pointing to the chalaza, shell, albumen, and yolk. Write the labels clearly at the end of each line. Tip: Use a fine-tip pen for the text so it remains readable.
Step 9: Final Labels
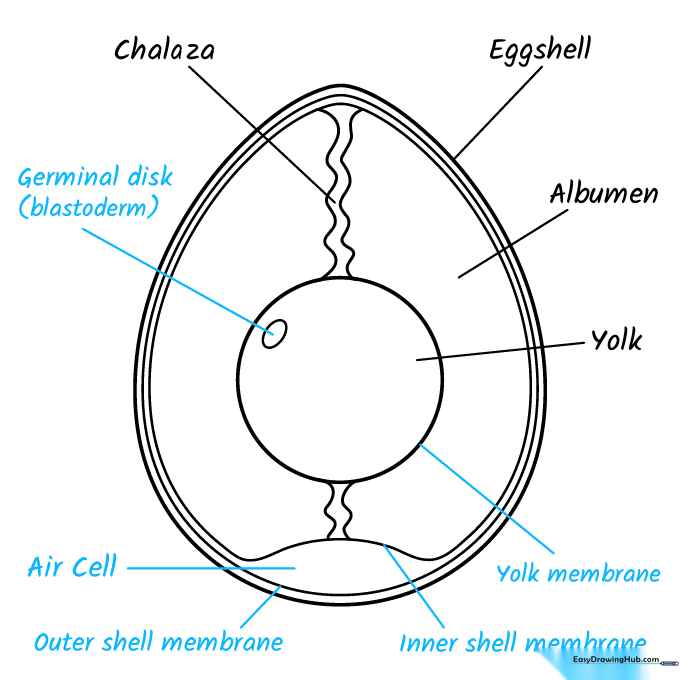
Complete your diagram by labeling the yolk membrane, shell membranes, air cell, and germinal disk. Tip: Check a science textbook to ensure your labels point to the correct anatomical sections.
Step 10: Bring It to Life with Color

Time to color! Use yellow or orange for the yolk, white or light blue for the albumen, and your choice of shell color. Tip: Use light shading to give the egg a 3D, rounded appearance.
More Tutorials


