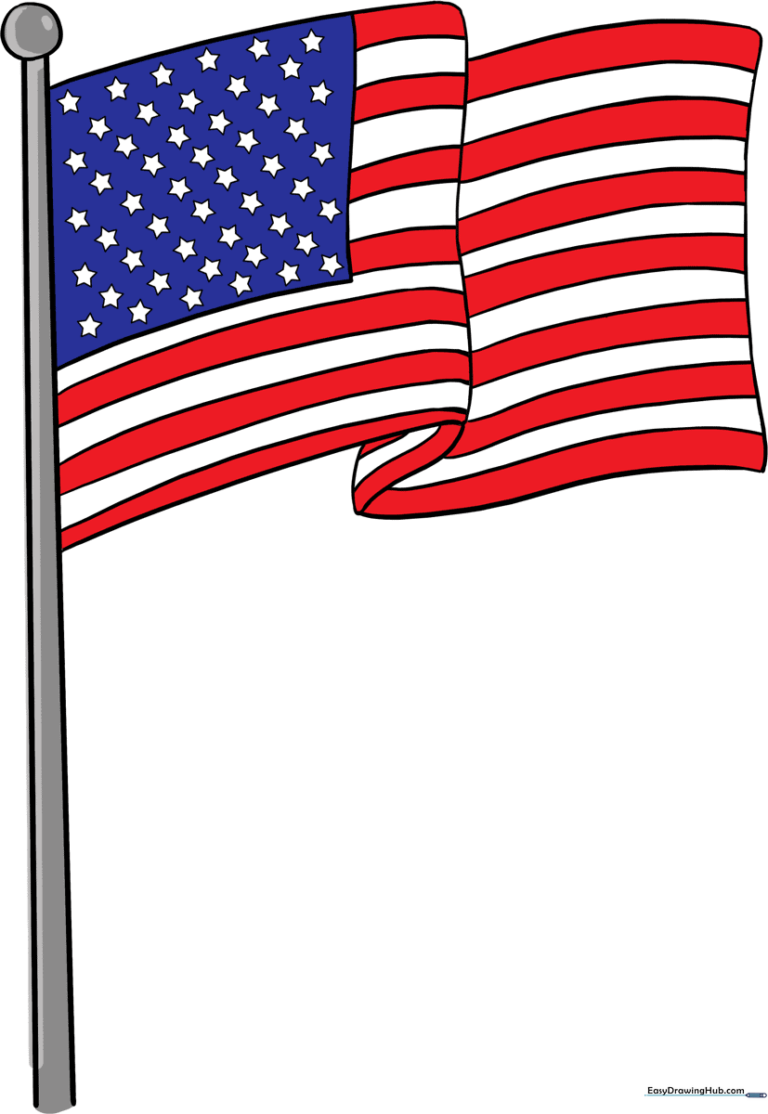
How to Draw the American Flag: Easy 10-Step Guide
Bring patriotism to your sketchbook with this easy, step-by-step tutorial designed for artists of all ages. You only need a pencil, an eraser, and some colored pencils or markers to get started. Follow along to master the fluid, waving motion of the flag while building your confidence in drawing complex patterns.
🎯 Final Result
Step-by-Step Instructions
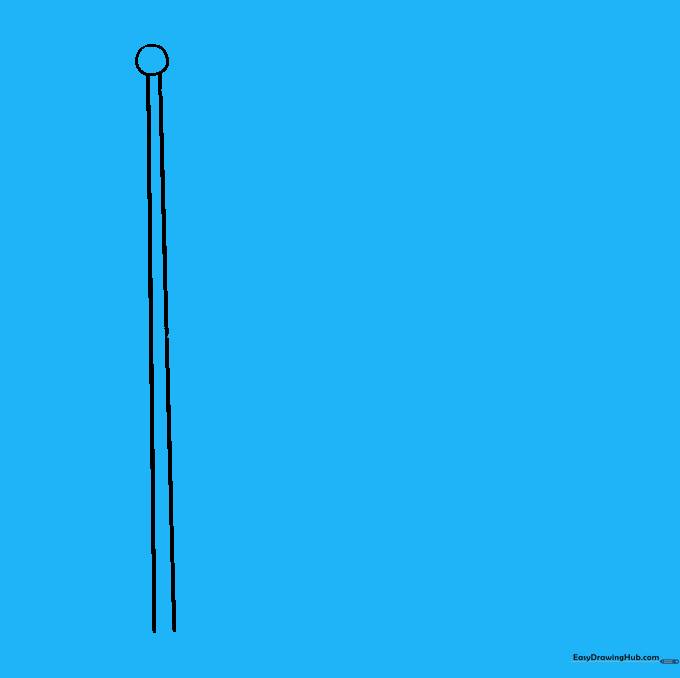
Step 1: Sketching the Flagpole

Draw two thin, parallel vertical lines for the pole, topped with a small circle for the finial. Teacher's Tip: Keep your pencil pressure light here so you can easily clean up the lines later if you want to add texture to the pole.
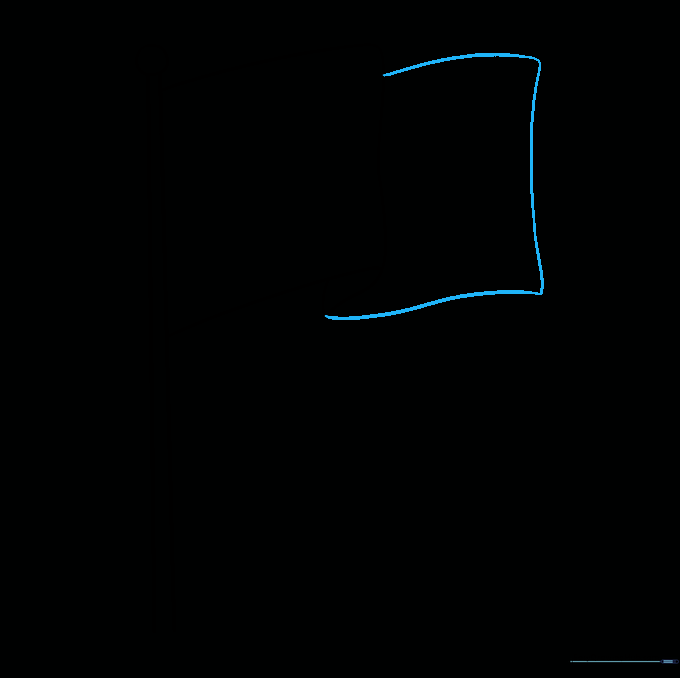
Step 2: Defining the Flag's Width
Extend two curved lines outward from the pole to establish the flag's length. Teacher's Tip: Think of these lines as a gentle wave in the wind; keep them slightly arched to give the flag a sense of movement.
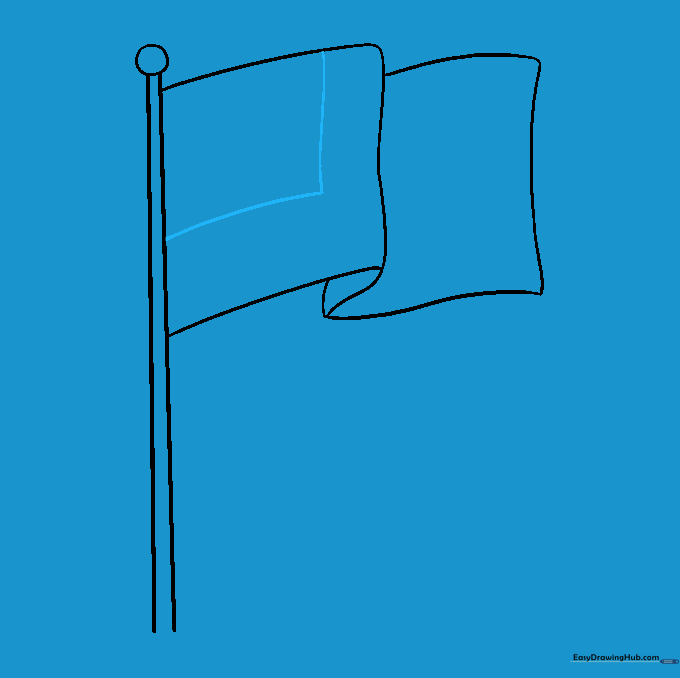
Step 3: Creating the First Fold
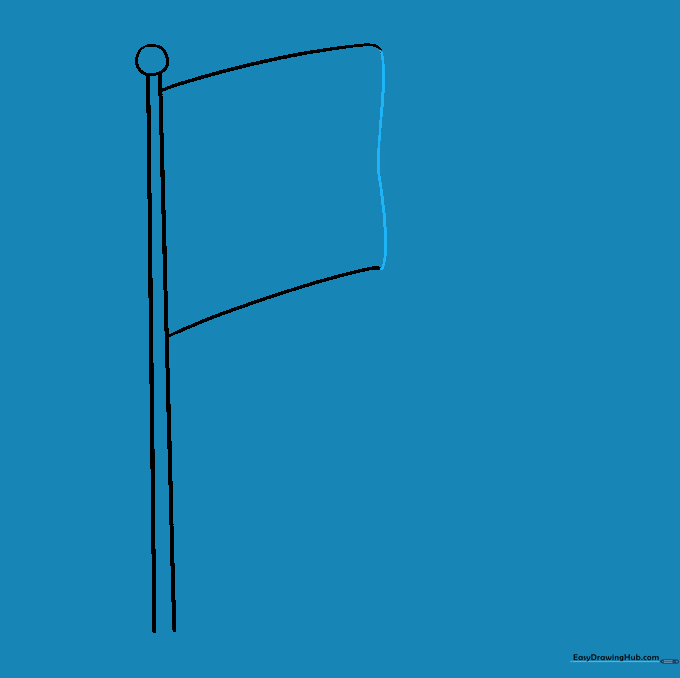
Connect the ends of your lines with a curved vertical line to create the first fold. Teacher's Tip: This creates a 'C' shape that makes the flag look like it is billowing forward.
Step 4: Adding Depth with Folds
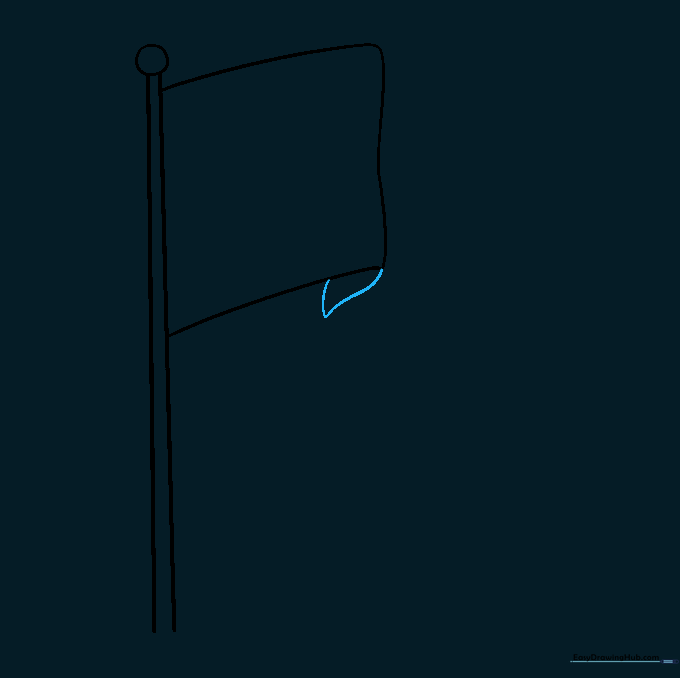
Draw a small, curved triangle shape at the bottom corner to represent a ripple in the fabric. Teacher's Tip: Keep this shape small; it acts as a shadow-catcher later when you add color.
Step 5: Completing the Flag Outline
Extend the remaining lines to close the shape of the flag. Teacher's Tip: Ensure the lines follow the same curve as your previous steps to maintain the 'waving' consistency.
Step 6: Drawing the Canton
Draw a square in the top corner near the pole for the star field. Teacher's Tip: Don't worry about perfect measurements; a slightly tilted square can actually make the flag look more dynamic.
Step 7: Adding the Stripes

Draw parallel curved lines across the flag to represent the stripes. Teacher's Tip: Aim for 12 lines to create the 13 stripes, but don't stress if they aren't perfectly spaced—the waving motion naturally hides small errors!
Step 8: Finishing the Stripes

Continue the stripes onto the folded portion of the flag. Teacher's Tip: Make sure the stripes line up with the ones on the main body of the flag to keep the perspective correct.
Step 9: Adding the Stars

Fill the square with small stars. Teacher's Tip: Use a 'dot' method first to map out where the stars go before drawing the actual star shapes to ensure they fit evenly.
Step 10: Adding Color

Color the canton dark blue and alternate the stripes with red and white. Teacher's Tip: Use a metallic silver or grey for the flagpole to give it a realistic, shiny finish.
More Tutorials


