How to Draw Tanjiro Kamado: Easy Anime Tutorial for Beginners
Ready to bring the Demon Slayer hero to life? This tutorial is perfect for artists ages 7 and up. You will need a pencil, an eraser, and a piece of paper to master Tanjiro's iconic look, focusing on his determined expression and signature hairstyle.
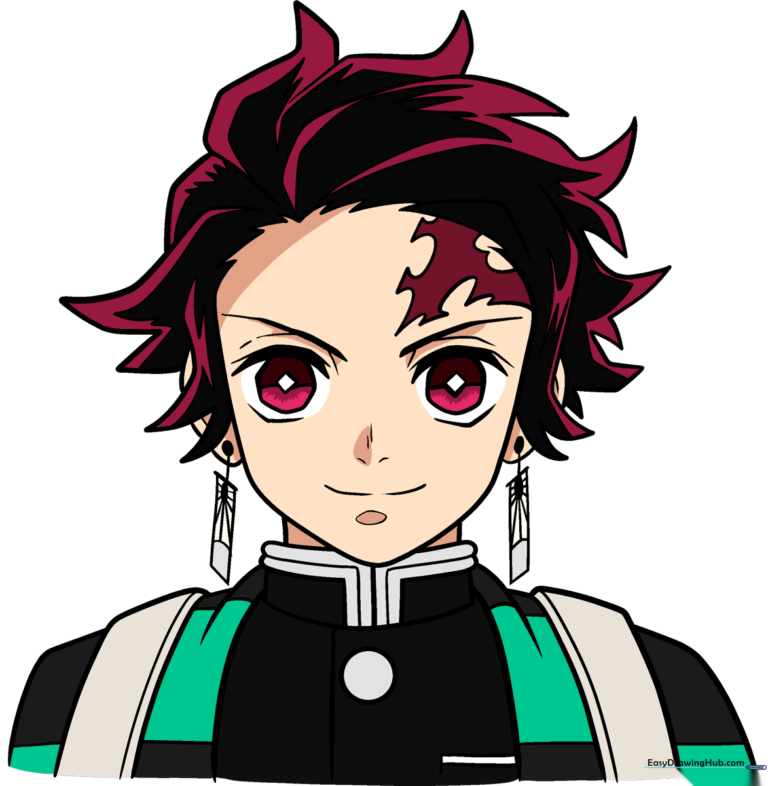
🎯 Final Result
Step-by-Step Instructions
Step 1: Sketching the Eye Bases
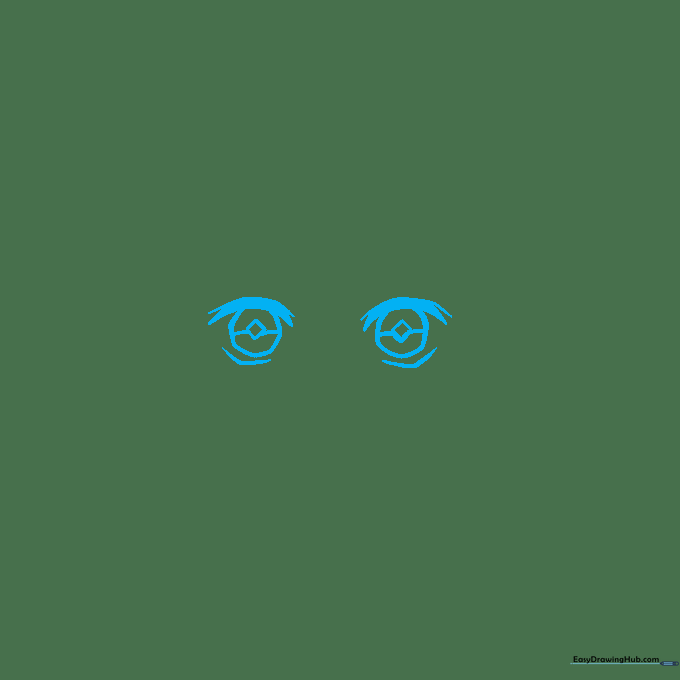
Draw two slightly uneven hexagon shapes for the eyes. Add thick, bold strokes above them for the eyelids and short, straight lines underneath. Teacher's Tip: Keep these shapes light; they act as the foundation for his intense expression.
Step 2: Defining Facial Features
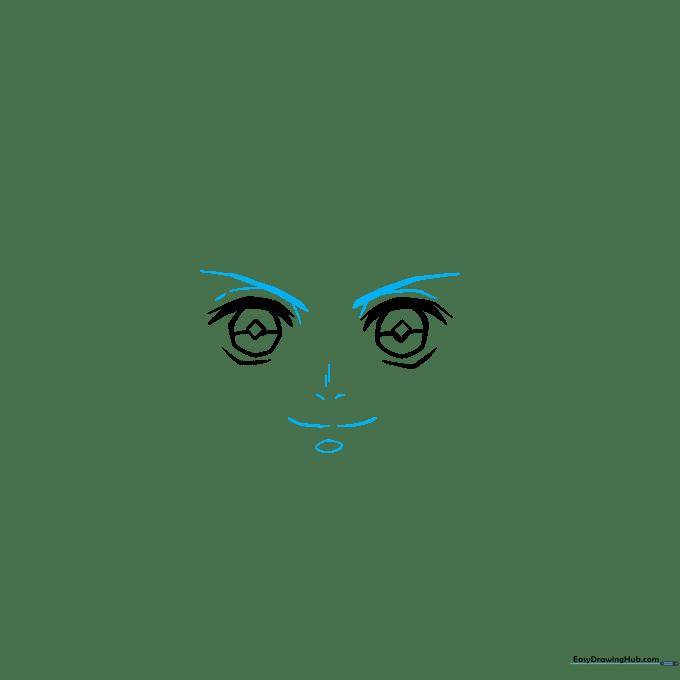
Add diagonal lines above the eyes for brows, and use small dashes for the nose and mouth. Place a small oval at the chin to mark the jawline. Teacher's Tip: Use a light touch for the nose; it should be subtle, not heavy.
Step 3: Outlining the Head
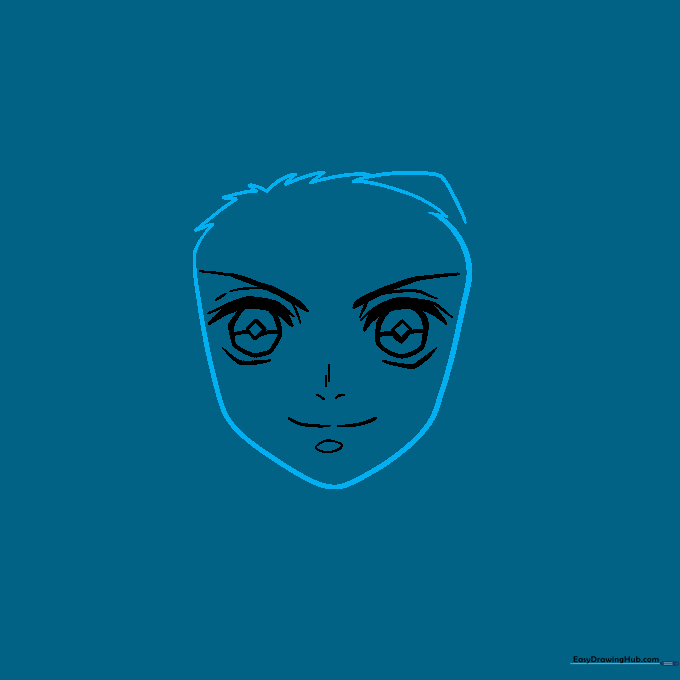
Draw a rounded triangle under the chin and connect it to the sides of the face with vertical lines. Sketch the hairline on top. Teacher's Tip: Don't worry about perfect symmetry; Tanjiro's hair is naturally messy.
Step 4: Adding Hair and Ears
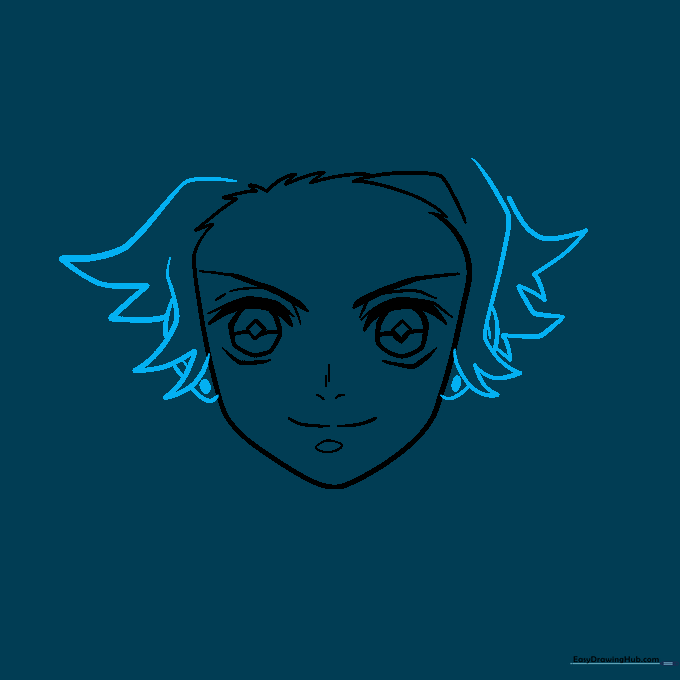
Use spiky, wavy lines to create his hair. Add ovals on the sides of the head for the ears. Teacher's Tip: Vary the length of your spikes to give the hair a more realistic, flowing look.
Step 5: Drawing Earrings and Hair Flames
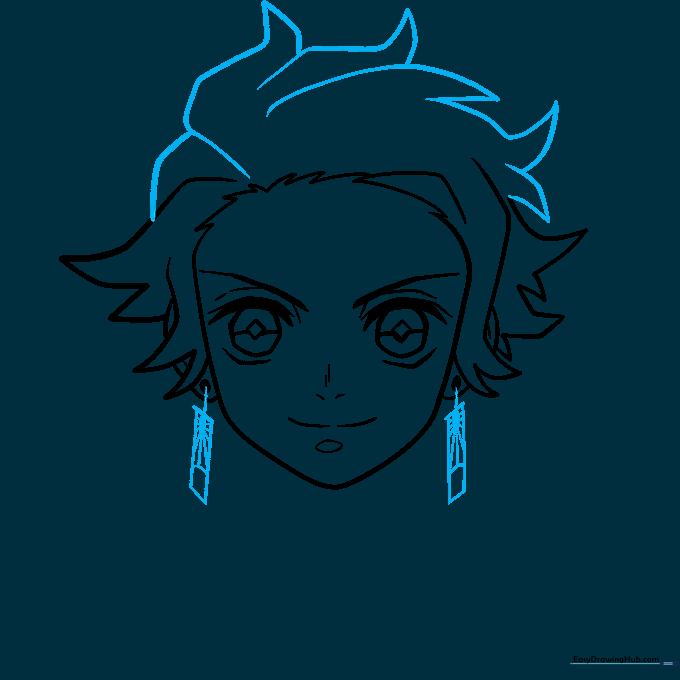
Draw large, flame-like triangles on top of the head. For the earrings, draw two diagonal lines connected by vertical ones. Teacher's Tip: Use a sharp pencil to get the fine details inside the earrings right.
Step 6: Refining Hair and Scar
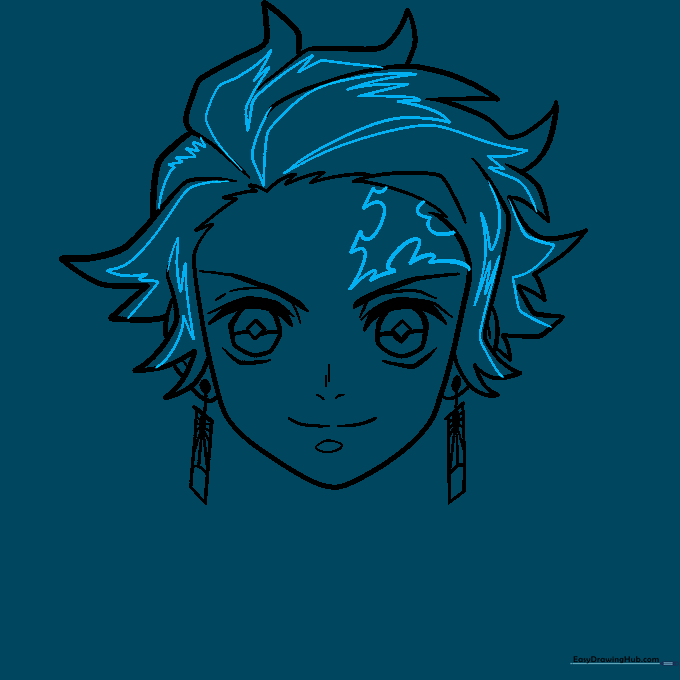
Add sketchy lines inside the hair for texture and draw the scar design above the right eye. Teacher's Tip: The scar is a key part of his character, so take your time to get the shape consistent with the reference.
Step 7: Sketching the Collar
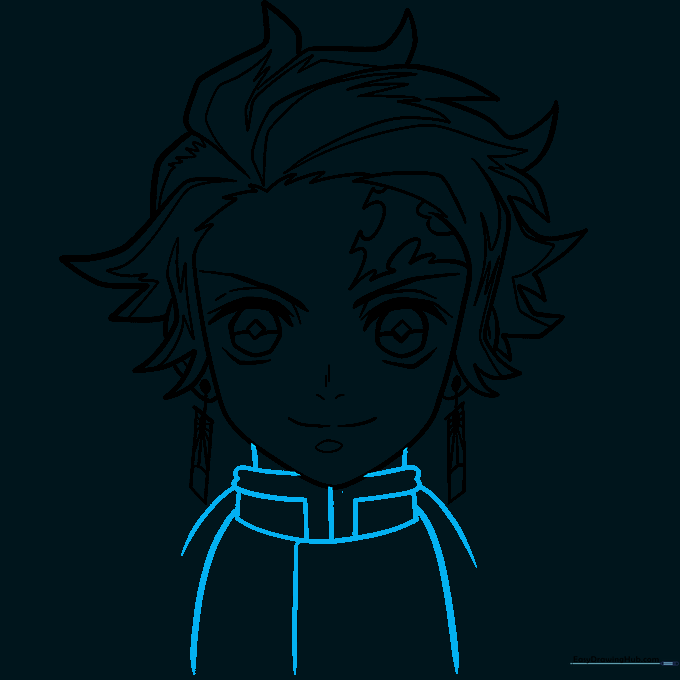
Draw a horizontal curve below the head, followed by four vertical curves and two side-turned L-shapes. Connect these to the head. Teacher's Tip: Ensure the collar looks like it's resting naturally on his shoulders.
Step 8: Adding Clothing Details
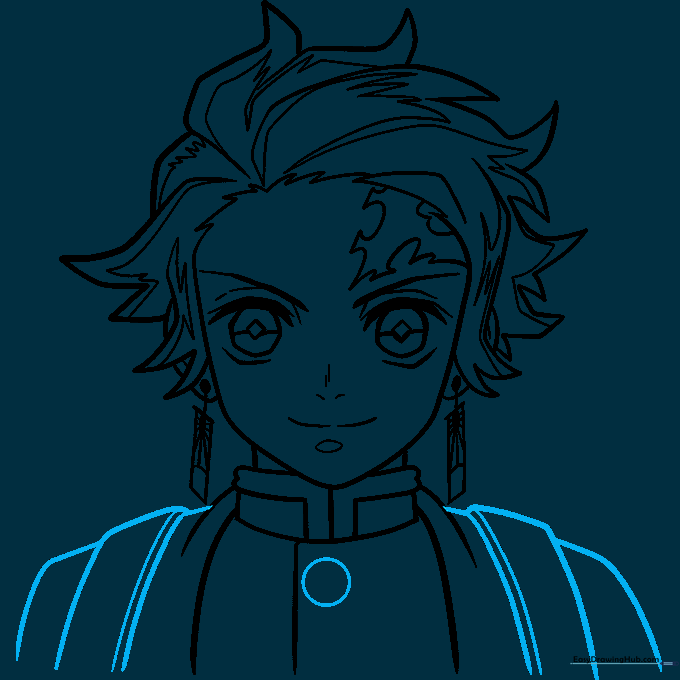
Sketch curved vertical lines on the body to represent his uniform. Add a small circle beneath the collar. Teacher's Tip: These lines create the folds in his fabric, making the drawing look more 3D.
Step 9: Final Outline
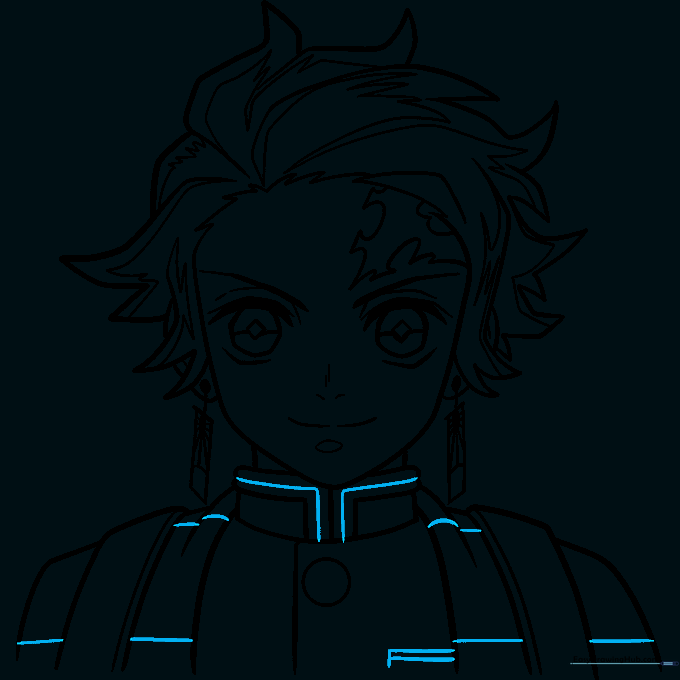
Add final lines inside the outfit for detail, then trace over your sketch with a black pen. Teacher's Tip: Use a steady hand for the final outline to give your character a clean, professional look.
Step 10: Bringing Him to Life with Color
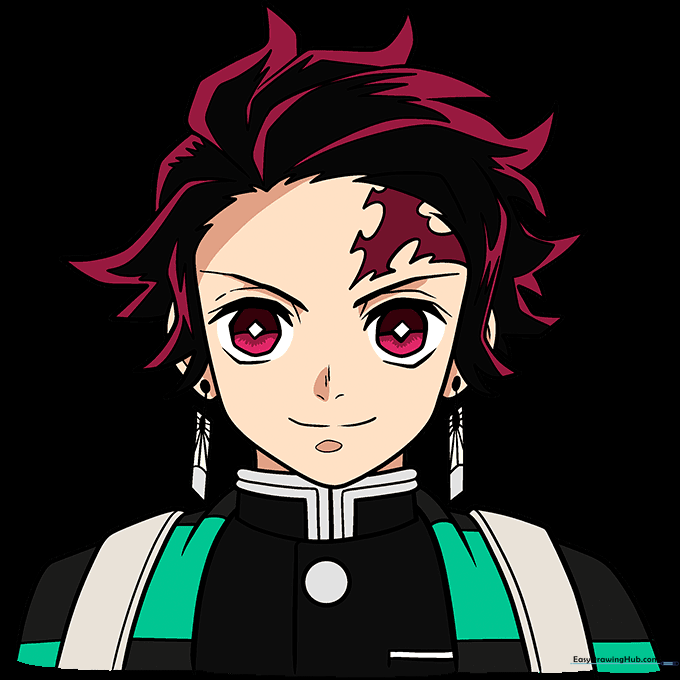
Color the skin tan, the eyes and scar dark red, and the hair black with red highlights. Use green and off-white for his uniform. Teacher's Tip: Use light pressure with your colored pencils to blend colors smoothly.
More Tutorials


