How to Draw Tamales: Easy 10-Step Guide for Kids
Bring a taste of tradition to your sketchbook! This tutorial is perfect for young artists ages 5 and up who want to practice drawing organic shapes and textures. All you need is a pencil, an eraser, and your favorite coloring supplies to create these festive, wrapped treats.
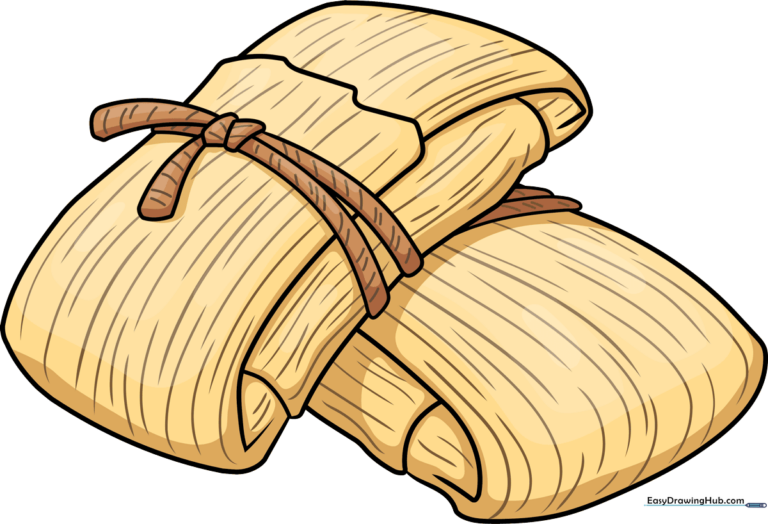
🎯 Final Result
Step-by-Step Instructions
Step 1: Sketching the Main Body
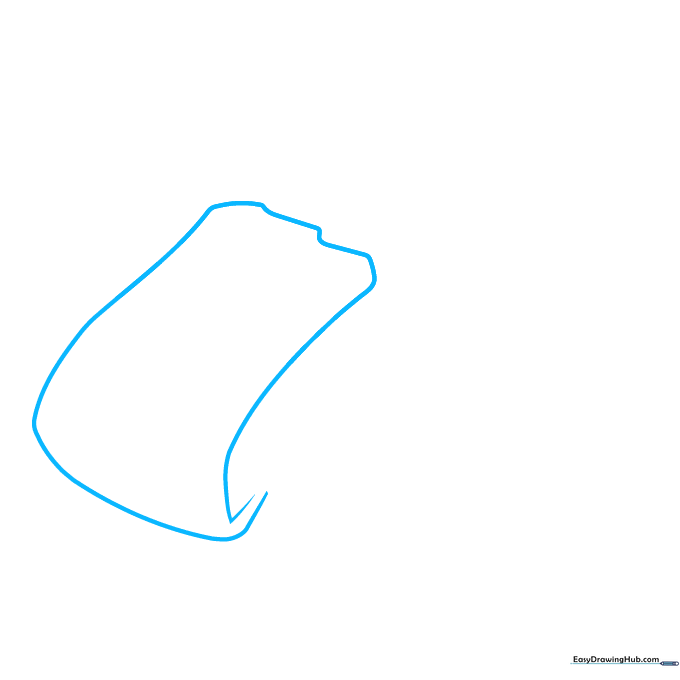
Draw a long, slightly curved line that doubles back to form an elongated, open-ended rectangle. Teacher's Tip: Keep your pencil strokes very light here; this is just the 'skeleton' of your tamale.
Step 2: Adding the Husk Folds
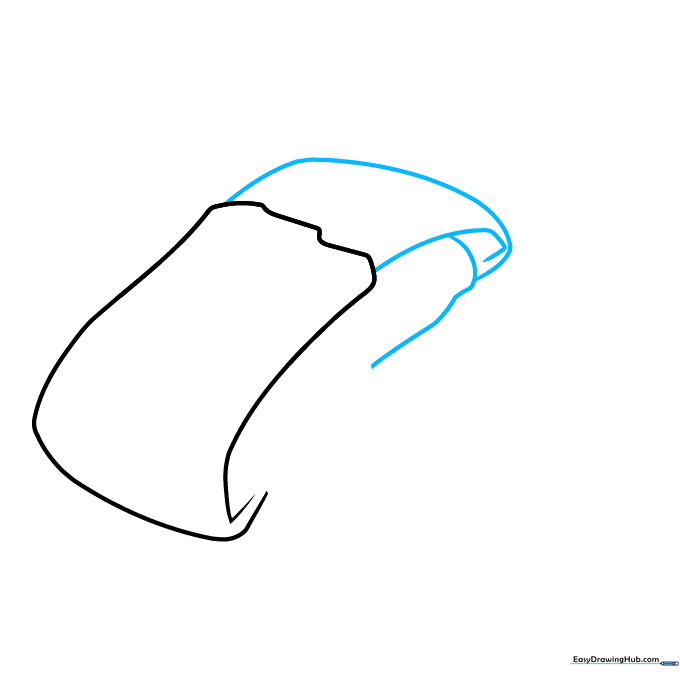
From the wavy end, draw three overlapping curved lines. These represent the corn husk tucked tightly around the masa. Tip: Think of these as 'C' shapes layered on top of each other.
Step 3: Drawing the Binding String
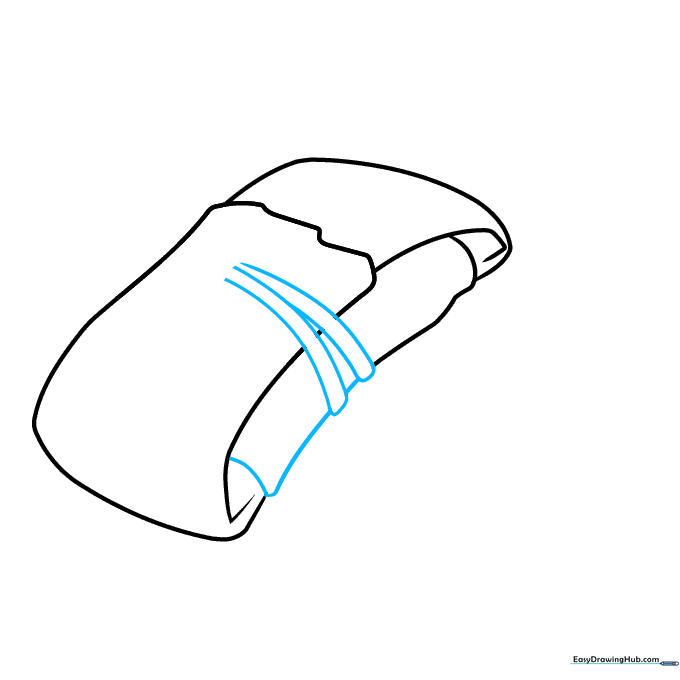
Draw two pairs of curved lines connected at the ends to create the string. Use an 'L' shaped curve to finish the wrapper edge. Tip: If you make a mistake, gently dab your eraser—don't rub hard!
Step 4: Creating the Knot
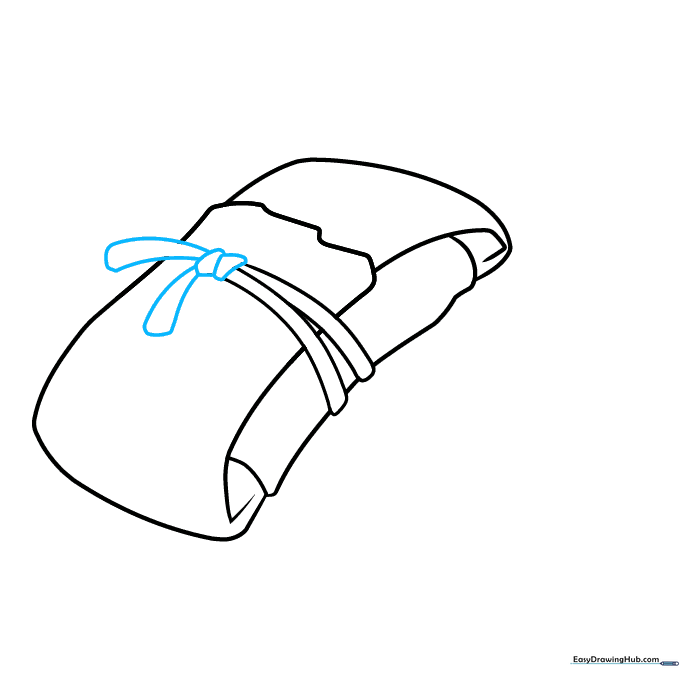
Enclose two small, irregular shapes to form the knot of the string. Extend two curved lines and loop them back to show the string ends. Tip: Keep the knot small so it looks like it's actually holding the husk together.
Step 5: Adding a Second Tamale
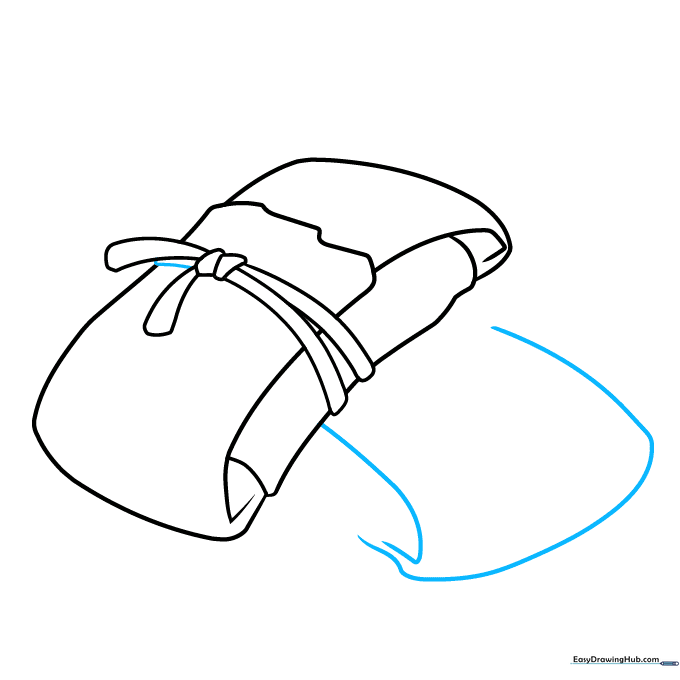
Finish the first string with a curved line. Now, draw two curved lines nearby to start your second tamale. Tip: Don't let the lines touch yet; this creates depth by showing one tamale behind the other.
Step 6: Detailing the Second Tamale
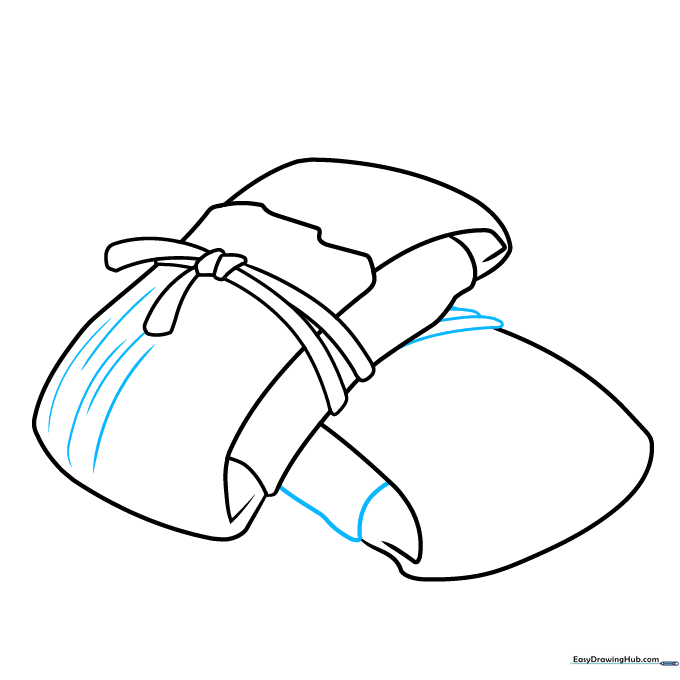
Add an 'L' shaped wavy line to the second tamale and draw strings across its top. Add long, curved lines to the first one for texture. Tip: Vary the length of your lines to make the husk look natural.
Step 7: Adding Wrapper Texture
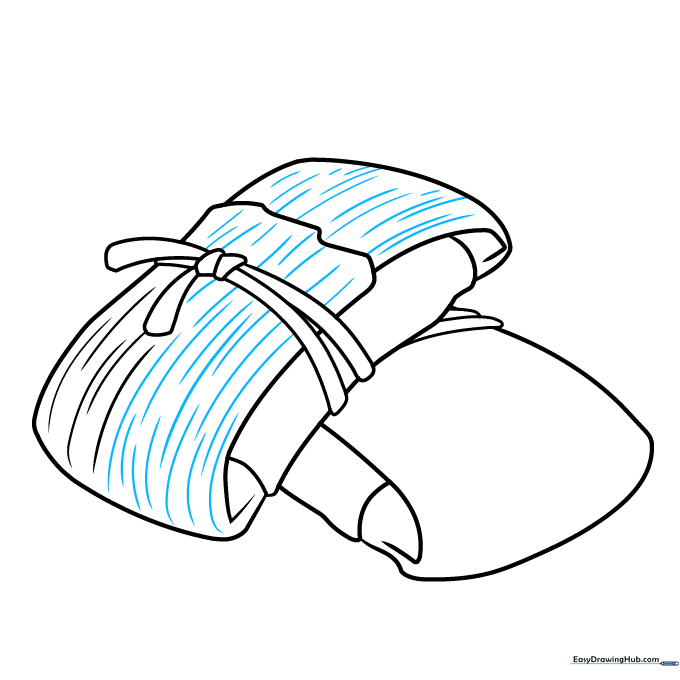
Continue adding lines of different lengths to the wrapper. Tip: Think of these as the natural fibers of a corn husk—they shouldn't be perfectly straight!
Step 8: Refining the Texture
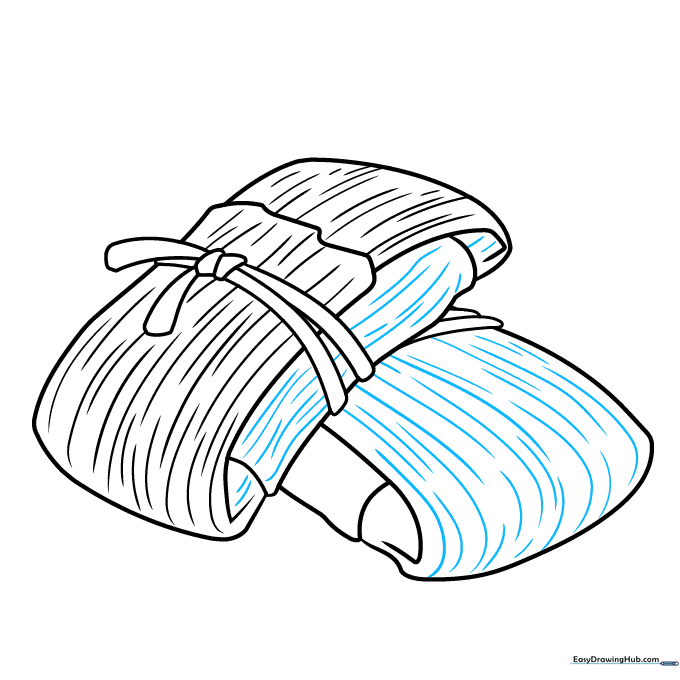
Add more short lines to the side of the first tamale and the top of the second. Tip: Use a sharper pencil point here to get those fine, crisp details.
Step 9: Final Touches
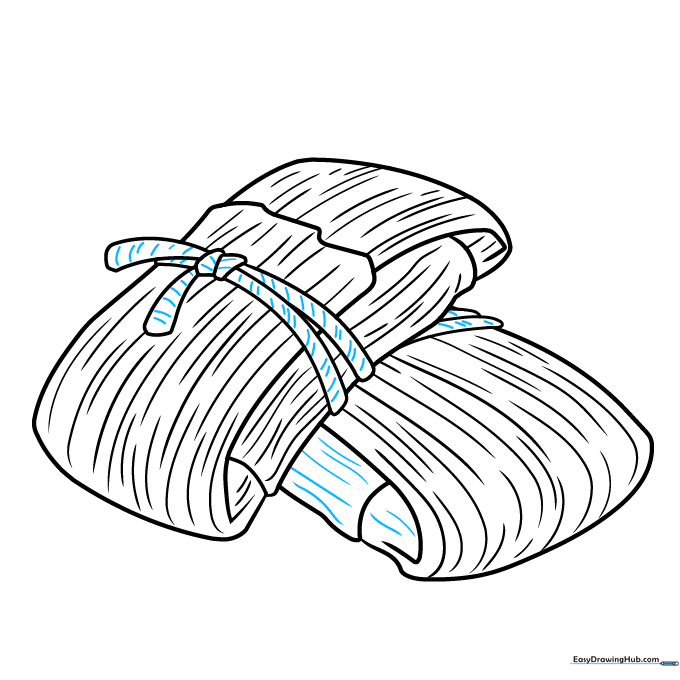
Finish texturing the tamale and add short, quick dashes to the strings to make them look woven. Tip: Less is more—don't over-texture, or it might look messy!
Step 10: Color Your Masterpiece
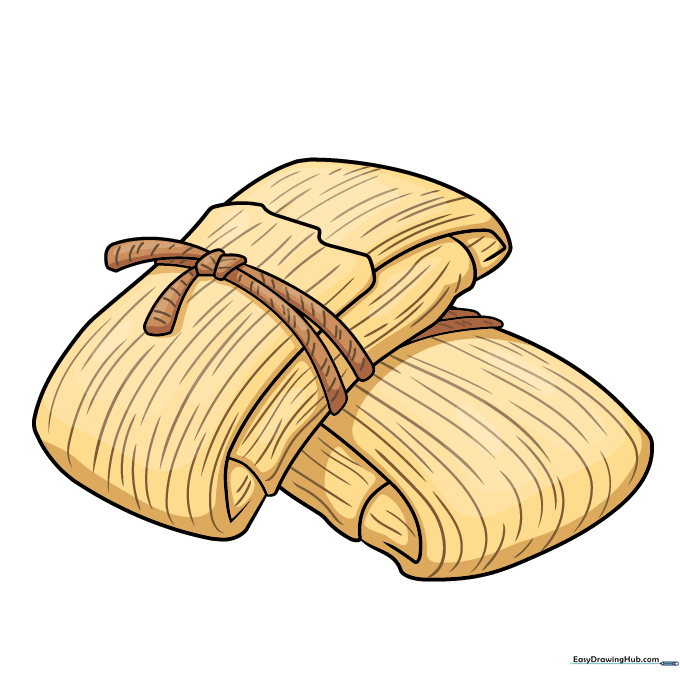
Time to bring your drawing to life! Use light browns for corn husks or soft greens if you prefer banana leaves. Tip: Use a darker brown for the shadows near the string to give your drawing a 3D look.
More Tutorials


