How to Draw Susan B. Anthony: Easy 9-Step Portrait Guide
Bring history to life by drawing a portrait of suffragist leader Susan B. Anthony. This tutorial is designed for students and beginners, requiring only a pencil, eraser, and paper. Follow these steps to master facial proportions and capture her iconic, determined expression.
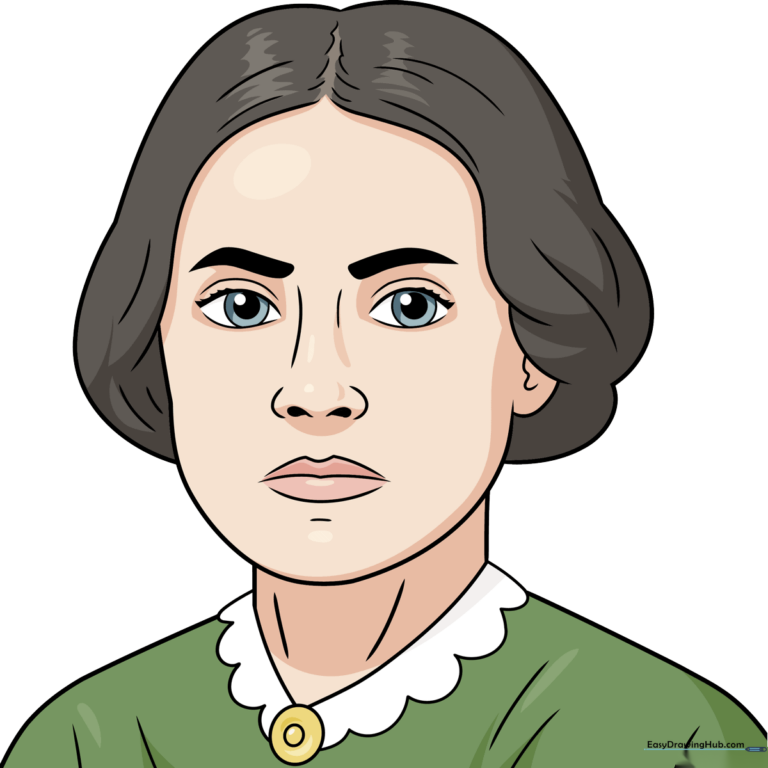
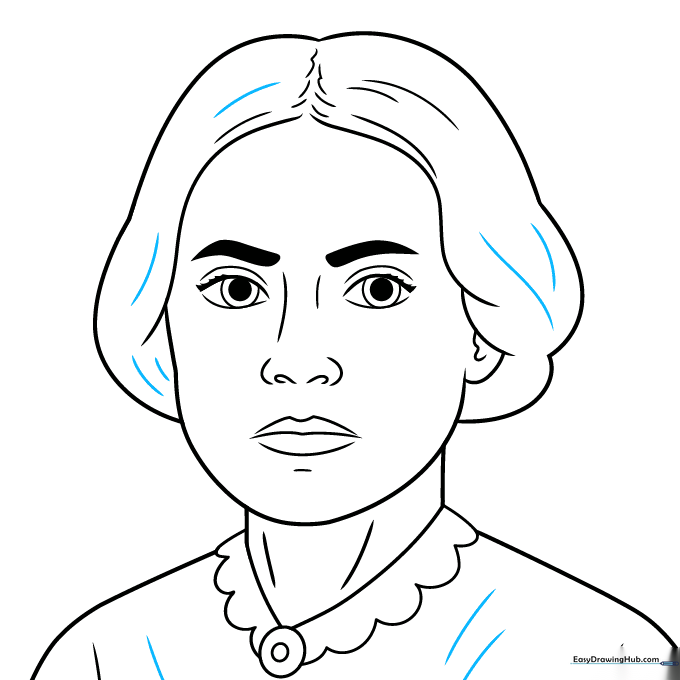
🎯 Final Result
Step-by-Step Instructions
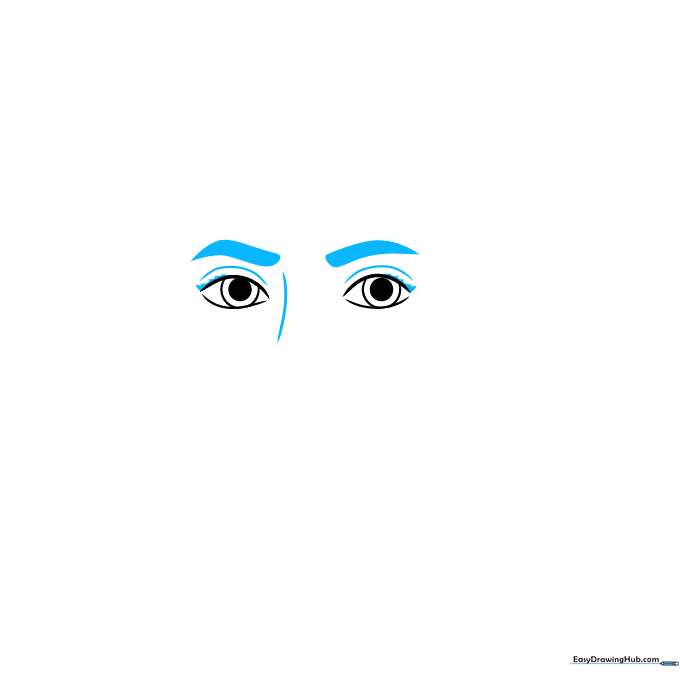
Step 1: Sketching the Eyes

Start by drawing two curved lines for the upper eyelids. Add smaller circles inside for the irises and pupils. Teacher's Tip: Keep the eyes level with each other to ensure the face looks balanced from the start.
Step 2: Defining Brows and Nose
Add pointed eyebrows above the eyes and use soft, curved lines to indicate the bridge of the nose. Tip: Use a light touch for the nose bridge to keep the face looking soft rather than harsh.
Step 3: Adding the Mouth
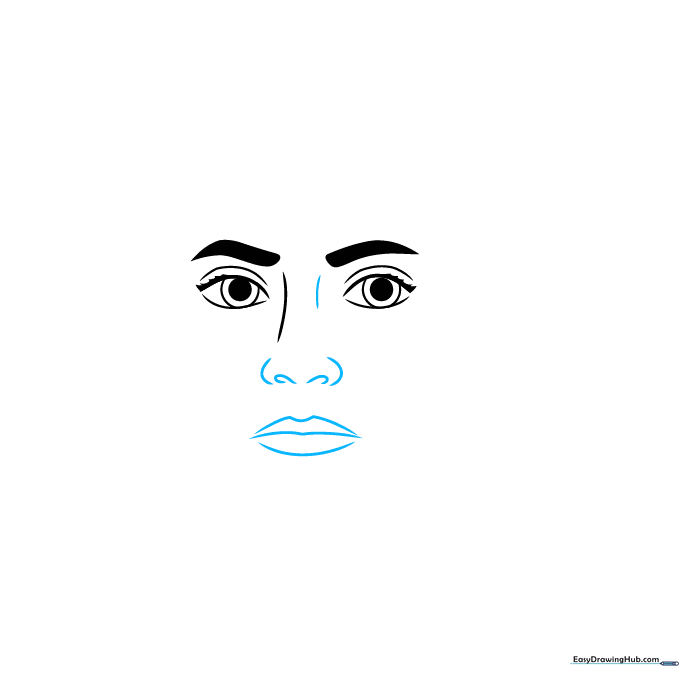
Draw the nostrils and the line of the mouth using gentle curves. Tip: A small, straight line for the mouth helps convey a serious and focused expression.
Step 4: Shaping the Face
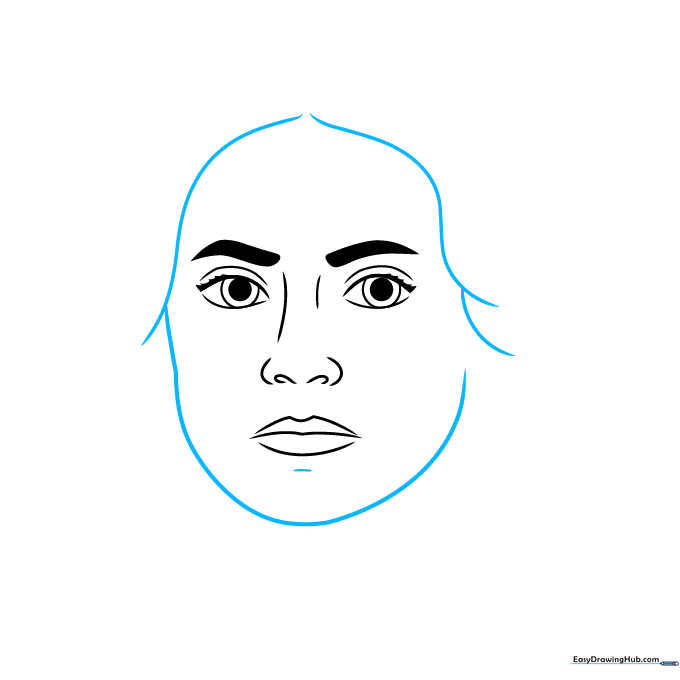
Outline the jawline and the hair framing the forehead. Don't forget the small dimple on the chin! Tip: Use long, sweeping strokes for the face shape to keep it smooth.
Step 5: Drawing the Hair and Ear
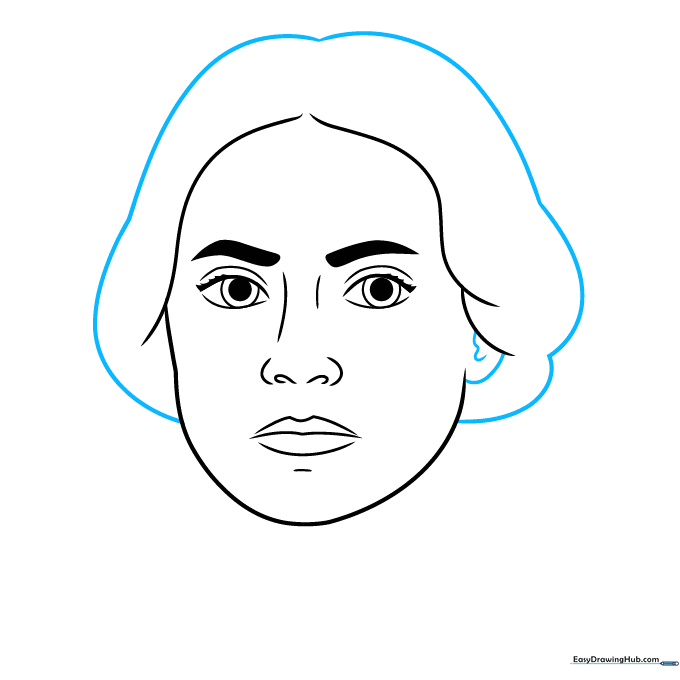
Draw a large curve over the head to define the hair and add the ear on the side. Tip: Keep the hair lines flowing naturally to mimic the texture of a bun.
Step 6: The Neck and Collar
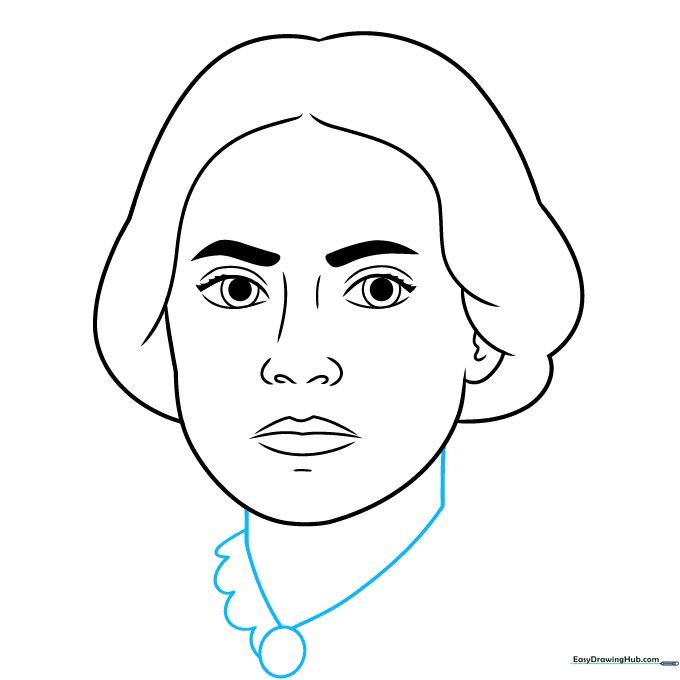
Draw two lines for the neck and a 'V' shape for the collar. Add a small circle at the center of the collar. Tip: This circle acts as a brooch or button, a classic detail of her era.
Step 7: Adding Shoulders
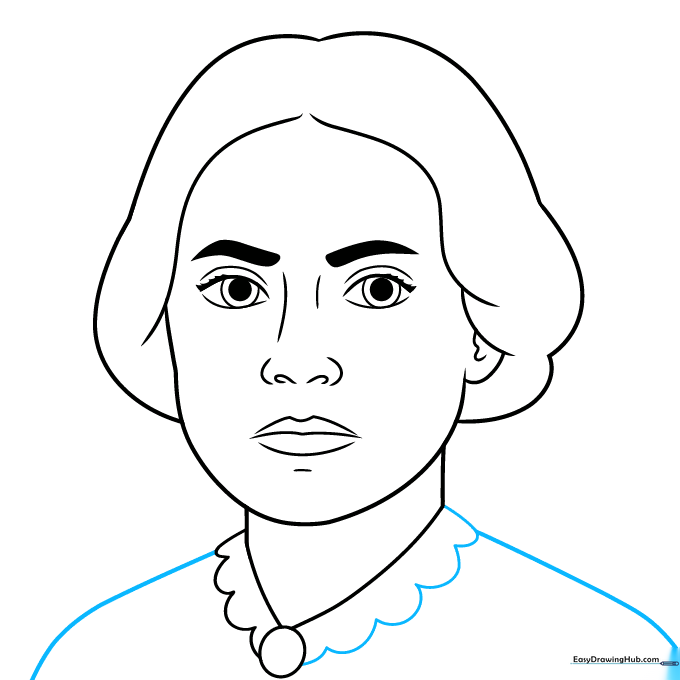
Extend scalloped lines from the neck to create the lace collar, then draw the shoulders. Tip: Use a steady hand for the scalloped edges to make the lace look delicate.
Step 8: Adding Texture
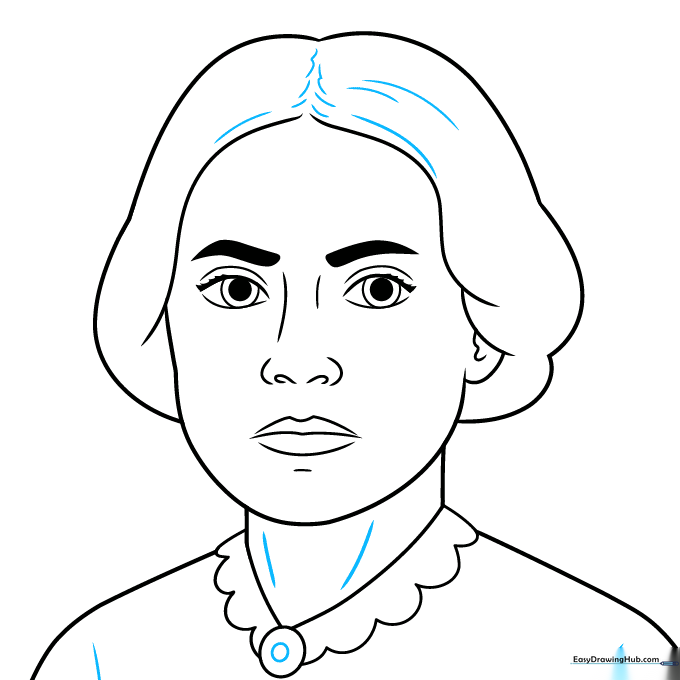
Use short, light lines to add texture to the hair and clothing. Tip: Vary the length of your lines to create a more realistic, layered look.
Step 9: Final Touches
Refine your lines and add any final shading to the hair and fabric. Your portrait is now complete! Tip: Erase any stray guidelines to make your drawing pop.
Step 10: Coloring

Add color to your portrait. Use dark tones for her hair and muted colors for her dress to maintain a historical, authentic feel.
More Tutorials


