How to Draw Superman: Easy 10-Step Guide for Kids
Ready to bring the Man of Steel to life? This tutorial is perfect for young artists ages 8+ who want to master comic book proportions. Grab a pencil, an eraser, and some paper to start building your hero from the ground up.
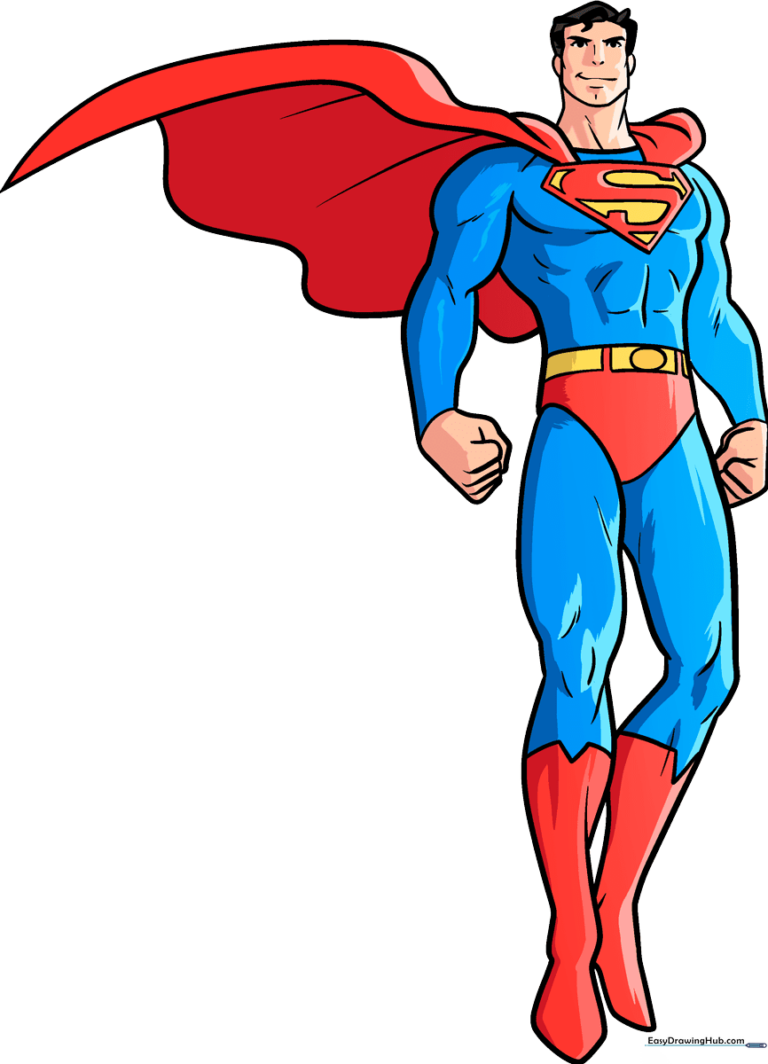
🎯 Final Result
Step-by-Step Instructions
Step 1: Sketching the Head and Face
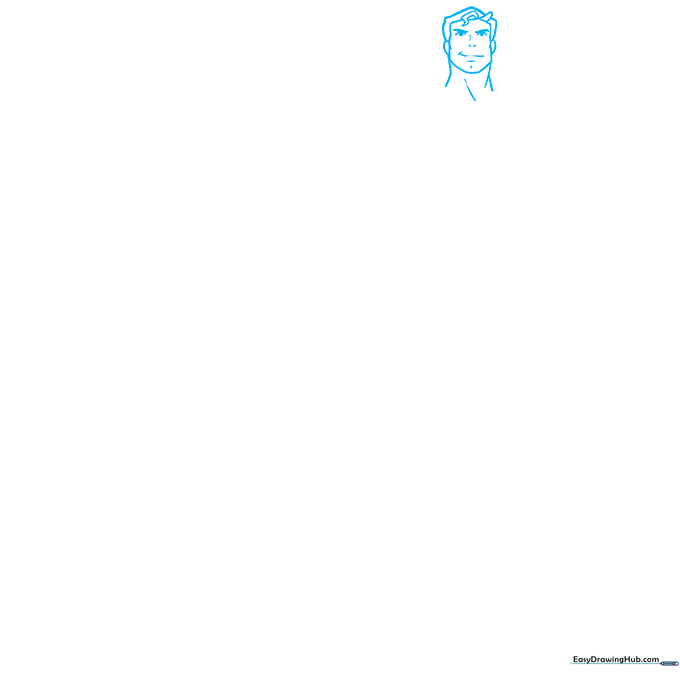
Begin by sketching the head and jawline. Use light, curved lines for the ears, hair, and that iconic Superman curl on his forehead. Teacher's Tip: Keep your pencil pressure very light here so you can easily refine the facial features later.
Step 2: Defining the Chest and Logo
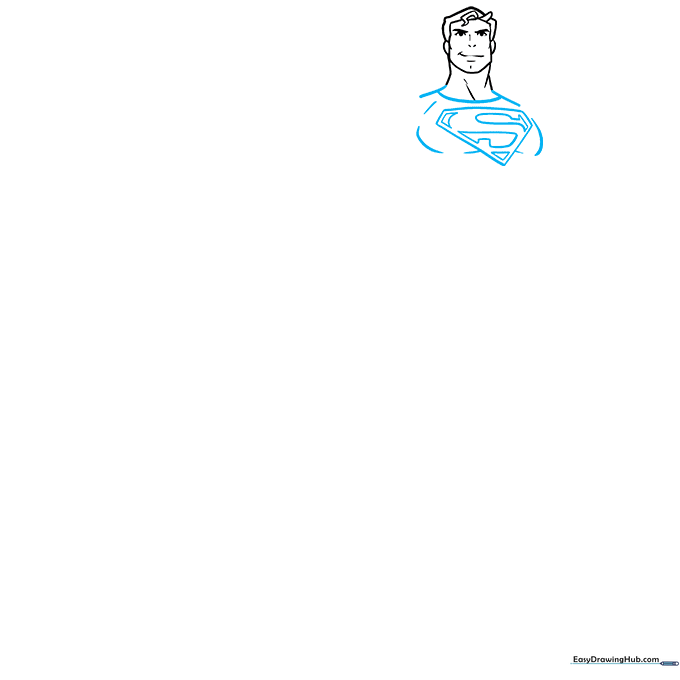
Outline the neck and broad shoulders. Draw a double inverted triangle on the chest to house the famous 'S' emblem. Teacher's Tip: Focus on keeping the 'S' centered; it’s the most important part of his suit!
Step 3: Drawing the First Arm
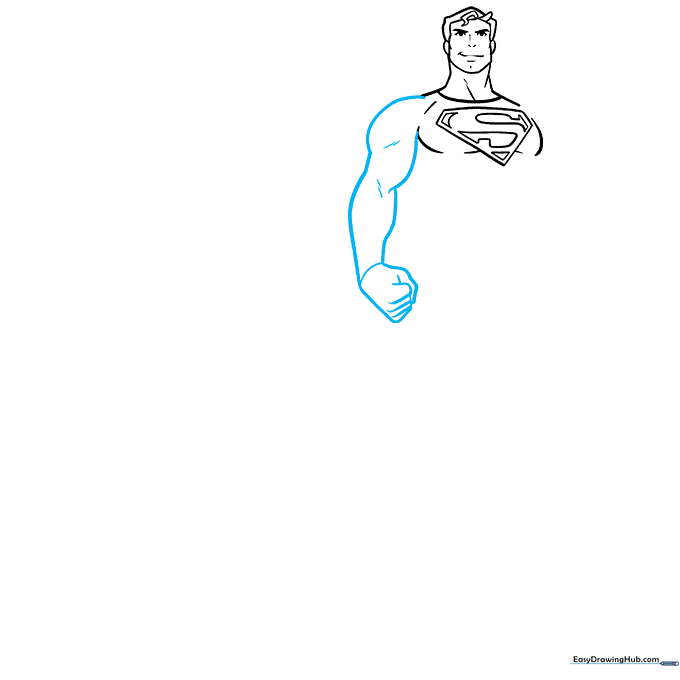
Sketch the muscular arm using smooth, curved lines to show strength. Add detail to the hand and fingers. Teacher's Tip: Use long, sweeping strokes for the arm to make it look powerful rather than stiff.
Step 4: Adding the Second Arm
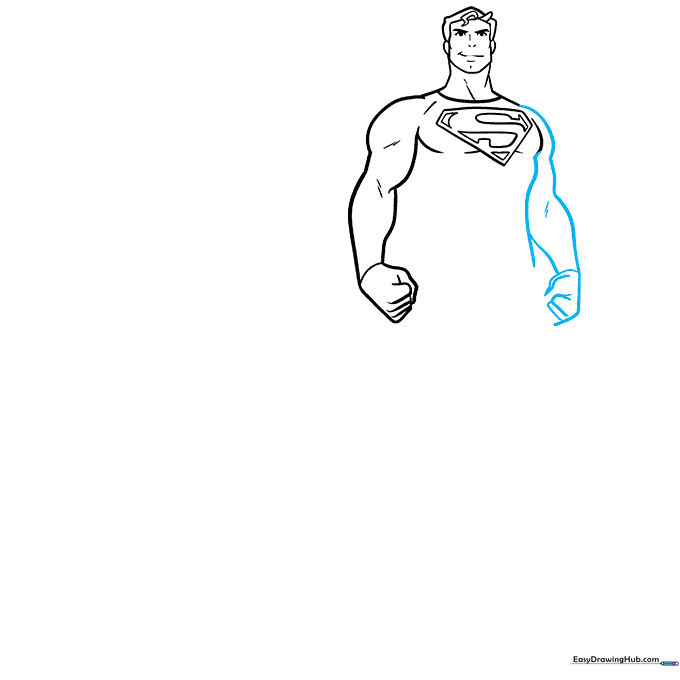
Draw the second arm to mirror the first, keeping the pose balanced. Teacher's Tip: If you struggle with symmetry, try drawing a faint vertical line down the center of your paper to use as a guide.
Step 5: The Torso and Belt
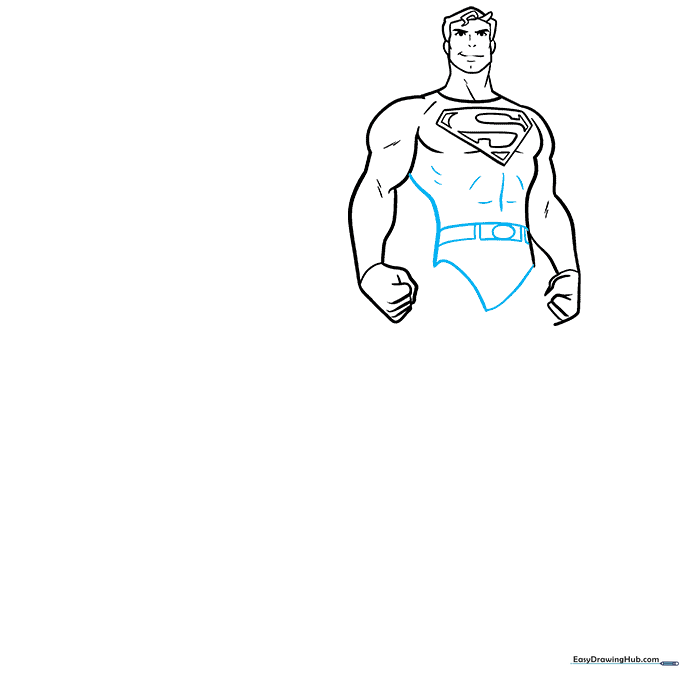
Complete the torso with curved lines for the abs, then add the belt with a rectangular buckle. Teacher's Tip: Keep the ab lines subtle; too many lines can make the drawing look cluttered.
Step 6: Drawing the First Leg
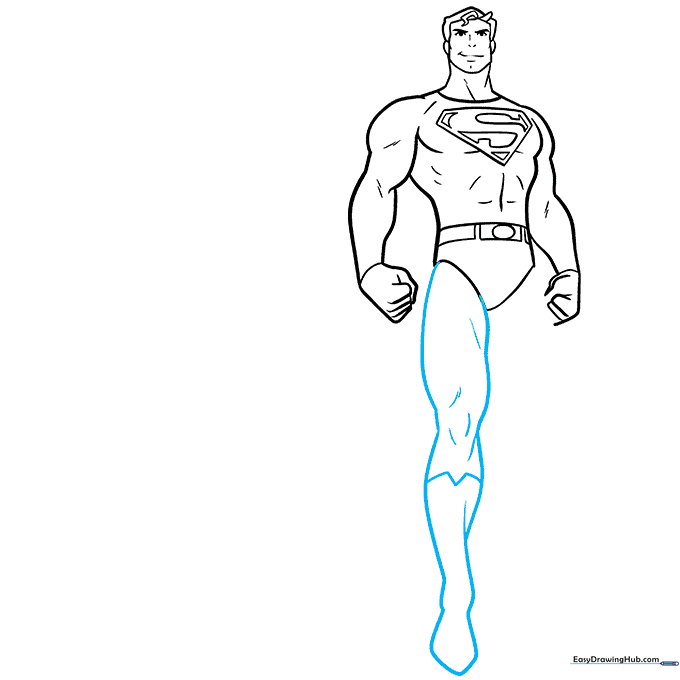
Use long, curved lines to draw the leg, ensuring the calf muscle looks defined. Add the top of the boot. Teacher's Tip: Notice where the lines overlap at the knee—this creates the illusion of depth.
Step 7: Drawing the Second Leg
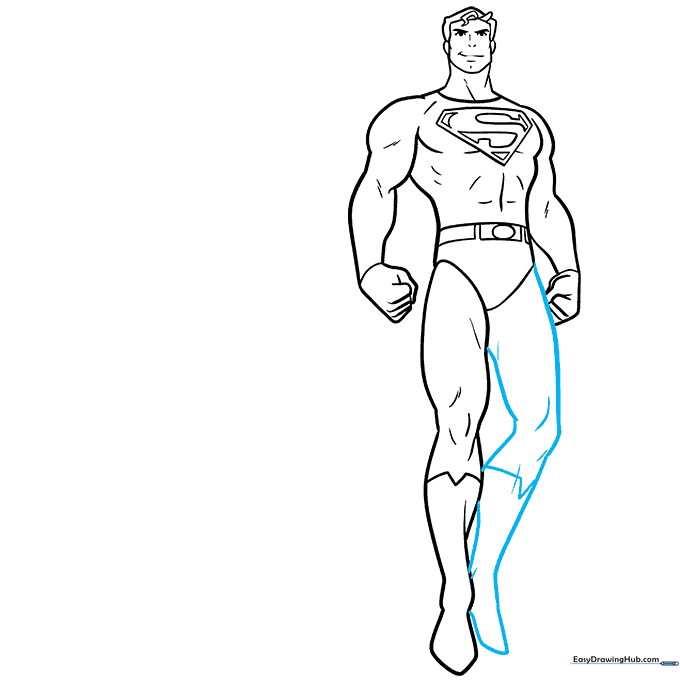
Repeat the process for the second leg and boot. Teacher's Tip: Make sure the feet are pointing in the same direction to keep your hero looking steady.
Step 8: Adding the Cape
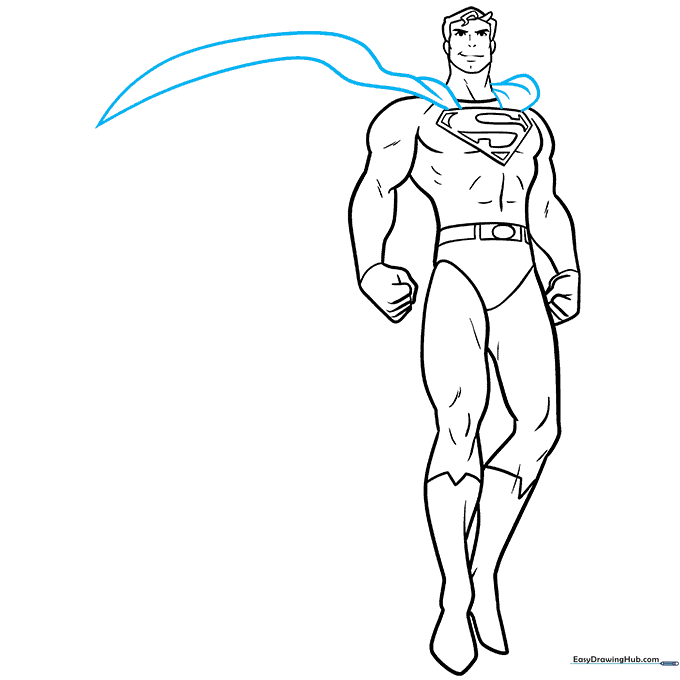
Sketch the cape flowing over the shoulders. Teacher's Tip: Use overlapping lines to show the fabric folding over the shoulders—this adds a sense of movement to your drawing.
Step 9: Finalizing the Cape
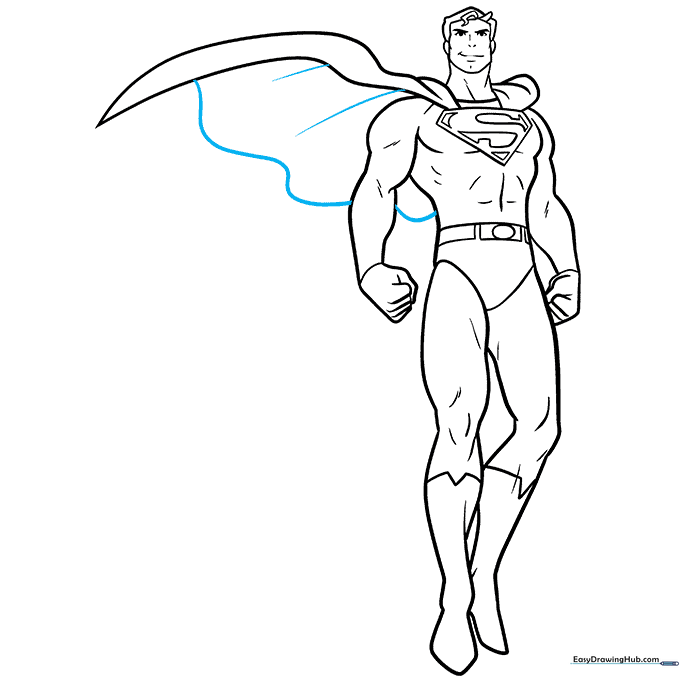
Use wavy lines to finish the bottom of the cape. Add a few extra lines to show the fabric's folds. Teacher's Tip: Wavy lines make the cape look like it's blowing in the wind!
Step 10: Coloring Your Hero
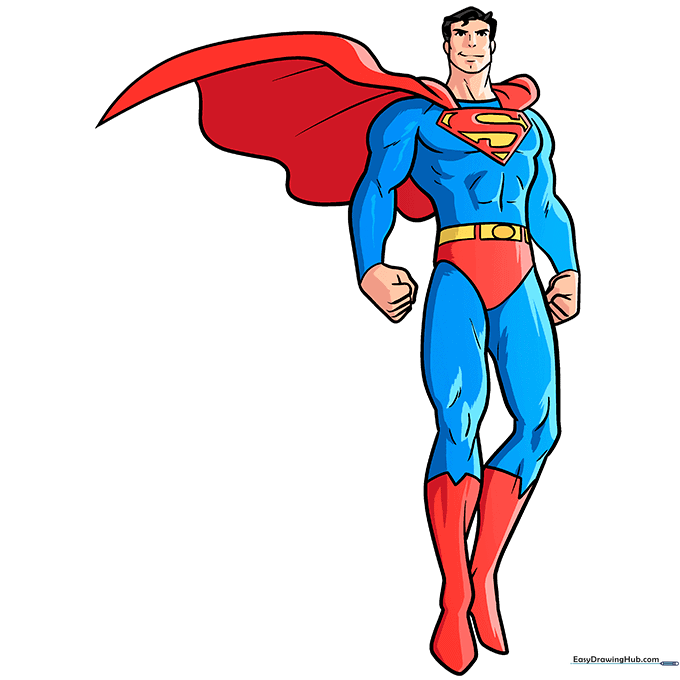
Time to bring him to life! Use classic blue for the suit, red for the cape and boots, and yellow for the belt and logo. Teacher's Tip: Use a black fine-liner to trace your pencil lines before coloring for a professional comic book look.
More Tutorials


