How to Draw Super Sonic: Easy 10-Step Guide for Kids
Ready to bring the fastest hedgehog to life? This tutorial is perfect for young fans ages 6+ who want to capture Super Sonic’s iconic look. You’ll only need a pencil, an eraser, and some paper to master these shapes and build your confidence as an artist.
🎯 Final Result

Step-by-Step Instructions
Step 1: Sketching the Eye Base

Draw a thick, banana-shaped curve for the top of the eye. Underneath, add a semi-circle with a small dome in the center. Tip: Keep your pencil pressure light so you can easily adjust the shape if it looks a bit lopsided.
Step 2: Defining the Face

Add ovals inside the eyes for pupils, then draw a small curve and dash for the mouth. Sketch a long, sweeping curve trailing away from the head to prepare for those famous spikes. Tip: Use a smooth, continuous motion for the long curve to keep it looking energetic.
Step 3: Adding the Spikes
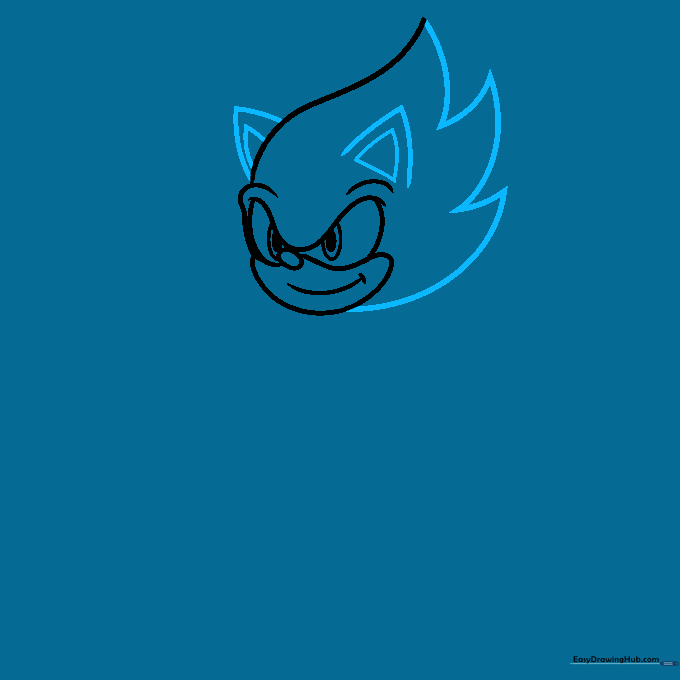
Complete the head by adding curved triangles that look like flames. Add two smaller triangles on top for the ears. Tip: Don't worry about making them perfectly symmetrical; Sonic's spikes are meant to look wild and fast!
Step 4: Outlining the Torso
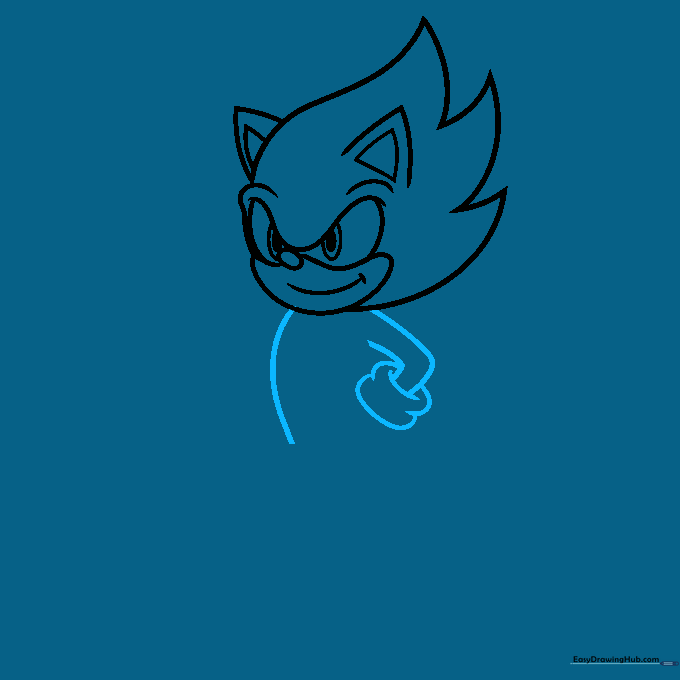
Draw a curve on the left for the body and two rounded arrows on the right. For the glove, sketch an angled circle with a tube shape underneath. Tip: Imagine the glove is a simple mitten shape before adding the wrist details.
Step 5: Drawing the Arms
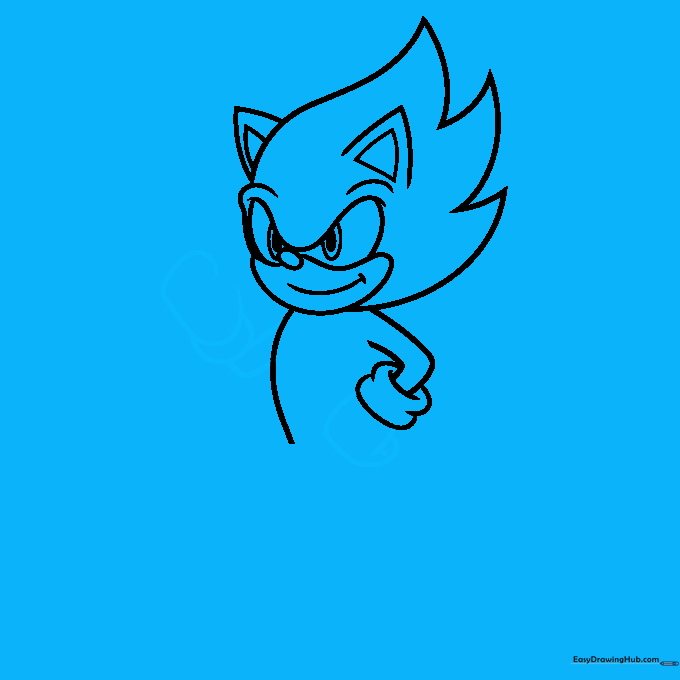
Connect the arms using two lines. Sketch a crescent moon shape for the glove base, then add a rectangular shape for the hand. Tip: Keep the arm lines slightly curved to give your character a sense of movement.
Step 6: Adding Fingers and Legs
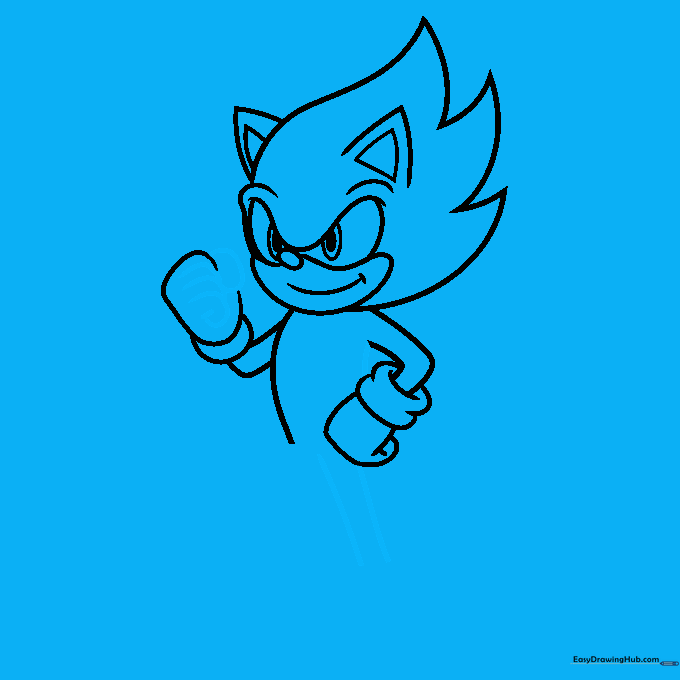
Draw short, sausage-like tubes for the fingers. Sketch a line on the right side of the body and add two straight lines for the leg. Tip: Make the fingers rounded at the tips to keep the cartoon style consistent.
Step 7: Drawing the Feet
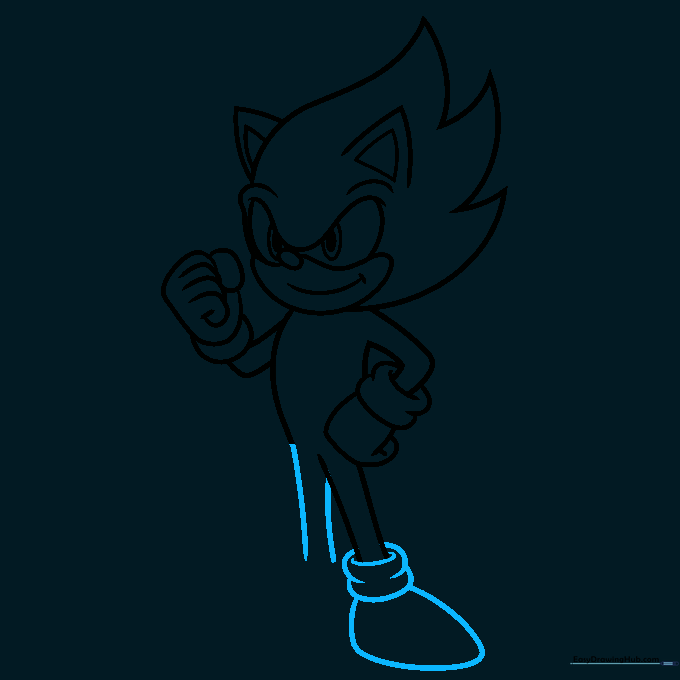
Repeat the leg process for the second leg. Use rounded shapes for the ankles and an oblong shape for the shoe. Tip: The shoe should be larger than the hand to help balance the character's proportions.
Step 8: Completing the Shoes
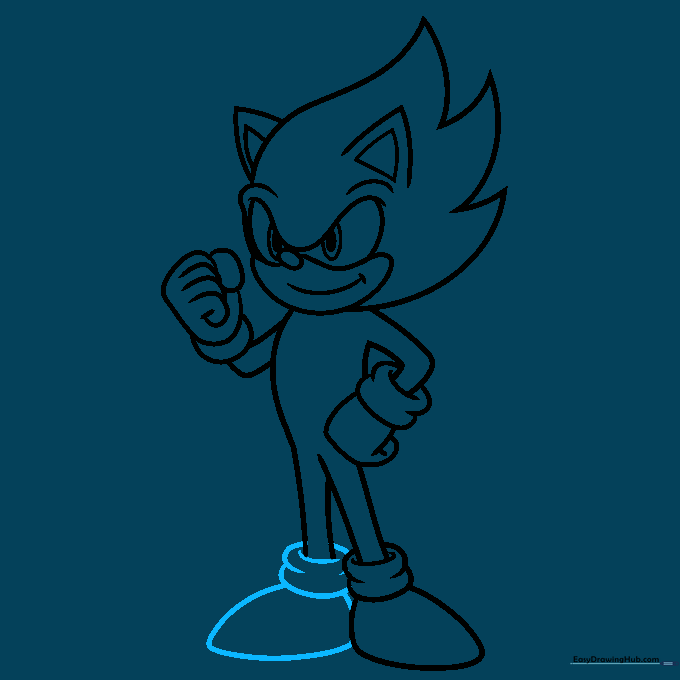
Repeat the previous shoe step for the left side. Ensure the shoes look sturdy and grounded. Tip: If you want to show speed, you can add a few small motion lines behind the shoes later!
Step 9: Final Details
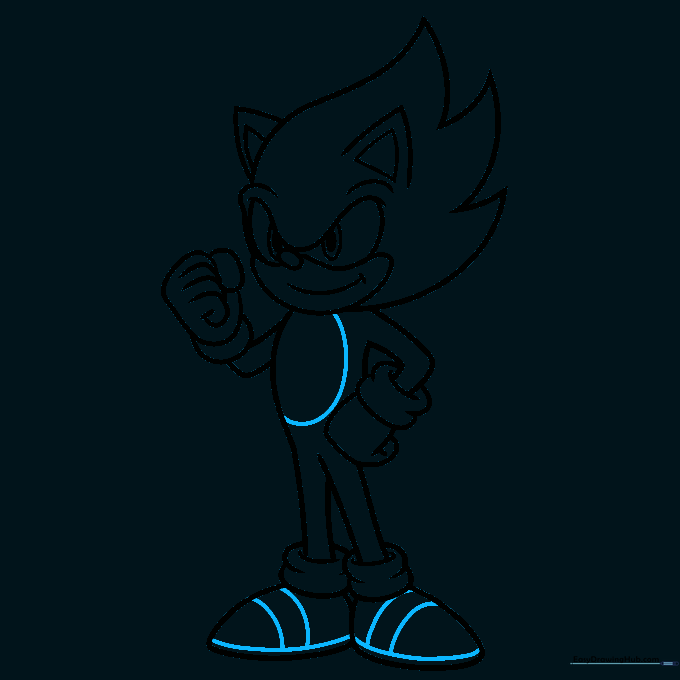
Sketch an oval in the center of the chest and add curved lines to the shoes to show the strap detail. Tip: Keep these lines clean and simple to avoid cluttering the drawing.
Step 10: Coloring Your Masterpiece

Outline your drawing with a black pen. Color the body a bright, vibrant gold. Use red for the eyes and shoes, and leave the gloves and muzzle white. Tip: Use long, even strokes with your coloring pencil for a smooth, professional finish.
More Tutorials


