How to Draw Super Mario: Easy 20-Step Guide for Kids
Ready to bring the world's most famous plumber to life? This tutorial is perfect for young fans ages 7+ who want to practice character proportions. Grab your favorite pencil, an eraser, and a sheet of paper to start building your own Mario masterpiece.
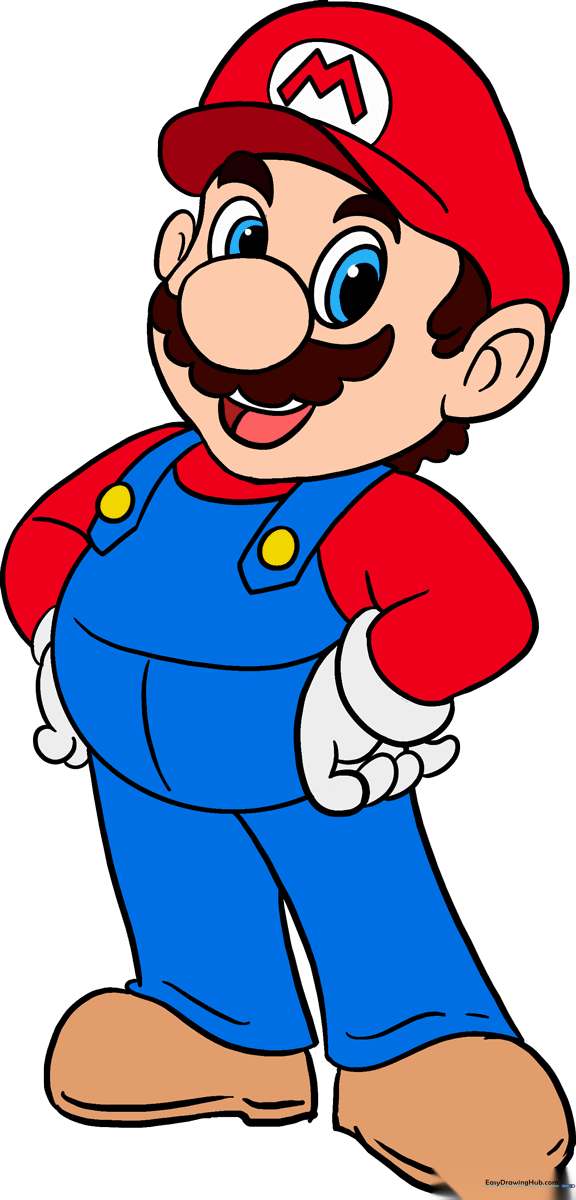
🎯 Final Result
Step-by-Step Instructions
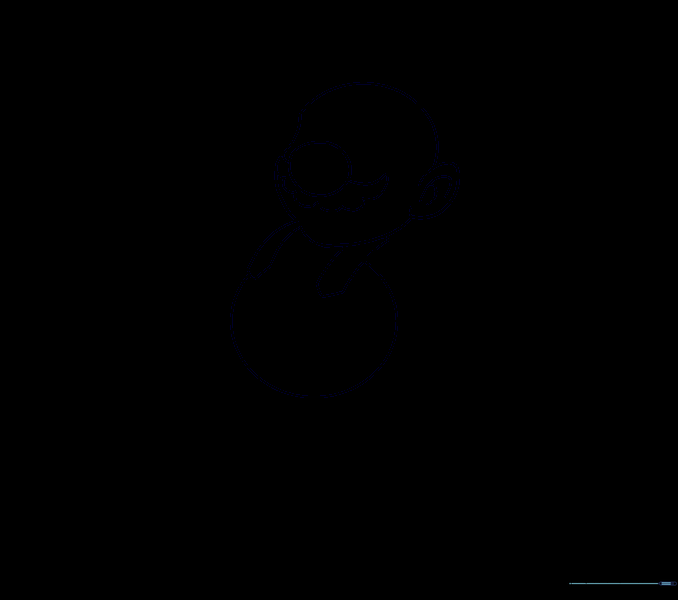
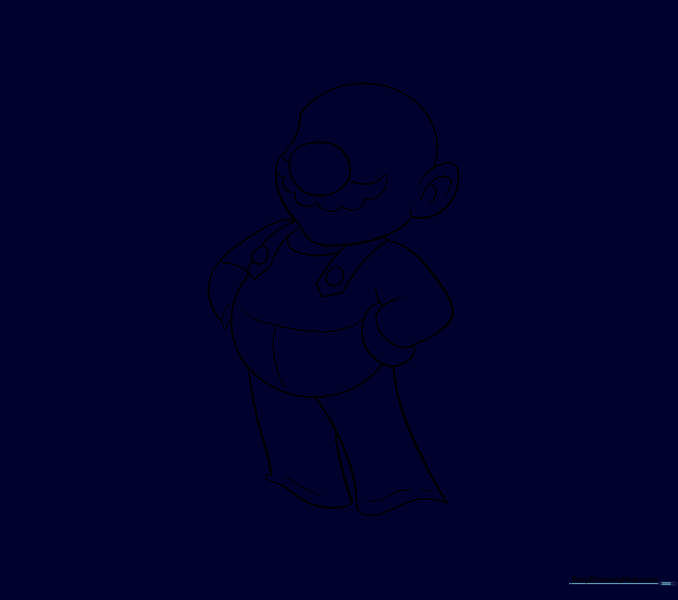
Step 1: Sketching the Jawline
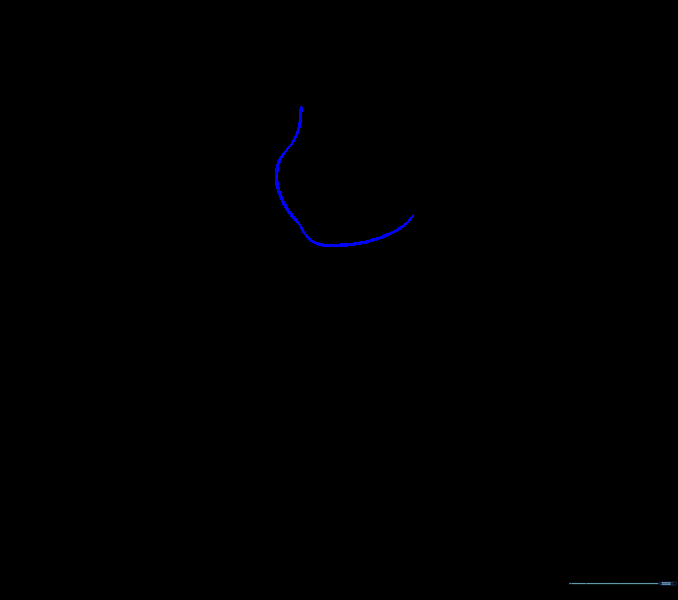
Begin by drawing a soft, curved line to outline Mario's jaw. Teacher's Tip: Keep your pencil pressure light so you can easily adjust the shape if it looks a bit too wide or narrow.
Step 2: Adding the Nose
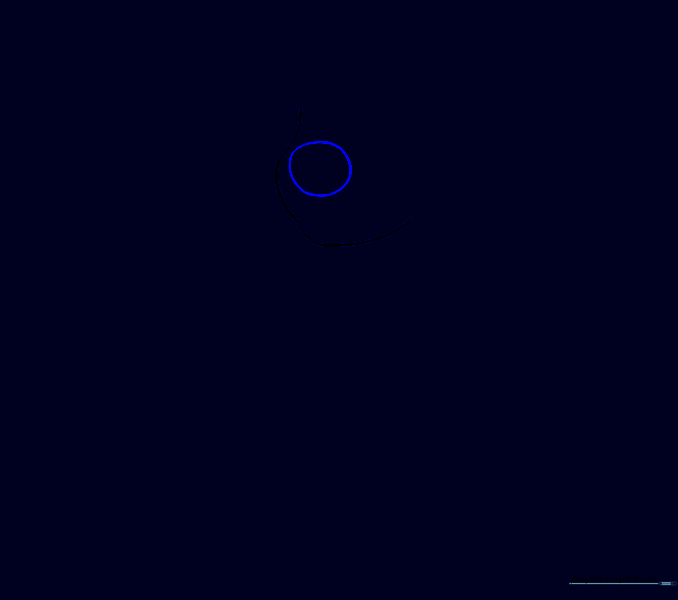
Draw a rounded circle nestled inside the curve of the jaw. Tip: Mario's nose is his most iconic feature—make sure it's nice and round to give him that friendly, classic look.
Step 3: Defining the Ear
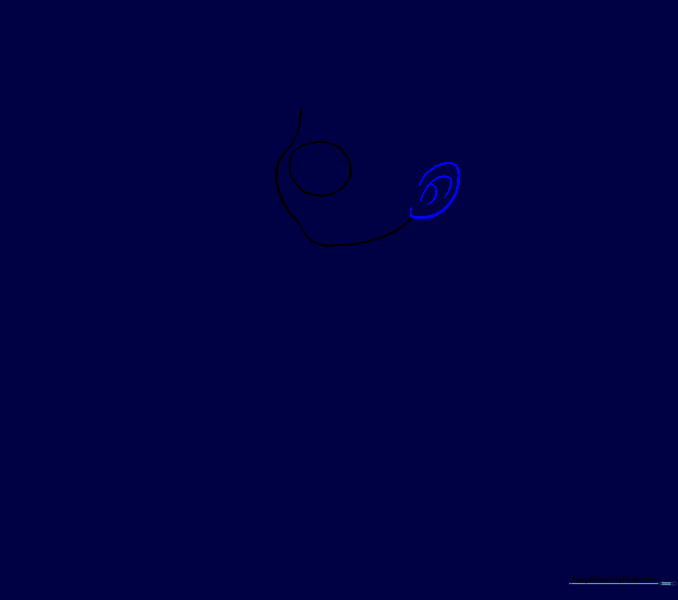
Draw a curved oval shape on the side of the head. Add two small, connected lines inside to show the inner ear folds. Tip: Don't press too hard; these inner lines should be subtle details.
Step 4: Sketching the Mustache
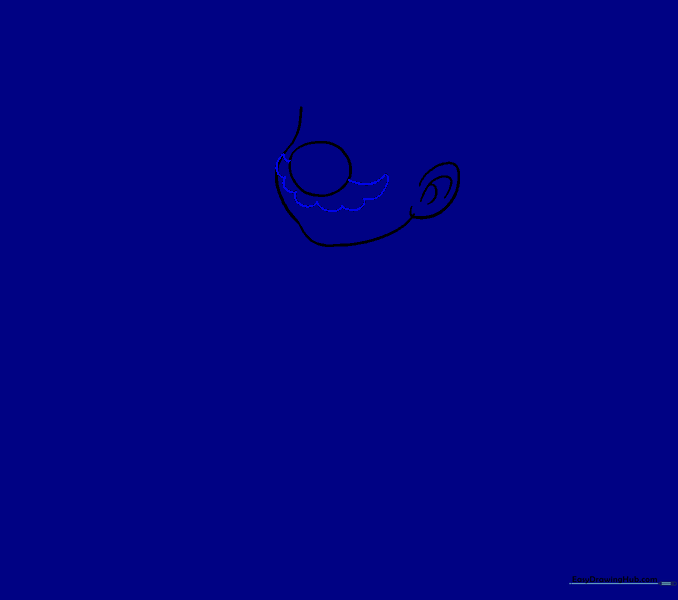
Extend short, curved lines from the nose, then connect them with a scalloped, wavy line underneath. Tip: Think of the mustache as a fluffy cloud shape—keep the curves smooth and consistent.
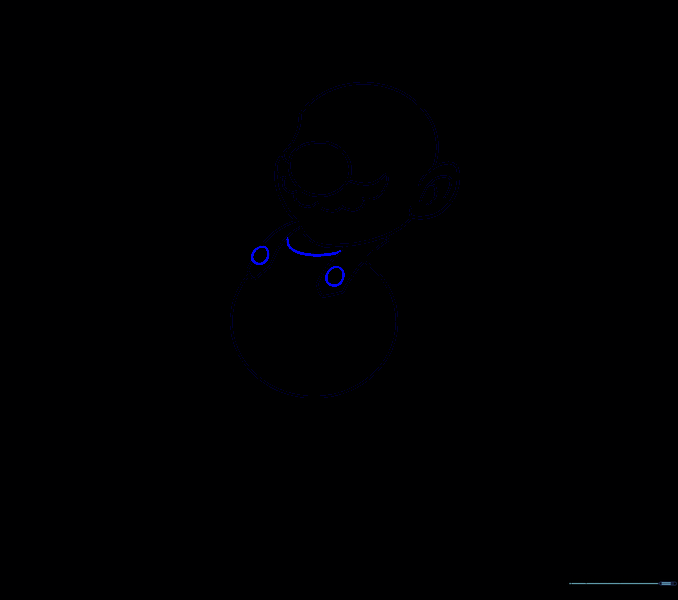
Step 5: The Top of the Head
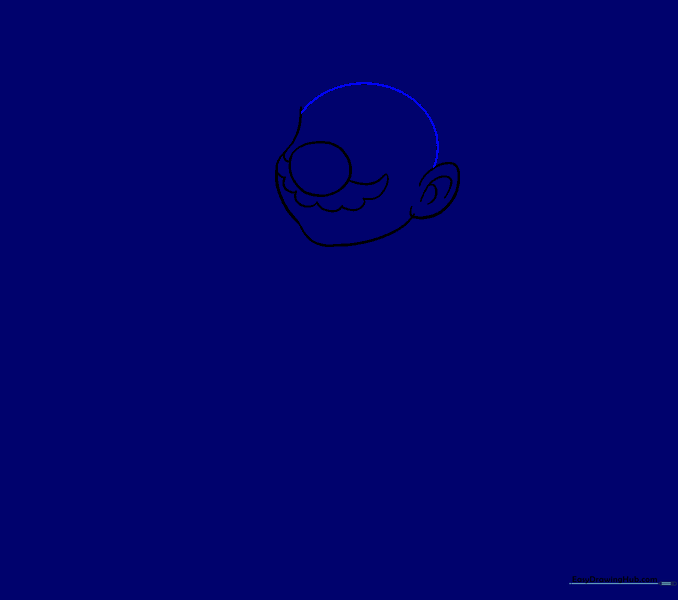
Draw a large, smooth curve to form the top of Mario's head. Tip: Imagine you are drawing a cap shape—this line connects the forehead area to the back of the head.
Step 6: Drawing the Body
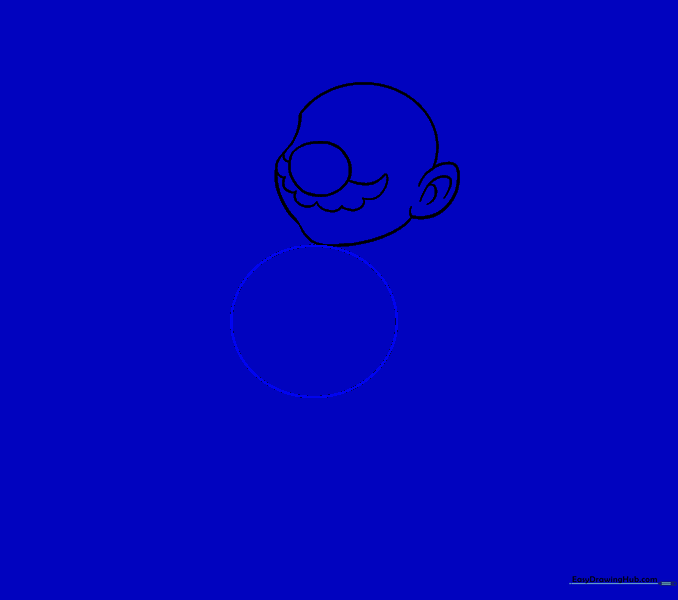
Draw a large circle below the chin to act as the base for the torso. Tip: Keep this circle light; it's just a guide for his overalls and will be erased later.
Step 7: Adding Suspenders
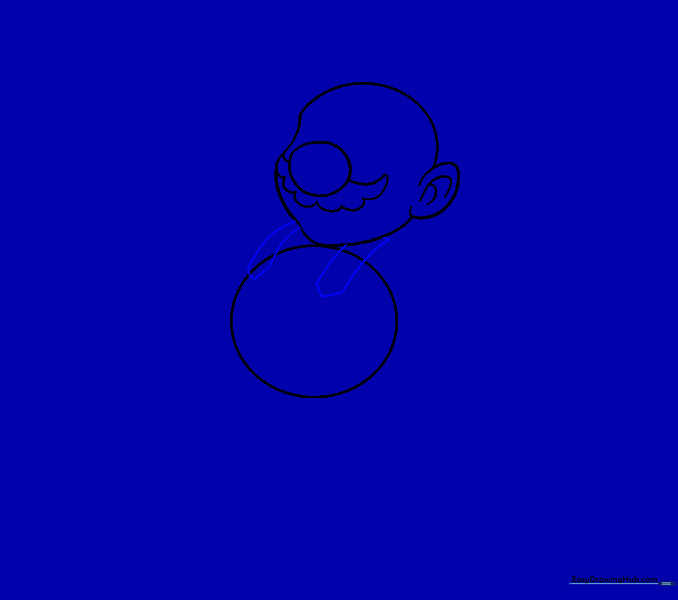
Draw two parallel lines from the neck down to the body circle, connecting them at the bottom with a point. Tip: These should look like two straps holding up his overalls.
Step 8: Cleaning Up
Carefully erase the extra guide lines inside the body circle. Tip: Use a clean eraser and gentle strokes to avoid smudging your drawing.
Step 9: Adding Buttons
Connect the suspenders with a curved line and add a small circle at the end of each strap. Tip: These are the signature buttons on Mario's overalls!
Step 10: Sketching Arms and Legs
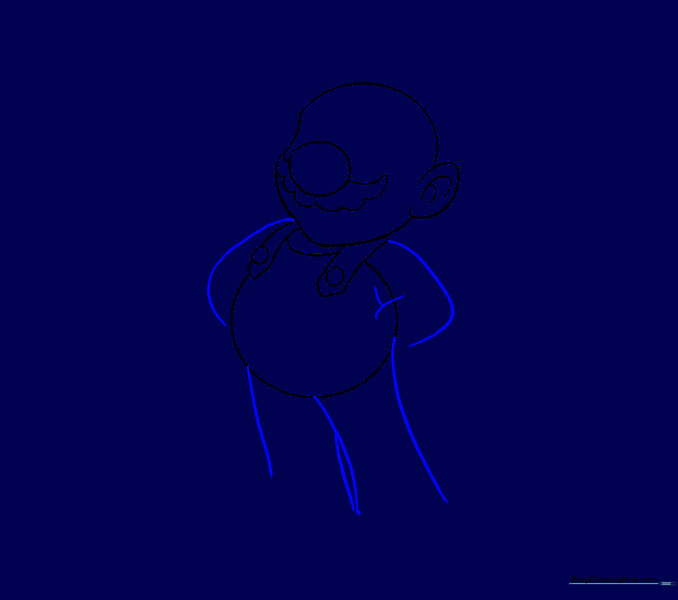
Draw curved lines extending from the neck and sides for the arms, and parallel lines downward for the legs. Tip: Keep the joints slightly bent to make Mario look like he's in motion.
Step 11: Refining Limbs
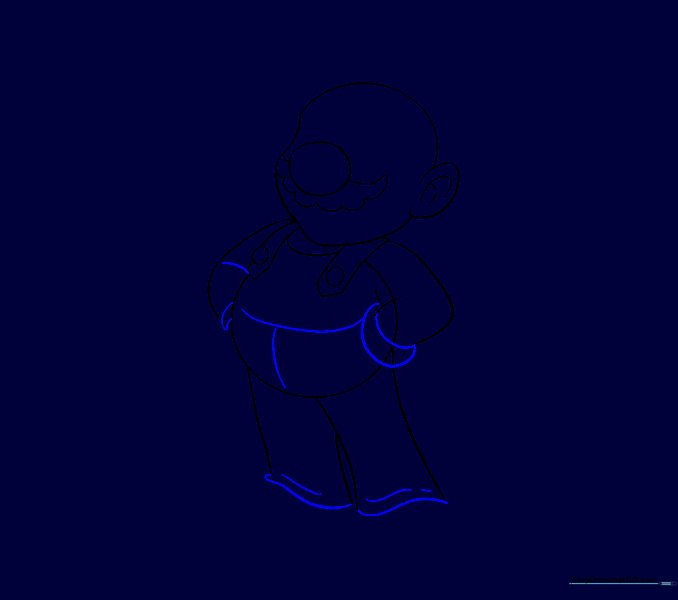
Add detail to the elbows, cuffs, and leg shapes. Tip: Use wavy lines at the bottom of the legs to suggest the cuffs of his pants.
Step 12: Final Cleanup
Erase any remaining guide lines to reveal the clean silhouette of Mario's body. Tip: Take your time here; a clean drawing makes coloring much easier later.
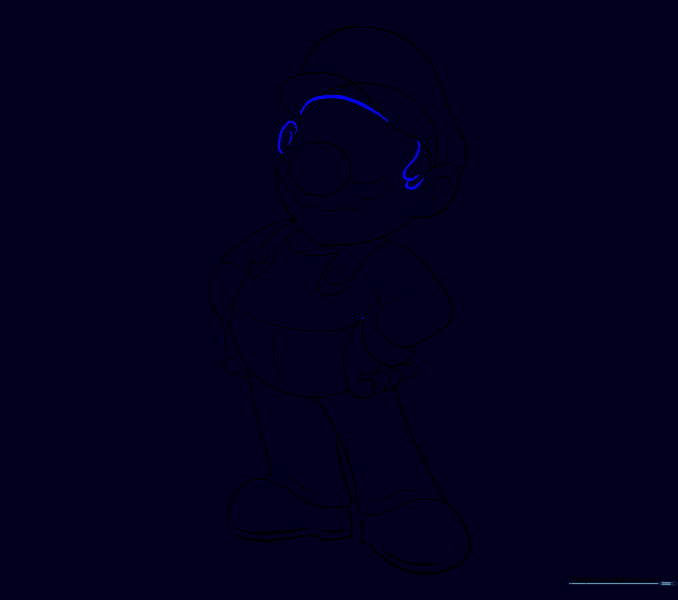
Step 13: Drawing Hands
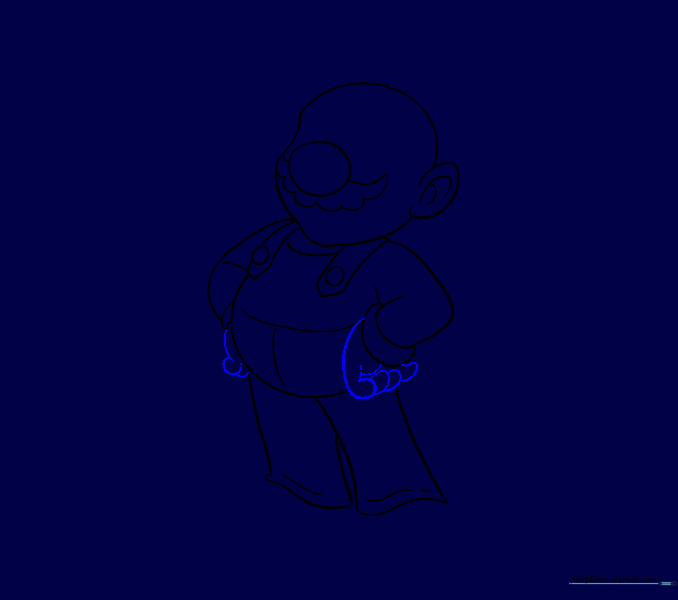
Use overlapping curved lines to form the fingers. Tip: Keep the hands rounded and simple—they don't need to be perfectly realistic to look like Mario's gloves.
Step 14: Adding Shoes
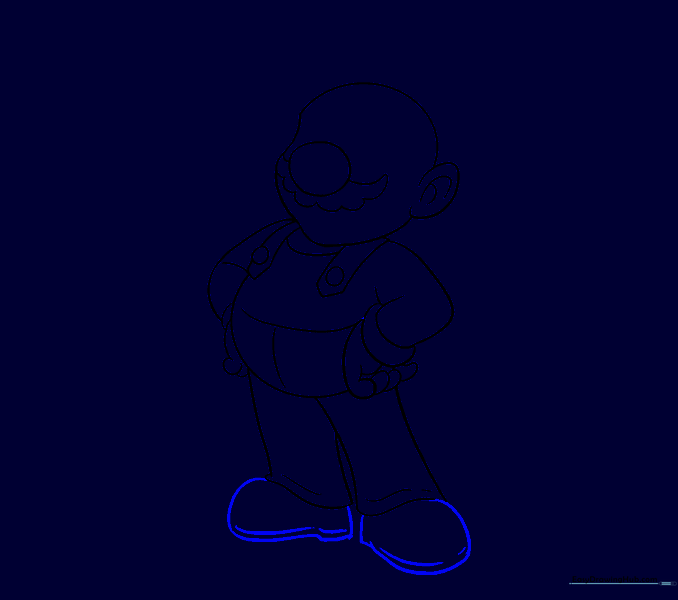
Outline the shoes with long, curved lines and square off the heels. Add parallel lines for the soles. Tip: The squared heel is key to getting that 'Mario' look.
Step 15: Sketching the Hat
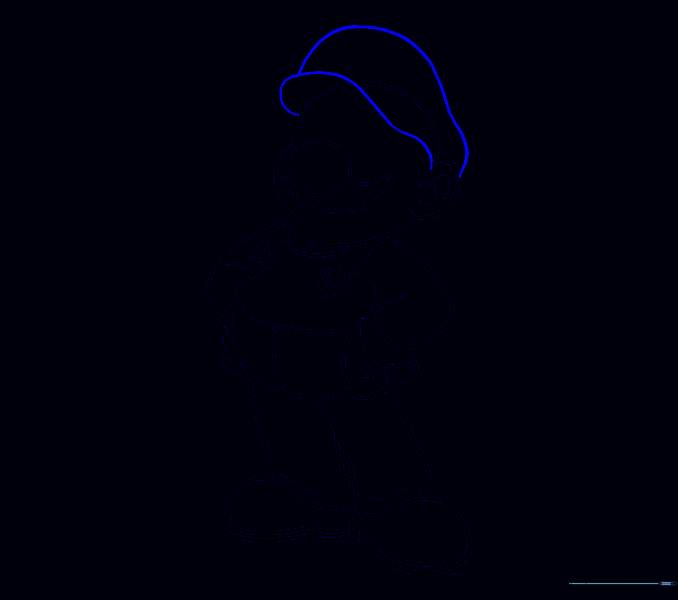
Draw two wavy lines to form the brim and top of the hat. Tip: Make sure the brim extends far enough to cover the forehead area properly.
Step 16: Adding Hair and Ear Detail
Add the second ear and use short, curved lines to suggest hair peeking out. Tip: Keep the hair lines loose and natural-looking.
Step 17: The 'M' Emblem
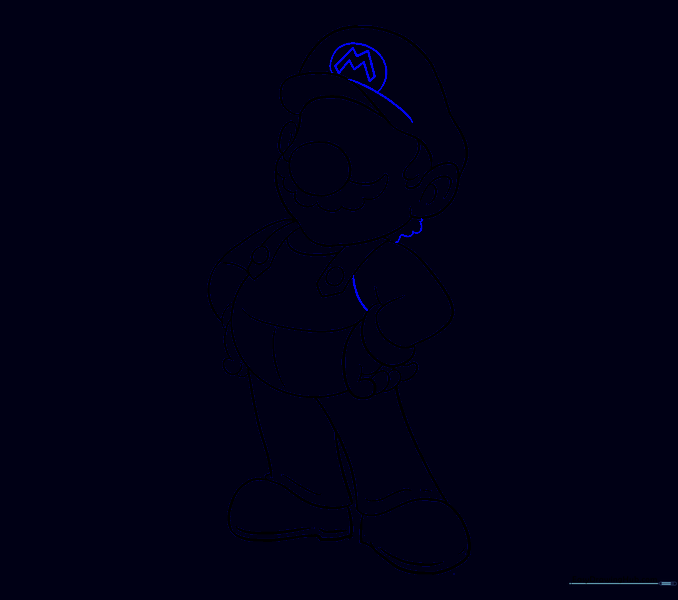
Draw a circle on the front of the hat and add the letter 'M' inside. Tip: Center the 'M' carefully so it looks like a real emblem.
Step 18: Facial Features
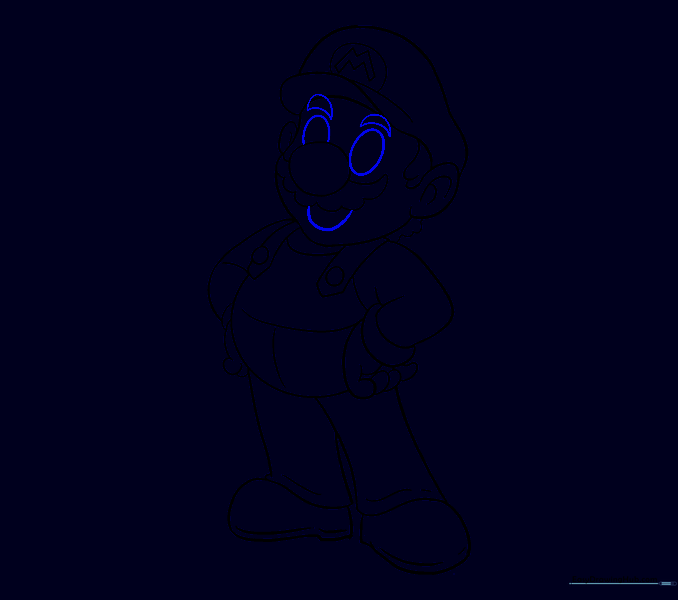
Draw a 'U' shape for the mouth and ovals for the eyes. Add curved lines above for eyebrows. Tip: The eyebrows help give Mario his determined expression!
Step 19: Final Details
Add the tongue and teeth inside the mouth, and shade the pupils. Tip: Shading the pupils makes his eyes look bright and full of life.
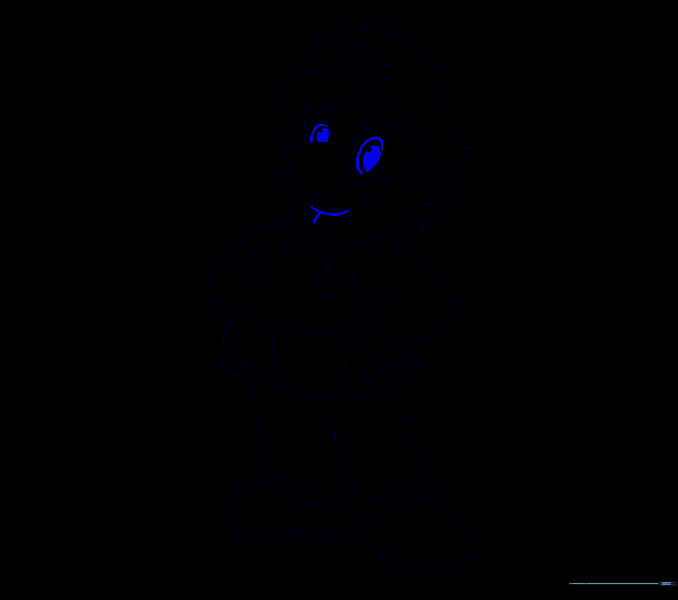
Step 20: Bringing Mario to Life
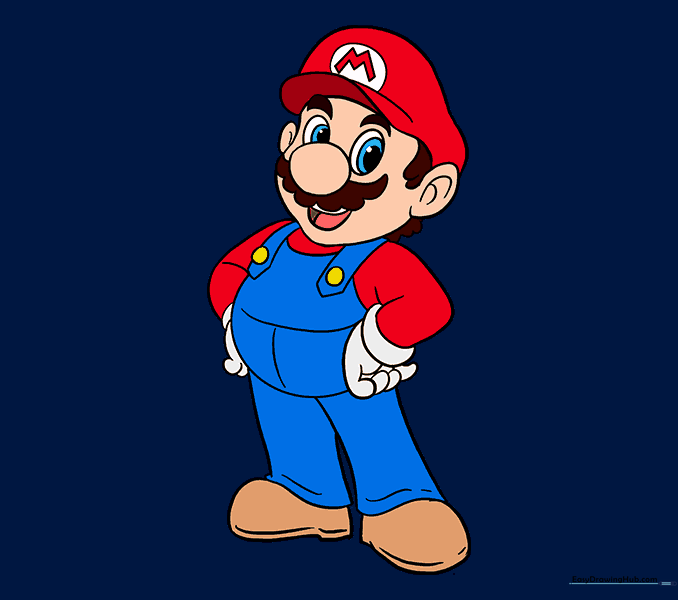
Color your drawing! Use classic red for the hat and shirt, and blue for the overalls. Tip: Use a light brown or peach for the skin to keep it looking natural.
More Tutorials


