How to Draw Stewie Griffin: Easy 10-Step Cartoon Guide
Ready to bring Stewie Griffin to life? This tutorial is designed for young artists and beginners to practice character proportions using simple geometric shapes. You will need a pencil, an eraser, and a piece of paper to follow along with these clear, manageable steps.
🎯 Final Result

Step-by-Step Instructions
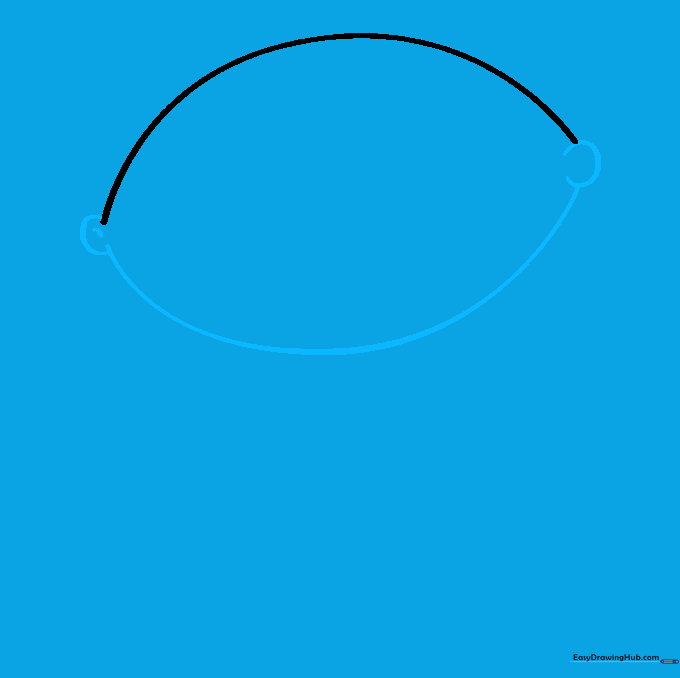
Step 1: Sketching the Football-Shaped Head

Draw a wide, curved line to form the top of Stewie's head. Teacher's Tip: Keep your pencil pressure light so you can easily adjust the shape if it looks a bit lopsided.
Step 2: Defining the Head Shape
Add small 'C' shapes at the ends for ears, then connect them with a bottom curve to complete the football shape. Tip: Ensure the bottom curve is symmetrical to the top for that classic cartoon look.
Step 3: Adding the Hairline
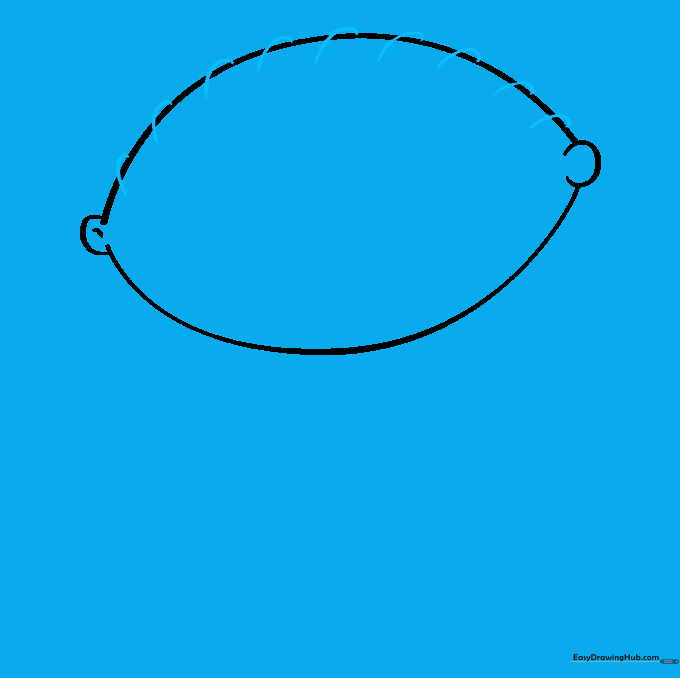
Draw a few short, overlapping curved lines on top of the head for his iconic hair. Tip: Don't make them too uniform; a little variation makes the drawing look more natural.
Step 4: Sketching the First Arm and Strap

Use overlapping curves to form the arm and draw two straight lines from the head to create the overall strap. Tip: Keep the strap lines parallel to give the clothing a structured appearance.
Step 5: Drawing the Second Arm and Hands
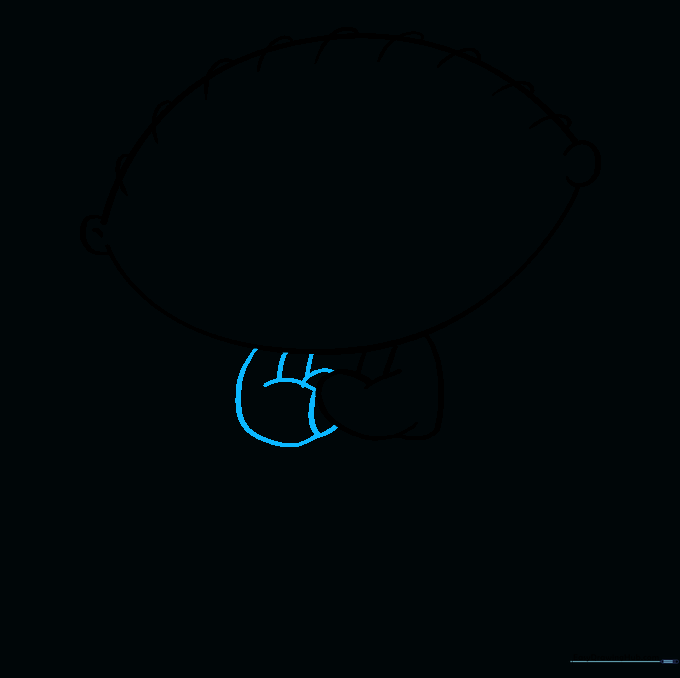
Repeat the process for the second arm and add small curves for the hands. Tip: Make sure the hands are positioned at the same level so the character looks balanced.
Step 6: Drawing the First Leg

Draw a long, curved line for the leg and a separate curve for the shoe. Tip: Think of the shoe as a rounded rectangle to help keep the proportions simple.
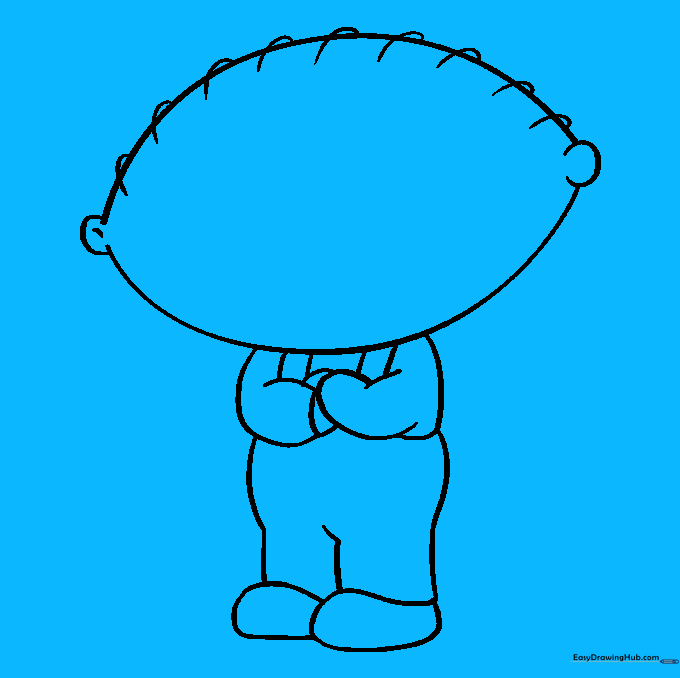
Step 7: Completing the Legs
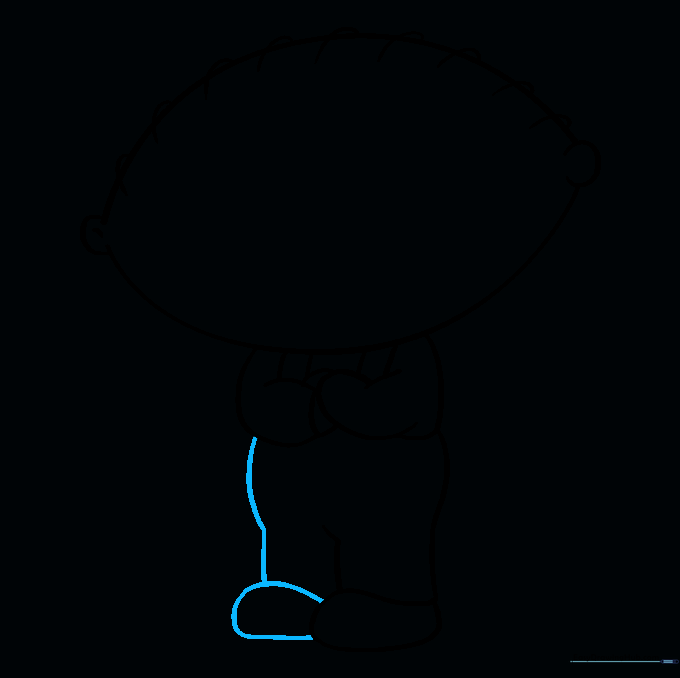
Enclose the second leg and foot using similar curved lines. Tip: Check that the feet are pointing in the same direction to keep the character's stance consistent.
Step 8: Adding Facial Features
Draw two large circles for eyes with shaded pupils and straight lines for eyebrows. Tip: Placing the eyes slightly closer together gives him that signature expressive look.
Step 9: Finalizing the Mouth

Draw a 'V' for the nose and use sharp, curved lines for the mouth and tongue. Tip: Shade the inside of the mouth darkly to make the tongue pop out.
Step 10: Adding Color

Bring your drawing to life with color! Use yellow for the shirt, red for the overalls, and grey for the shoes. Tip: Use light, even strokes to keep the colors vibrant and smooth.
More Tutorials


