How to Draw Steve from Minecraft: Easy 10-Step Guide
Bring your favorite Minecraft hero to life! This tutorial is designed for young gamers and artists ages 6+ to practice drawing 3D shapes using simple geometric blocks. All you need is a pencil, an eraser, and a piece of paper to get started.
🎯 Final Result

Step-by-Step Instructions
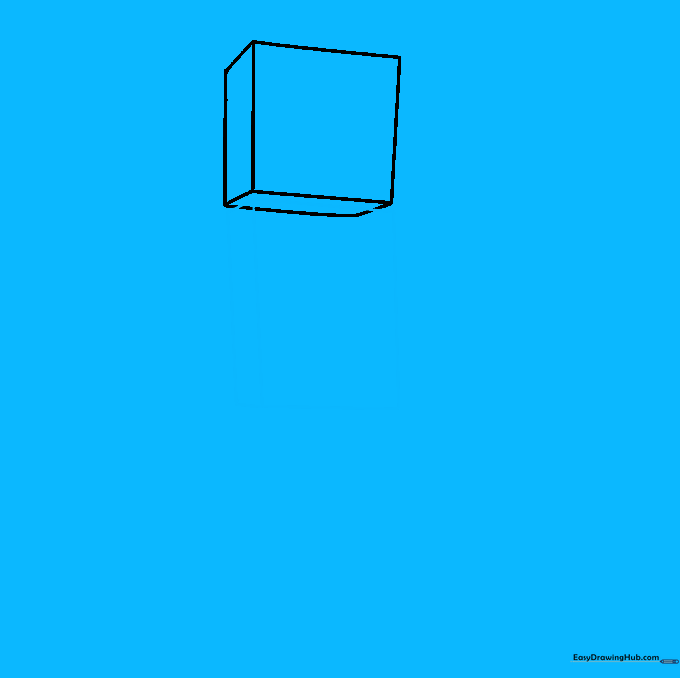
Step 1: Sketching the Head

Draw a square to represent Steve's head. Add short, diagonal lines from three corners and connect them to create a 3D cube effect. Teacher's Tip: Keep your pencil pressure light so you can easily erase any overlapping lines later.
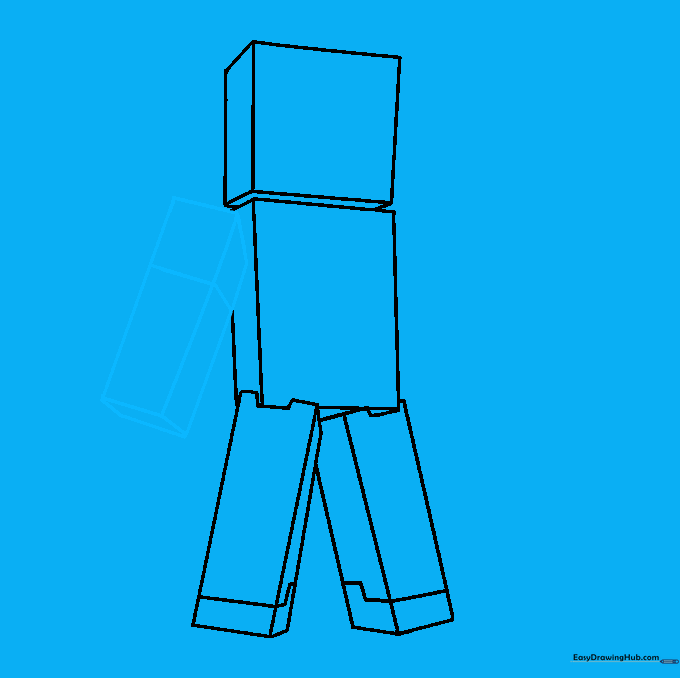
Step 2: Defining the Torso
Draw a rectangle overlapping the bottom of the head cube. Add diagonal lines from the bottom corners to give the torso depth. Teacher's Tip: Think of this as stacking building blocks; ensure your lines are parallel to keep the perspective consistent.
Step 3: Cleaning the Outline

Carefully erase the internal guide lines where the head meets the torso. Teacher's Tip: Use a clean eraser and gentle circular motions to avoid smudging your paper.
Step 4: Sketching the First Leg
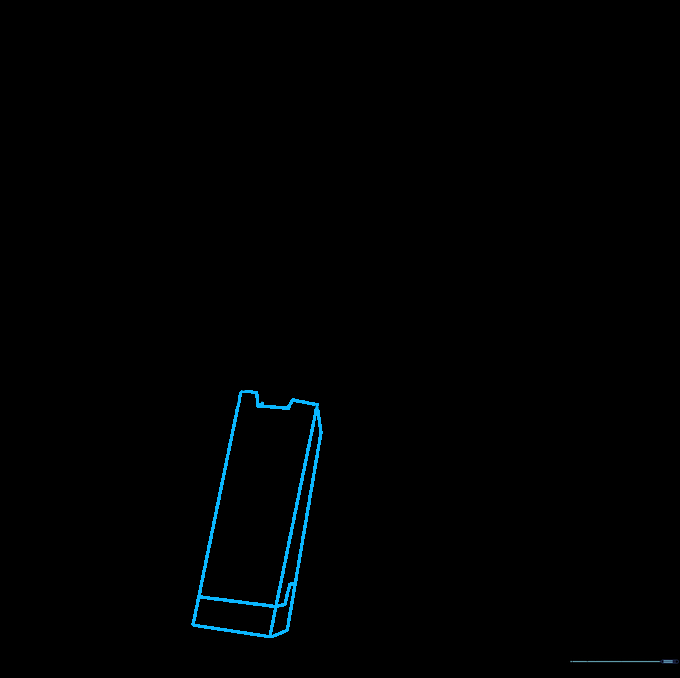
Draw a rectangular shape at a slight angle for the leg, including a small notch at the top. Add depth with diagonal lines. Teacher's Tip: The notch helps define the space between the legs, making the character look more realistic.
Step 5: Adding the Second Leg
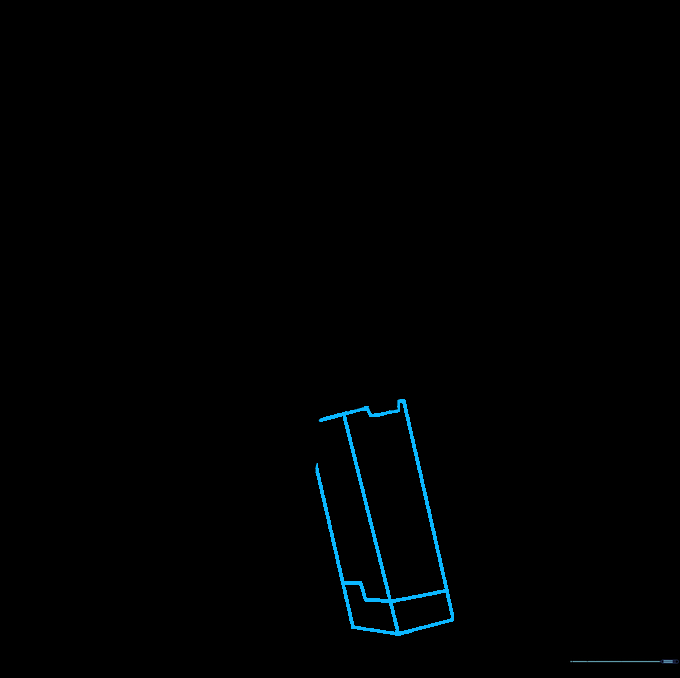
Mirror the process from the previous step to draw the second leg. Ensure it aligns with the first to maintain balance. Teacher's Tip: Check that the bottom of both legs are level so Steve doesn't look like he's tipping over!
Step 6: Drawing the First Arm
Draw a narrow rectangle extending from the torso for the arm. Add depth lines to give it a blocky, 3D appearance. Teacher's Tip: Keep the arm width consistent with the torso to maintain the Minecraft aesthetic.
Step 7: Adding the Second Arm
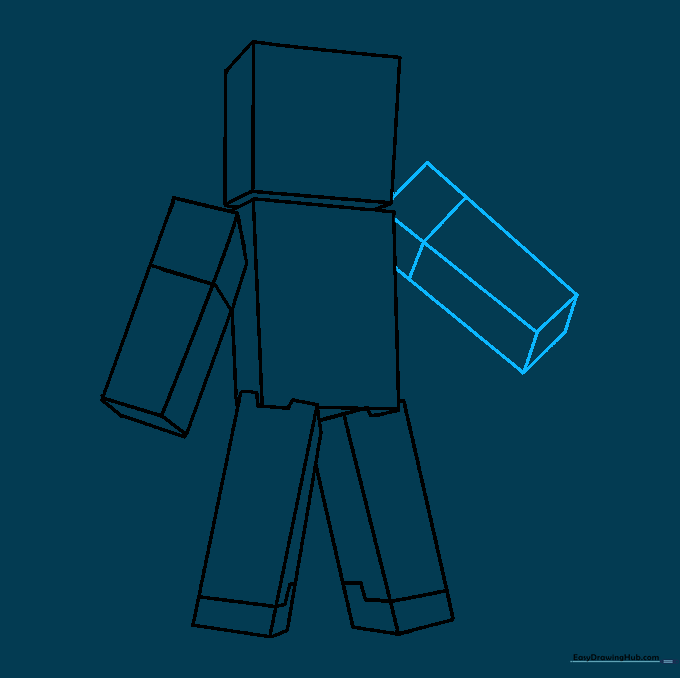
Repeat the arm-drawing process on the opposite side of the torso. Teacher's Tip: If you want Steve to look like he's holding something, you can adjust the angle of this arm later.
Step 8: Adding Hair and Clothing Details
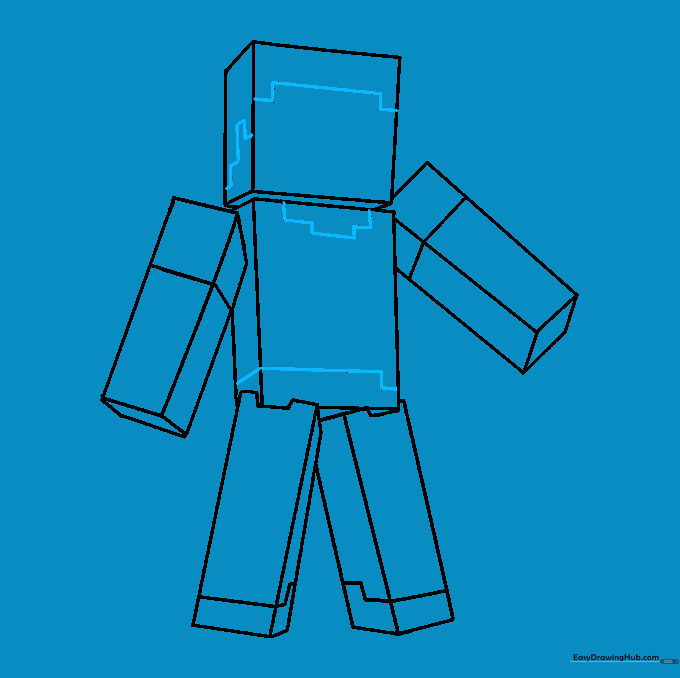
Outline the hair, neck, and pant lines using short, straight strokes. This creates the signature pixelated look. Teacher's Tip: Don't worry about perfect curves; Minecraft is all about straight lines and right angles!
Step 9: Final Facial Features

Add the eyes and mouth using small, square shapes. Teacher's Tip: Keep the facial features centered and symmetrical to make Steve look recognizable.
Step 10: Bringing Steve to Life with Color
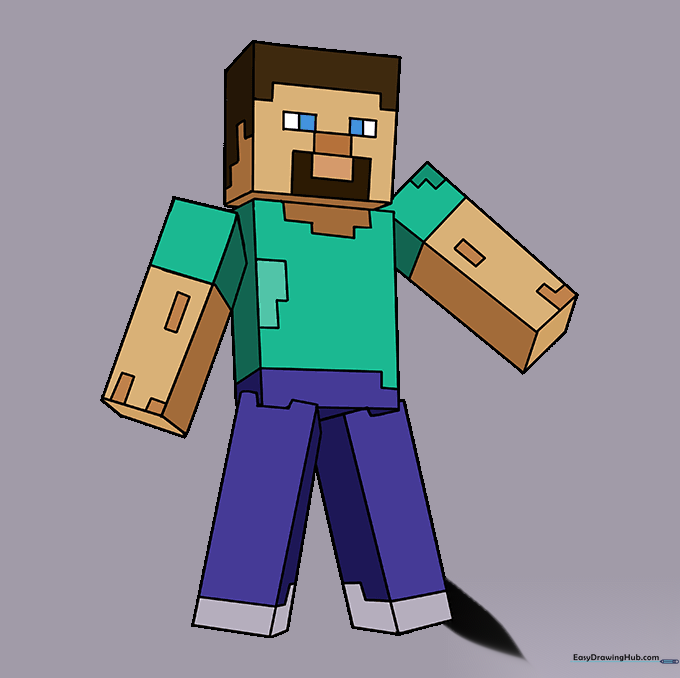
Time to color! Use dark brown for the hair, blue for the eyes, a light blue shirt, and dark blue jeans. Teacher's Tip: Use a ruler if you want to keep your coloring blocks perfectly straight!
More Tutorials


