How to Draw a Butternut Squash: Easy 9-Step Art Lesson
This step-by-step tutorial is perfect for young artists ages 5 and up looking to practice organic shapes and textures. You will only need a pencil, an eraser, and your favorite coloring supplies. By the end of this lesson, you will have a beautiful, harvest-themed squash drawing to add to your collection.
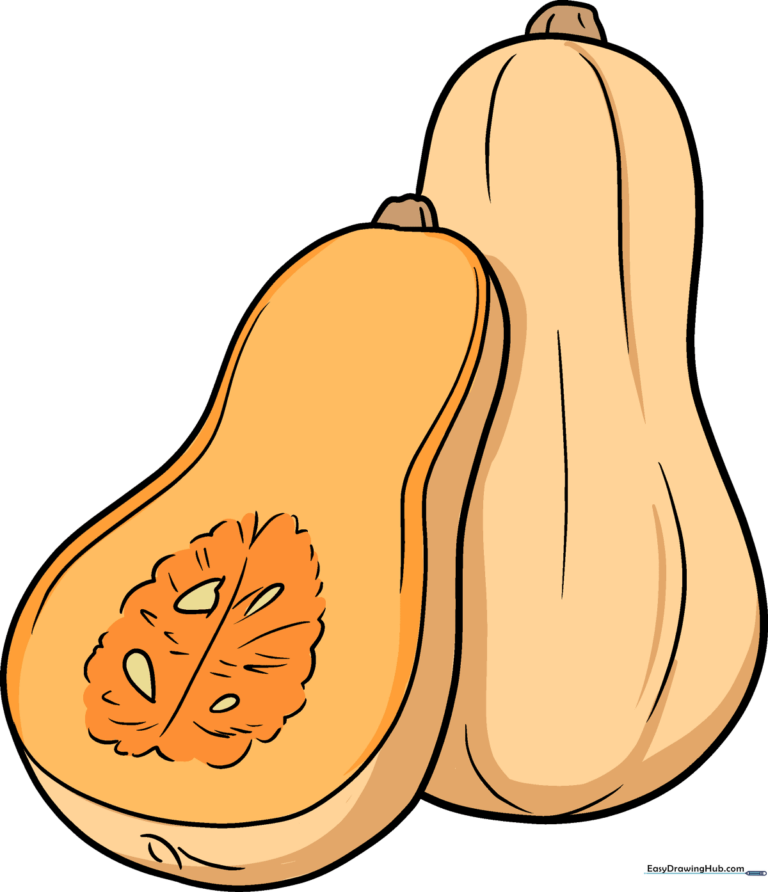
🎯 Final Result
Step-by-Step Instructions
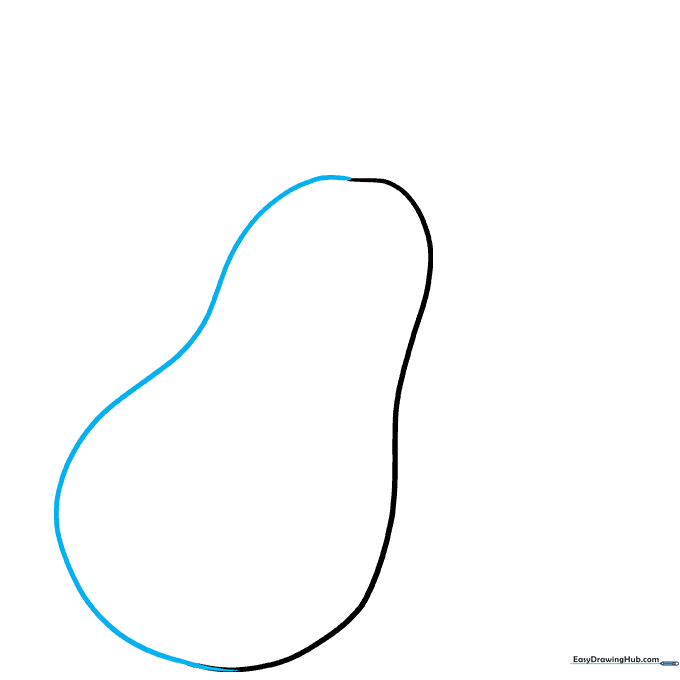
Step 1: Sketching the Base Curve

Draw a long, gentle curved line to form one side of the squash. Teacher's Tip: Keep your pencil grip loose so your lines stay light and easy to adjust later.
Step 2: Closing the Shape
Mirror the curve on the opposite side to complete the pear-like silhouette. Teacher's Tip: If the shape looks a bit lopsided, that's perfectly fine—real vegetables are rarely perfect!
Step 3: Adding the Cut Edge and Calyx
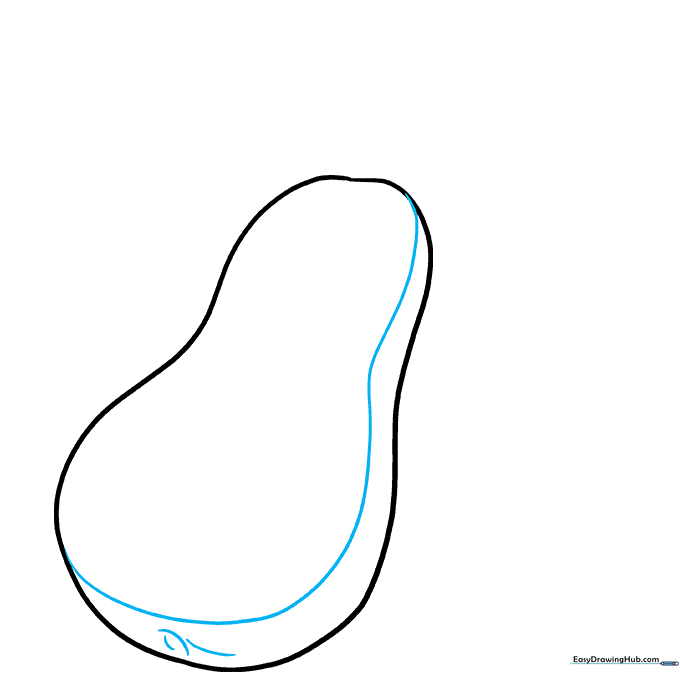
Draw a curved line across the middle to show where it's sliced, and add a small spiral at the bottom for the calyx. Teacher's Tip: Use a light touch for the spiral to make it look like a natural plant scar.
Step 4: Defining the Stem
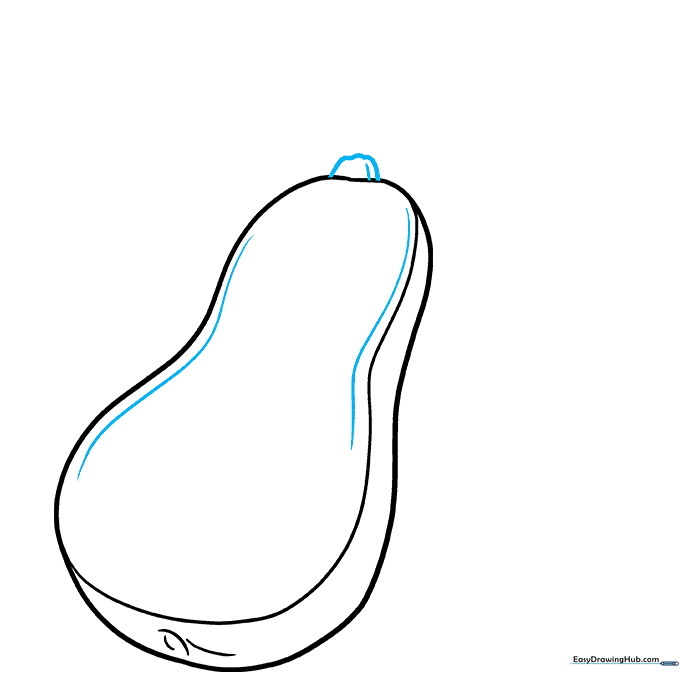
Add depth to the cut edges with parallel lines and sketch a small, wavy stem at the top. Teacher's Tip: Stems are often bumpy, so don't worry about making the lines perfectly smooth.
Step 5: Sketching the Seed Cavity
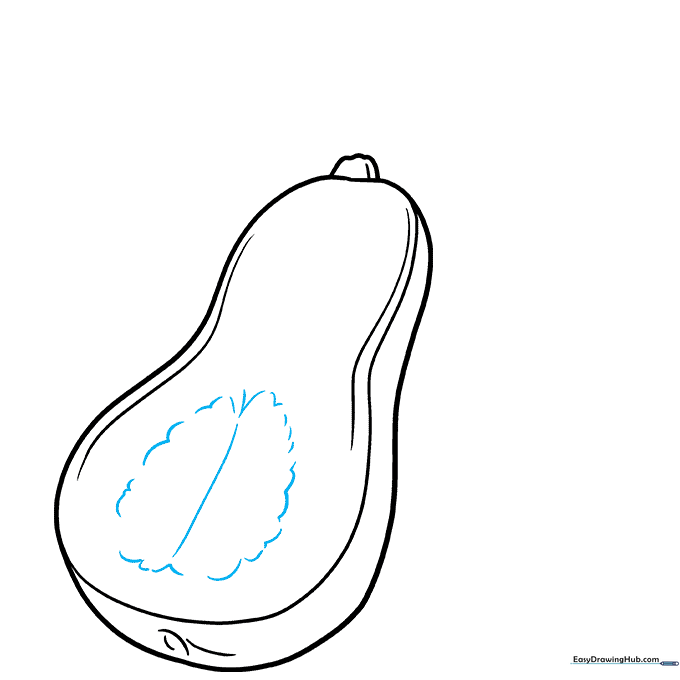
Draw a central line in the bottom half and add rounded, half-oval shapes on either side. Teacher's Tip: These shapes represent the hollow space where the seeds live.
Step 6: Adding Seeds and Texture
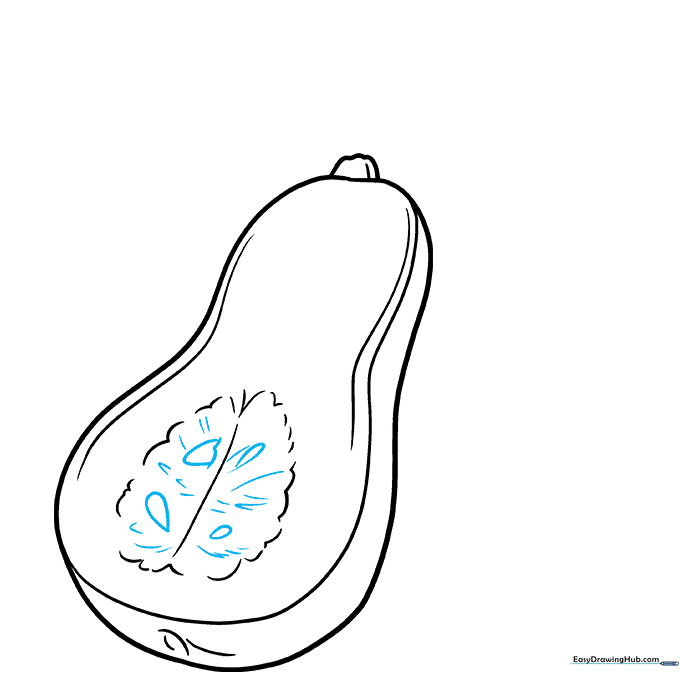
Fill the cavity with small teardrop shapes for seeds and add wispy lines for texture. Teacher's Tip: Vary the size of your seeds to make the drawing look more realistic.
Step 7: Drawing a Whole Squash

Draw a second, whole squash next to the first one using a clean, continuous pear shape. Teacher's Tip: Overlapping your objects creates a sense of depth in your art.
Step 8: Adding Skin Texture
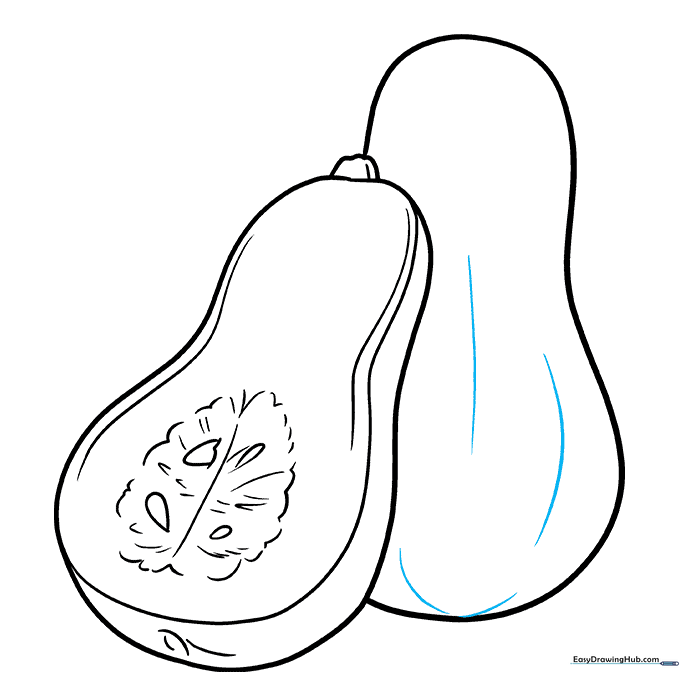
Add long, gentle curved lines along the skin of the whole squash. Teacher's Tip: These lines help show the roundness of the vegetable.
Step 9: Final Details
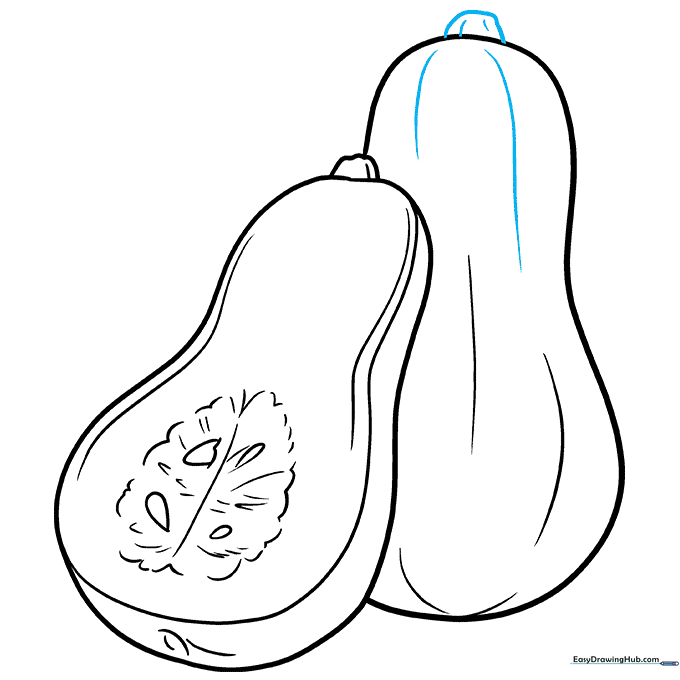
Finish the stem on the second squash and add any final texture lines. Teacher's Tip: Take a step back and look at your drawing to see if you want to darken any lines before coloring.
Step 10: Coloring Your Masterpiece
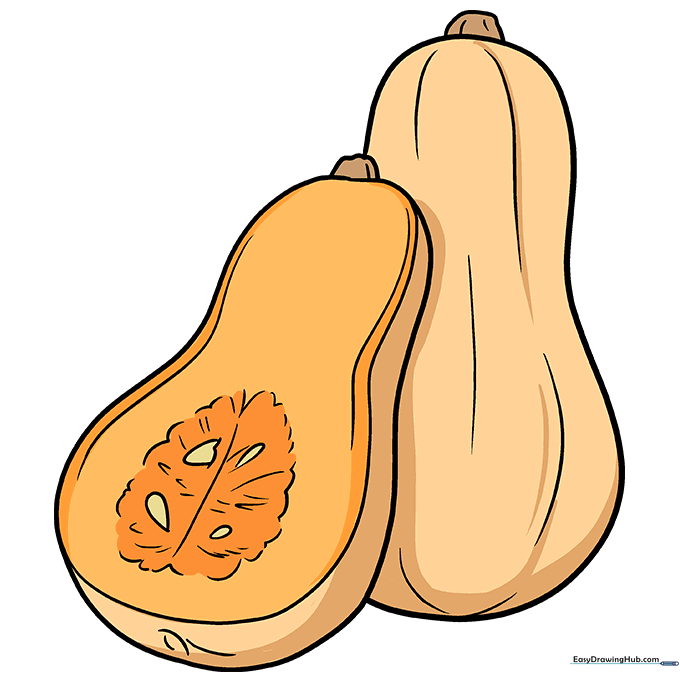
Use warm tones like tan, light orange, and soft brown to bring your squash to life. Teacher's Tip: Use a darker shade of orange in the seed cavity to create a nice shadow effect.
More Tutorials


