How to Draw Springtrap: Easy Step-by-Step FNAF Guide
Ready to bring the iconic Springtrap to life? This tutorial is perfect for intermediate artists who love the Five Nights at Freddy's series. Grab your pencil, eraser, and paper, and follow along as we break down his complex, weathered look into manageable shapes.
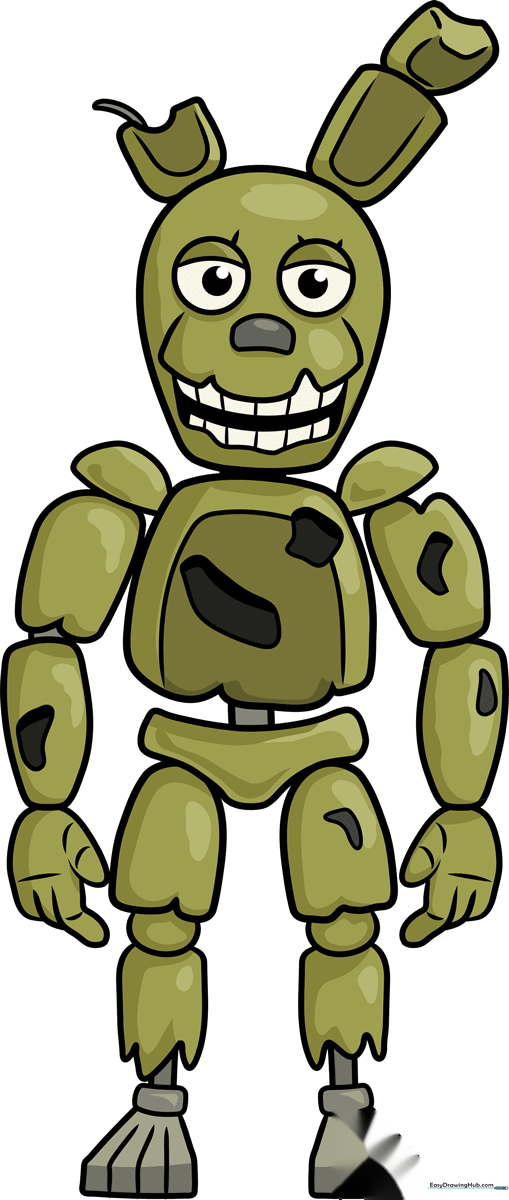
🎯 Final Result
Step-by-Step Instructions
Step 1: Sketching the Head

Start with an upside-down egg shape with a flattened bottom for the jaw. Add two circles for the eyes, then sketch curved lines for the eyelids. Tip: Keep your pencil pressure light here so you can easily adjust the eye placement later.
Step 2: Defining the Jaw and Teeth

Draw a curved line with sharp, triangular points for the top lip. Outline the open mouth with a wavy line. Tip: When drawing the teeth, use short, vertical strokes to give them that jagged, robotic appearance.
Step 3: Adding the Ears
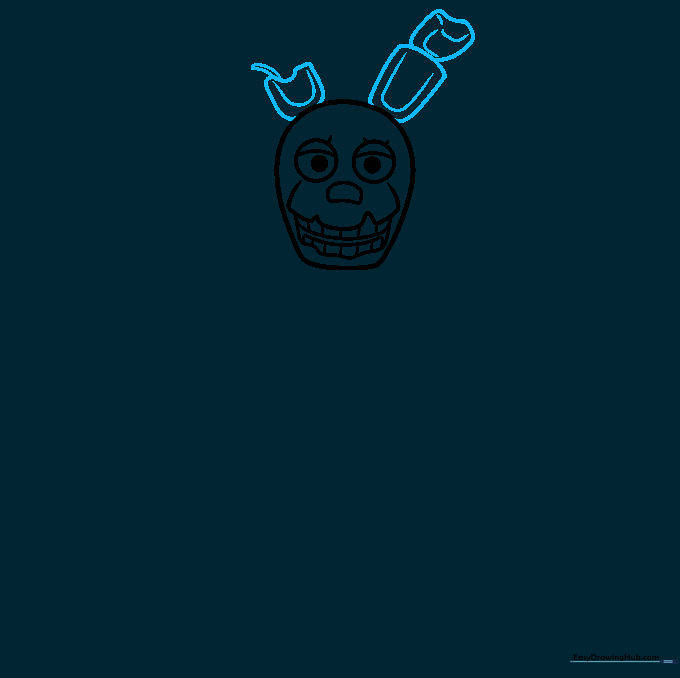
Draw the ears using irregular, blocky shapes. Add a large 'U' shape inside each ear. Tip: Add a small wire detail on one ear by drawing two lines that meet at a point—this adds to his 'broken' aesthetic.
Step 4: Constructing the Torso

Outline the torso using curved, boxy lines and add semi-circles for the shoulders. Tip: Don't make the torso too smooth; add a few irregular shapes to represent the damaged suit plating.
Step 5: Sketching the Arms
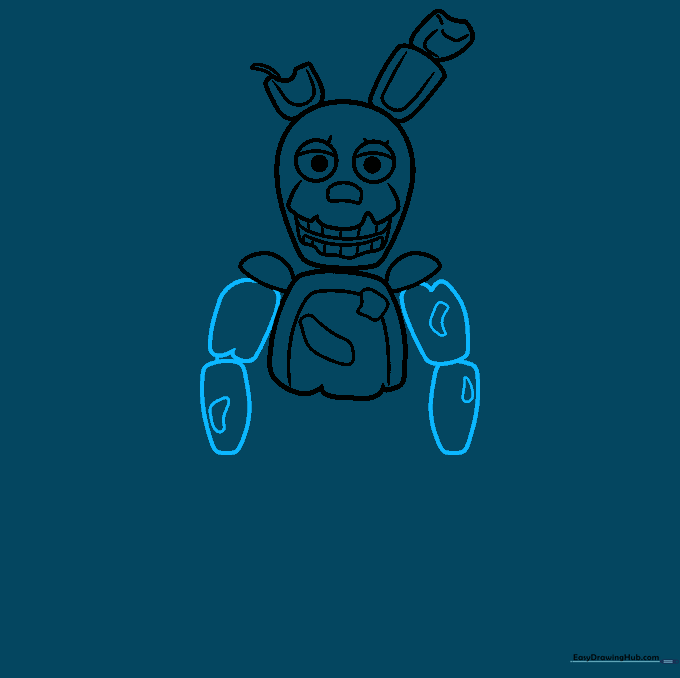
Use curved lines to define the upper and lower arm segments. Add small irregular shapes within the arms to show the mechanical joints. Tip: Keep the joints slightly separated to emphasize the robotic nature of the character.
Step 6: Drawing the Hands
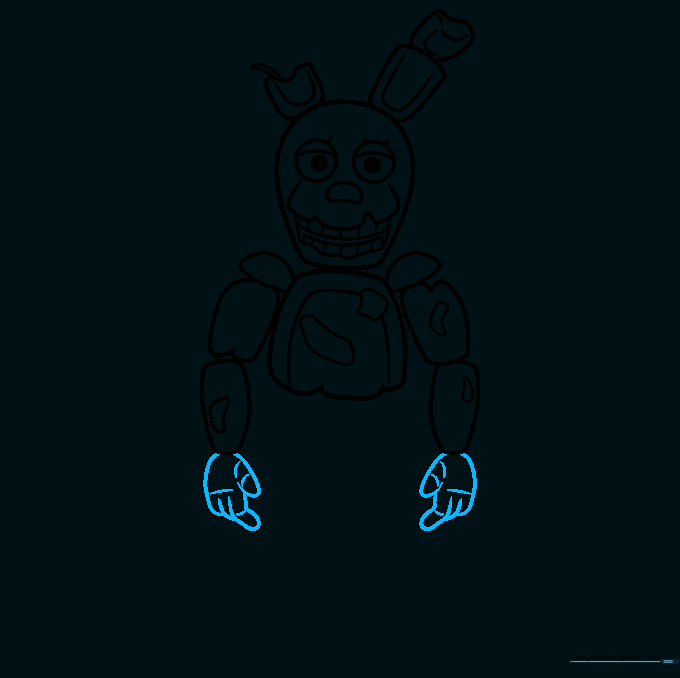
Outline the fingers and hands using curved lines. Add small lines across the joints to show where the fingers bend. Tip: If the fingers look too long, remember that Springtrap's hands are bulky and metallic, not slender.
Step 7: Adding the Hips and Upper Legs
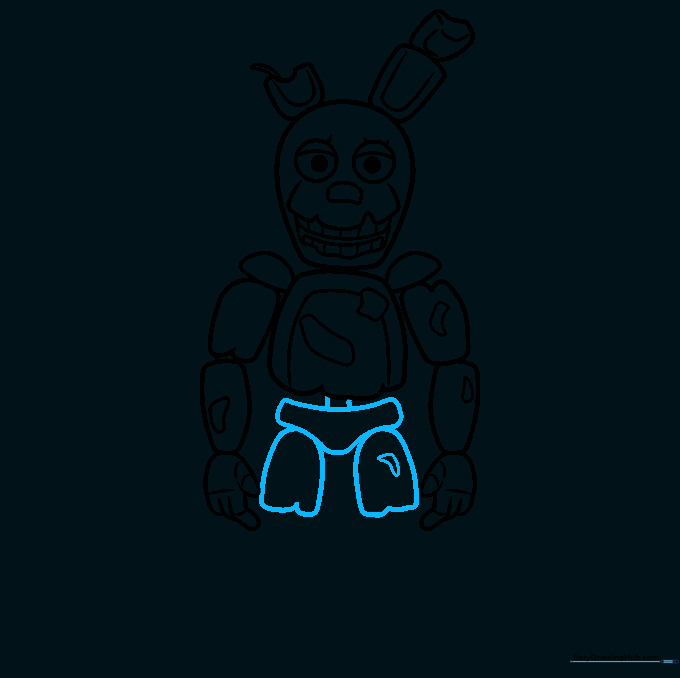
Draw a triangular shape with flat corners for the hips. Connect it to the torso, then sketch the irregular shapes of the upper legs. Tip: Ensure the legs look sturdy to support the rest of the body.
Step 8: Drawing the First Leg and Foot
Draw a partial circle for the knee and an irregular shape below it. Extend lines to form the lower leg, then draw a hexagonal foot. Tip: Use straight lines for the toes to give them a rigid, robotic look.
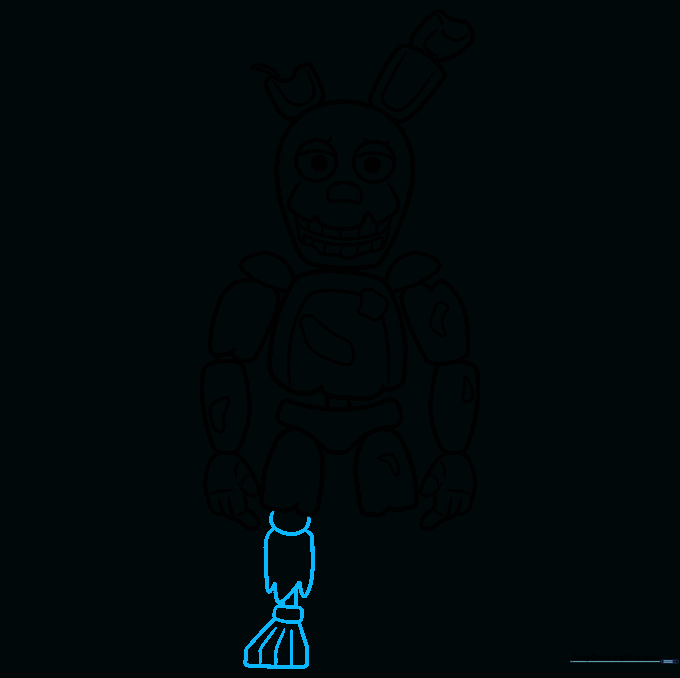
Step 9: Completing the Second Leg
Mirror the first leg on the other side. Follow the same process: knee circle, lower leg, and hexagonal foot. Tip: Check that both legs are roughly the same length so your drawing looks balanced.
Step 10: Adding Color
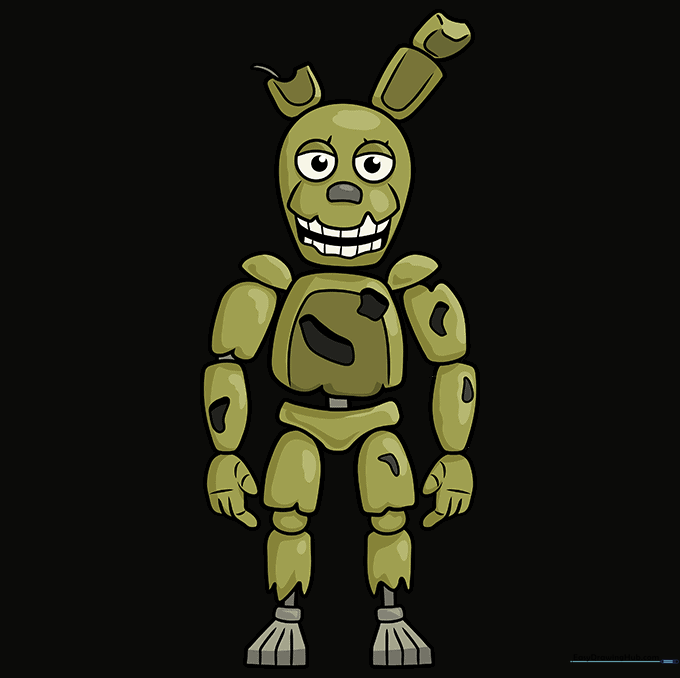
Time to bring him to life! Use shades of olive green and yellow for his suit. Tip: Use a slightly darker green for the shadowed areas to give your drawing more depth and a spooky, 3D effect.
More Tutorials


