How to Draw SpongeBob: Easy 10-Step Guide for Kids
Bring Bikini Bottom to life with this fun, guided drawing activity perfect for ages 5 and up. All you need is a pencil, an eraser, and a piece of paper to get started. Follow these simple steps to master SpongeBob’s iconic look and build your confidence as an artist.
🎯 Final Result

Step-by-Step Instructions
Step 1: Sketching the Eyes and Nose

Start by drawing a small 'U' shape for the nose. Above it, sketch two large circles for the eyes, then add smaller circles inside for the pupils. Teacher's Tip: Keep your pencil lines light so you can easily erase any mistakes later!
Step 2: Adding the Cheerful Mouth

Draw a wide, curved line for his happy smile, adding cheeks and a lower lip. Don't forget to draw two small rectangles below the mouth for his signature buck teeth. Tip: Make the teeth slightly rounded at the corners to look more natural.
Step 3: Starting the Square Head
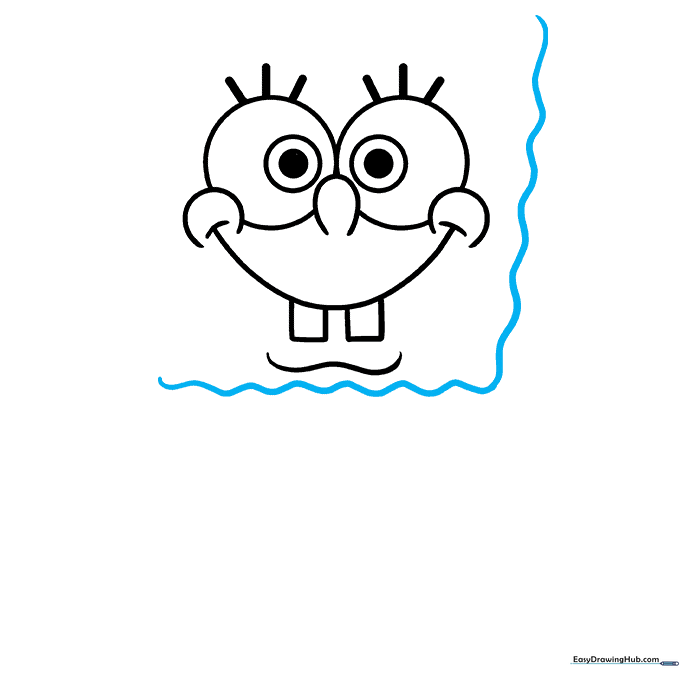
Use a wavy, uneven line to trace the sides of his head. SpongeBob isn't a perfect square, so don't worry about making the lines perfectly straight! Tip: Think of it like drawing a piece of sea sponge—it should look a bit bumpy.
Step 4: Closing the Head Shape
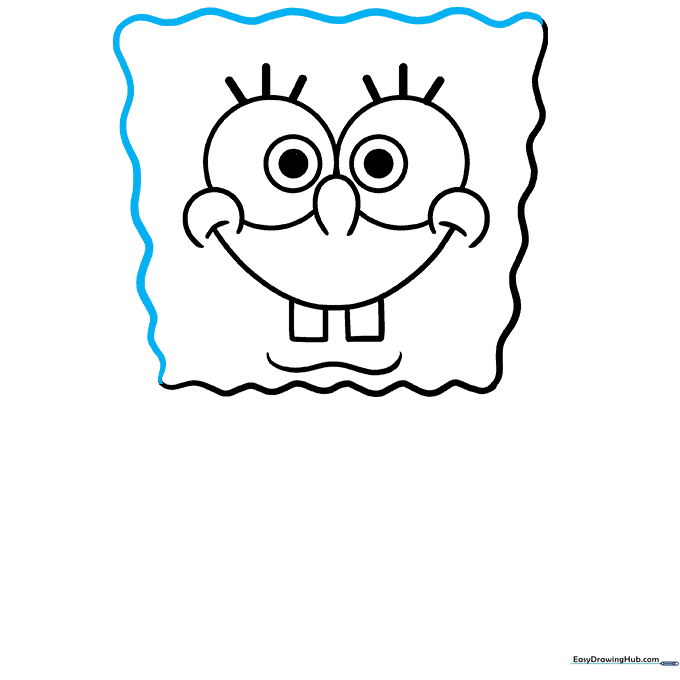
Continue the wavy line to finish the top and bottom of his head. Ensure the shape connects to create his iconic rectangular frame. Tip: Vary the size of your 'waves' to give him that authentic, porous texture.
Step 5: Adding Pores and Clothing Details
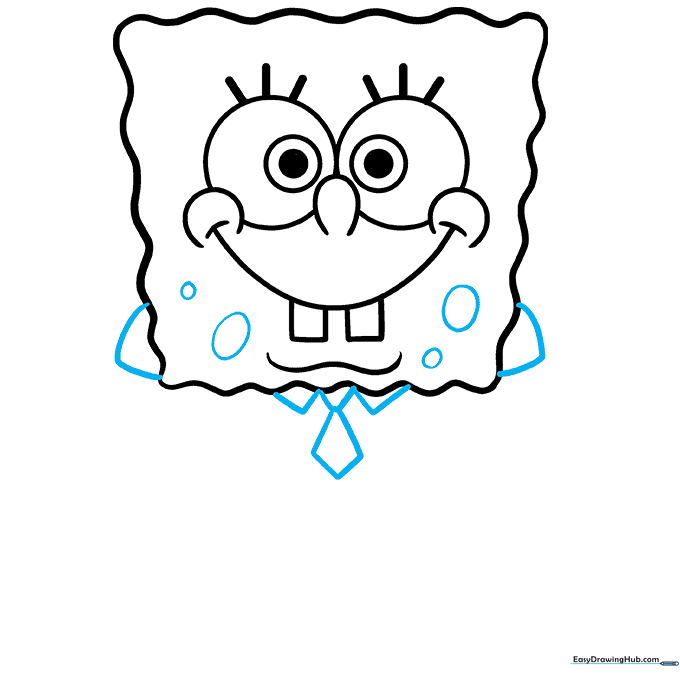
Draw small ovals on his face for pores. Below the head, sketch the triangle shapes for his collar and tie. Add partial half-circles on the sides for his sleeves. Tip: Draw the tie knot first, then the diamond shape below it for perfect alignment.
Step 6: Drawing the Torso
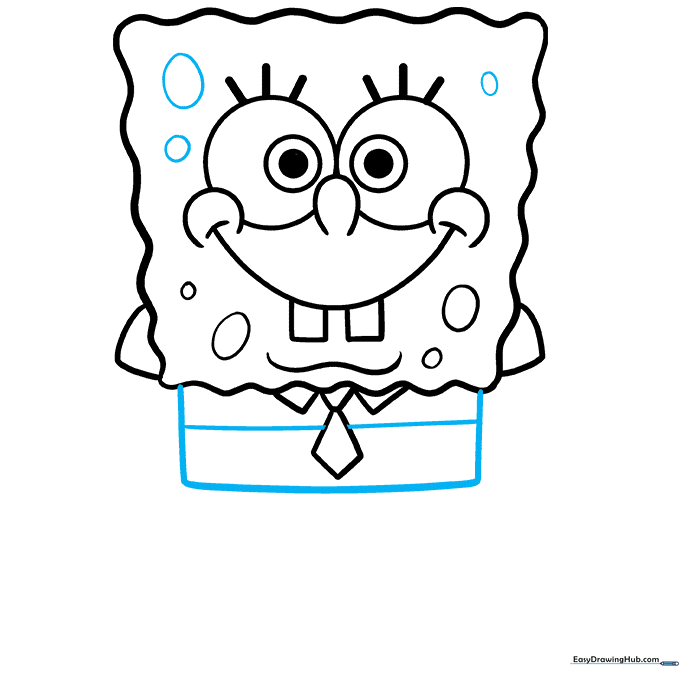
Enclose the rectangular torso and draw a horizontal line across it to separate his shirt from his pants. Add a few more oval pores to his face for character. Tip: Use a ruler if you struggle with straight lines, but freehand is better for a cartoon style!
Step 7: Adding Legs and Shoes

Draw narrow rectangles for the belt, then add his legs and rounded rectangles for his shoes. Band the legs with lines for his socks. Tip: Ensure the shoes are slightly wider than the legs to give him a stable base.
Step 8: Sketching the First Arm
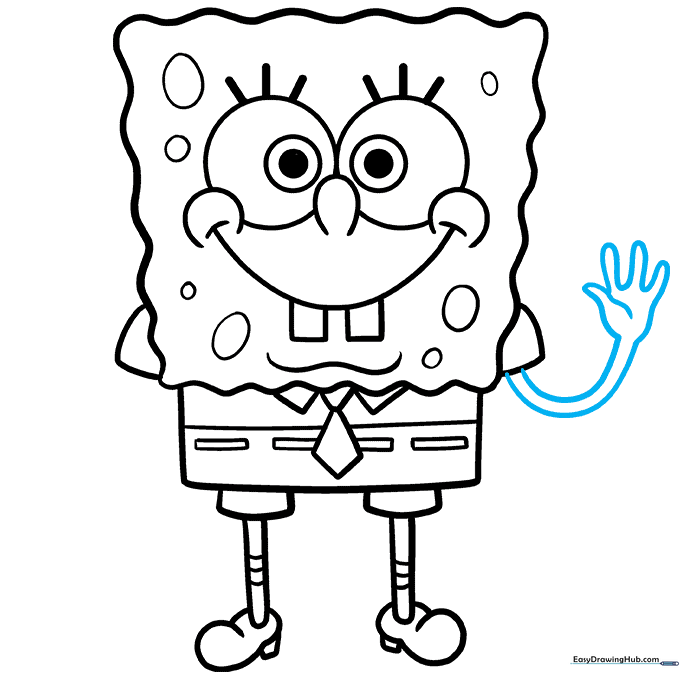
Use smooth, curved lines to draw his arm and waving hand. Tip: Keep the arm thin and the hand rounded to maintain his cartoon proportions.
Step 9: Completing the Arms
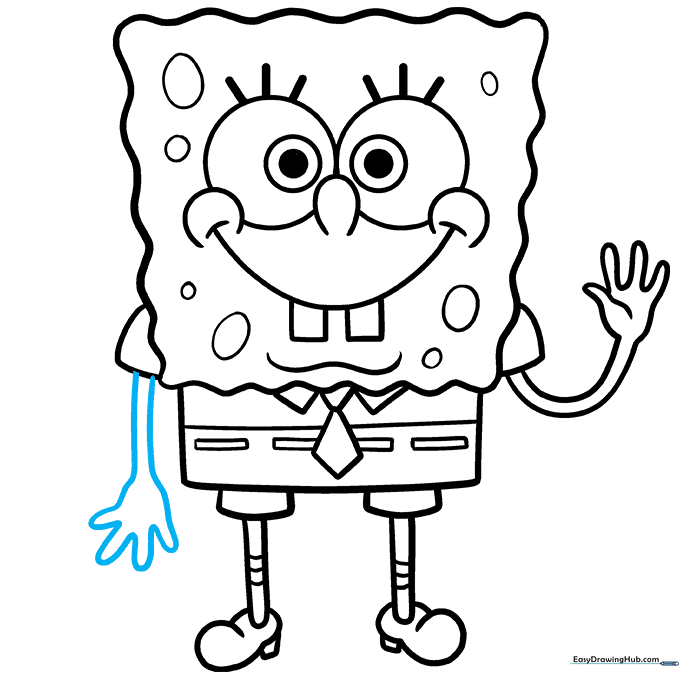
Repeat the process for the second arm. Try to match the curve of the first arm so he looks balanced. Tip: If you want him to look like he's doing something else, you can change the angle of the arm!
Step 10: Bringing SpongeBob to Life with Color

Your outline is finished! Now, color him bright yellow, with a white shirt, brown pants, a red tie, and black shoes. Tip: Use light pressure with your colored pencils to create a smooth, even look.
More Tutorials


