How to Draw Sparkles: Easy 5-Minute Art Guide
Add a touch of magic to your artwork with these easy-to-draw sparkles. This tutorial is perfect for artists of all ages looking to enhance their doodles with simple, rhythmic shapes. All you need is a pencil, an eraser, and a piece of paper to get started.
🎯 Final Result

Step-by-Step Instructions
Step 1: Sketching the First Diamond
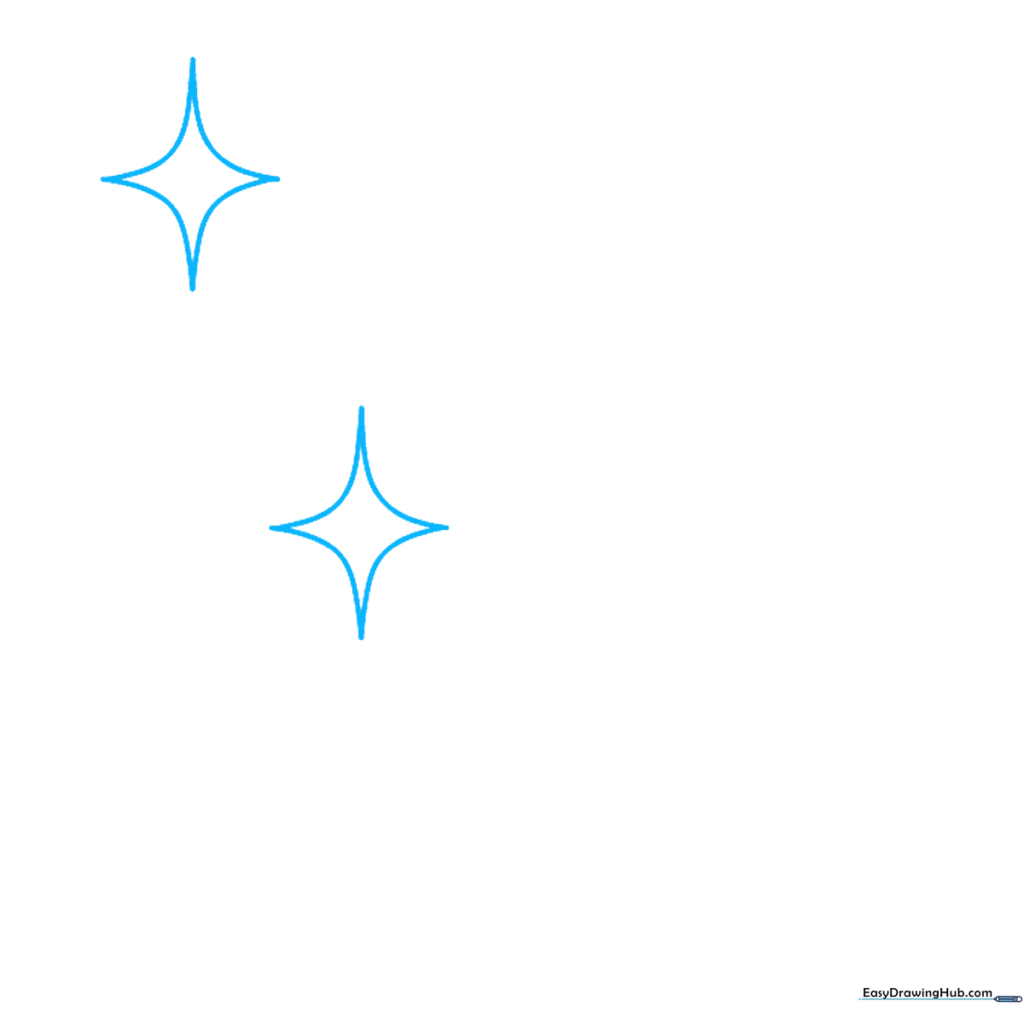
Start by drawing a four-pointed diamond shape using four gentle, curved lines. Teacher's Tip: Keep your pencil pressure light so you can easily adjust the shape if it looks a bit lopsided.
Step 2: Adding Depth with V-Shapes
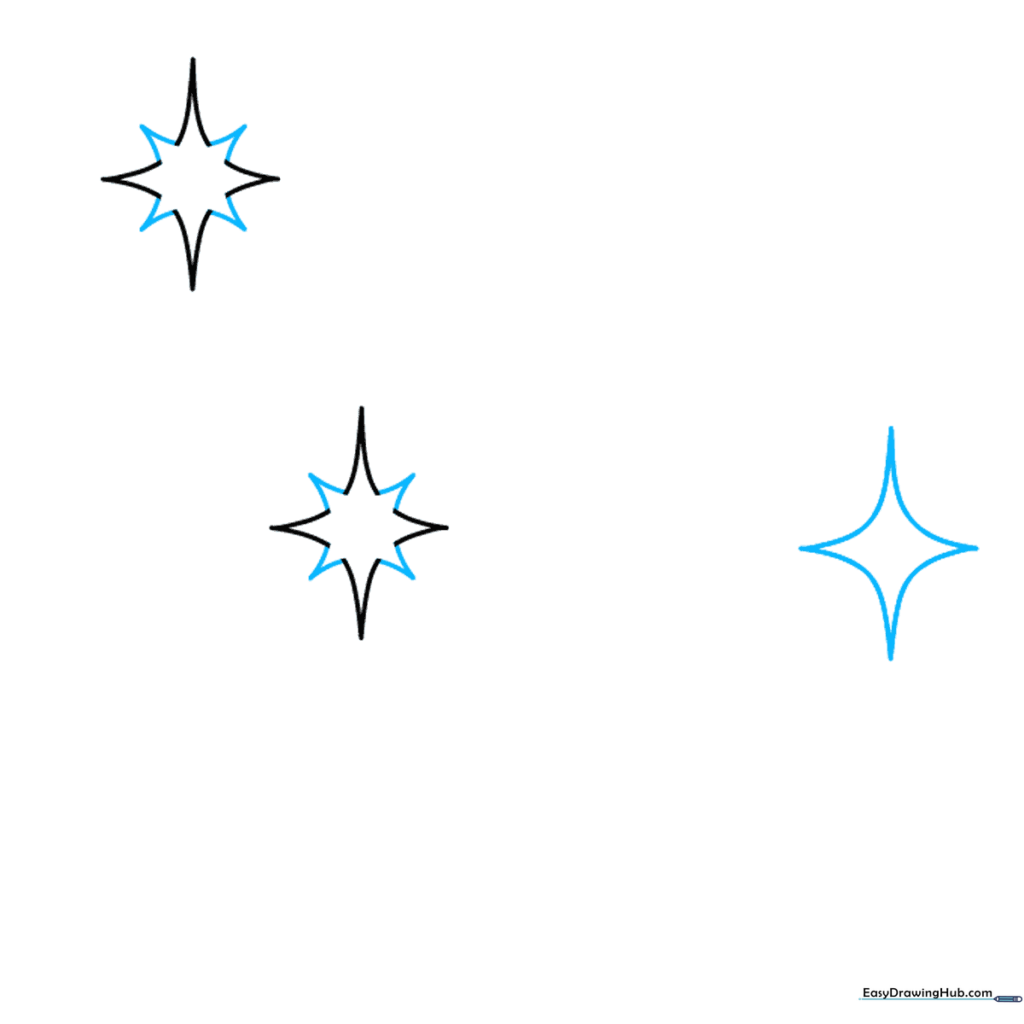
Erase a small section on each side of your diamond and add a 'V' shape pointing outward. This creates the classic starburst look. Tip: Make sure the 'V' points are sharp to give your sparkle that 'twinkling' effect.
Step 3: Expanding the Cluster
Repeat the process for a third sparkle, then begin adding smaller, simple four-pointed shapes around it. Tip: Varying the sizes makes your drawing look more dynamic and natural.
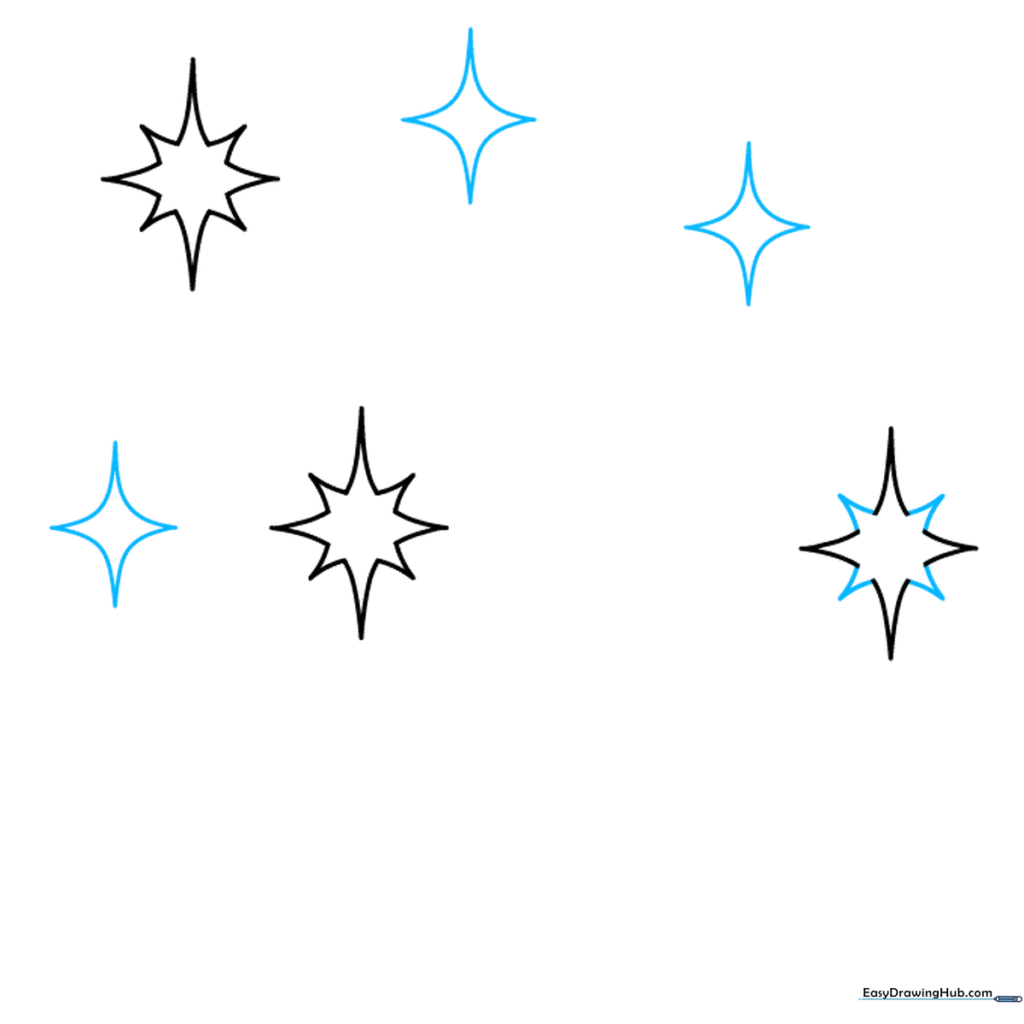
Step 4: Creating Variety
Draw another medium-sized sparkle and add three smaller ones nearby. Tip: Don't worry about making them perfect; sparkles in nature are irregular and organic.
Step 5: Filling the Space
Add five more small sparkles to your page. Tip: Think of these as 'dust'—scatter them around the larger ones to create a sense of movement.
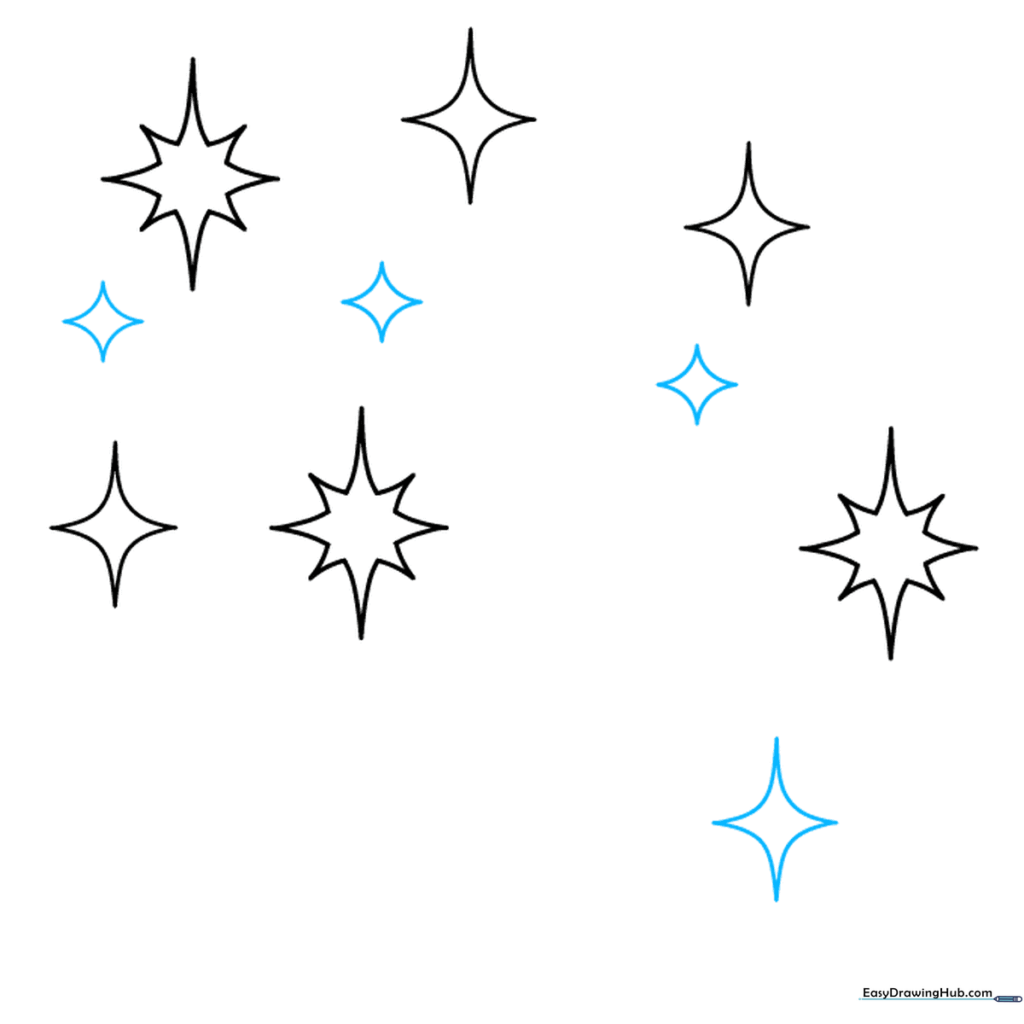
Step 6: Adding Tiny Details

Draw five more sparkles, making these even smaller than the previous ones. Tip: Use the very tip of your pencil for these tiny details to keep them crisp.
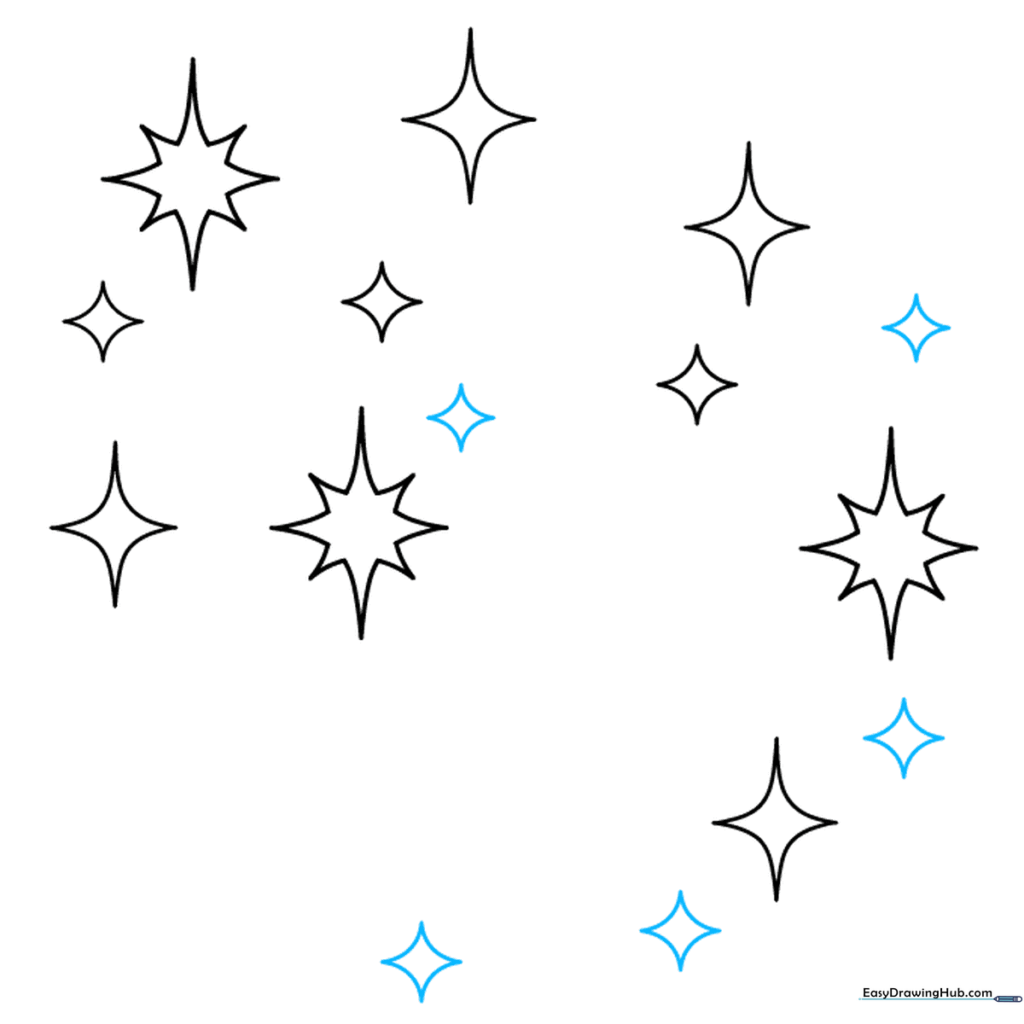
Step 7: Building the Glitter Effect

Add six more small sparkles. Tip: Try to place them in a slight curve to make it look like the sparkles are floating in the wind.
Step 8: Finalizing the Cluster
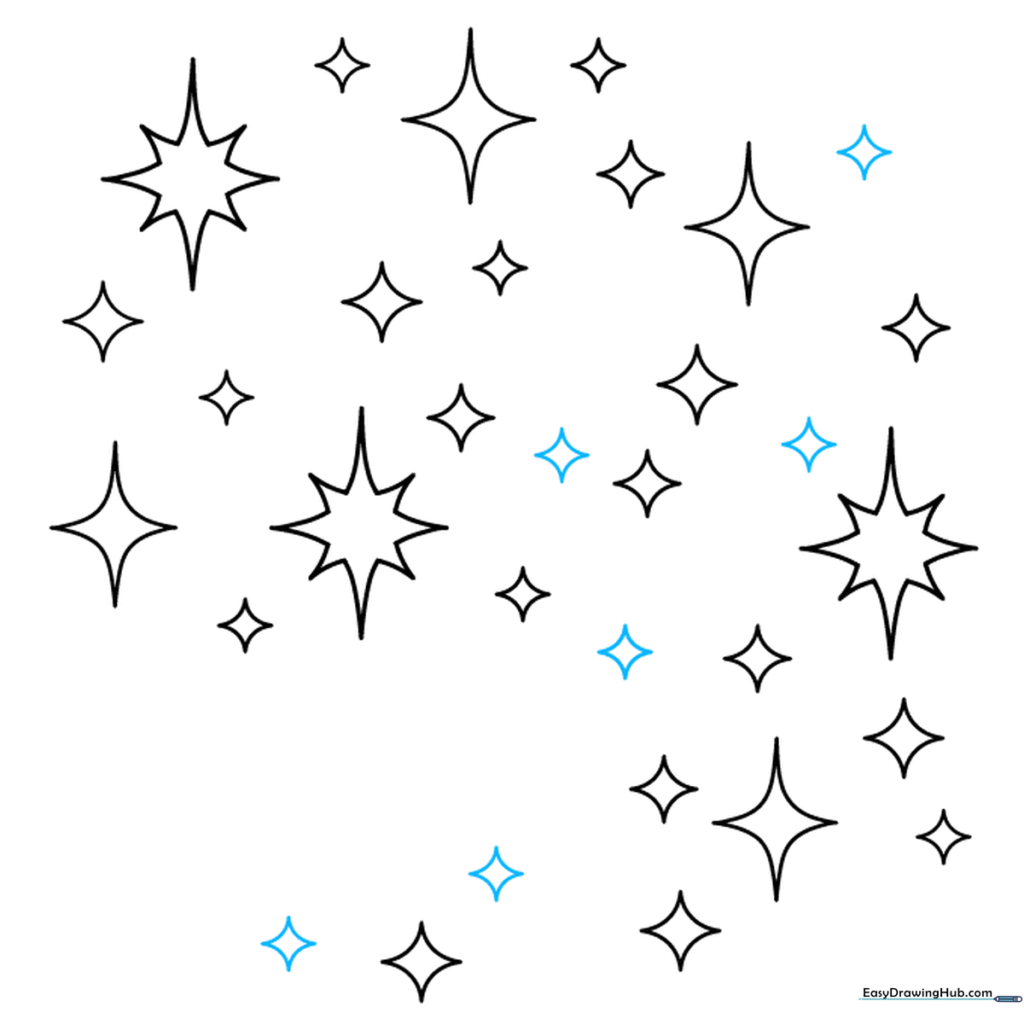
Draw six more small sparkles to complete the main cluster. Tip: Ensure they are spaced out so the drawing doesn't look too crowded.
Step 9: Adding the Finishing Touches
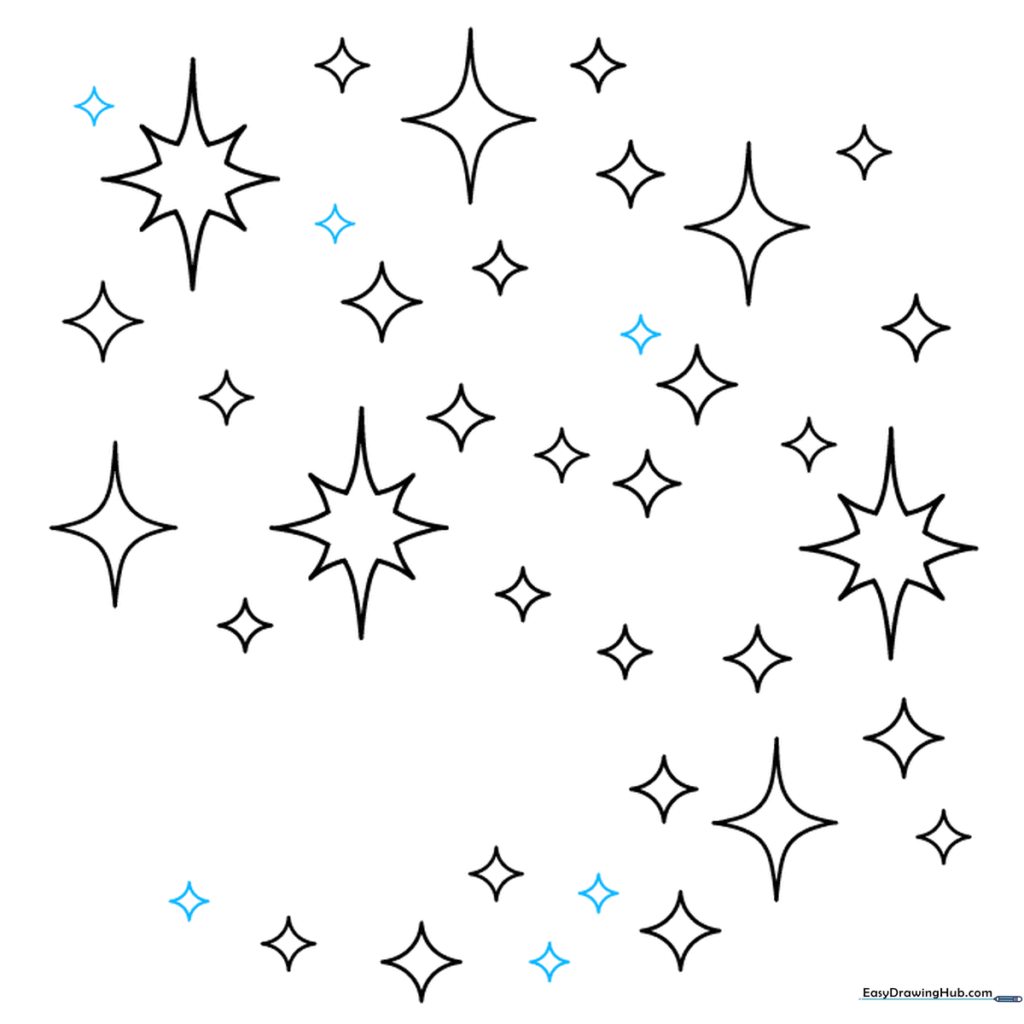
Add a few final, tiny sparkles to fill in any gaps. Tip: Notice how the irregular spacing creates a sense of 'glitter falling in the wind.'
Step 10: Bringing it to Life with Color
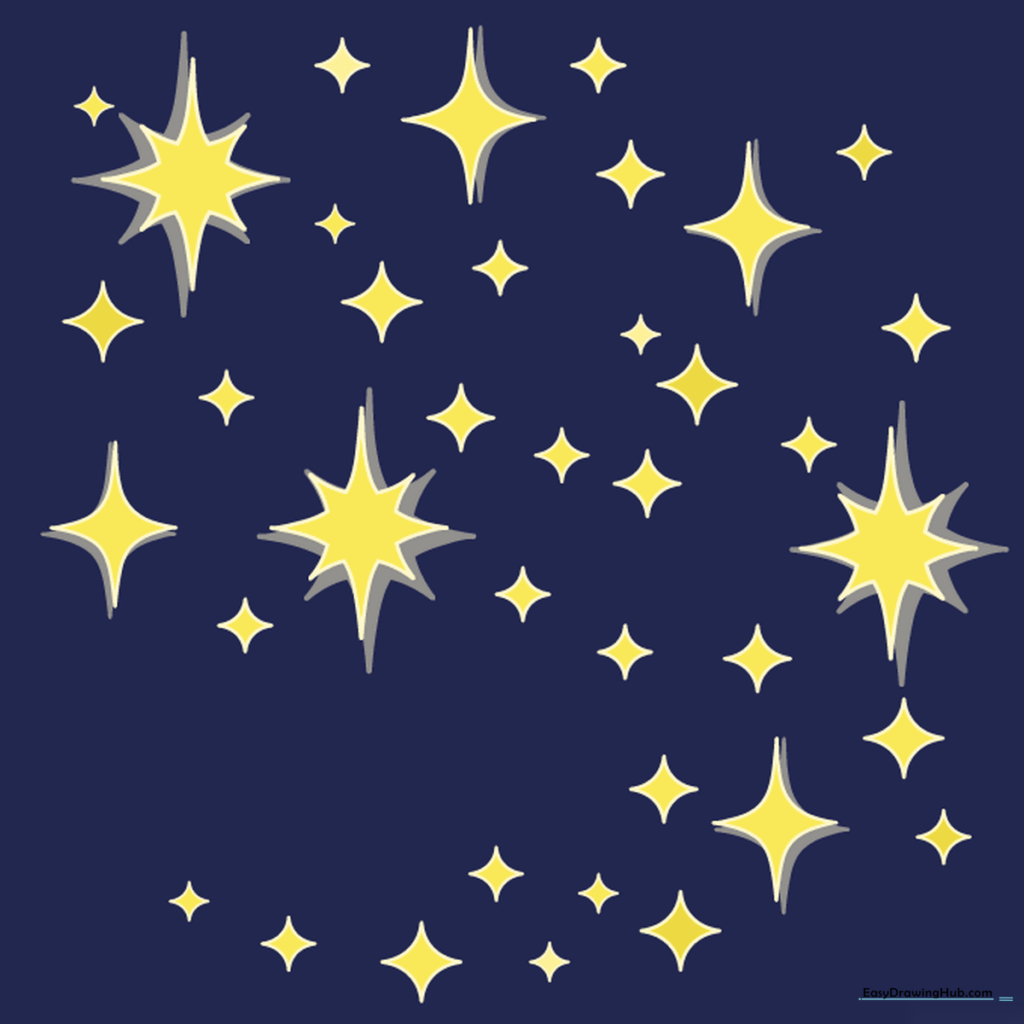
Your outline is complete! Now, use bright yellows, blues, or even glitter pens to color your sparkles. Tip: Use a lighter color in the center and a darker shade on the edges to make them pop.
More Tutorials


