How to Draw Snoopy: Easy 10-Step Guide for Kids
Bring everyone's favorite beagle to life with this simple, 10-step drawing guide. Designed for ages 5 and up, this activity requires only a pencil, paper, and an eraser. Follow along to build confidence in your sketching skills while creating a classic cartoon character.
🎯 Final Result

Step-by-Step Instructions
Step 1: Sketching the Head

Draw a light oval to serve as the base for Snoopy's head. Tip: Keep it about the size of a coin and use a light touch so you can easily erase it later.
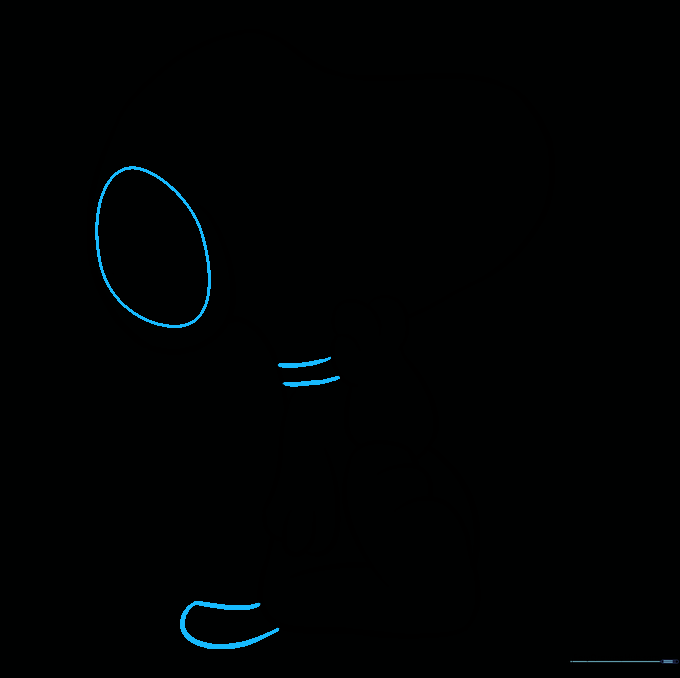
Step 2: Forming the Body
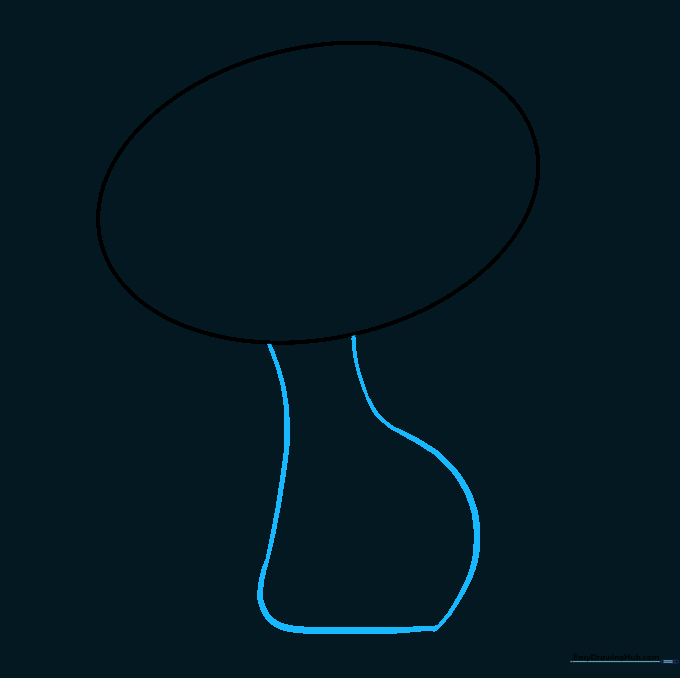
Extend a long, curved line down from the head to create the neck and torso. The shape should be narrow at the neck and widen toward the bottom. Tip: Think of it like a pear shape.
Step 3: Sketching the Arm
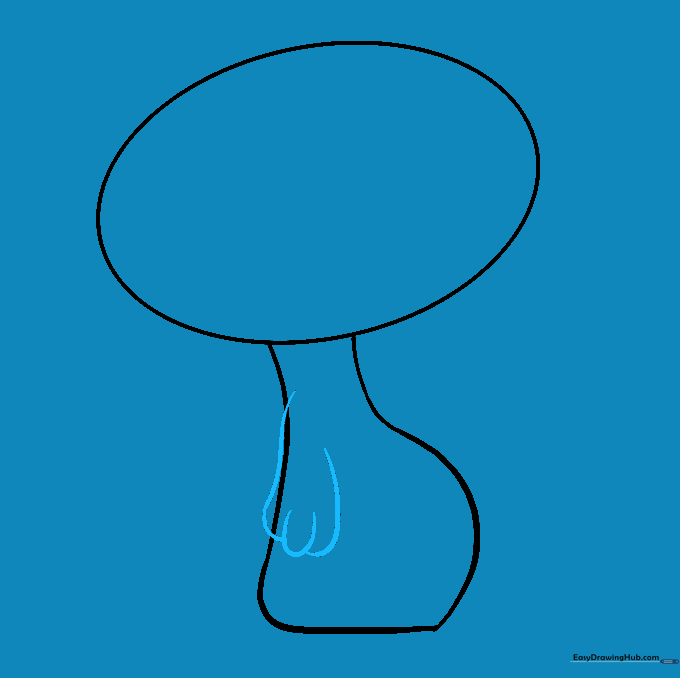
Draw a curved line starting from the neck to form the arm, then add a 'U' shape for the fingers. Tip: Keep the arm relaxed to match Snoopy’s laid-back personality.
Step 4: Adding the Foot

Draw a horizontal line for the base of the foot, then use curved lines to define the toes and leg. Tip: Ensure the foot looks sturdy to support his body.
Step 5: The Thoughtful Pose
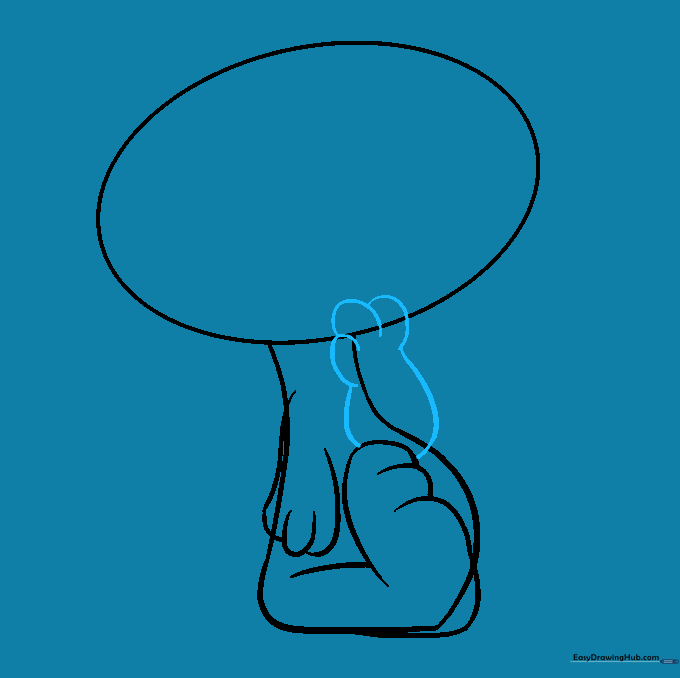
Draw the second arm resting near the chin. Use connected curved lines to show the elbow bent. Tip: This pose makes Snoopy look like he's deep in thought!
Step 6: Refining the Head Shape
Use your initial oval as a guide to draw the snout, ear, and neck profile. Tip: Snoopy's snout is long and rounded, so take your time with this curve.
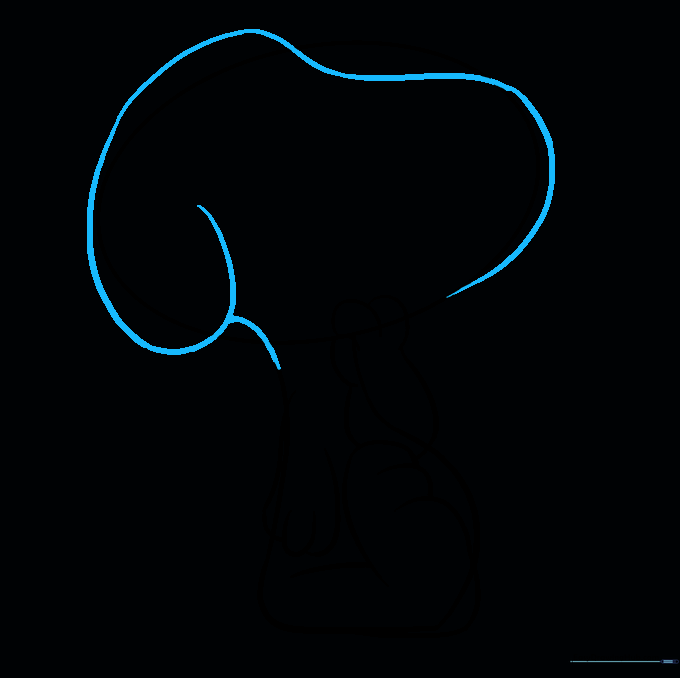
Step 7: Cleaning Up

Carefully erase the overlapping guide lines inside the arms, legs, and head. Tip: Use a clean eraser to avoid smudging your drawing.
Step 8: Adding Character Details
Add the ear spot, the collar lines, and a small tail. Tip: Keep the collar lines parallel for a neat look.
Step 9: Facial Features

Draw the eye, nose, and eyebrow. Tip: The nose is a small oval near the tip of the snout; placing it correctly gives him his classic look.
Step 10: Bringing Snoopy to Life

Color your drawing! Use black for the ear, nose, and tail, and red for the collar. Tip: Use light, even strokes for the best color coverage.
More Tutorials


