How to Draw Dancing Snoopy: Easy 10-Step Guide
Bring the world's most famous beagle to life with this fun, step-by-step drawing tutorial. Designed for artists ages 5 and up, this activity requires only a pencil, paper, and an eraser. Follow along to capture Snoopy’s iconic happy dance and build your confidence with character sketching.
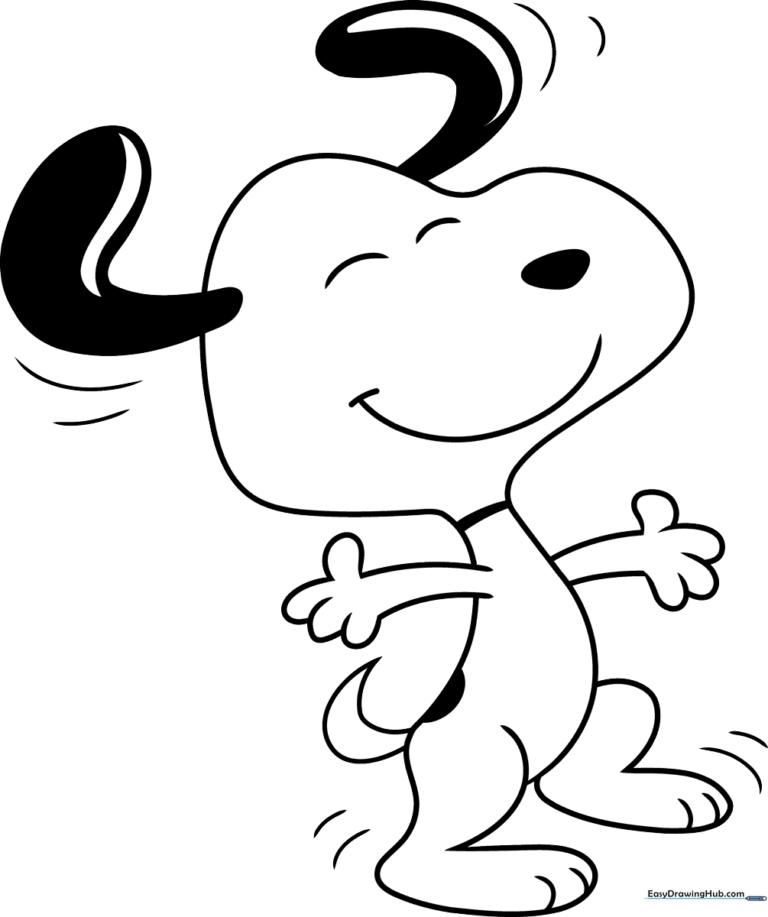
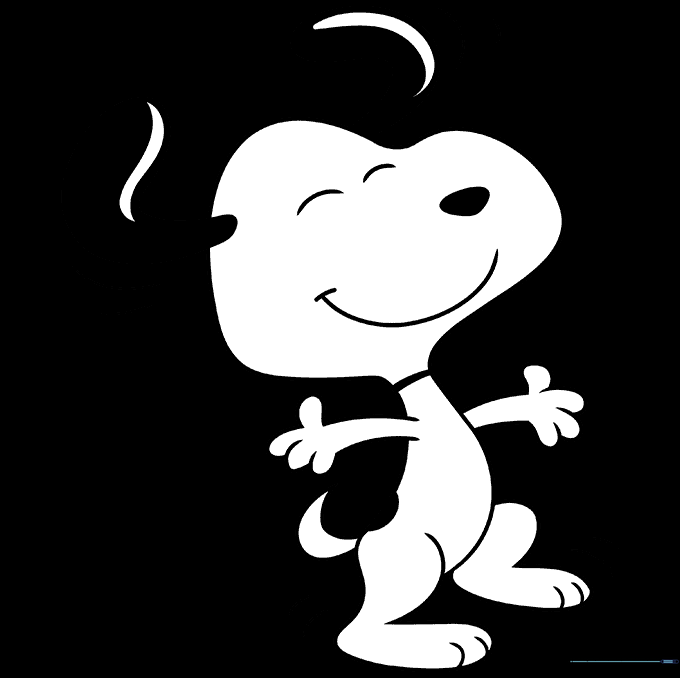
🎯 Final Result
Step-by-Step Instructions
Step 1: Sketching the Face

Start by drawing Snoopy's happy, open-mouthed expression. Use long, smooth curves for the cheek and mouth, and simple arcs for his closed, joyful eyes. Tip: Keep your pencil pressure light—if you make a mistake, it will be much easier to erase without leaving marks on the paper.
Step 2: Drawing the First Ear

Draw a long, curved line above the cheek and loop it back to create his signature floppy ear. Continue the cheek line slightly past the ear to define the side of his head. Tip: Think of the ear shape like a boomerang; don't worry about making it perfectly symmetrical!
Step 3: Shaping the Body
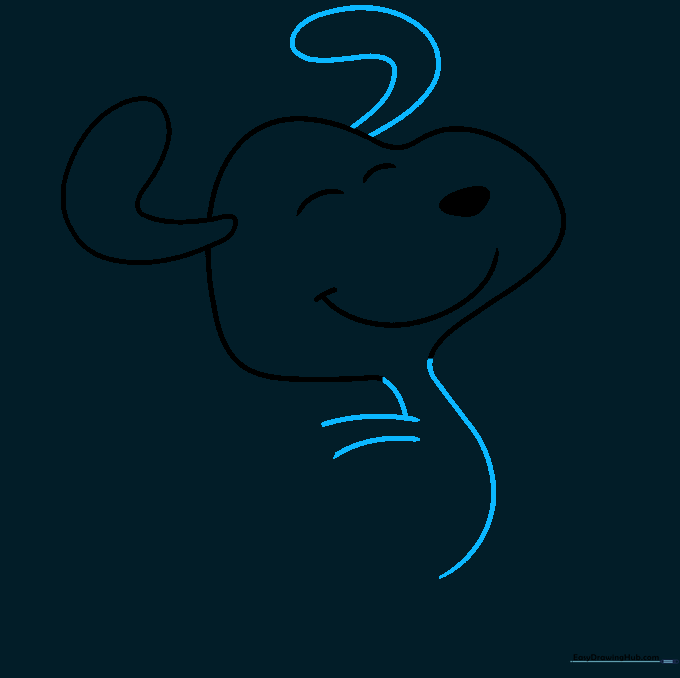
Add the second ear on the opposite side of the head. Then, draw two downward curves from the chin to form the neck and belly. Sketch two parallel lines behind the neck to begin the first arm. Tip: Keep the lines for the arm parallel to give it a clean, cartoon-like appearance.
Step 4: Adding the First Hand
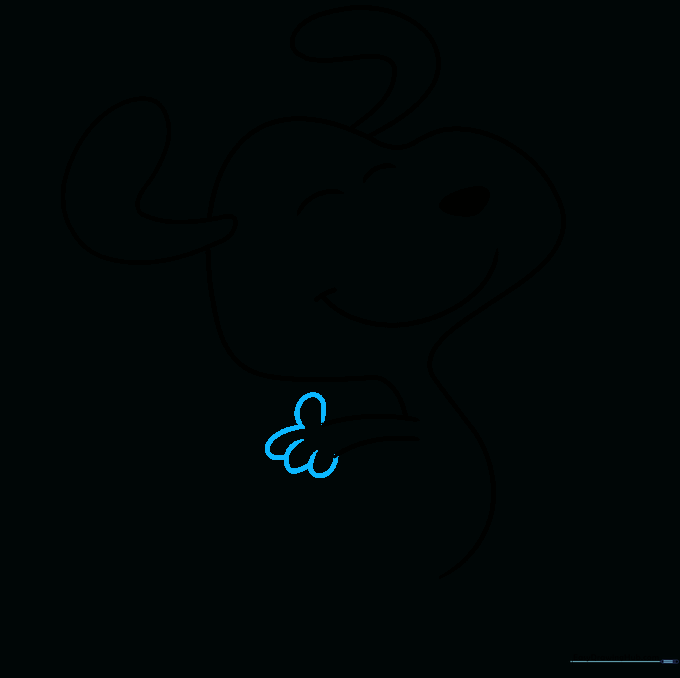
Use small 'U' shaped lines at the end of the arm to create his fingers. Tip: Snoopy’s hands are simple, so focus on making the 'U' shapes consistent in size to keep the drawing looking professional.
Step 5: Drawing the Second Arm
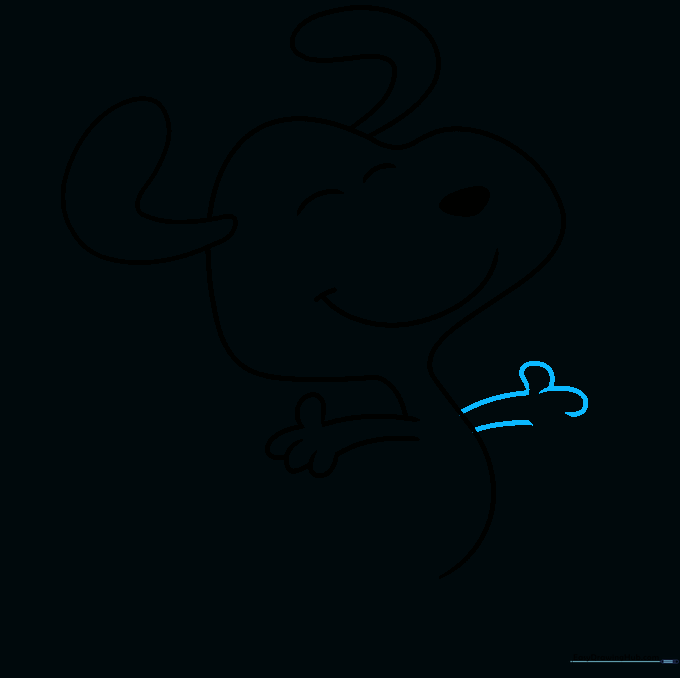
Extend another pair of curved lines from the body to create the second arm, mirroring the first. Add 'U' shaped lines at the end for the fingers. Tip: Since he is dancing, try angling this arm slightly differently than the first to show movement.
Step 6: Outlining the Back
Finish the hand with more 'U' shapes. Then, draw a long, sweeping curved line from the arm down to the back of the leg. Tip: This long line creates the 'flow' of his dance, so try to draw it in one smooth, continuous motion.
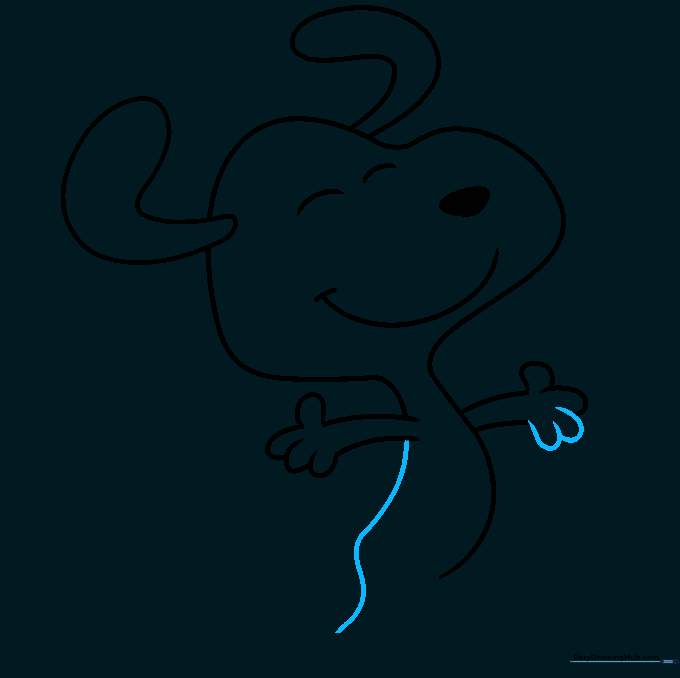
Step 7: Sketching the Legs
Outline the front of the legs using curved lines. Close the foot shape and add small lines at the toes to give them definition. Tip: Use a slightly darker pencil stroke here to make the feet stand out against the body.
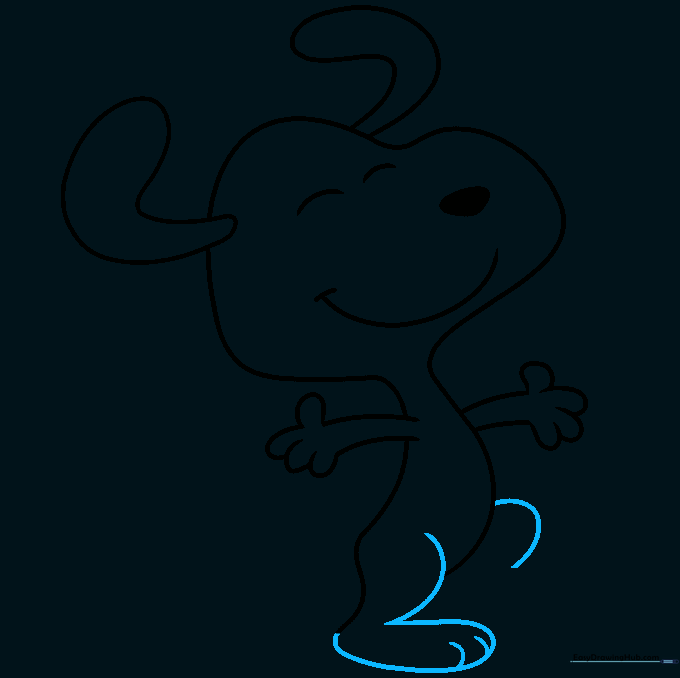
Step 8: Adding Details
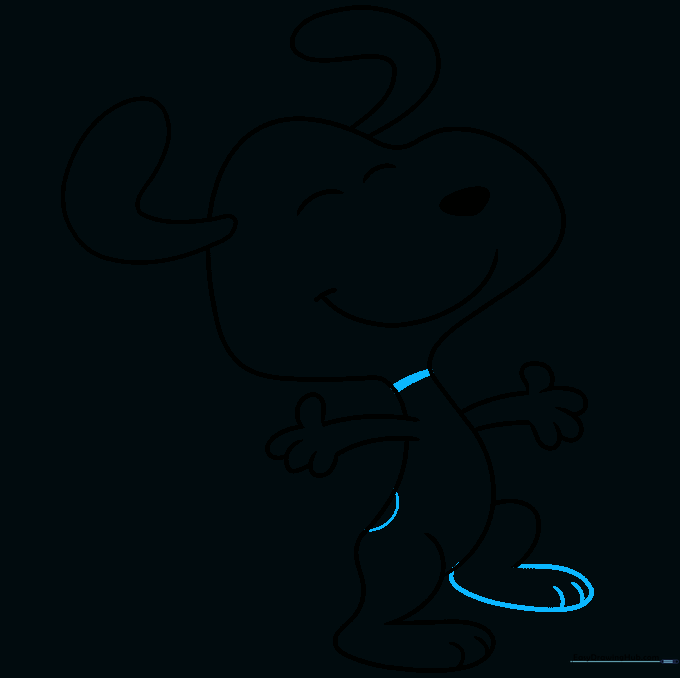
Complete the second foot, draw a spot on his back, and add a thick band around his neck for the collar. Tip: The collar is a great place to use a bold, dark line to anchor the drawing.
Step 9: Adding Motion
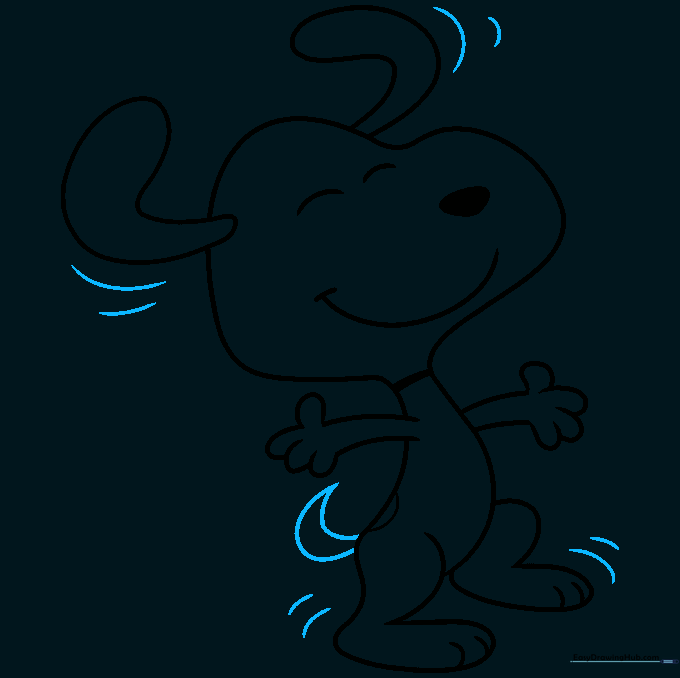
Draw a crescent-moon shape for the tail. Finally, add small curved lines around the ears and feet to show he is mid-dance! Tip: These 'motion lines' are the secret to making your drawing look energetic and fun.
Step 10: Bringing Snoopy to Life with Color
Time to color! Use white for his body, black for his ears and spots, and a vibrant red for his collar. Tip: If you are using markers, color in the direction of his fur to keep the texture looking smooth.
More Tutorials


